DCS AH-64D Apache: Taxi and Take Off
In this part of the DCS: AH-64D Apache tutorial we show you how to taxi and take off in an Apache helicopter. We cover the basic taxiing and takeoff methods in the Apache.
Last update:
On this page of the DCS: AH-64D Apache simulator guide, we present the methods of taxiing and taking off with the Apache helicopter. We show the differences in the types of take-off depending on the available space and the weight of the helicopter. We show you the various stages of the launch step by step.
- Necessary buttons and axes for assigning:
- General information
- Taxi
- Hover Taxi
- Before Take Off
- Level Acceleration Take Off
- Normal VMC Take Off from the ground
- Rolling Take Off
- Confined Area
Necessary buttons and axes for assigning:
- Cyclic Pitch/Roll (Axis)
- Collective (Axis)
- Rudder Pedals (Axis)
- Symbology Select Up;
- Tail Wheel Lock/Unlock;
- Wheel Brakes;
- Stabilator NU;
- Stabilator Depress
General information
NOTE
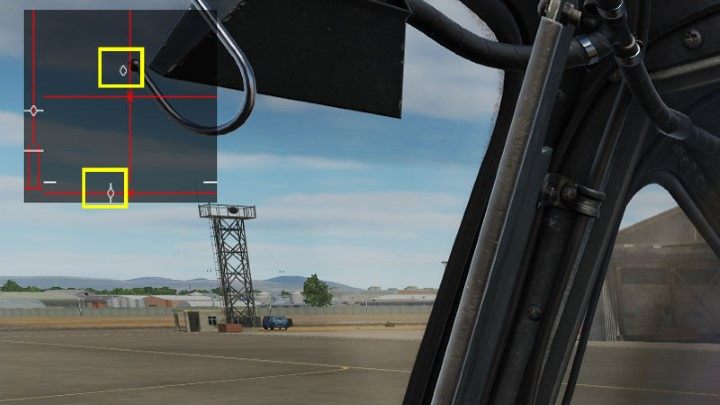
Very often, the control axes will not be centered when starting with a "hot start" with the engines running! This is a bug in DCS World. Before doing any operations, you should move the the helicopter's controls - cyclic, collective, pedals, so that the settings return to their normal position.
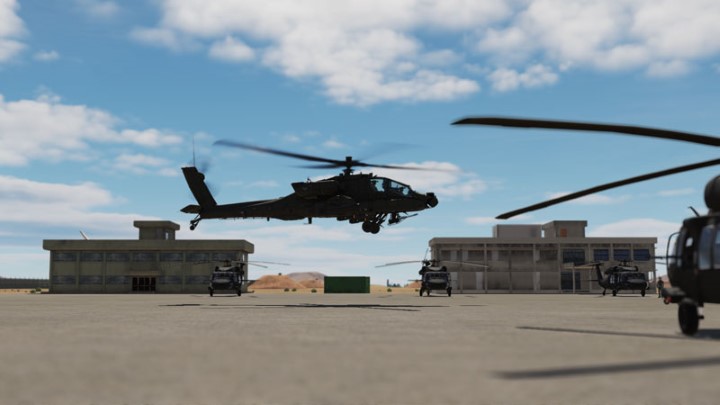
The AH-64D Apache can taxi and take off in various ways, depending on the available space, weather conditions and the weight of the helicopter. The modes described below are based on the available Apache pilot training and evaluation manual and materials from DCS World. All procedures here are related to VMC (Visual Meteorological Conditions), i.e. in good weather and visibility.
The described starting methods do not fully reflect the actual operations! They are applicable only for DCS World.
- Taxiing - Taxiing in Apache is not always carried out to the runway itself. It is often just a drive from a parking space to free space from where you can make a safe take off. Traditional wheeled taxiing is the preferred method. For tight turns, unlock the rear wheel with the Tail Wheel Unlock/Lock button. To drive straight ahead, lock the wheel again. It is possible to turn to some extent with the locked wheel, but in practice it is not advisable. The taxiing speed should not exceed 7 knots.
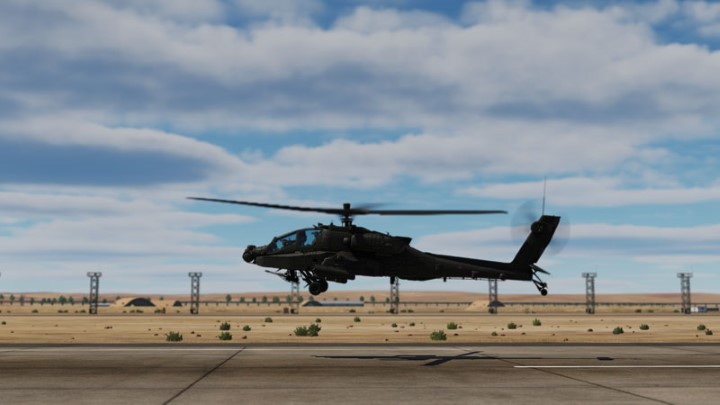
- Hover taxi - This is a taxi with the wheels off the ground, hanging low from 3 to 10 feet above the ground. This method consumes incomparably more fuel and is practiced only when the taxiway does not allow for the traditional method, e.g. it is damaged, too soft, or covered with snow which is typical for FARP (field bases).
- Start - Level Acceleration Take Off - Start with forward cyclic stick and increase collective gradually. When the helicopter starts to be "light on wheels", cyclic slightly towards you while slowly increasing the collective to lift off the ground. As the helicopter rises, cyclic forward with increasing collective further to gain speed and altitude. Force Trim above 50 feet.
- Start - VMC Take Off from the ground - Normal start with the cyclic stick in a neutral position. Increase collective gradually until the helicopter starts to be light on wheels. Control the helicopter position with pedals and keep increasing the collective until the helicopter lifts off the ground. While hanging above the ground, push the cyclic forward and further increase the collective to gain speed and altitude. Force Trim above 50 feet.
- Rolling Take Off - A start carried out on the runway and with "limited power", i.e. without IGE - the possibility of using the ground effect. Usually there are "high/hot/heavy" reasons: location high above sea level (high), very high air temperature (hot), very heavy take-off weight (heavy). After lining up on the runway, set the Stabilator to 0, and move the cyclic bar forward while also increasing the collective. Reach the momentum to approx. 30 knots on the lane, then gradually move the cyclic towards you and further increase the collective to lift off the ground. In the air, move the cyclic forward and increase the collective to gain speed and altitude. Force Trim above 50 feet
- Confined Area - This is a special take-off condition in an environment full of obstacles, e.g. with a line of trees or objects that make it impossible to fly forward after lifting off the ground. Start with the cyclic in a neutral position. Increase the collective until the helicopter starts to be "light on wheels" and then continue until it lifts off the ground, while controlling the position with the pedals. Continue your hover climb until you reach a safe height to fly over the obstacles, while adjusting the helicopter with pedals in the direction where it is safest to take off. Force Trim above 50 feet.
Taxi
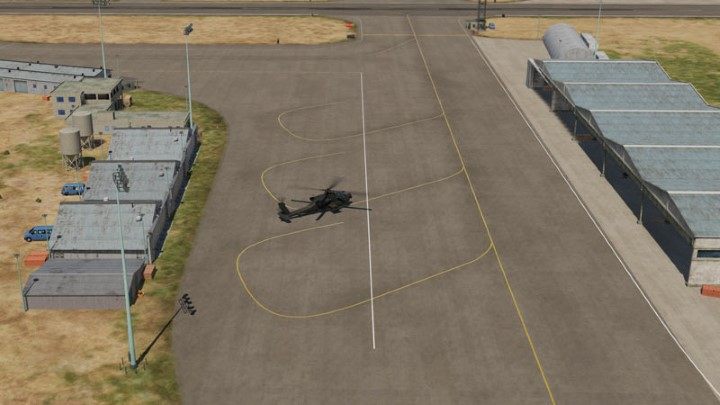
If you don't know the landing site, press the F2 key to look around for a convenient take-off place or path to the runway. Return to the cabin by pressing the F1 key.
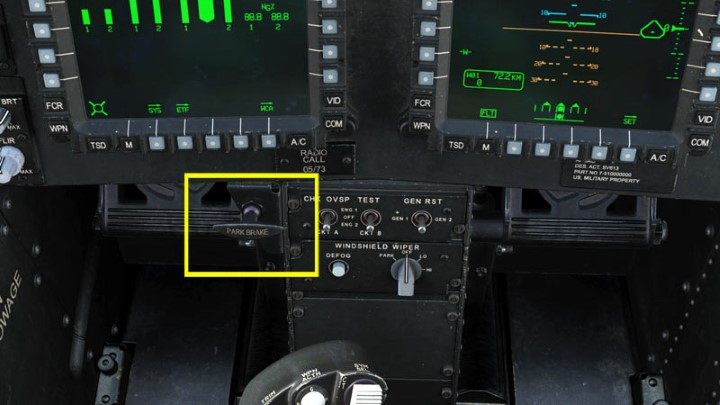
Release the parking brake.
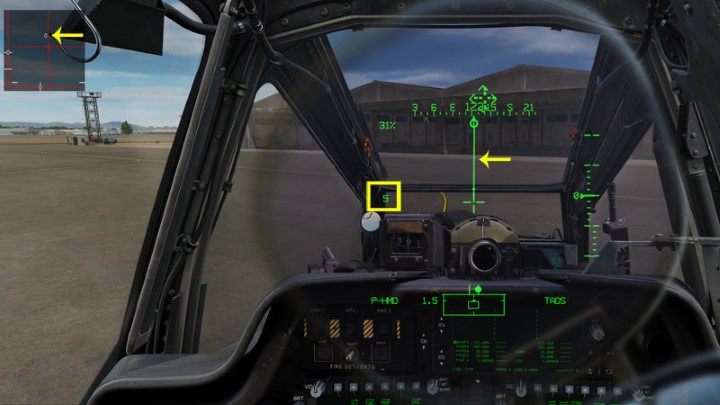
Press RCtrl Enter to enable the control interface. Move the cyclic forward. If necessary, increase the collective slightly. The helicopter will start rolling forward. Control speed and acceleration vector on the HUD.
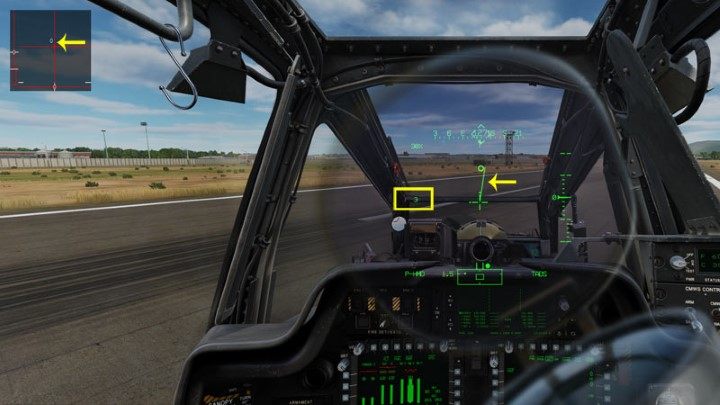
If you want to slow down, pull the cyclic towards you. The speed will decrease and the acceleration vector will become increasingly shorter. Use wheel brakes only when necessary, in the last stage and at very low speed, to bring the helicopter to a complete stop.
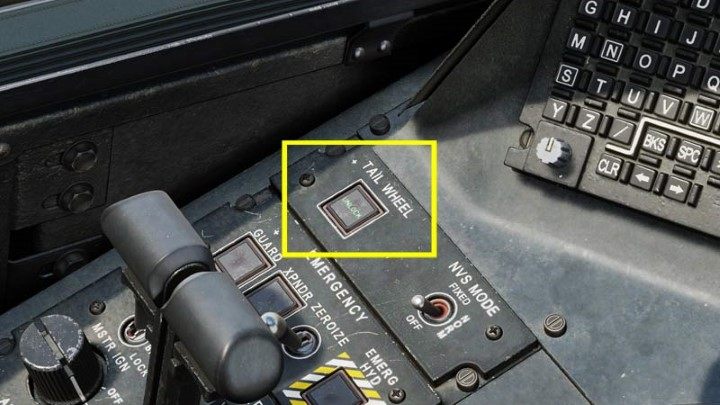
Before making a tight turn, unlock the rear wheel with the Tail Wheel Unlock button. The one assigned to collective is the most convenient to use. On the console, you can check whether the UNLOCK light is on. Use the pedals for turning.
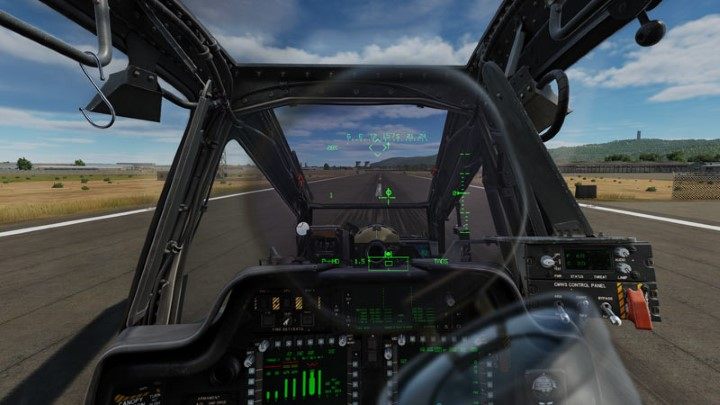
After going straight, lock the rear wheel again. Finish taxiing at the place where you will commence a normal VCM take-off.
Hover Taxi
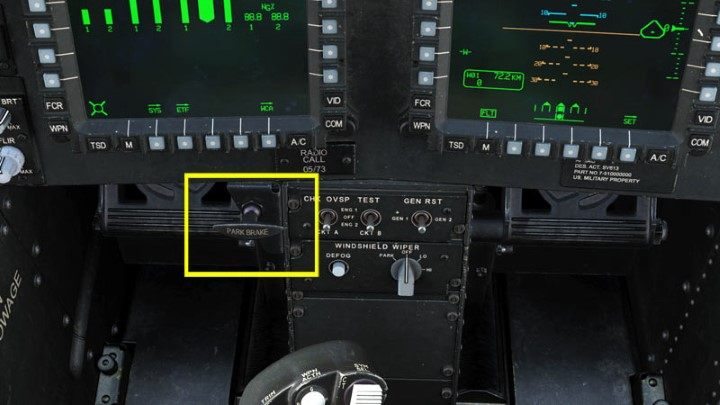
Release the parking brake.
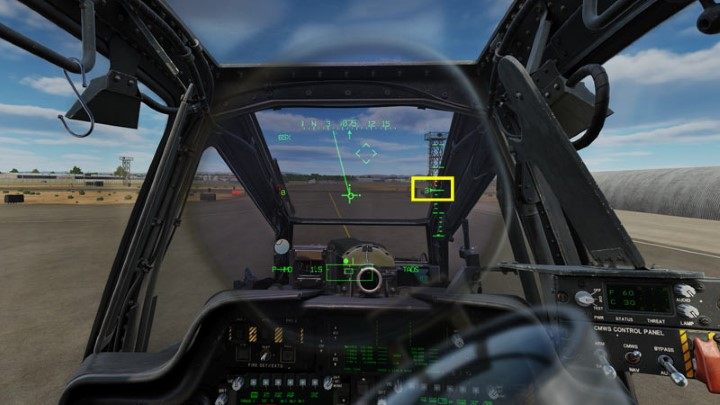
Start adding collective until the helicopter lifts off the ground at approx. 3 to 10 feet. Control the position of the helicopter with the pedals.
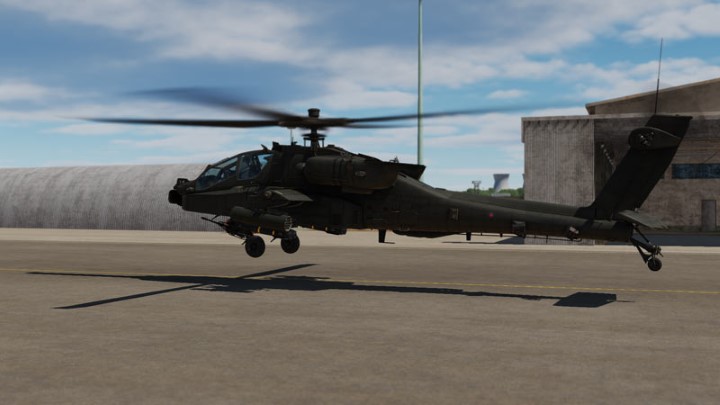
Start moving forward with a minimal movement of the cyclic. Do not exceed a speed of 7 knots. Use the pedals for turning.
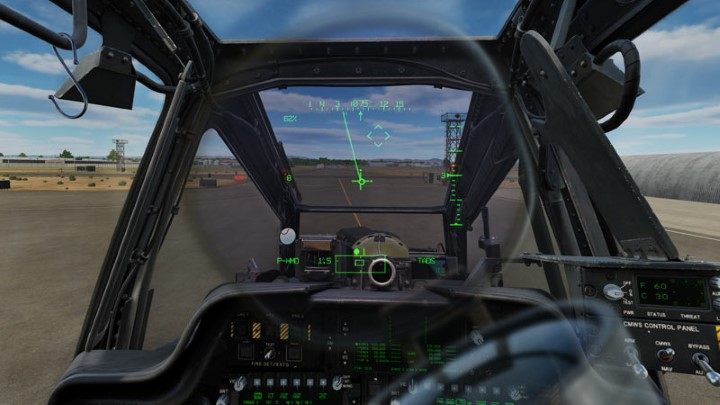
At take-off starting point, either pull the cyclic towards you while slowing down and reduce the collective to land the helicopter on the ground, or proceed to normal VMC take-off by increasing the collective and continuing to flight forward. In the latter case, perform pre-take-off operations before taxiing in hover.
Before Take Off
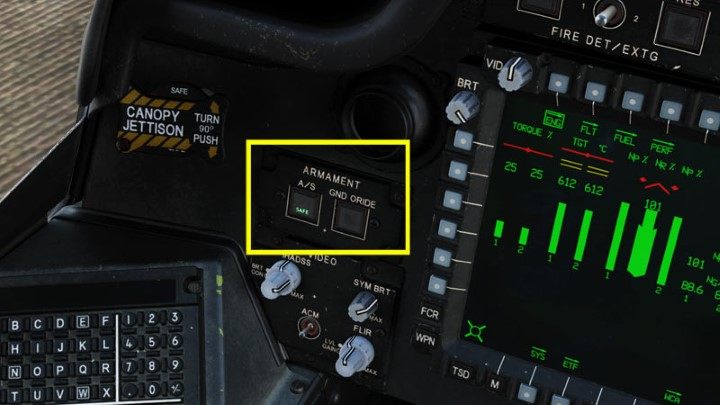
A/S - Safe, GND ORIDE - Off - armaments secured
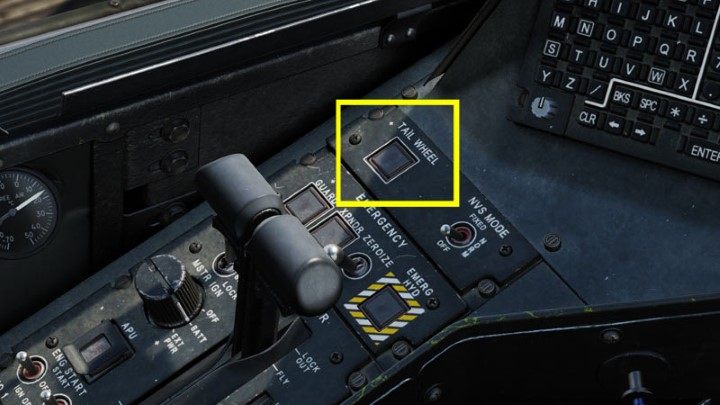
Tail Wheel - Locked - tail wheel locked, light off
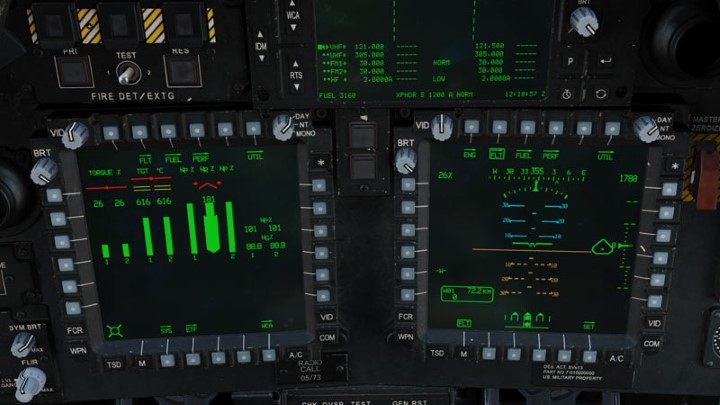
ENG page - all indicators should be green. FLT side - set minimum altitude
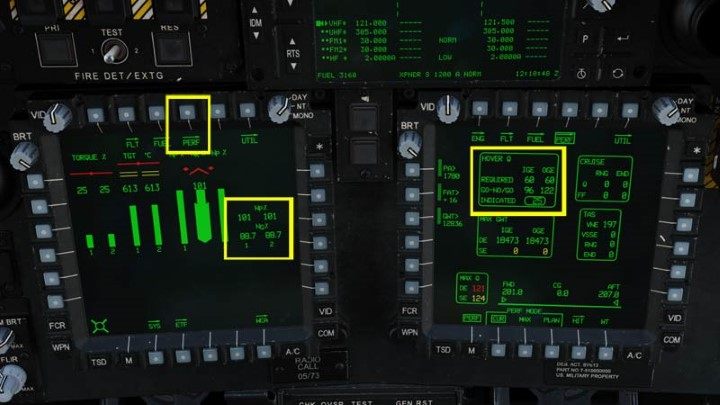
ENG page -> PERF - check required Torque for ING and OGE hover. On the ENG page, confirm the value of Np% to 101.
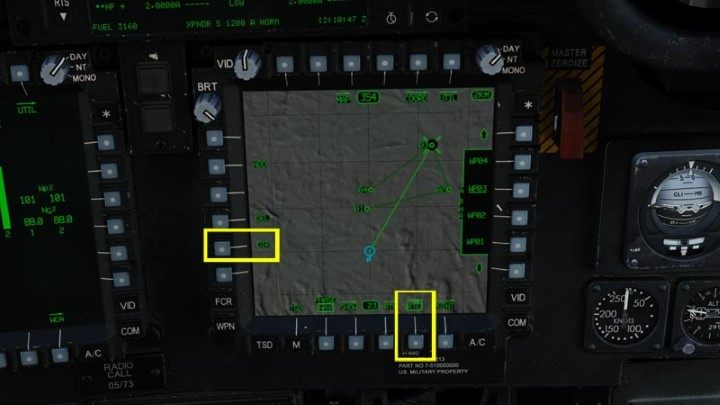
TDS Page - Set RTE route or DIRECT TO first destination.
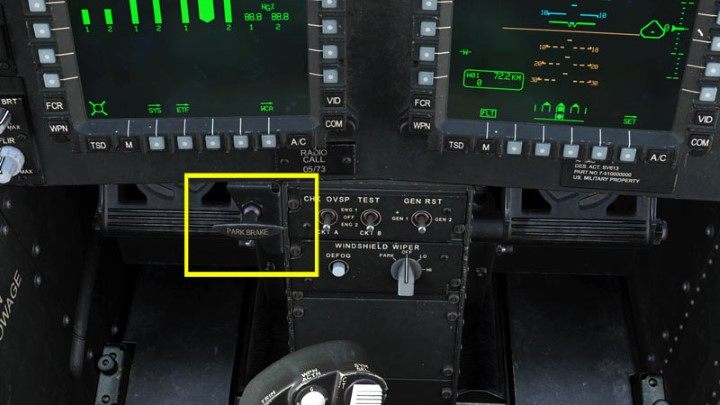
Parking brake released
Level Acceleration Take Off
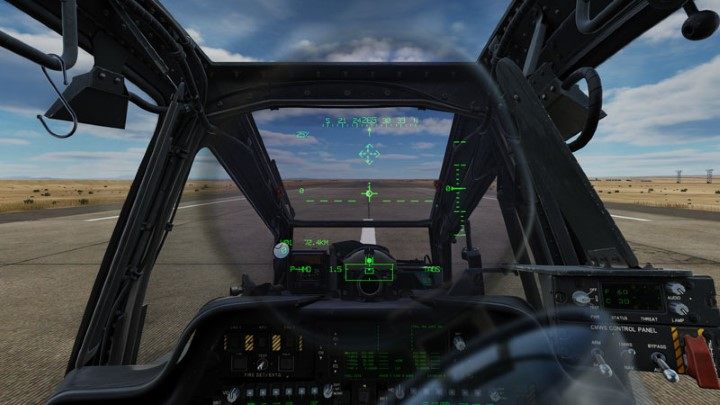
Change the HUD mode to Transition by pressing Symbology Select Up.
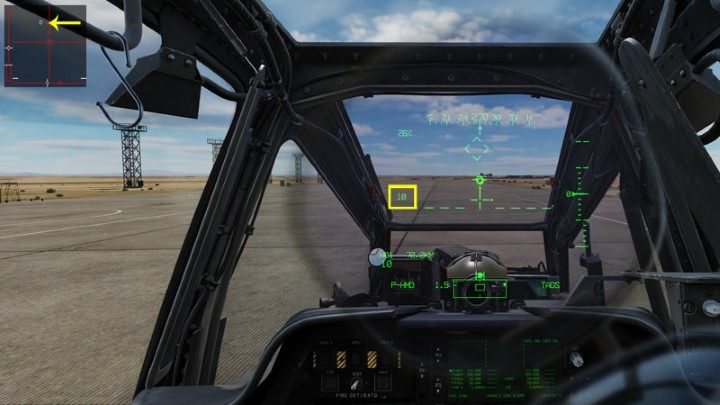
Push the cyclic forward while slowly increasing the collective. Control the position of the helicopter with the pedals.
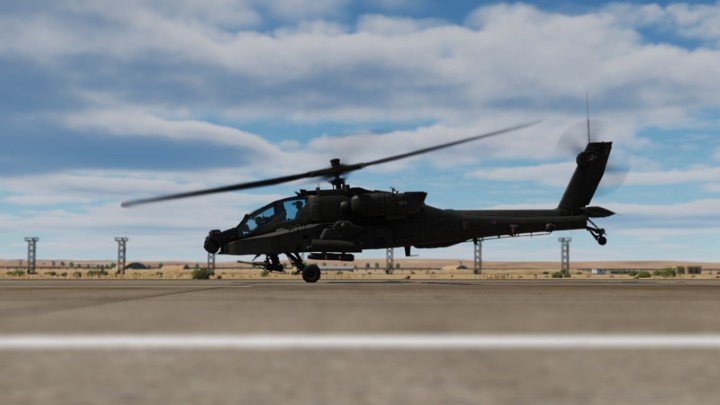
Once the helicopter becomes "light on wheels", pull the cyclic back towards you while still gently increasing the collective.
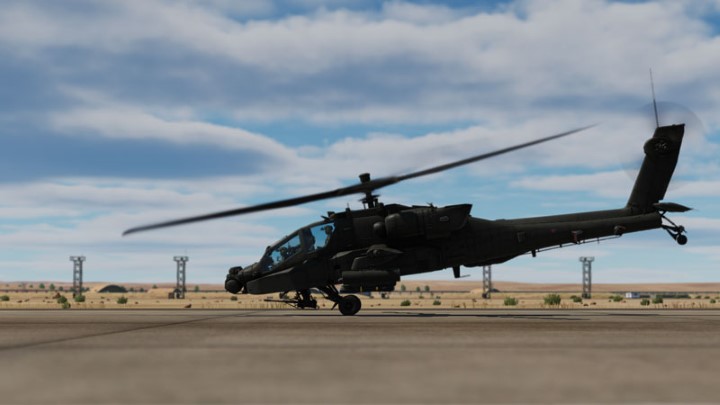
Be careful not to be late with moving the cyclic back. Pushing the stick forward too much during "light on wheels" will result in a "wheelie"! This is a spectacular maneuver at an air show, but not necessarily during a combat mission.
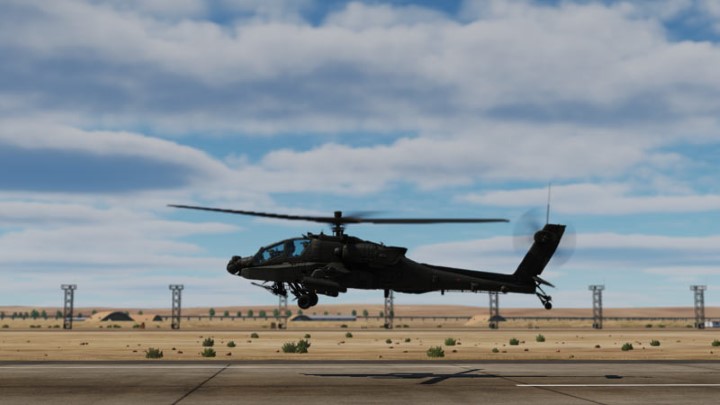
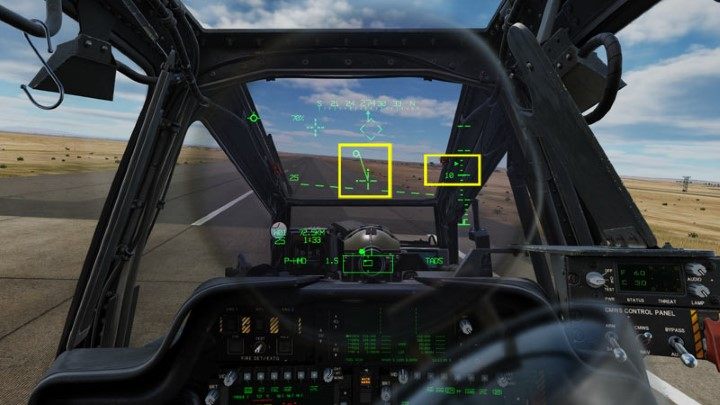
When the Apache takes off the ground, push the cyclic forward while still increasing the collective for speed and altitude.
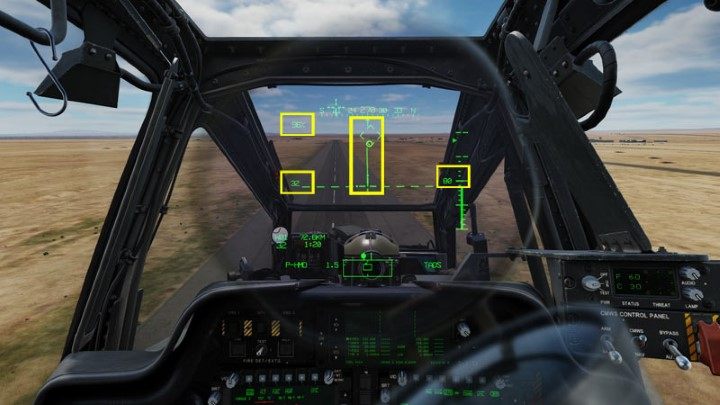
When you are above 50 feet, lock the trim by pressing Force Trim Release (Up). Continue to climb and speed up at the pace you chose. Remember to trim the pedals to a more central position as speed increases.
Normal VMC Take Off from the ground
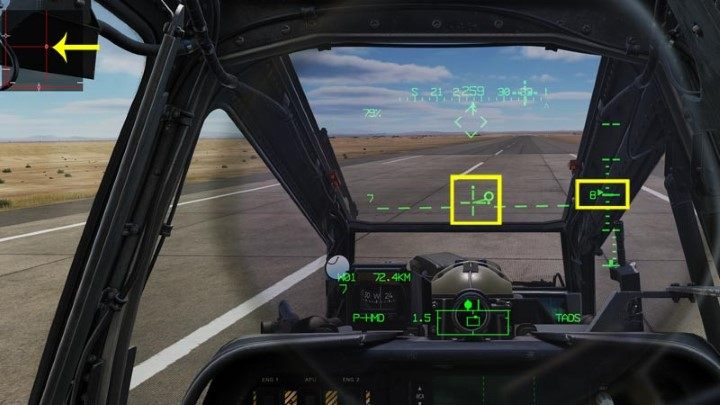
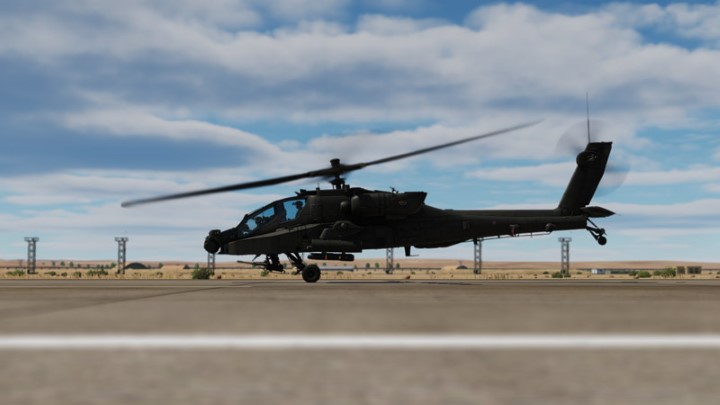
Change the HUD mode to Transition by pressing Symbology Select Up. Leave the cyclic in neutral. Increase the collective slowly by controlling the position of the helicopter with the pedals - keep the circle within the green reticle.
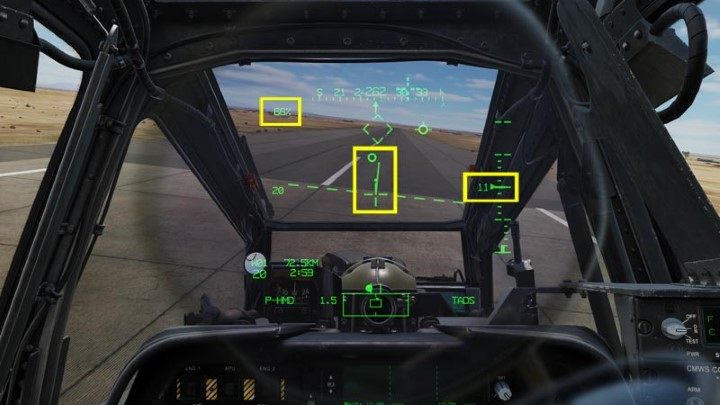
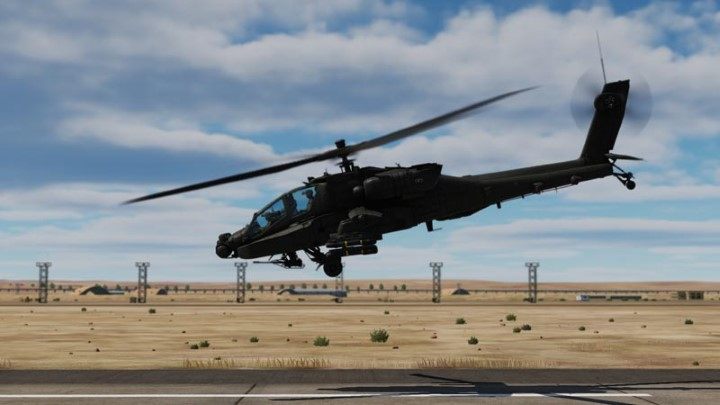
When the helicopter takes off from the ground and is approx. 10 feet above, push the stick forward while slowly increasing the collective to gain speed and altitude.
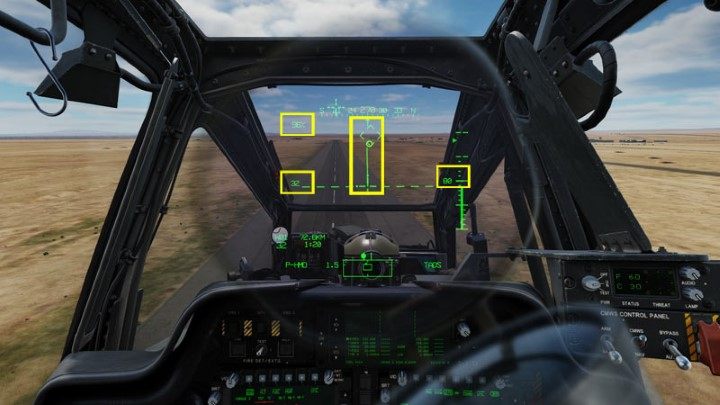
When you are above 50 feet, lock the trim by pressing Force Trim Release (Up). Continue to climb and speed up at the pace you chose. Remember to trim the pedals to a more central position as your speed increases.
Rolling Take Off
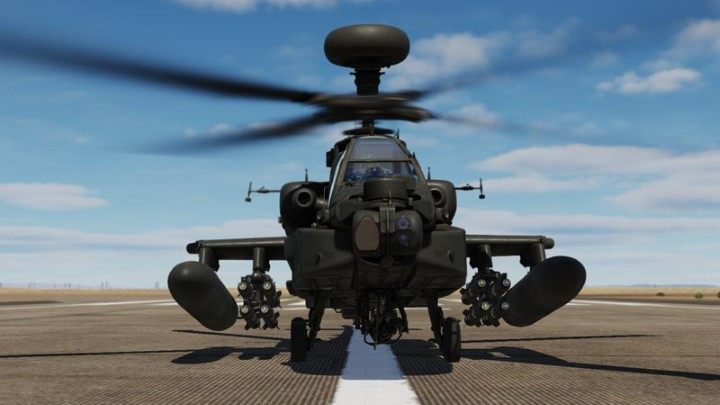
Rolling Take Off is done under special conditions, when at least one of the following requirements is met:
- the helicopter is very heavy;
- it is very hot;
- the airbase/landing pad is located high above sea level
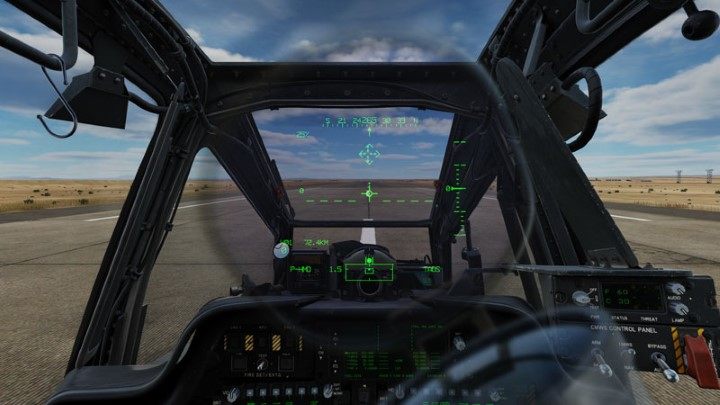
Change the HUD mode to Transition by pressing Symbology Select Up.
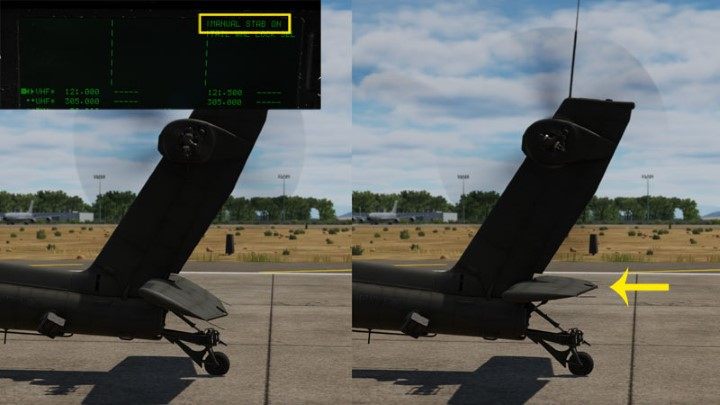
Press and hold the Stabilator NU (Nose Up) button until the tail stabilizer is in a horizontal position. The idea is to reduce air resistance as much as possible. The display will show a message about manual control of the Stabilator.
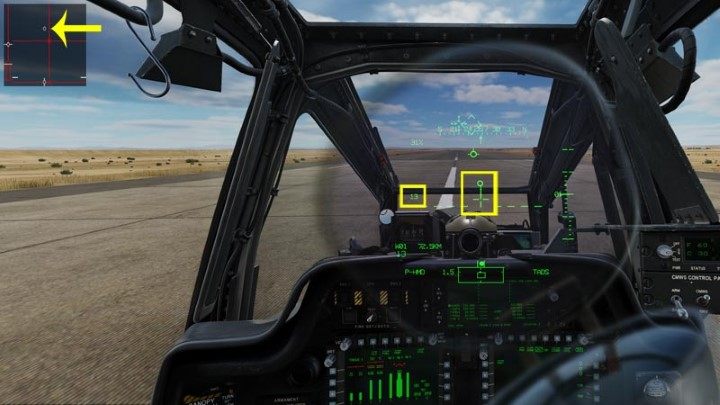
Push the cyclic forward while slowly increasing the collective. Control the position of the helicopter with the pedals.
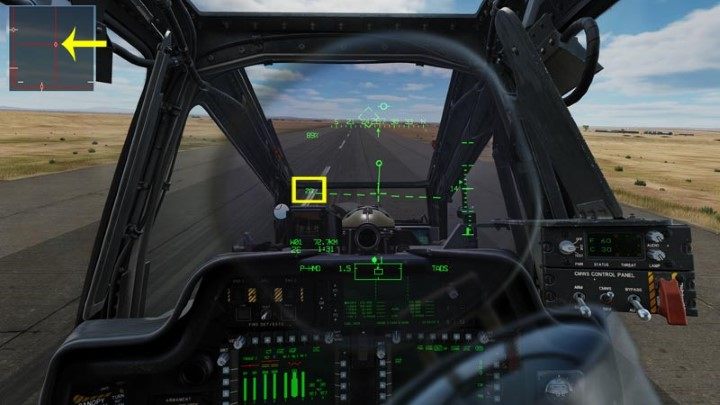
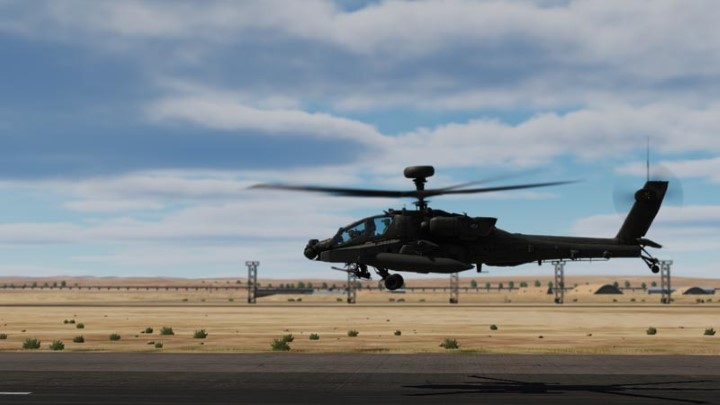
Continue accelerating to approx. 30 knots, then pull the cyclic back towards you to go up.
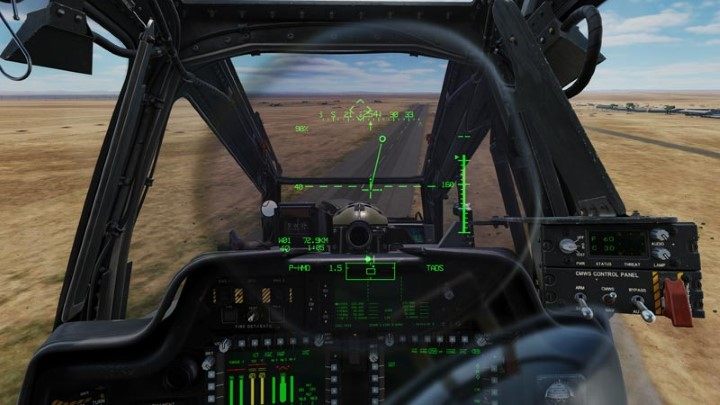
While slowly lifting the collective, move the cyclic forward to gain speed and altitude. When you are above 50 feet, lock the trim by pressing Force Trim Release (Up). Continue to climb and speed up at the pace you chose. Press the Stabilator Depress to restore automatic control of the Stabilator. Remember to trim the pedals to a more central position as speed increases
Confined Area
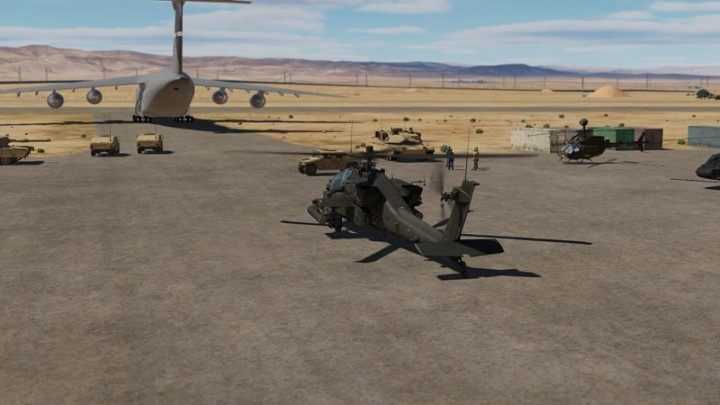
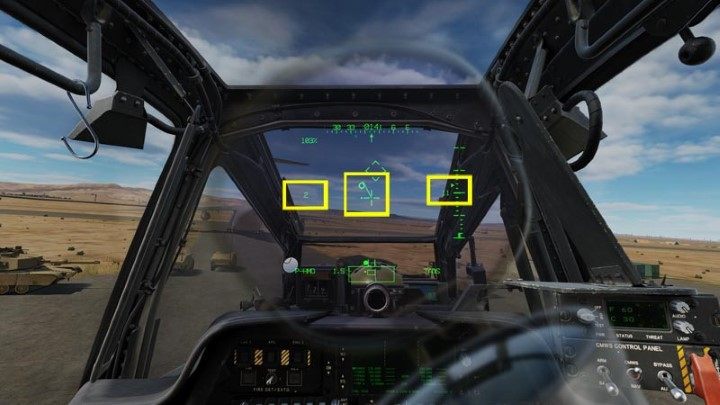
Leave the cyclic in neutral. Increase the collective slowly by controlling the position of the helicopter with the pedals. Keep the acceleration circle within the HUD's reticle.
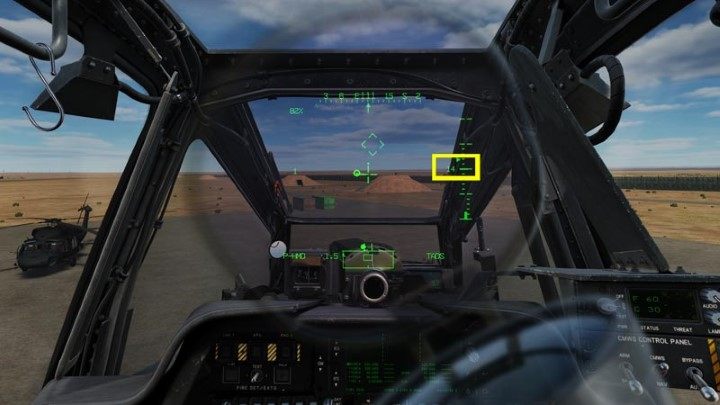
Once the helicopter takes off of the ground, continue hovering until you reach the altitude that allows you to maneuver over obstacles. Turn the helicopter towards the safest route and gently move the cyclic forward.
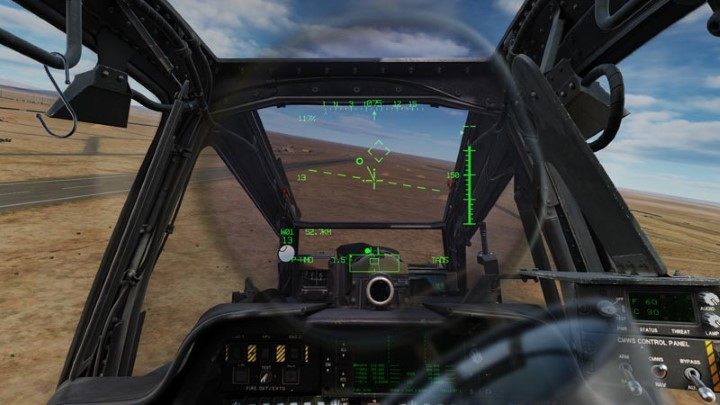
Change the HUD mode to Transition by pressing Symbology Select Up. Gain speed and altitude by slowly adding collective. Lock the trim by pressing Force Trim Release (Up). Continue to climb and speed up at the pace you chose. Remember to trim the pedals to a more central position as speed increases.
You are not permitted to copy any image, text or info from this page. This site is not associated with and/or endorsed by the developers and the publishers. All logos and images are copyrighted by their respective owners.
Copyright © 2000 - 2025 Webedia Polska SA for gamepressure.com, unofficial game guides, walkthroughs, secrets, game tips, maps & strategies for top games.
