The way to The Scar | Darksiders 3 Walkthrough
This page of our Darksiders 3 guide contains a walkthrough for the way to The Scar . At this stage of the adventure, you will return to previously visited area - Hollows. This time you will have the opportunity to complete the exploration of the area.
- Molten Cave - passage to the location Crossroads
- Crossroads Locations - Artefacts, Shards, Lurcher Clusters and a Saved Human
- Passage to the Scar
Molten Cave - passage to the location Crossroads
Molten Cave is a new place in The Hollows. As you go through this stage, you will be able to collect several additional items. What's more, you'll get to the Crossroads, where you'll be able to collect the older items.
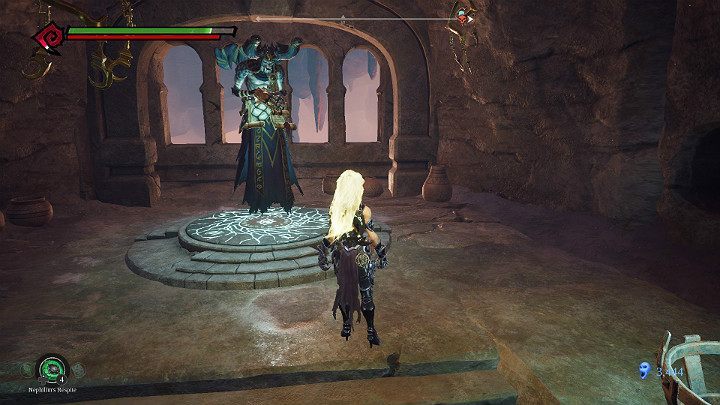
First activate the landmark and complete the errands with Vulgrim.
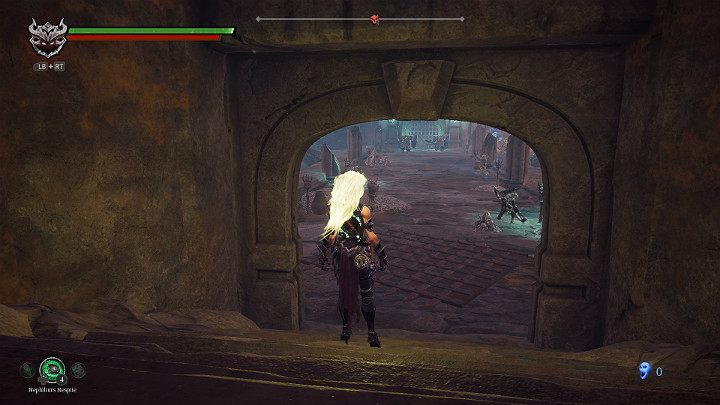
As you go out on the bridge, you have to watch out for two dangerous, armored enemies who patrol the area.
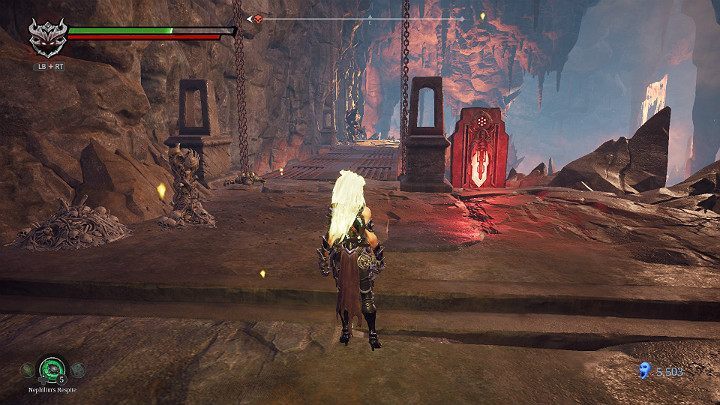
After the battle, hit the crystal on the right side to connect the two parts of The Hollows with a short bridge.
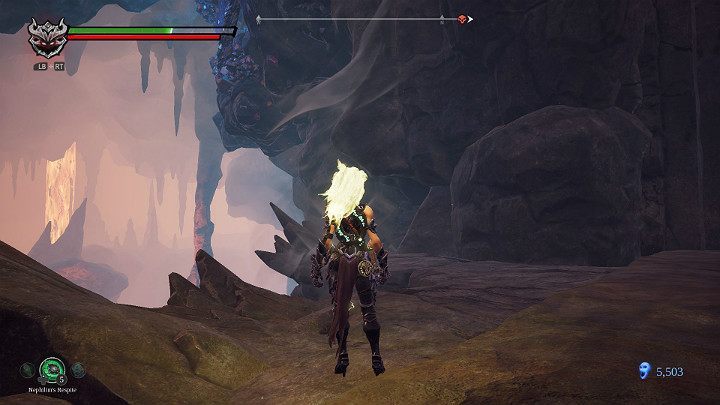
Turn left and use the essence of the storm to throw yourself into a whirlpool and let yourself be lifted.
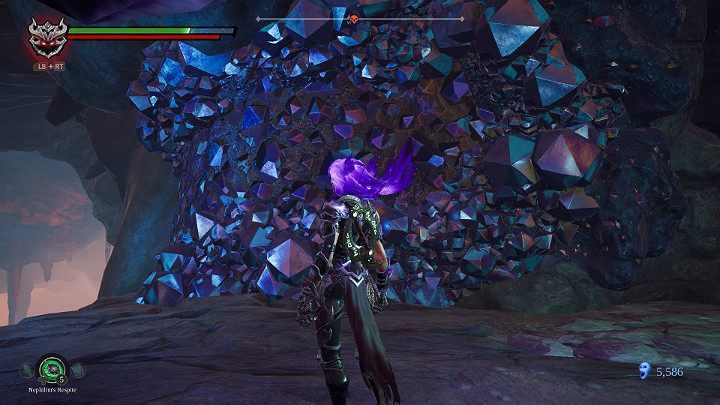
Now you have to use the essence of strength to roll along the wall.
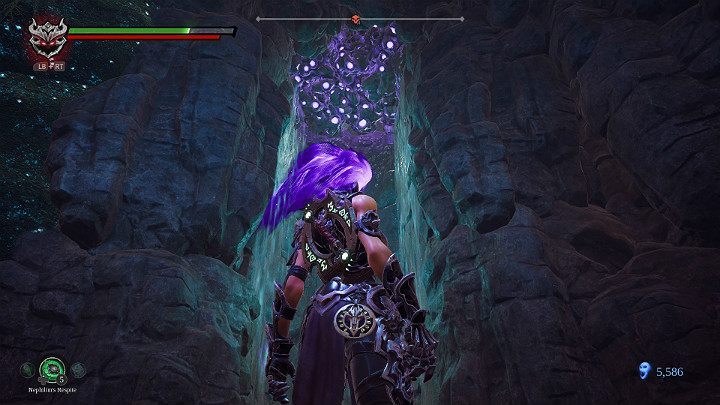
Use the essence of strength and salvation to break the wall at the very top. Then use the essence of freezing to climb to the very top.
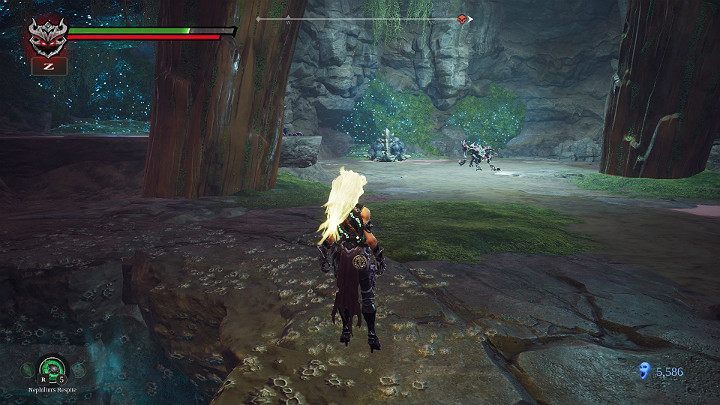
Behind the branches of the tree there are concealed opponents. One rock gorilla is sleeping in the middle of the arena.
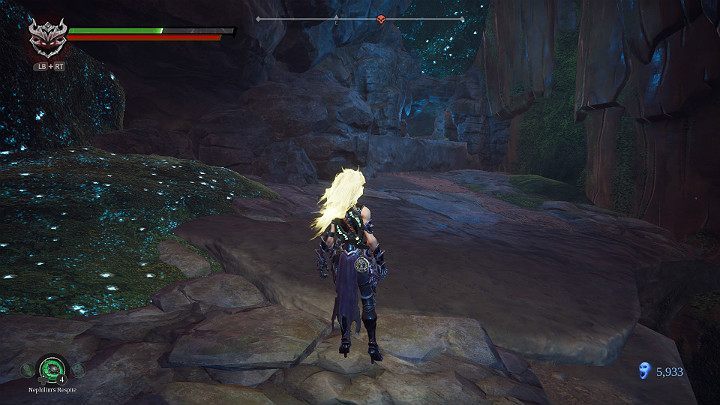
After the fight is over, squeeze through the narrow corridor shown in the picture above.
Crossroads Locations - Artefacts, Shards, Lurcher Clusters and a Saved Human
You're back at the Crossroads. Now you can collect the missing items and save the man who is waiting for the transfer to the Maker's Forge.
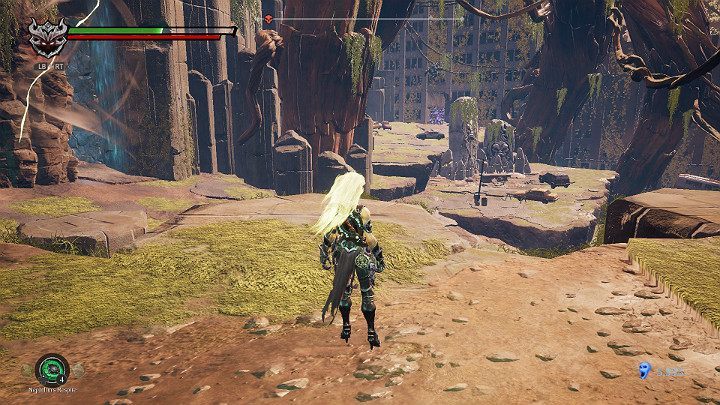
First go right, along the wall and jump over the gap to get one item.
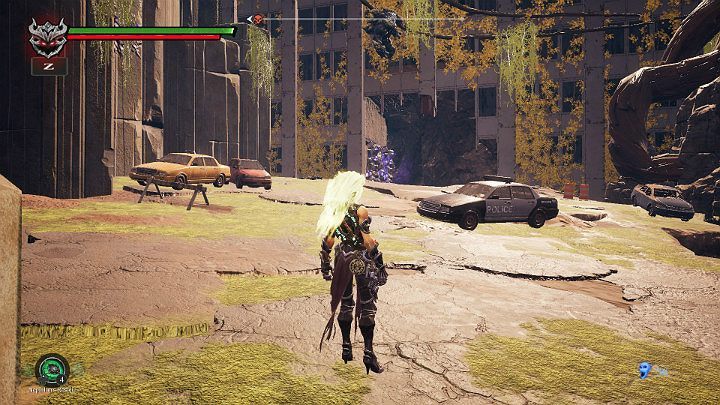
Go to the obstacle visible in the picture above and break it down with the Force Hollow.
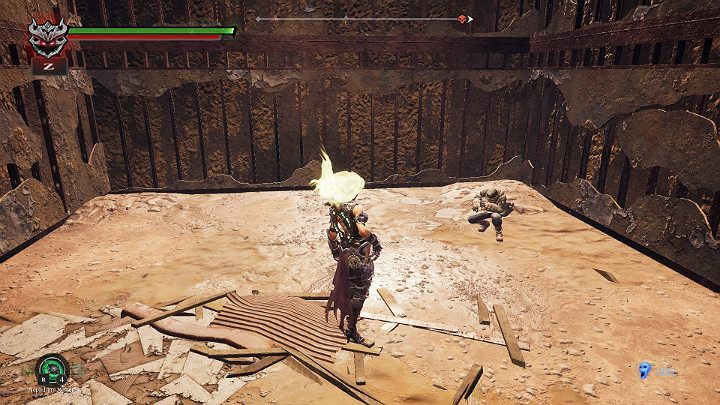
Inside, there's one human to be saved.
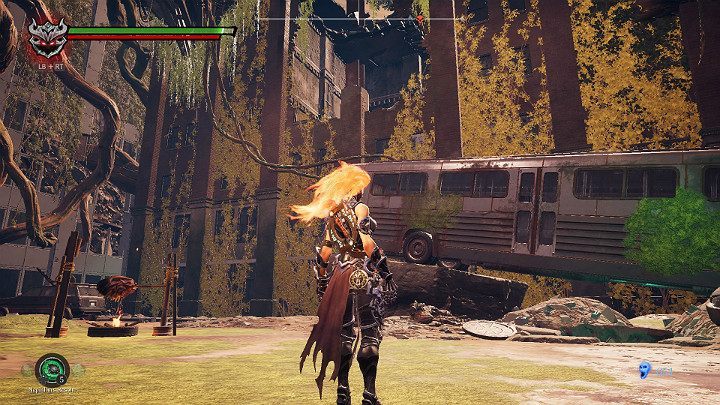
Next, go to the bus. Take advantage of the Flame Hollow and jump into a hole in the wall of the building.
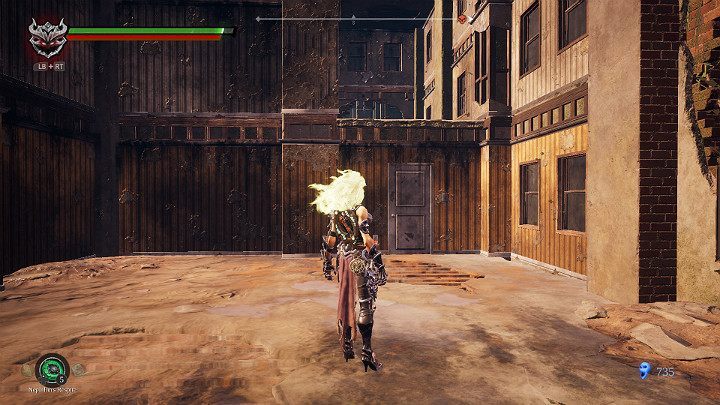
Before you leave, remember to collect the item hidden a little bit higher.
Passage to the Scar
After collecting the items listed above, you can go on your way to the Gnarled Cliffs. In the next location, you will be overtime with a well-known opponent - Anger.
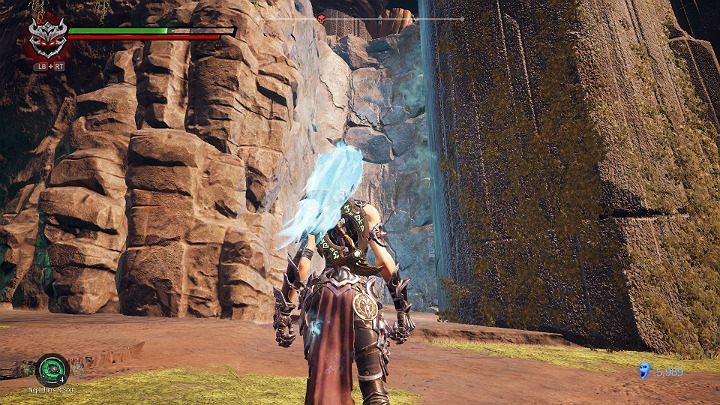
Go to the area shown in the picture above and use the Ice Hollow to support yourself at the top.
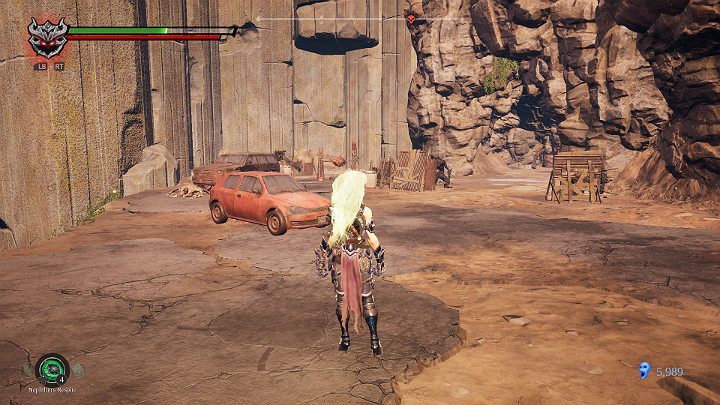
Behind the barricades there are opponents. They are very fast and can hit quite well, so keep an eye on them. Collect the Artefact and go forward.
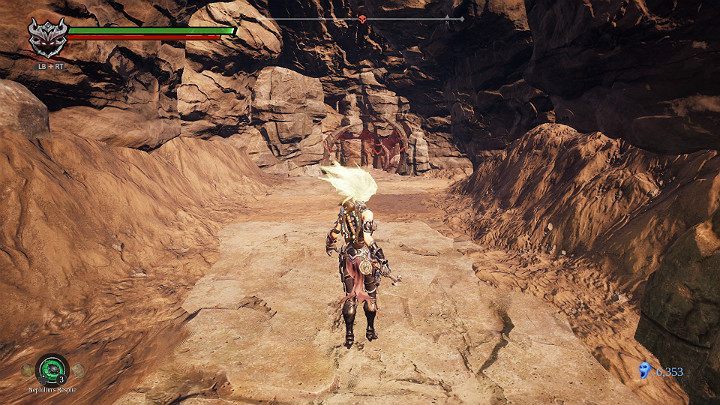
On the above screen you can see a narrow passage in the wall. Go inside and go forward.
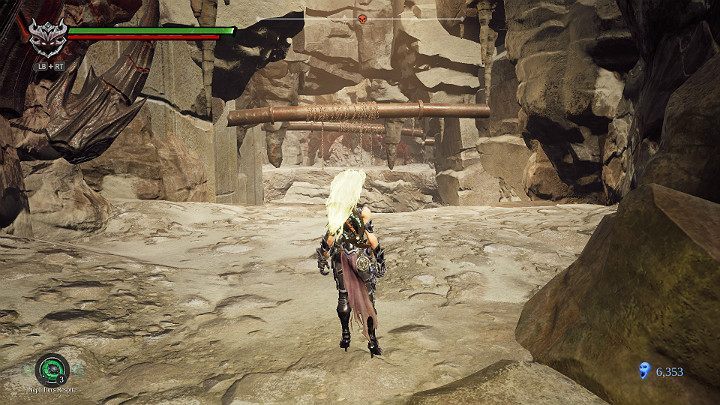
Jump to the other side of the chasm with your main weapon.
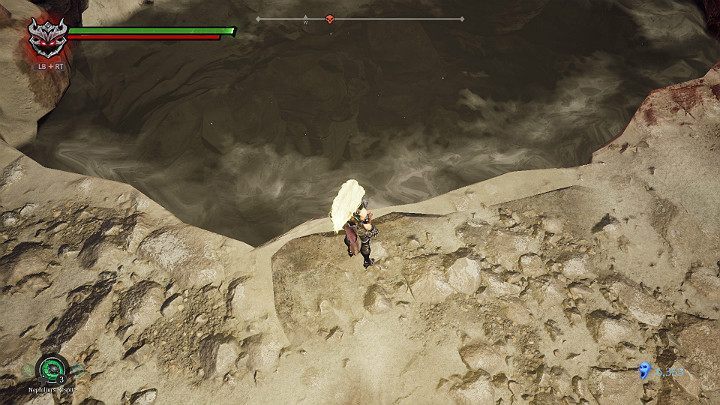
Jump into the water and swim in front of you. When you leave the river, you will be in a new area.
You are not permitted to copy any image, text or info from this page. This site is not associated with and/or endorsed by the THQ Nordic / Nordic Games or Gunfire Games. All logos and images are copyrighted by their respective owners.
Copyright © 2000 - 2025 Webedia Polska SA for gamepressure.com, unofficial game guides, walkthroughs, secrets, game tips, maps & strategies for top games.
