Darksiders 3: The drowned district Walkthrough
This page of our Darksiders 3 guide contains a walkthrough for The Drowned District, an area which is a part of Boneland. You'll spend a lot of time exploring buildings - one of them contains a major riddle involving beetle throwing.
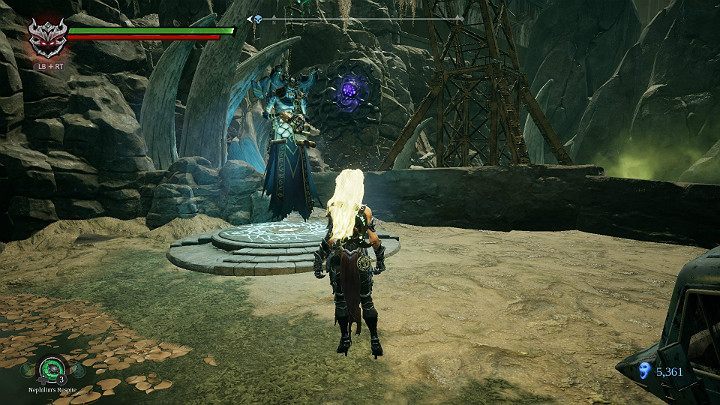
Mark the next checkpoint and deal with Vulgrim.
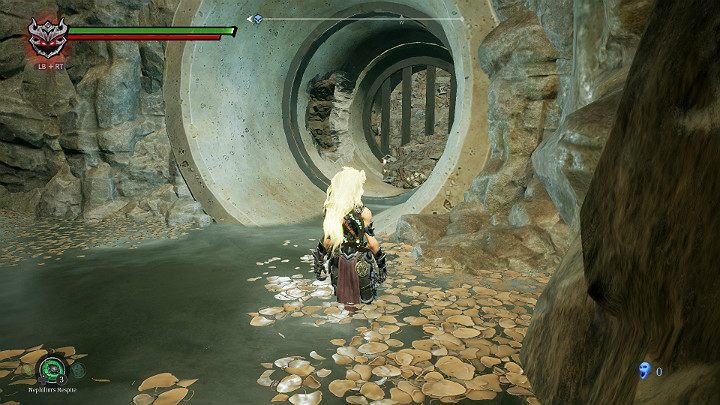
Enter the large drain pipe, collect the item and go through a hole in the wall.
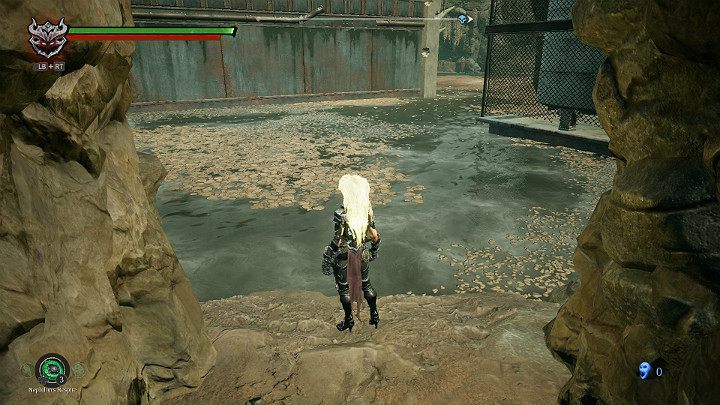
Jump into the water and dive.
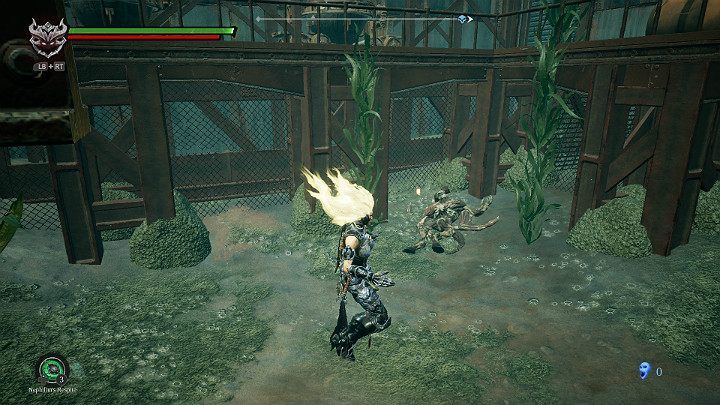
At the bottom of the pool you'll find a Lurcher Cluster.
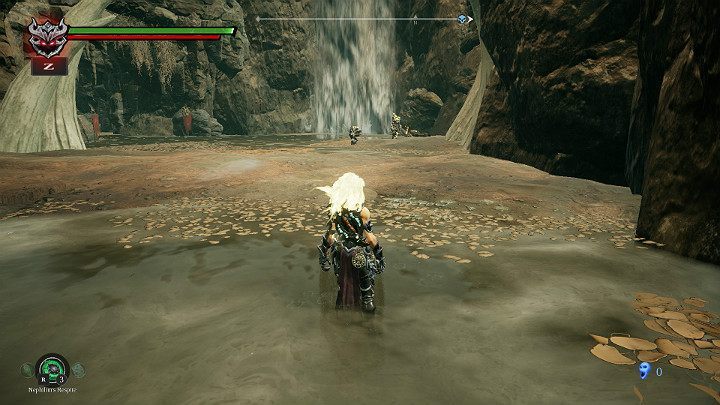
Eliminate opponents and collect the item behind the waterfall.
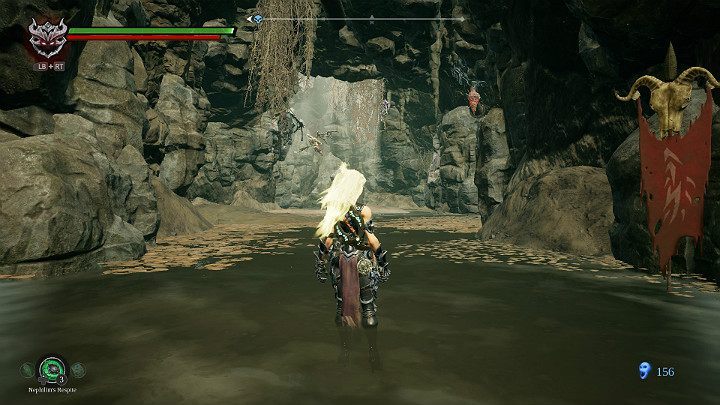
On the right side hangs a cocoon with a Lurcher Cluster. Collect it before you continue. Prepare to fight several opponents.
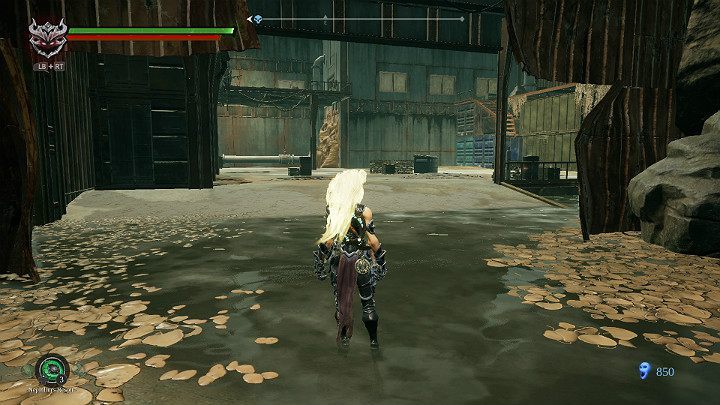
Before you enter this hangar, make sure you have restored your health points and get ready to fight.
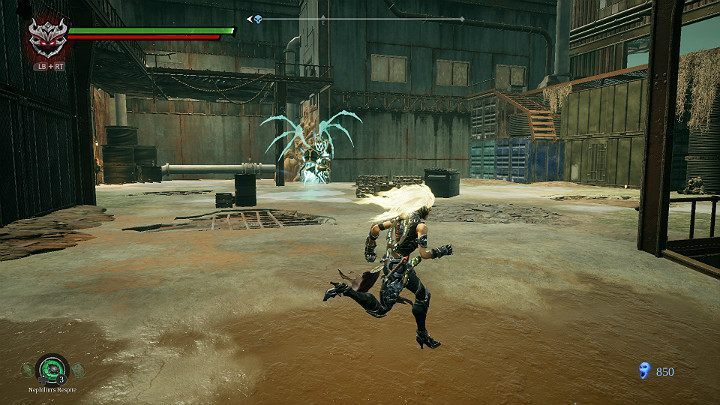
As soon as you cross the threshold of the building, an angel will materialize in the middle of the room. The opponent is strong and packs a punch, so beware.
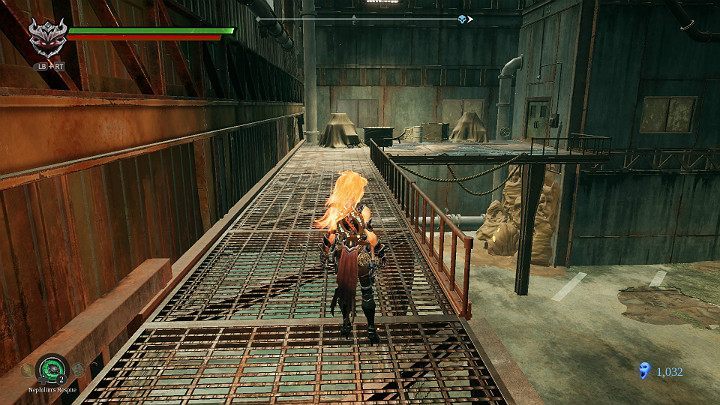
After the fight, jump onto the balcony on the left and collect the item behind the crates.
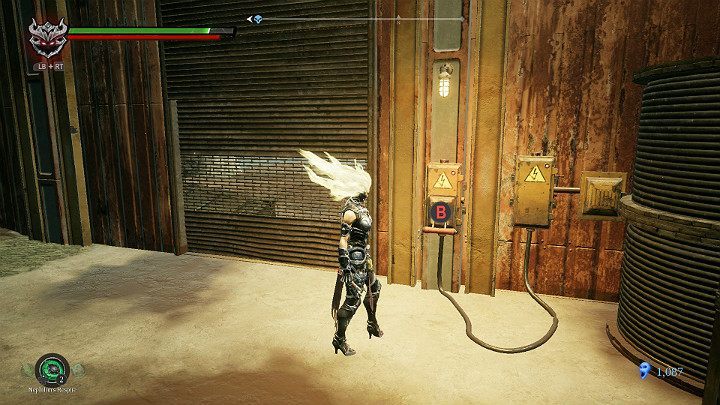
When you go down, switch the power lever to open the gate.
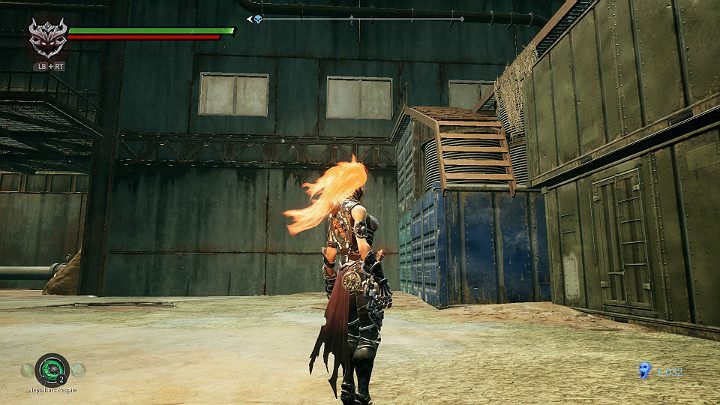
Then jump on the stairs on the right side.
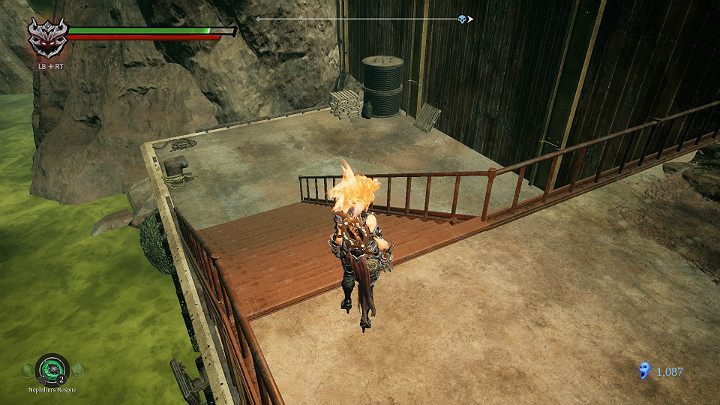
Go downstairs on the right.
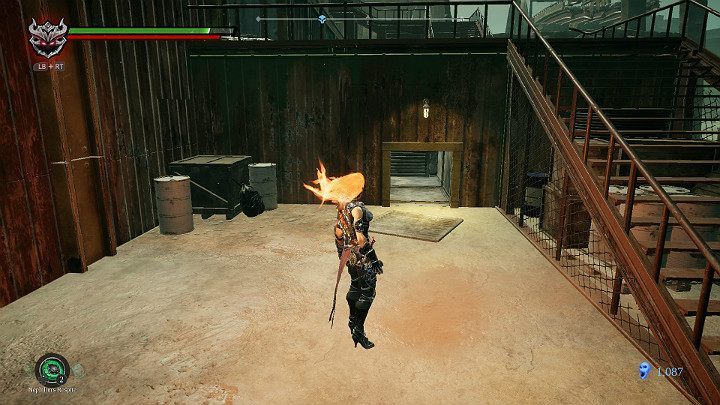
Now you have to crawl into a narrow ventilation shaft.
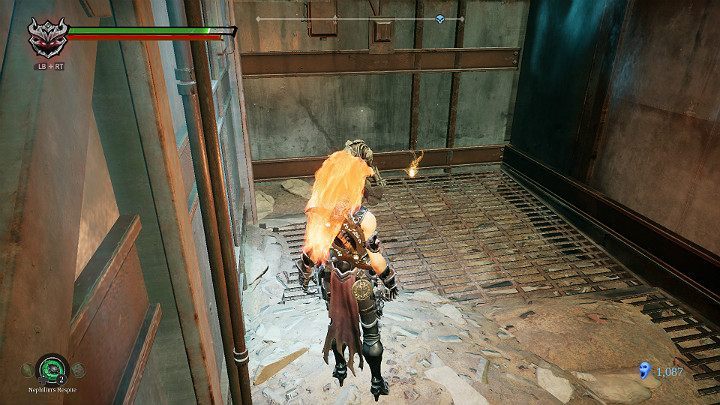
You'll be in the lift shaft. Collect the item shown in the screen above.
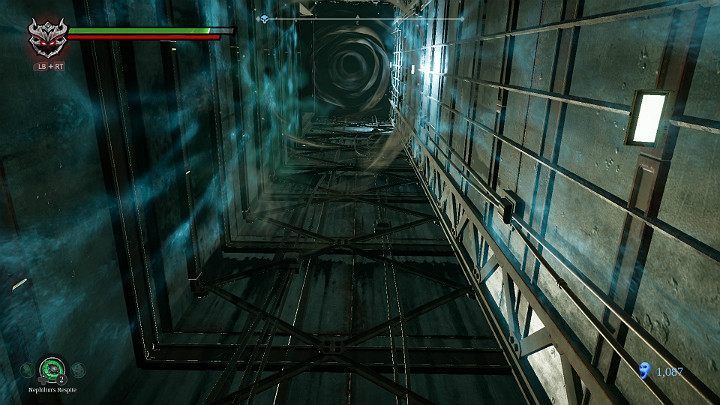
When you look up, you'll notice a vortex of air. Make sure you have activated hollows of lightning, then execute a jump and let the wind carry you.
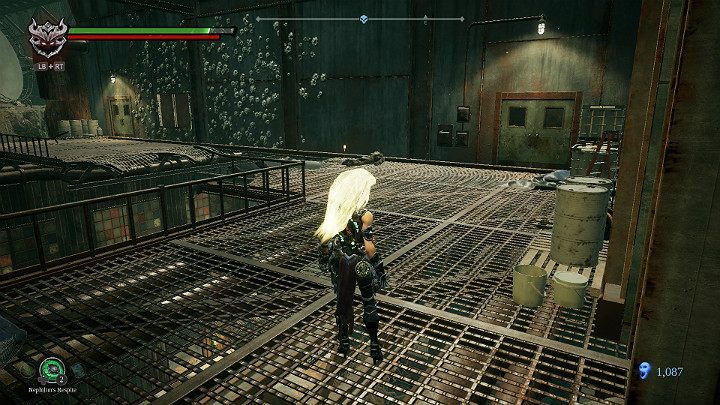
You'll land on the upper level of the hangar.
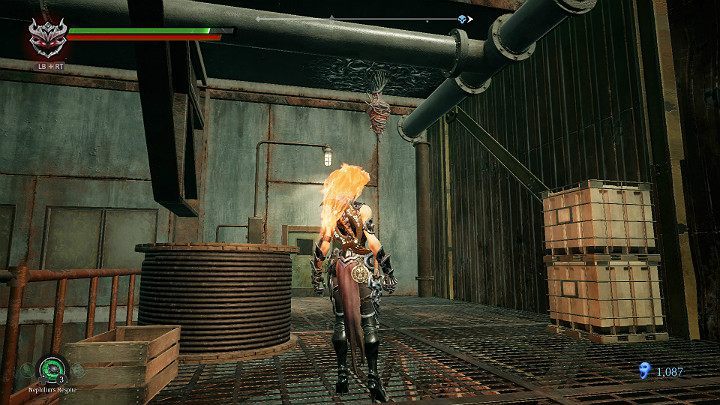
Knock down the cocoon from the ceiling, gather a Lurcher Cluster and go outside.
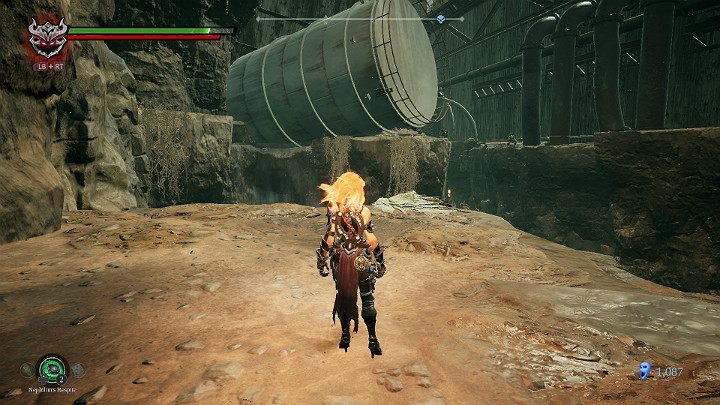
Collect another item. Return to the ground floor of the hangar where you have fought the angel. Jump on the stairs on the right once again and go outside. This time, instead of going right, follow the stairs from top left to the upper level.
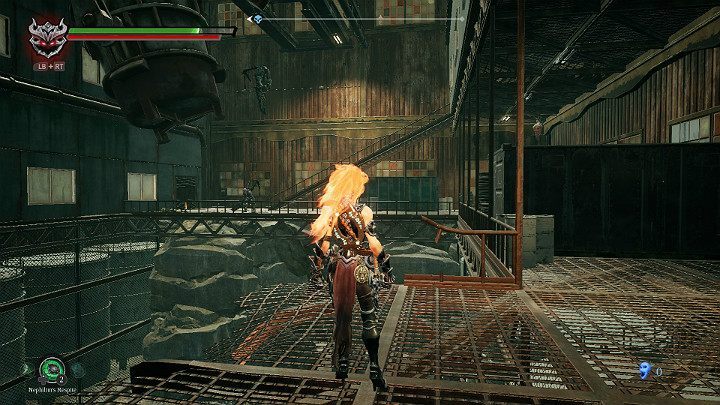
On the right, at the end of the corridor you can see a suspended cocoon. On the left one hanged man and one patrolling opponent.
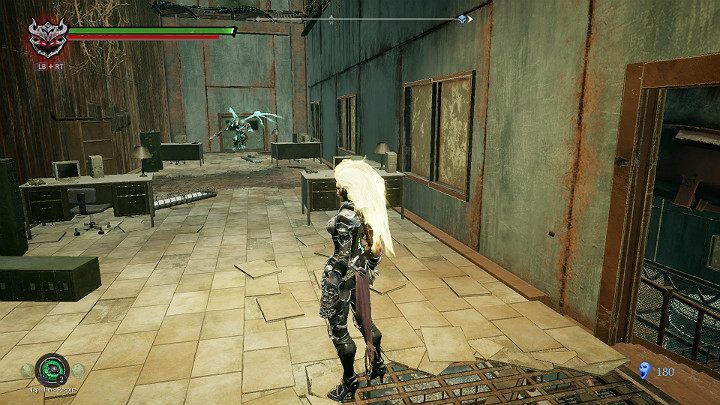
After defeating the opponents, go upstairs and eliminate another enemy.
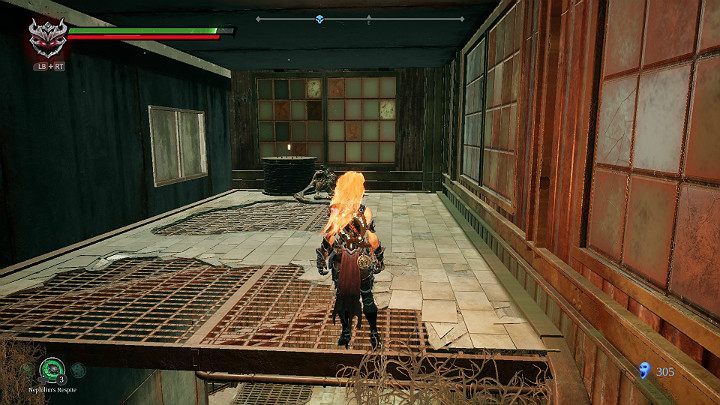
Make a double jump to get to the upper floor of the room and collect an item. Return to the lower level.
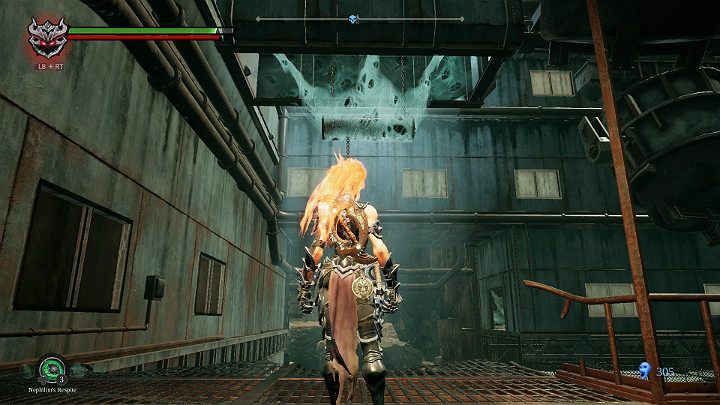
Use Salvation to burn the spiderweb.
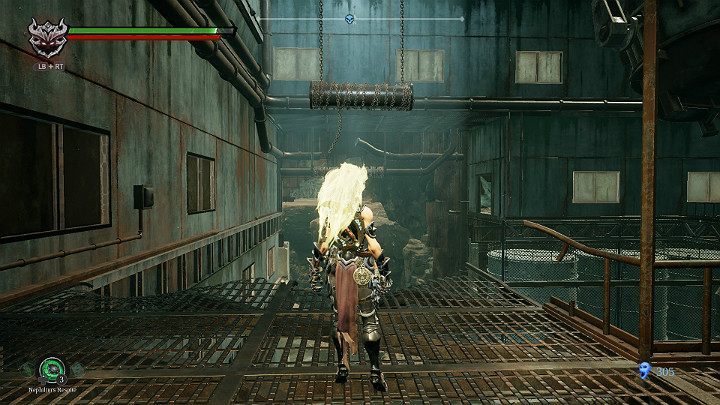
This releases the roller that you can use to jump to the other side.
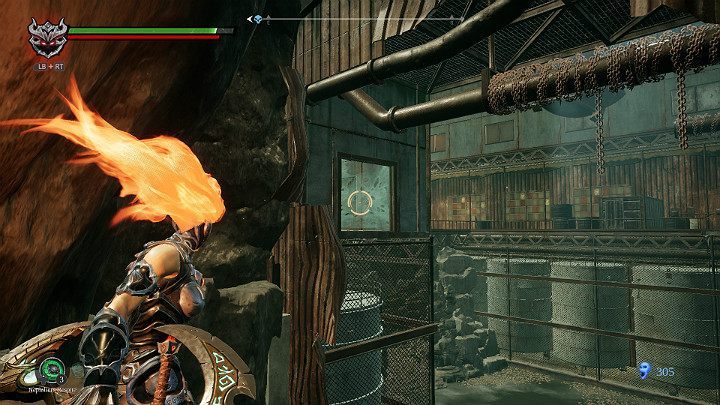
When you land, turn your eyes towards the passage. Throw your weapon in such a way as to burn the spiderweb and then jump into the room.
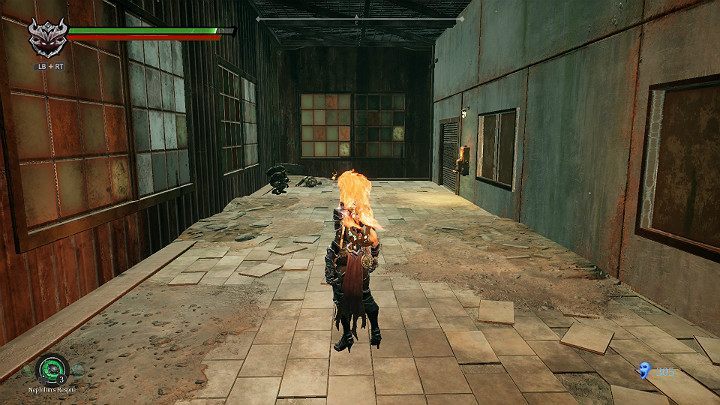
Free the man, collect the item and return to the place from which you jumped here.
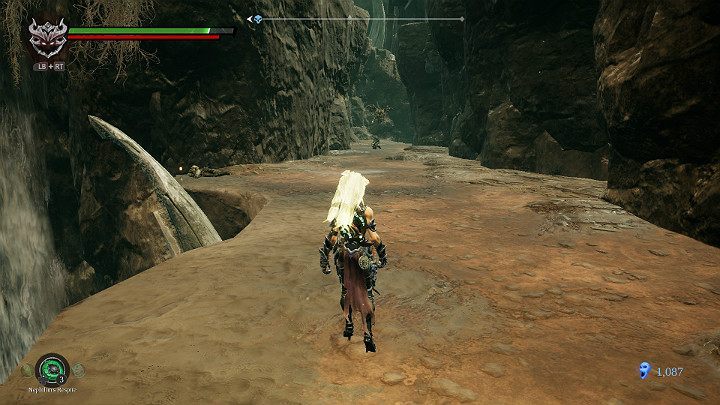
Go ahead and get ready to fight a few opponents.
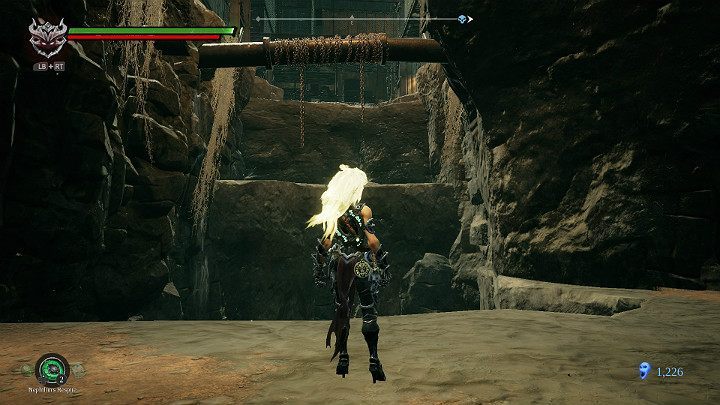
Jump to the other side and then up.
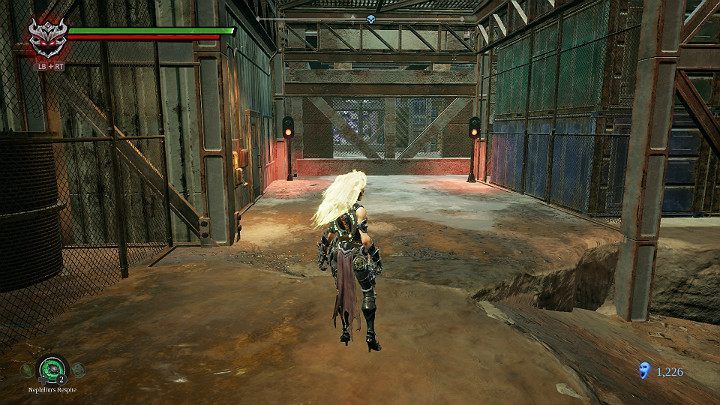
You'll find yourself in a spacious hall. Pay attention to the traffic lights.
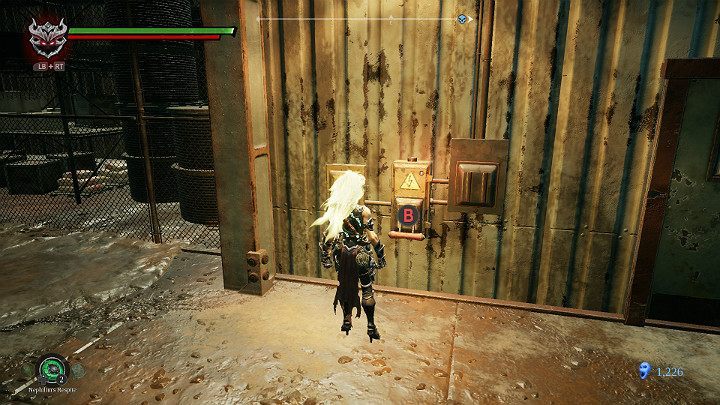
Go to the power lever and use it.
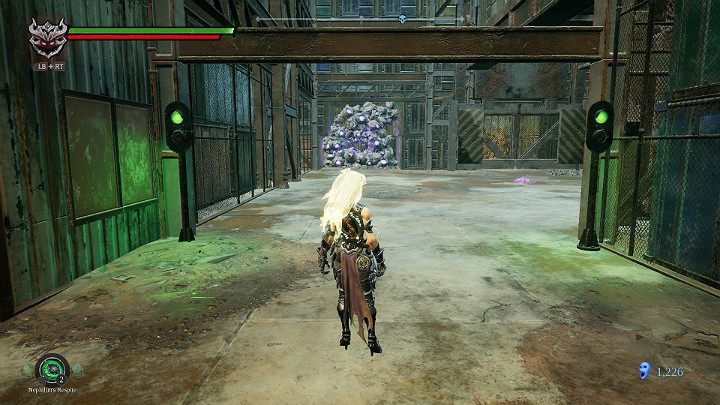
The traffic lights have changed color to green and the gates have been opened. Unfortunately, at the same time you have lost access to the beetle, which will be necessary to solve the puzzle. Return to the power lever and turn it off, the crane will begin to move, and your task is to slip quickly into the room before it happens.
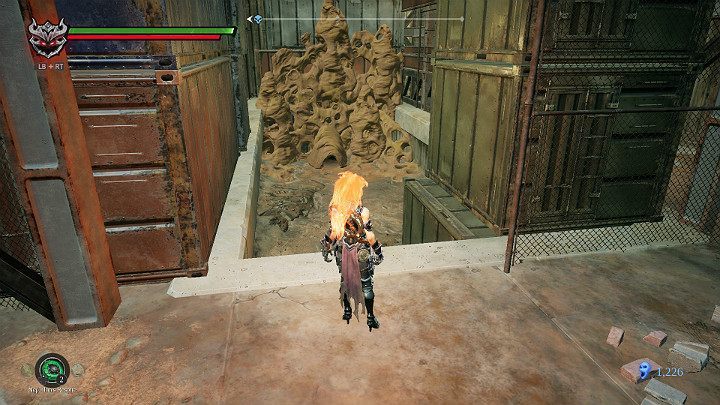
Jump down.
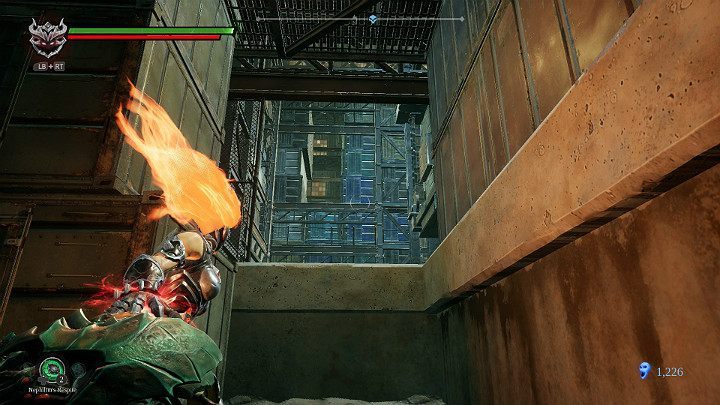
Catch the creature and throw it onto the upper level.
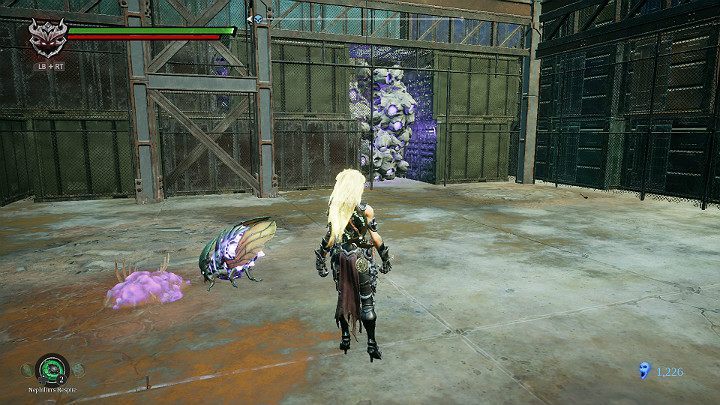
Wait for the beetle to absorb the substance. Then grab it and throw it in the direction of the obstacle visible on the screen above.
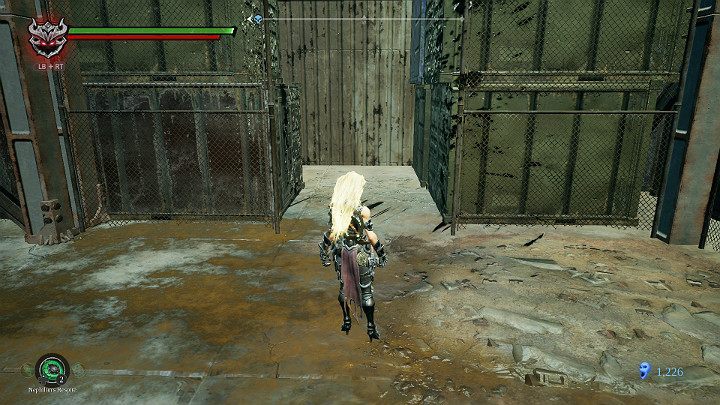
Go through the open passage.
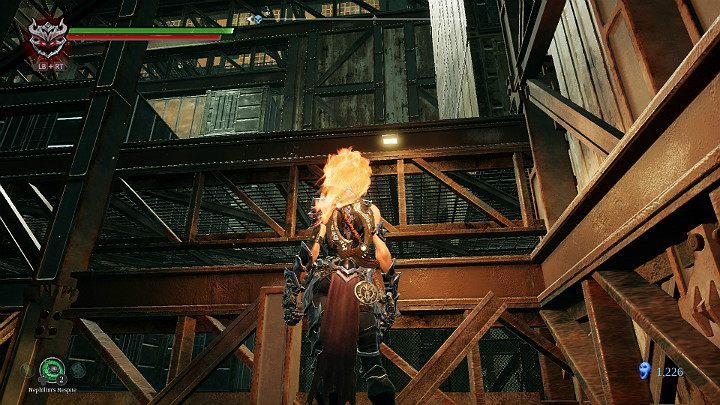
Now you have to jump to the upper floor.
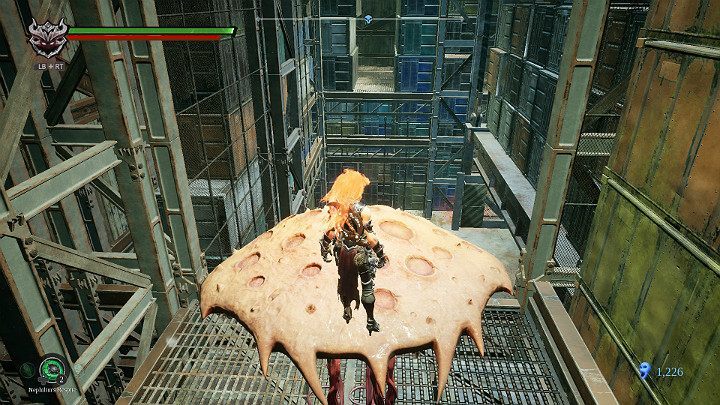
Jump on a neutral creature and hit it so that it falls down.
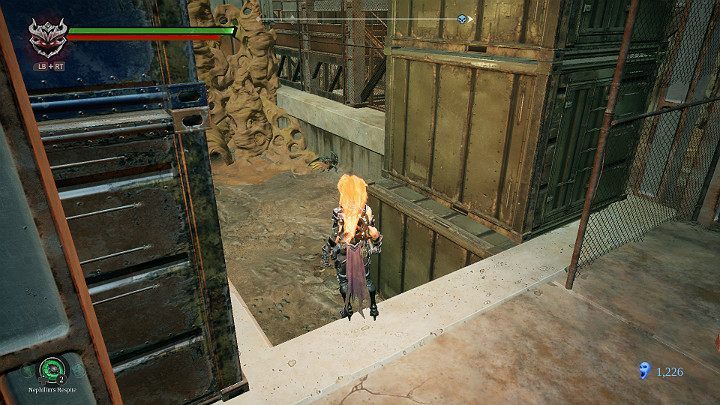
Take another beetle and throw it to the purple substance. You'll need it soon.
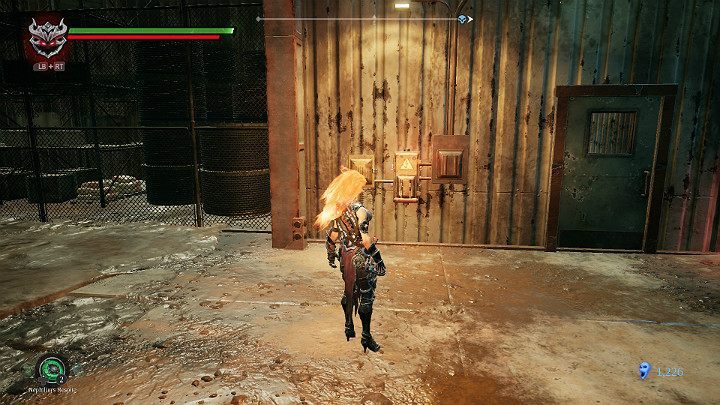
Jump on a neutral creature and jump onto the upper level of the hall. Then, jump down and go to the switch. Once again, open the hall entrance.
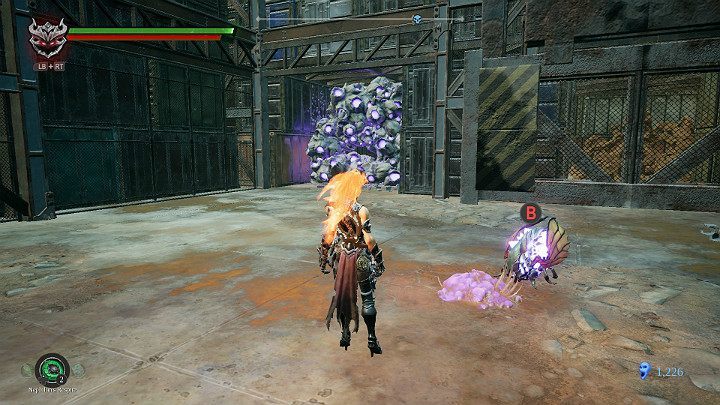
Catch the beetle and throw it towards the next obstacle.
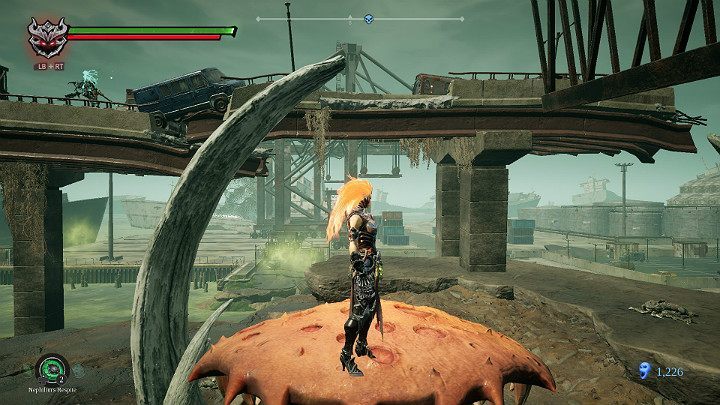
You'll get to the place where the next neutral creature will be waiting for you. Jump on it and hit it so that it glides towards the ruined bridge.
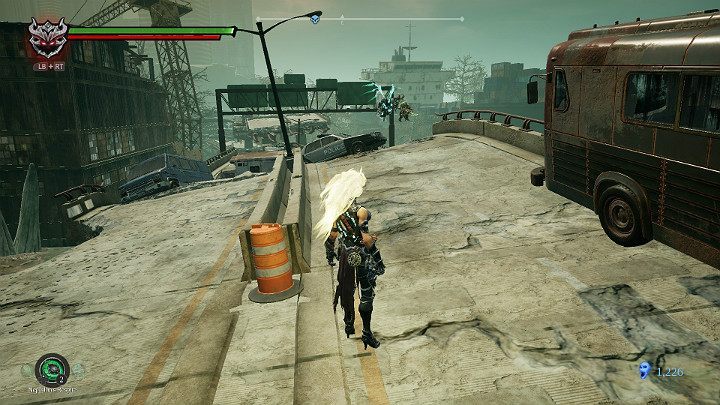
Jump onto the bridge and get ready to battle two opponents. You'll meet smaller opponents a bit further ahead.
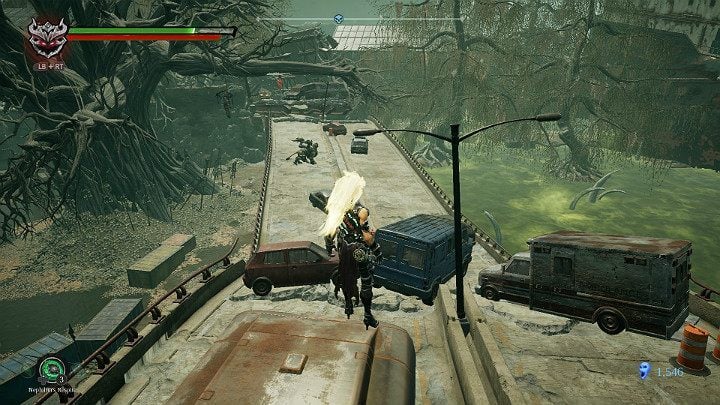
Another griffon in front of you. You should deal with it quickly.
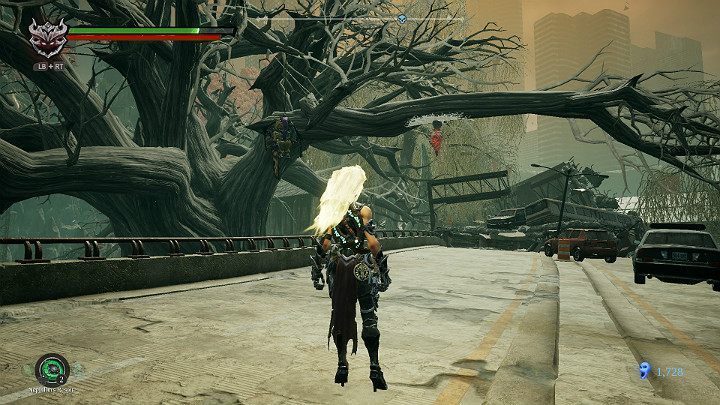
Before moving on, make sure you have knocked down the cocoon with a Lurcher Cluster.
- Darksiders 3 Guide
- Darksiders 3: Game Guide
- Darksiders 3: Walkthrough
- Darksiders 3: List of story missions Walkthrough
- Darksiders 3: West End Walkthrough
- Darksiders 3: Haven Walkthrough
- Darksiders 3: Nether Walkthrough
- Darksiders 3: Wrath Boss Walkthrough
- Darksiders 3: Hollows Walkthrough
- Darksiders 3: Hollows - Catacombs Walkthrough
- Darksiders 3: Avarice Boss Walkthrough
- Darksiders 3: Nether part 2 Walkthrough
- Darksiders 3: Sloth Boss Walkthrough
- Darksiders 3: Haven part 2 Walkthrough
- Darksiders 3: North End Walkthrough
- Darksiders 3: South End Walkthrough
- Darksiders 3: Boneland Walkthrough
- Darksiders 3: Festering pool Walkthrough
- Darksiders 3: Hangman's tree Walkthrough
- Darksiders 3: The drowned district Walkthrough
- Darksiders 3: Mangled freeway Walkthrough
- Darksiders 3: Lust Boss Walkthrough
- Darksiders 3: Forgotten Lake Walkthrough
- Darksiders 3: Eroded Pipeline Walkthrough
- Darksiders 3: Sunken Tracks Walkthrough
- Darksiders 3: Gluttony Boss Fight Walkthrough
- Darksiders 3: Pipeline Exit Walkthrough
- Darksiders 3: The way to The Scar Walkthrough
- Darksiders 3: The Scar Walkthrough
- Darksiders 3: Abraxis and the Lord of Hollows - kill or spare? Walkthrough
- Darksiders 3: The Lowlands Walkthrough
- Darksiders 3: Wrath Boss second clash Walkthrough
- Darksiders 3: The Ending, Pride boss Walkthrough
- Darksiders 3: Envy final boss fight Walkthrough
- Darksiders 3: Walkthrough
- Darksiders 3: Game Guide
You are not permitted to copy any image, text or info from this page. This site is not associated with and/or endorsed by the developers and the publishers. All logos and images are copyrighted by their respective owners.
Copyright © 2000 - 2026 Webedia Polska SA for gamepressure.com, unofficial game guides, walkthroughs, secrets, game tips, maps & strategies for top games.
