Zelda Breath of the Wild: The Isolated Plateau
The Isolated Plateau is the second main quest in The Legend of Zelda: Breath of the Wild. This quest requires you to locate five temples. In each one, you have to perform certain activities, for which you will be rewarded with Spirit Orbs and runes allowing you to level Link up. Below, find a walkthrough of this mission.
Oman Au Shrine

You will find the first temple behind the sunken ruins. Approach it (1) and activate the pedestal. Use the entrance to enter Oman Au Shrine. In this temple, you will gain access to Magnesis Rune. First, approach the pedestal located in the left part of the room and activate it. To activate the rune, press L. Objects that you can interact with will glow yellow. Pick up one of the metal discs and you will discover a passage underneath.

In the next room, use the Magnesis rune to take one of the blocks from the wall, and get to the other side. Defeat the Guardian Scout and move forward. Pick up a metal disc above the water, and use the Magnesis rune to open the gate. On your left, at the top, there is a chest. Use the rune to pull it down. There is a Traveler's Bow inside. Reach the elevation to complete this part of the quest.
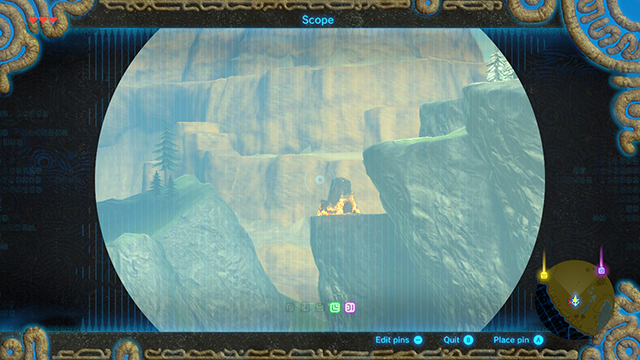
In order to locate the remaining temples, get back to the tower and reach its top. Use your binoculars to mark all three locations on your map. Leave the tower and visit all three temples.
Ja Baij Shrine
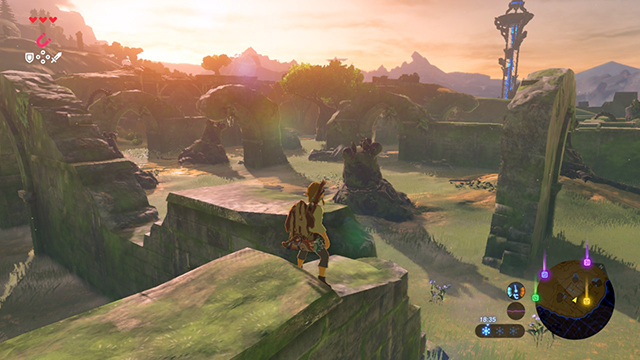
The temple is located within the ruins (2). Watch out for enemies that will react when you are nearby. They will fire lasers which will cause instant death. Whenever they get a lock on your position, hide behind the nearest wall.
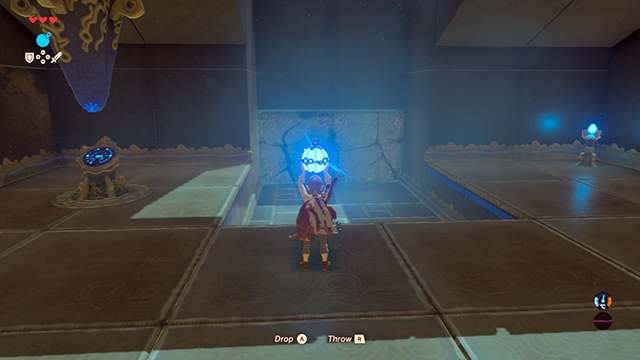
Once you near to the temple, activate the pedestal to get to the bottom. Once you are inside, reach another pedestal to obtain runes. From now on, you can use bombs - use them to access the next room. Press L to select a bomb, R to throw it, and L to detonate it. Destroy the wall and move forward.
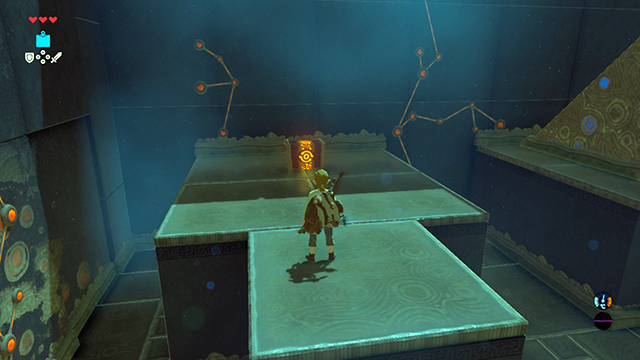
At the end of the corridor, on the right, there is a chest with a Traveler's Claymore inside. Get up the ladder and you will see a platform and a wall that can be destroyed. I's best to use a cube bomb, so it won't roll down the platform. Once you reach another room, go to the left. Stand at the device by the wall and the mechanism will push you towards the spot with a chest of gold.
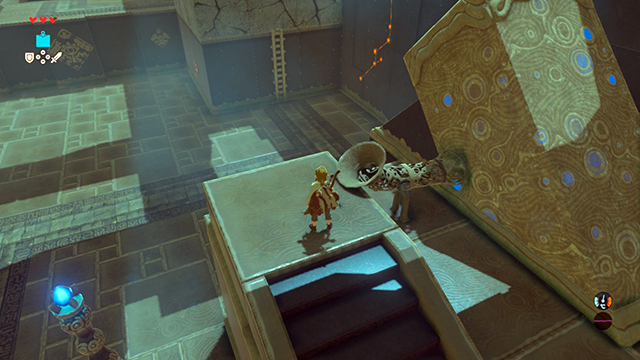
Get to the mechanism on the other side of the room. Place a round bomb in the lock and as soon as it gets close to the rocks, detonate it. Use the ladder to reach the other side. Get and to elevation and collect the Spirit Orb.
Owa Daim Shrine

The next temple is at the top of a mountain (4). On your way there, visit a hut in the woods and collect some items, inter alia spicy peppers and an axe. Combine mushrooms and spicy peppers to cook food that will protect you from cold (3). It will come in handy later on in the game. Head towards the mountain, and when you reach the abyss, cut down the tree to create a footbridge.
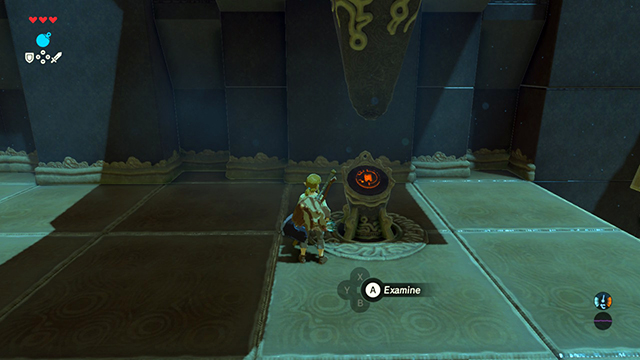
Get to the wall and climb it. Be careful not to fall down, as your stamina is still very low. Use the shelves to rest. Once you get to the top, enter the temple. Approach the pedestal and activate Stasis Rune - use it to control time.

Get close to the edge and use the force on a gear, to get to the other side. It won't take long for you to notice a path rock that rolls down a path. Use the rune to stop the rock at the edge, which will give you enough time to get to the top. There is a chest with Traveler's Shield inside. Move forward and you will find the Iron Sledgehammer by the wall. Use the force on a rock that is in your way, and hit it couple of times. Once you get outside, you can use the rune on a rock by the entrance, and collect a Traveler's Bow.
Keh Namut Shrine
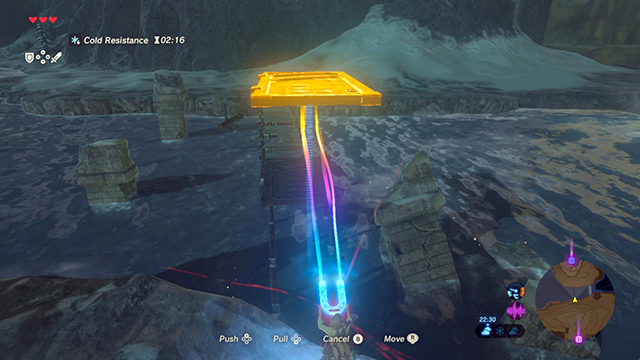
The last temple is located in a cold region (6). As soon as the indicator of your thermometer moves significantly towards the left side, use food that will improve your cold resistance. Once you get to the river and the waterfall (5), use Magnesis Rune to move the meal plate and fix the bridge.

Once you are inside the temple, approach the pedestal and activate Cryonis Rune - use it to create blocks of ice (on water). Get close to the water, use the rune to create a block of ice and get to the other side. Open the gate by creating a block of ice underneath it. In the next room, there is a crack on the left wall. Use your rune to get to the top and open the chest. Collect the Traveler's Spear.
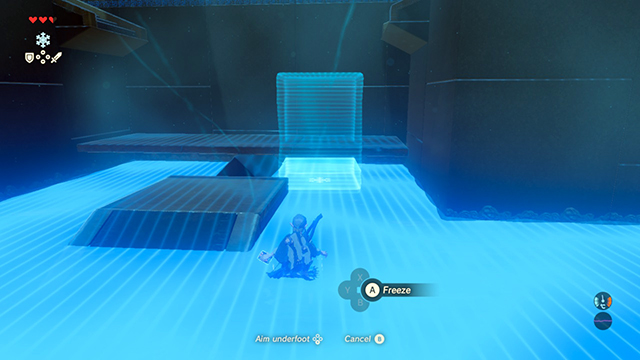
Create a block of ice to pick up the ramp, and get to the top. Reach the elevation to obtain Spirit Orb and complete this part of your quest.
Temple of Time
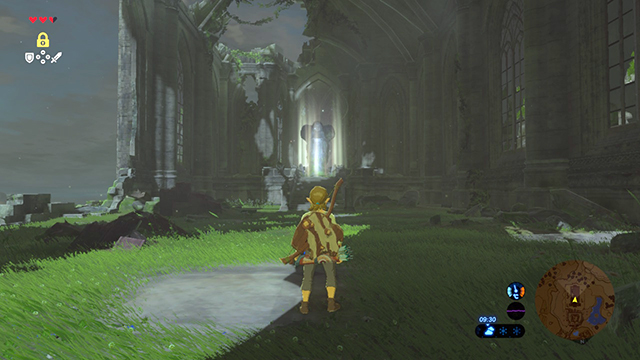
The last part of your quest is to visit the Temple of Time (7). The entrance is protected by a single Bokoblin. On the right, in the crack, there is a chest. Open it and collect the Traveler's Bow. Head towards the altar and pray. Use Spirit Orb to improve life points or your stamina. Get to the top of the tower and speak to the old man. He will give you the Paraglider - use it to fly short distances. There is a Soldier's Bow in the chest.
- The Legend of Zelda Breath of the Wild Guide
- Zelda Breath of the Wild: Game Guide
- Zelda Breath of the Wild: Main quests
- Zelda Breath of the Wild: Follow the Sheikah Slate
- Zelda Breath of the Wild: The Isolated Plateau
- Zelda Breath of the Wild: Seek Out Impa and Locked Mementos
- Zelda Breath of the Wild: Find the Fairy Fountain
- Zelda Breath of the Wild: Eldin Tower
- Zelda Breath of the Wild: Free the Divine Beasts
- Zelda Breath of the Wild: Forbidden City Entry and Divine Beast Vah Naboris
- Zelda Breath of the Wild: Divine Beast Vah Medoh
- Zelda Breath of the Wild: Destroy Ganon
- Zelda Breath of the Wild: Main quests
- Zelda Breath of the Wild: Game Guide
You are not permitted to copy any image, text or info from this page. This site is not associated with and/or endorsed by the developers and the publishers. All logos and images are copyrighted by their respective owners.
Copyright © 2000 - 2025 Webedia Polska SA for gamepressure.com, unofficial game guides, walkthroughs, secrets, game tips, maps & strategies for top games.
