WoW Warlords of Draenor: Iron Docks
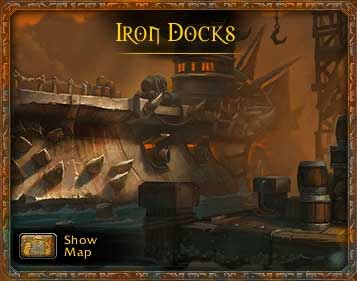
The second dungeon that becomes available is the Iron Docks. It becomes available after you reach level 93. It is recommended that you complete it after you reach level 95, but it remains available up to level 97. Also in this case, you will have to defeat 4 bosses, thanks to which you can obtain gear at level 550 in the case of the normal difficulty level, and 630 in the case of the Heroic level.
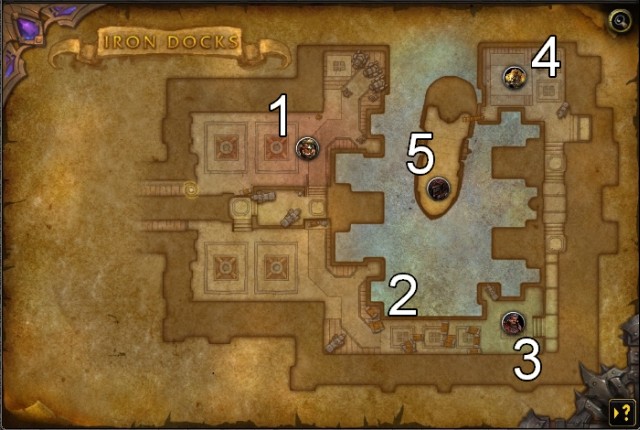
You get to the Northern coast of Gorgrond to the docks, which is central to the might of the Iron Horde. Here, you can find huge warships and artillery created at the Blackrock Foundry and prepared to be transported to the other parts of Draenor. Also, you can find here elite units of infantry that are prepared to join fights at any moment. Your task is to conduct a diversion behind the enemy lines and destroy, at least, a part of the enemy fleet.
1. Fleshrender Nok'gar
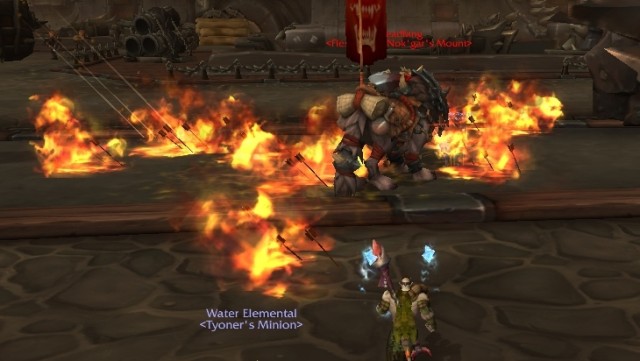
After you defeat several bigger enemy units, you will face the first boss, i.e. Nok'gar. The battle itself can be divided into two stages. In the first one, you simply need to attack the opponent mounted on a wolf. The fight is not too complex, the tank should be taking on the damage, while the others are trying to harm the opponent.
Stage two starts after you kill the mount. You will face Nok'gar himself. In this case, you need to be more careful. First of all, he occasionally summons archers, who pepper you with fire arrows. As soon as you notice that he is using the [Burning Arrows], you need to change your positions or you will lose 7,500 health points per second of staying in the spot, where the arrows fell. The second ability that you should watch out for is [Reckless Provocation]. As soon as you notice that the ability is active, you should stop the attacks, because you will receive the "intimidation" effect if you don't, which stops your attacks anyway.
2. Artillery barrage
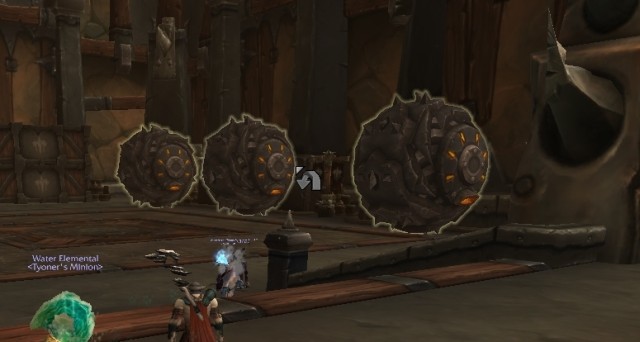
After you defeat the first boss, you are up for a longer journey. After you kill several larger groups of opponents and enter a big open area, you notice three big balls at one of the walls - Iron Stars. You need to approach them and click the icon that symbolizes entering them. After a while, the balls are activated. You will be able to aim and the balls will roll ahead, to crush the opponents in your way. The rest of the way should be covered close to the right wall, so you keep the necessity to fight the enemy forces low.
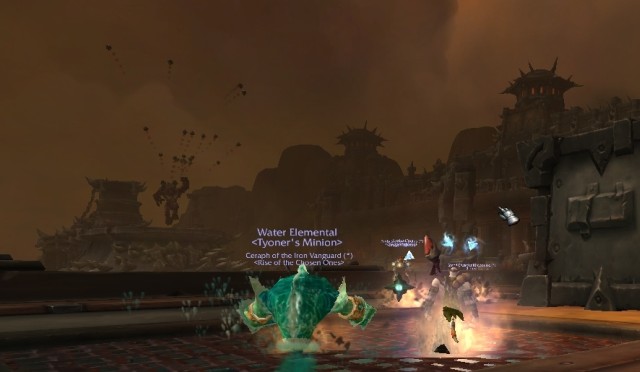
After you approach the location, where there are containers from the nearby ship, the artillery barrage starts. It is the final boss - Skulloc. The arrangement of the containers allows you to take cover. During the barrage, you need to remain hidden behind one of the containers and, after it stops, dash towards the next cover. The situation takes place several times, before you finally face the next boss.
3. Ahri'ok Dugru - Neesa Nox - Makogg Emberglade
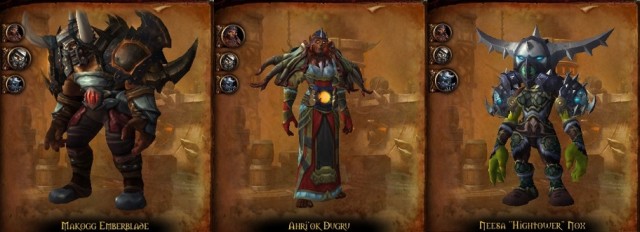
You will face three opponents, of which none is too dangerous. Still, together they may kill you quickly. Each one has special abilities that you need to watch out for. The most important thing, however, is that you agree on the order, in which you eliminate the individual bosses. The entire party should focus on attacking one opponent only. The recommended order is Ahri'ok Dugru, Makogg Emberglade, Neesa Nox, due to their abilities. Ahri'ok has [Sanguine Sphere] which heals the threesome with 15% of health points. As soon as one of them is affected by the spell, you should not attack, because it is your attacks that heal the bosses. You also need to watch out for Neesa's ability. She spreads traps around a selected character which, after you step on them, immobilize the character. After a while, she throws in a bomb, into the circle of traps. This can damage you with as much as 21k. What you need to do is simply walk out of the circle, carefully, between two individual traps. In general, the fight should be not too much of a challenge, as long as the entire party is focused on one opponent.
4. Oshir
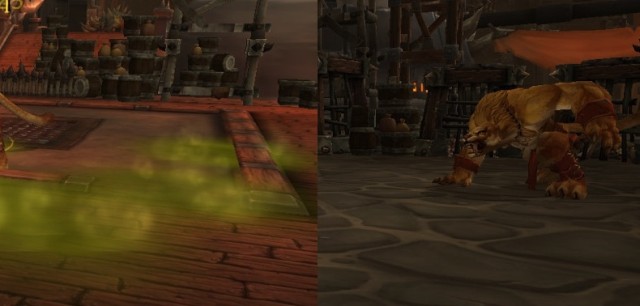
After you cover a short distance, you face the next boss, who is not as easy to defeat as the previous ones. Of course, if you know his attacks, the battle is much easier.
The main attack that you should watch out for is [Time to Feed]. Oshir attacks a random party member, jumps onto him and deals massive damage for 20 seconds. There are few that can withstand this high damage and you usually die as a result. Still, there is a way to break the attack. First of all, Oshir breaks the attack, if he receives damage of 5% of his entire health bar. The attack can be landed by the character that is currently being "devoured". If possible, the devoured character should use a distracting spell, e.g. invisibility. The last hope of such a character is the healer who should focus his spells on the devoured one.
Occasionally, Oshir may dash towards one of the cages around the battlefield and unleash a groups of enemies. The most important thing, at this point, is to kill all the enemies, to prevent them from distracting you from Oshir.
5. Skulloc
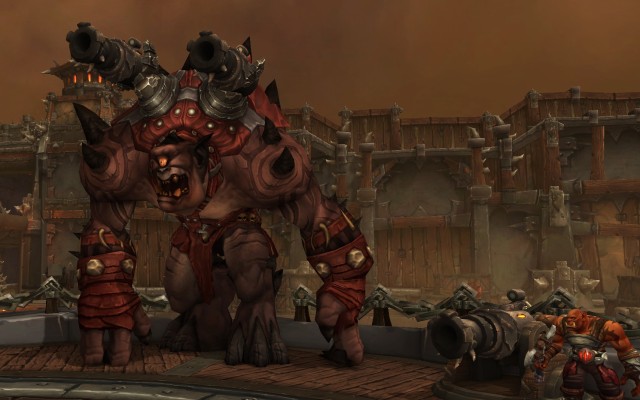
Your last opponent is Skulloc, who is surrounded by two weaker opponents - Koramar and Zaggosh. In the first place, you should deal with the former - Koramar, to the left of Skulloc. This makes the battle way easier. As for the other guard, you can ignore him and take to the boss.
Skulloc's main attack is [Cannon Barrage], which repels you to the very beginning of the ship and peppers you with projectiles that deal around 5k damage. The most important thing, after you are pushed away, is to take cover behind one of the containers. It is best to take the one on the left but, if you are late, by at least 2 seconds, you die probably. If you are not sure if you have enough time to hide, it is better to hide behind the container on the right and dash between the containers, between the individual attacks by Skulloc. After you reach the opponent, for some time, you will be able to attack him with no repercussions, up until the next [Cannon Barrage]. This attack may be landed several times, up until you deplete Skulloc's entire health. During one of the attempts, Skulloc suddenly disappeared, in the middle of the battle. You then need to backtrack to the beginning of the ship, with the entire party, and wait for him to reappear. Unfortunately, he appears with his health full, then.
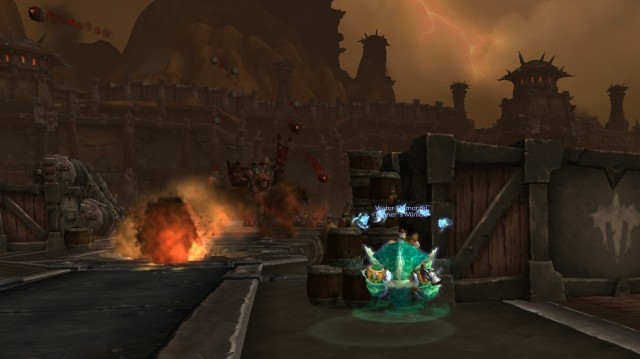
As soon as you master swift dashing between the covers, killing Skulloc is only a formality.
- World of Warcraft: Warlords of Draenor Game Guide
- WoW Warlords of Draenor: Detailed guide
- WoW Warlords of Draenor: Detailed guide to WOW Warlords of Draenor
- WoW Warlords of Draenor: Markings in this guide
- WoW Warlords of Draenor: The garrison
- WoW Warlords of Draenor: The purpose and functions of the garrison
- WoW Warlords of Draenor: Garrison management
- WoW Warlords of Draenor: The suggested order to expand your garrison
- WoW Warlords of Draenor: How to obtain new resources
- WoW Warlords of Draenor: Buildings (big)
- WoW Warlords of Draenor: Buildings (medium)
- WoW Warlords of Draenor: Buildings (small)
- WoW Warlords of Draenor: Miscellaneous buildings
- WoW Warlords of Draenor: Outposts
- WoW Warlords of Draenor: The system of followers
- WoW Warlords of Draenor: Picking and dispatching followers on missions
- WoW Warlords of Draenor: Recruiting new allies
- WoW Warlords of Draenor: Dungeons
- WoW Warlords of Draenor: Bloodmaul Slag Mines
- WoW Warlords of Draenor: Iron Docks
- WoW Warlords of Draenor: Auchindoun
- WoW Warlords of Draenor: Skyreach
- WoW Warlords of Draenor: Grimrail Depot
- WoW Warlords of Draenor: Shadowmoon Burial Grounds
- WoW Warlords of Draenor: The Everbloom
- WoW Warlords of Draenor: Upper Blackrock Spire
- WoW Warlords of Draenor: Mounts
- WoW Warlords of Draenor: Achievement-related mounts
- WoW Warlords of Draenor: Garrison-related mounts
- WoW Warlords of Draenor: Profession-related mounts
- WoW Warlords of Draenor: Reputation-related mounts
- WoW Warlords of Draenor: Mounts that you obtain after you defeat an opponent
- WoW Warlords of Draenor: Mounts that you obtain from PvP duels
- WoW Warlords of Draenor: Remaining mounts
- WoW Warlords of Draenor: Fieldcane Add-ons
- WoW Warlords of Draenor: Curse
- WoW Warlords of Draenor: Garrison Mission Manager + Master Plan
- WoW Warlords of Draenor: HandyNotes
- WoW Warlords of Draenor: Bagnon
- WoW Warlords of Draenor: System requirements
- WoW Warlords of Draenor: Detailed guide
You are not permitted to copy any image, text or info from this page. This site is not associated with and/or endorsed by the developers and the publishers. All logos and images are copyrighted by their respective owners.
Copyright © 2000 - 2026 Webedia Polska SA for gamepressure.com, unofficial game guides, walkthroughs, secrets, game tips, maps & strategies for top games.
