Warhammer Vermintide 2: List of standard enemies
Last update:
The following page contains descriptions of all special and elite enemies as well as monsters found in Warhammer: Vermintide 2. Thanks to this chapter you can learn how to do deal with every single one of these foes. Enemy spawn is random and it is always different during a playthrough.
Monsters
Monsters can be treated as mini-bosses - they have health bars and use various abilities. They are tough opponents and they require the entire party to cooperate.
Rat Ogre
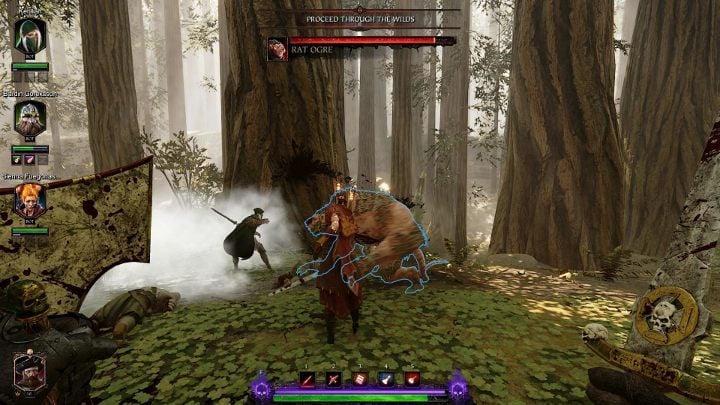
A Rat Ogre attacks with powerful hits that push his targets back. This enemy can also use three fast attacks or can charge at the heroes. The majority of a Rat Ogre's attacks can be dodged (use this mechanic instead of blocking his attacks). The head is a Rat Ogre's weak point - one player should focus a Rat Ogre's attention while the rest is shooting his head. Rat Ogre has the most HP of all monsters, but his attacks are clearly telegraphed, which makes avoiding them a lot easier.
Stormfiend
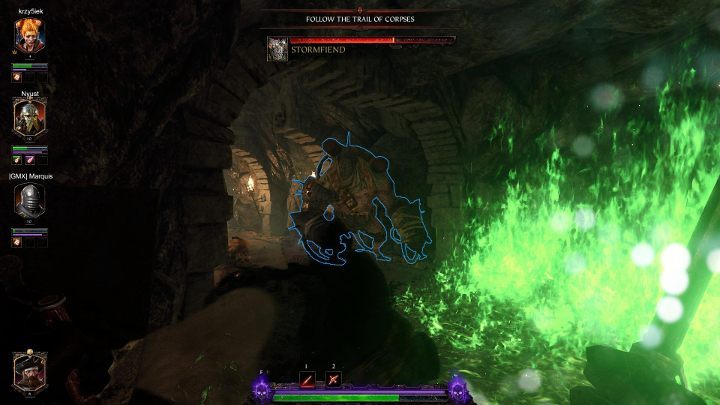
A Stormfiend shoots from a cannon that allows this monster to use AoE attacks. However, this enemy can also sometimes charge at the heroes. AoE attacks leave a green ooze that deals damage - avoid it at all cost. A Stormfiend has two weak points - his head and a peculiar creature on his back. A good way to kill a Stormfiend is to keep him in one spot for a long period of time - this enemy likes to change his position on a battlefield which makes it more difficult to attack. Your entire party should stay near a Stormfiend - avoid his attacks and aim at the weak spots. It's also worth to mention that the only way of, partially, deflecting flamethrower damage is using a shield.
Spawn of Chaos
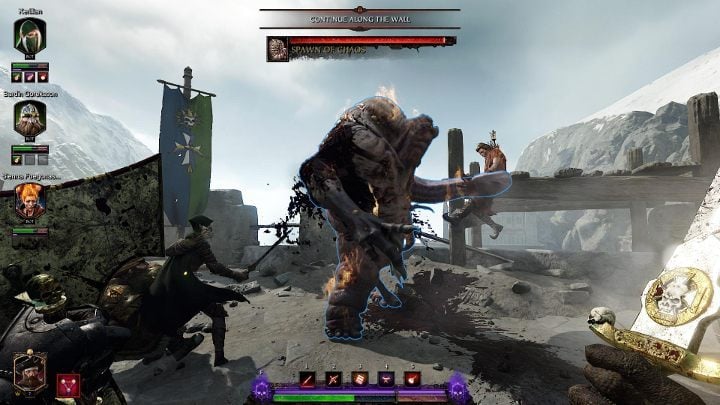
A Spawn of Chaos fights only at a close distance. He can also catch one of the heroes to deal them damage (this move also heals the monster). In order to free a character that's been caught, you have to use a career skill or deal a lot of damage to the enemy - the latter way will enrage Spawn of Chaos, who will start slamming the character into the ground, dealing massive damage to them and anyone he manages to hit. During this fight you can easily combine blocking with dodging - this should be done by a character with the highest amount of health points, the rest should focus on attacking a Spawn of Chaos' weak spot - the head.
Bile Troll
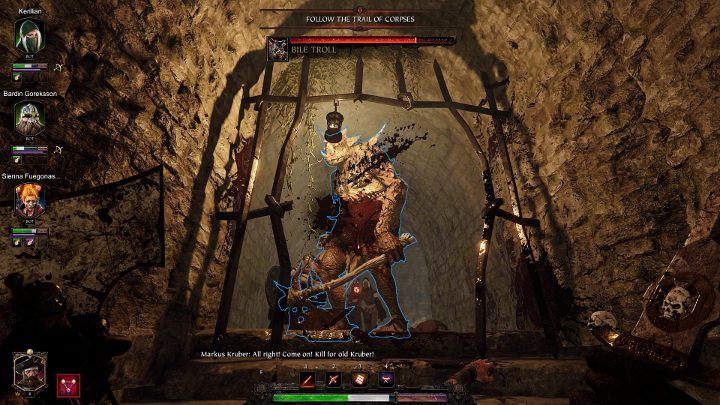
A Bile Troll fights at a close distance. One of his skills allows him to vomit - this attack deals damage over time and reduces your visibility. This enemy doesn't deal a lot of damage but he can regenerate health which means that this fight may take you a while - when he's regenerating, you have to hit his head - otherwise he might replenish his entire HP pool. Apart from that, be mindful of his chargé, which on legendary difficuly, can kill characters with less HP. A Bile Troll's weak spot is his head.
Special and elite enemies
Special and elite enemies have certain traits. For example - they are armored, can overwhelm heroes with projectiles or trap them. What distinguishes them from a regular horde is their appearance as well as the aforementioned skills and traits.
Chaos Warrior
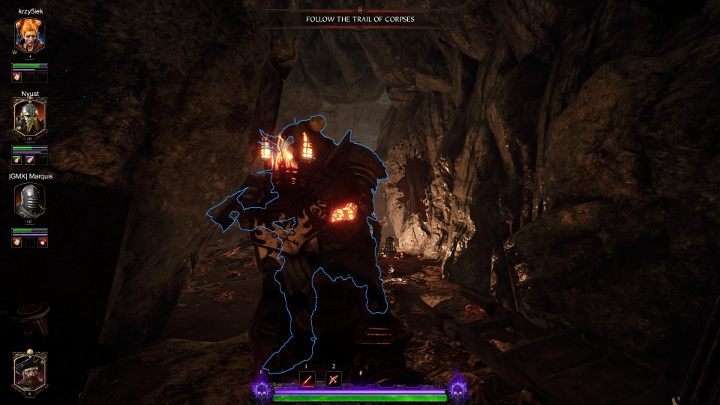
A Chaos Warrior is large and armored. He uses powerful but slow attacks that should be avoided. Due to his armor, a Chaos Warrior's only weak spot is his head. Hit it or use weapons that can pierce armor (you still deal less damage than you would by hitting a Chaos Warrior's head).
Gas Rat
A Gas Rat throws grenades which create a green cloud - this gas deals damage (not only to the players, but also foes). Ideally, you shouldn't allow a Gas Rat to throw his grenades - kill this enemy as soon as you spot him (the best way to kill a Gas Rat is to use ranged weapons). You can also shoot his backpack with grenades - this will either explode him, or set him on fire - he will then charge towards a character and explode after reaching the target.
Plague Monk
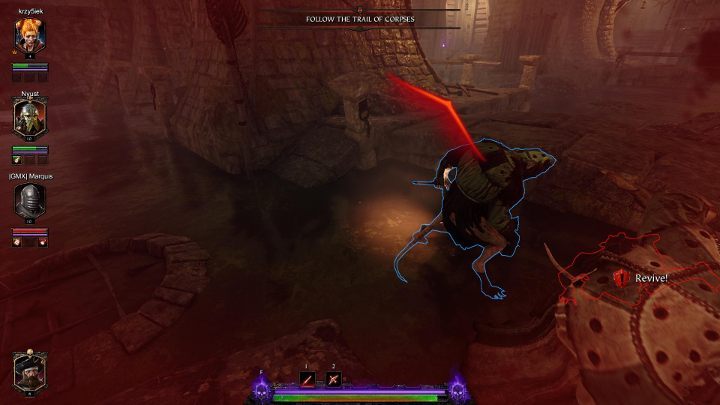
A Plague Monk are Skaven berserkers, who often fight in groups and can deal massive damage. Pay extra attention to this enemy and kill him as fast as you can - an encounter with a Plague Monk on higher difficulties can be deadly.
Assassin Rat
An Assassin Rat is another fast assassin. The rules of fighting this enemy are the same as the ones above - kill him before he gets closer to your party.
Gun Rat
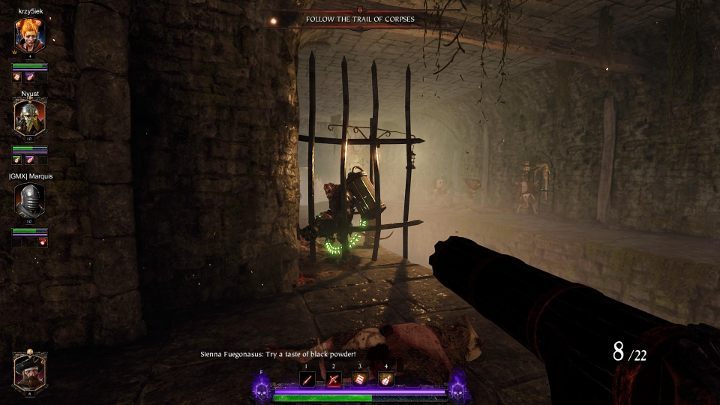
A Gun Rat attacks your party with a rapid-fire rifle - avoid his bullets when he starts shooting. Remember that you can use a shield to completely reduce damage dealt with bullets. The best way to fight a Gun Rat is to kill him before he starts shooting. If you fail to do that, you can simply wait until he reloads his weapon. Shooting his backpack is the best way of getting rid of him - there's ammo inside, and if you shoot it, it will explode.
Fire Rat
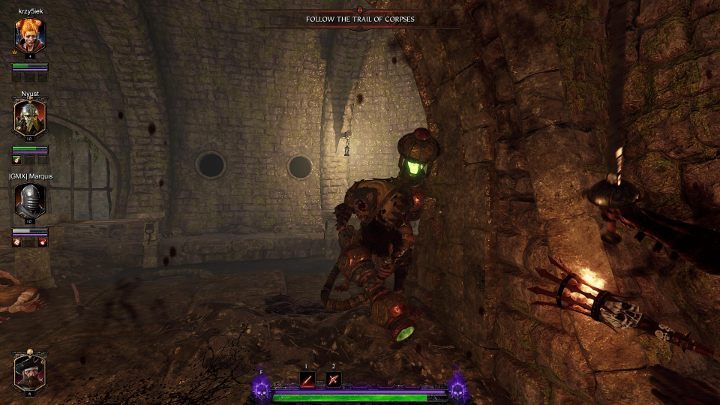
A Fire Rat works a little bit like a Gun Rat. However, his weapon shoots warpfire instead of bullets - be careful when standing at the Edge of a precipice - the recoil can push you off. This enemy can only attack from a closer distance. Get rid of him before a Fire Rat gets closer to you. This enemy is rather well-armored so aim at his head - you can also shoot the backpack to create an explosion.
Savage
Chaos Berserker with two axes. Very hard to knock down. He's also likely to leap towards you. Appears in groups (of at least two berserkers). Try getting a headshot while he's charging and make sure to dodge his attacks if he gets close.
Mauler
Another Chaos berserker, this time using a double-handed axe. The head is the weak spot, but wears armor - if you don't have an armor-piercing weapon, focus on his chest instead.
Stormvermin
A Skaven with a halberd. The head is the weak spot.
Shieldvermin
Another version of the Stormvermin, this time with a sword and a shield. He deals lower damage and has smaller range, but the shield is what makes things problematic here.
Blightstormer
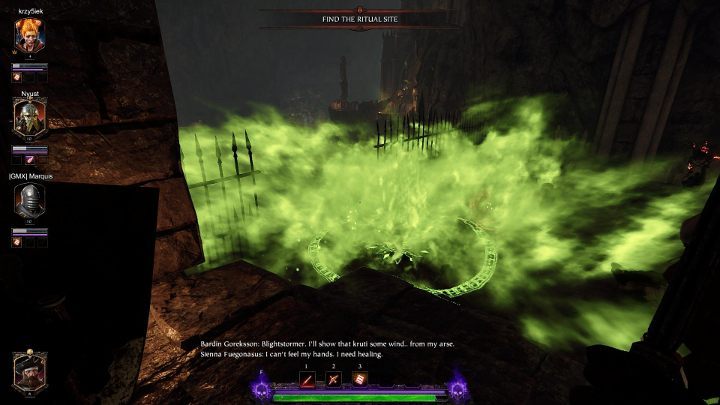
A Blightstormer is a very dangerous enemy who should be defeated as soon as you see or hear him. This enemy creates a green expanding circle that sucks the heroes in and deals damage. Run away from this circle and try to find the Blightstormer - he has a small amount of health points but his ability can lead to your party's demise.
Lifeleecher
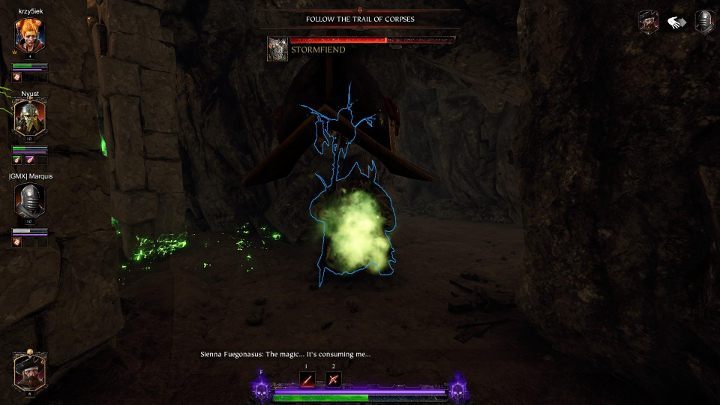
Lifeleecher teleports near the team (oftentimes behind cover), can trap a player and deal them damage once he gets closer. Find a Lifeleecher as soon as you hear him - this can be difficult to do; however, he becomes an easy target once he traps someone.
Hookrat
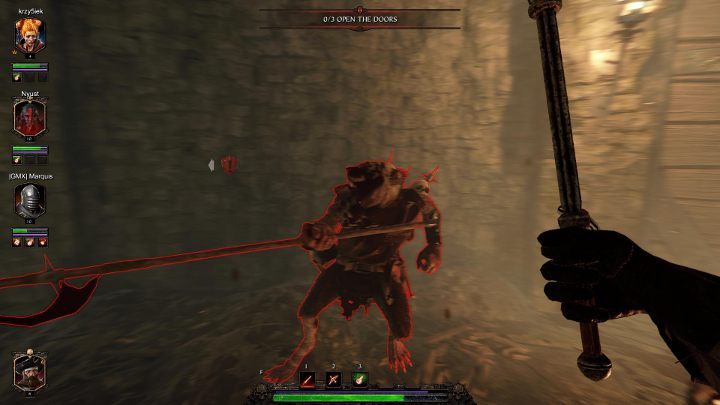
A Hookrat doesn't deal a lot of damage. However, it can hook one of the heroes and drag them around - kill a Hookrat to save your ally. This enemy doesn't have a lot of health points so try to kill him before he gets closer to your party. He can be easily detected - his footsteps are accompanied by rattling skulls. Note that Hookrat has the best armor of all enemies, which makes him a very dangerous enemy on higher difficulty levels.
Sack Rat
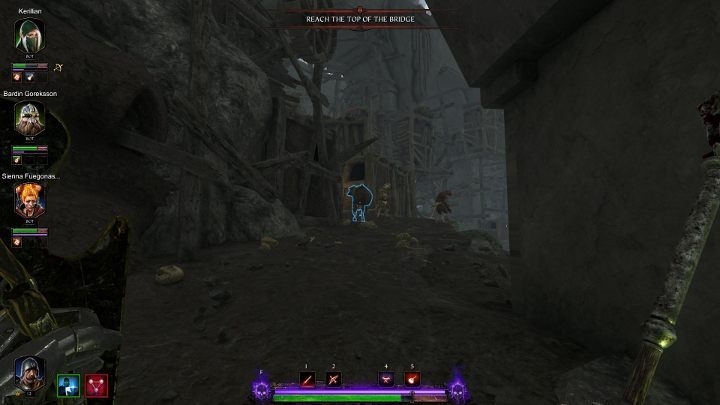
A Sack Rat is a small Skaven with a sack on his back - he isn't a threat to your party. What is more, this enemy will start running away from you. Try to kill him because a Sack Rat leaves a lot of valuable items - medicaments, potions or items that improve the quality of a box received at the end of a mission.
You are not permitted to copy any image, text or info from this page. This site is not associated with and/or endorsed by the developers and the publishers. All logos and images are copyrighted by their respective owners.
Copyright © 2000 - 2026 Webedia Polska SA for gamepressure.com, unofficial game guides, walkthroughs, secrets, game tips, maps & strategies for top games.
