Rainbow Six Vegas: Mission 6.4 Nevada Dam - Facility
This is a quite challenging mission. The only good news is that you won't have to rescue any hostages. You will be dealing with large number of enemy troops. It's going to be very important to use cover. You will also be using your map to try and surprise your enemies. Giving orders to your team members is going to be equally important.
This mission is going to start near an underground parking lot (#1). You won't encounter hostile units right away. Go ahead and leave this small room. You will come across one of the wounded civilians. You should consider listening to what he has to say to you (#2). Get ready! The first part of this mission is going to be quite difficult.
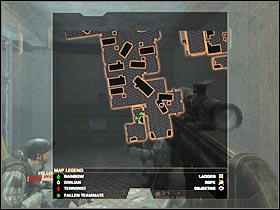 | 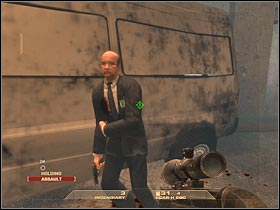 |
Start moving towards your current destination (#1). I guess I should warn you about a few things. This area is going to be guarded by a large group of well equipped soldiers. One of them will be using a heavy machine gun post, however you probably won't be able to kill him right away. As a result, you will have to avoid being hit. Try hiding behind the left wall (#2). You should be able to take out several terrorists from here. Don't expose yourself too much!
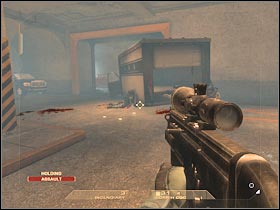 | 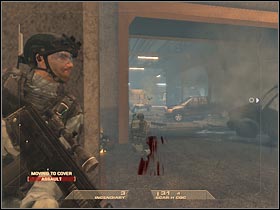 |
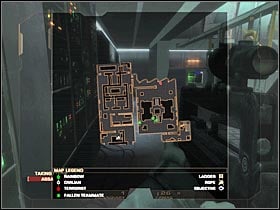
Sadly, you won't be able to stay here for too long. You will have to try and get closer to the terrorists. I would recommend sending your team towards a red pick-up truck. You, on the other hand, move to your right. Take a closer look at your tactical map, so you'll know exactly how many enemy soldiers are there (#2). Don't let anyone surprise your team!
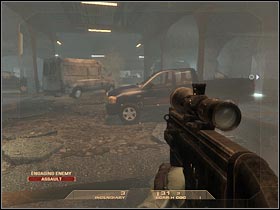 | 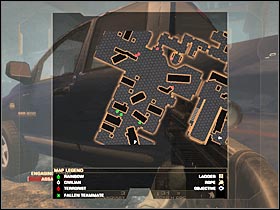 |
You should be able to kill at least 2-3 enemy soldiers from here. I would recommend hiding behind a blue car. You shouldn't have any problems finding the terrorists (#1). Make sure that you're using the scope, especially if you plan on killing them from a larger distance (#2).
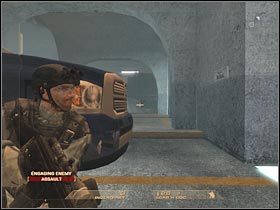 | 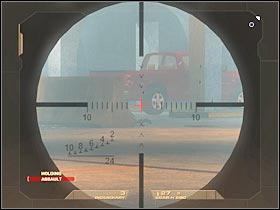 |
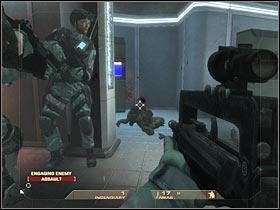
Once again, some of the terrorists may actually try and get closer to you or your team members. If that happens, you will have to react quickly (#1), however it would be wise to avoid these kinds of situations. Otherwise you would also have to deal with avoiding explosions, caused by enemy grenades. Once you've secured this section of the map, order your teammates to join you (#2). Proceed to your right (alone).
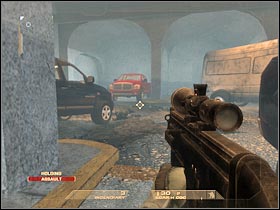 | 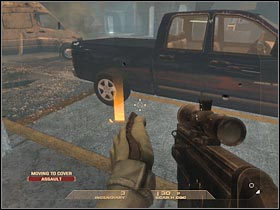 |
The guy who was using a stationery machine gun post should already be dead. Otherwise you would have to kill him from here (#1). Thankfully, there are a lot of cars nearby, so it shouldn't be much of a problem. You will have to reach the right side of the entrance (#2). Doing this would allow you to secure this area. Order your teammates to get here.
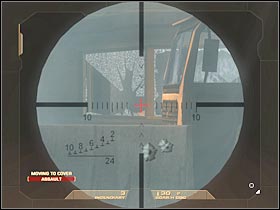 | 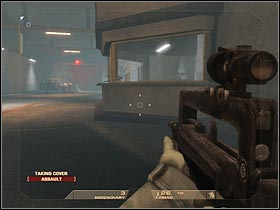 |
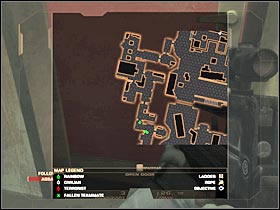
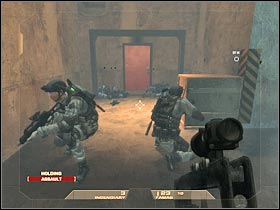
You should be able to reach a new corridor. This passageway leads to a much larger room of this complex. You will come across a single door. Use the camera (#1). I'm sure that you know exactly what has to be done here. Tag two terrorists. Once this is done, order your men to proceed with the assault (#2). You shouldn't have any problems during these fights. Once you've taken out the terrorists, start moving towards a new corridor. It won't be guarded by anyone.
 |  |
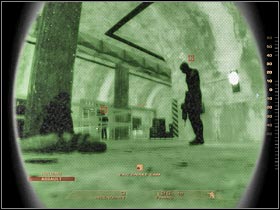
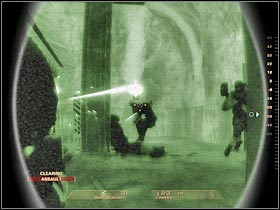
You are getting closer to a much larger room. You will have to separate your hero from the rest of the team. Order your men to prepare for an assault. Get closer to this door and use the camera in order to be able to tag some of the terrorists (#1). Proceed to the left door. Once you're ready, proceed with the assault. Enter the room at the same time and start shooting at the visible enemy soldiers (#2). After that, hide behind a nearest cover. These objects will be located on your left.
 |  |
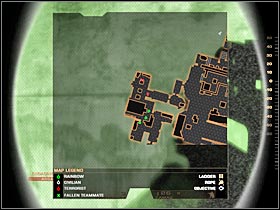
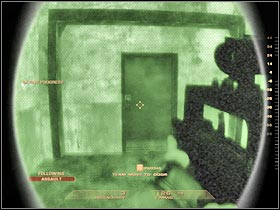
The second part of this room is probably guarded by a few terrorists (#1). As a result, you will have to be very careful here. You could try and take them out on your own, however I would recommend ordering your teammates to handle this problem. Make sure that you're using your map! Proceed to the next section. The game will create a checkpoint area here (#2). Reload your weapon before you decide to enter this new room.
 |  |
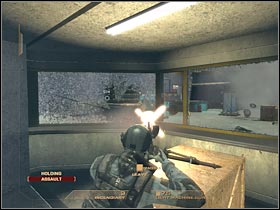
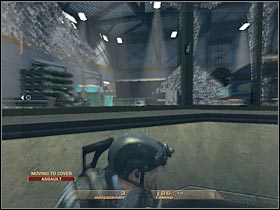
I would recommend sending the whole team to your left. You won't have to commence a standard assault here. Once this is done, use a stationery machine gun post. Try and take out at least two terrorists (#1). Sadly, you won't be able to stay here for too long. Leave the machine gun post and hide near the windows (#2). Start shooting at the remaining enemy units. You should also order your men to enter the warehouse in order to speed up this process. I wouldn't recommend moving too far, because the area is not safe.
 |  |
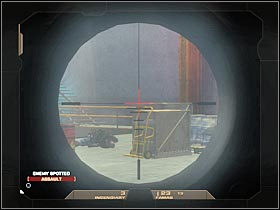
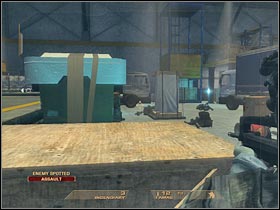
Start off by ordering your teammates to hide near the stairs. The first group of enemy soldiers will appear on your right (#1). I'd strongly recommend using a scope here, so you'll be able to kill them from a much larger distance. The second group should appear in front of you (#2). Additionally, more terrorists will arrive there very shortly. Make sure that you're using nearby objects for much needed cover!
 |  |
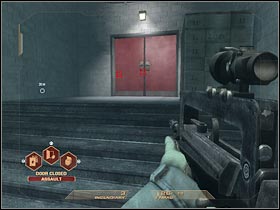
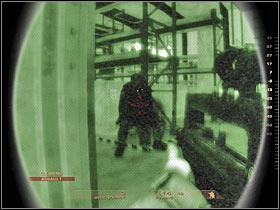
You may proceed to the LEFT door (#1). This passageway leads to a new section of the map. Be careful, though. This room will be guarded by a large group of well armed soldiers. Don't even think about storming the place. Instead, try opening a door. You should be able to take out several terrorists from here (#2), however make sure that you don't expose yourself too much. I wouldn't recommend sending the rest of the team to that location, because you'd put them in danger.
 |  |
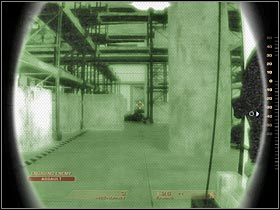
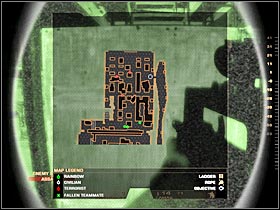
This is a very challenging section of the map, so don't worry if something goes wrong the first time you're assaulting the room. Most of the terrorists will be HIDING on your left (#1). Try killing them, however you will have to be very careful in order to survive. Once you've performed these actions, move with the rest of the team to your right (#2). It's very important to use cover!
 |  |
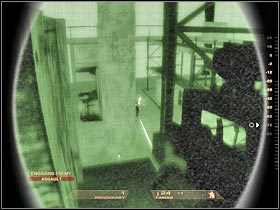
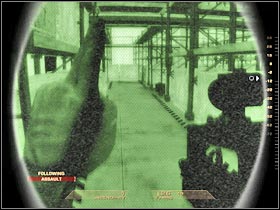
Once you've dealt with most of the terrorists, you should consider heading on to the upper balcony. You should be able to find stairs here. Once you're there, try killing all of the remaining terrorists (#1). There's not going to be many of them. Bear in mind, however, that you're an easy target here. Go back to your team and start moving towards the opposite end of this room (#2). There's only one path here, so you can't miss it.
 |  |
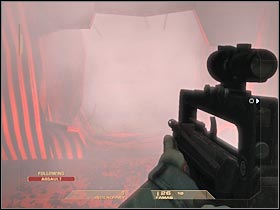
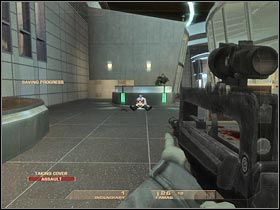
You should be able to reach a destroyed section of the wall (#1). Make a few steps forward. You'll end up inside a long tunnel. Keep going straight. This area isn't guarded by anyone, so you won't have to perform any unnecessary stops. You should be able to reach the laboratory section of the compound (#2). This is where the game will create a checkpoint area.
 |  |
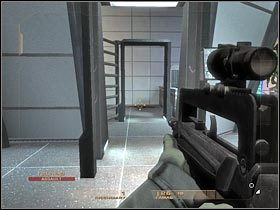
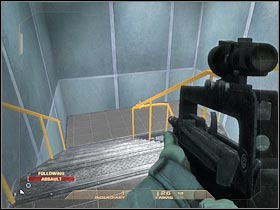
Keep moving forward. Just as before, you won't encounter any hostile units here. Turn right. Ignore the metal detector (#1). Head on to the left door. You'll end up near a large room (take a look at your tactical map). I would recommend ignore all of the nearby doors. Instead, head on to the stairs and proceed to the lower floor (#2).
 |  |
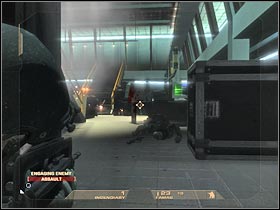
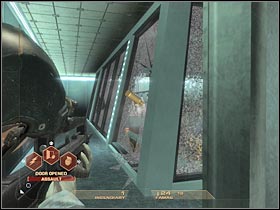
Stop your team near the small door, however don't give any additional orders. We won't even try engaging the terrorist in an open battle. Try opening the door and taking out several hostiles from here (#1). After that, leave your team near the door. Go back to the upper floor and choose the left or the middle door. Hide behind the left wall. Open the door and start shooting at the visible enemy soldiers (#2).
 |  |
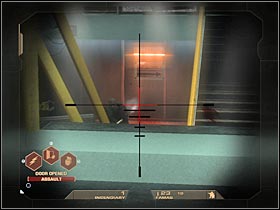
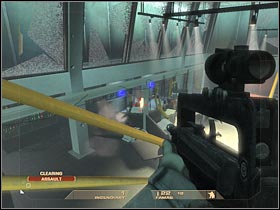
Try making a few steps forward (you will have to enter this room). You should be able to take out several terrorists from a larger distance (#1). As a result, you will have to use the scope. Once you've secured the balcony, order your men to enter the room. You will have to help them during these fights (#2). Go back to the ground floor, however you should stay here for a few more seconds.
 |  |
There's only one path leading to your current destination and it's being guarded by at least two terrorists. Just as before, I'd strongly recommend taking them down from a larger distance (#1). You could also try and surprise them (#2), however it would be quite risky. The choice is yours. Once they're gone, head on to a nearby corridor.
 |  |
- Tom Clancy's Rainbow Six: Vegas Game Guide & Walkthrough
- Rainbow Six Vegas: Walkthrough
- Rainbow Six Vegas: Mission 1.1 Mexican Border - Inbound
- Rainbow Six Vegas: Mission 1.2 Mexican Border - Trainyard
- Rainbow Six Vegas: Mission 1.3 Mexican Border - Mines
- Rainbow Six Vegas: Mission 1.4 Mexican Border - Escape
- Rainbow Six Vegas: Mission 2.1 Calypso Casino - The Strip
- Rainbow Six Vegas: Mission 2.2 Calypso Casino - Security
- Rainbow Six Vegas: Mission 2.3 Calypso Casino - Prime Time
- Rainbow Six Vegas: Mission 2.4 Calypso Casino - Dr. Smythe
- Rainbow Six Vegas: Mission 2.5 Calypso Casino - Extraction
- Rainbow Six Vegas: Mission 3.1 Downtown Vegas - Exclusive Gone Wrong
- Rainbow Six Vegas: Mission 3.2 Downtown Vegas - Fremont
- Rainbow Six Vegas: Mission 3.3 Downtown Vegas - Mafia House
- Rainbow Six Vegas: Mission 4.1 Vertigo Spire - Tower Assault
- Rainbow Six Vegas: Mission 4.2 Vertigo Spire - Tower Bar
- Rainbow Six Vegas: Mission 5.1 Dante's Casino - Hell's Gate
- Rainbow Six Vegas: Mission 5.2 Dante's Casino - Gabe
- Rainbow Six Vegas: Mission 5.3 Dante's Casino - Kan
- Rainbow Six Vegas: Mission 5.4 Dante's Casino - Data Hub
- Rainbow Six Vegas: Mission 6.1 Nevada Dam - Tourist Center
- Rainbow Six Vegas: Mission 6.2 Nevada Dam - The Dam
- Rainbow Six Vegas: Mission 6.3 Nevada Dam - Spillway
- Rainbow Six Vegas: Mission 6.4 Nevada Dam - Facility
- Rainbow Six Vegas: Mission 6.5 Nevada Dam - The Doctors
- Rainbow Six Vegas: Mission 6.6 Nevada Dam - Irena
- Rainbow Six Vegas: Mission 6.7 Nevada Dam - Top of the Dam
- Rainbow Six Vegas: Walkthrough
You are not permitted to copy any image, text or info from this page. This site is not associated with and/or endorsed by the developers and the publishers. All logos and images are copyrighted by their respective owners.
Copyright © 2000 - 2026 Webedia Polska SA for gamepressure.com, unofficial game guides, walkthroughs, secrets, game tips, maps & strategies for top games.
