Rainbow Six Vegas: Mission 3.1 Downtown Vegas - Exclusive Gone Wrong
Time and place: Fremont Street, Las Vegas; July 3rd, 0010 Hours
This is a rather challenging mission. You will have to secure several large rooms. Most of the terrorists will be hiding, so you will have to be very careful. The terrorists will also be working with each other. Thankfully, you will be able to choose between various different approach methods. I would recommend choosing the upper floors (if possible). Thanks to that, you'll secure some of the more important areas much easier.
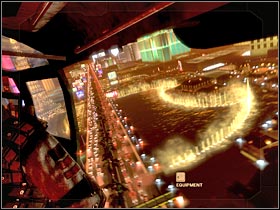
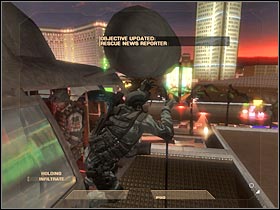
You start off inside the helicopter. Take your time and enjoy the views (#1). You should also listen to what other team members (including your superiors) have to say. Once you've reached your start area, you will have to slide down on the rope (#2). After that, wait for the rest of the squad. You could also watch a video broadcast, however this won't be necessary.
 |  |
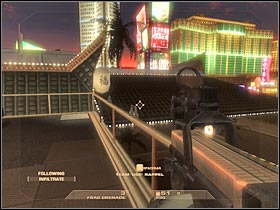
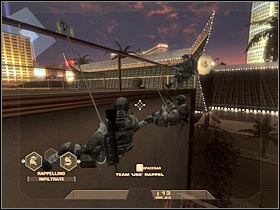
The first group of enemy soldiers is located beneath your current position. As a result, you should consider using the rappel hooks (#1). Thankfully, you'll be able to choose between several of these objects. I would recommend going to your right. Make sure that the rest of the team has done the same thing (#2).
 |  |
Just as before, you will have to give the order to proceed with the assault. Destroy the window and enter the room through the destroyed part of a window (#1). Immediately start shooting at the visible enemy soldiers (#2). I would recommend using one of the nearby objects for cover, so you don't get hit. Your teammates should be able to deal with this situation.
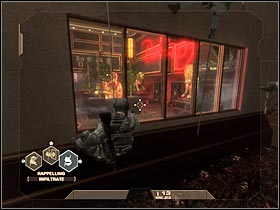 | 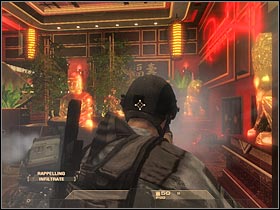 |
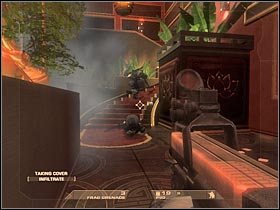
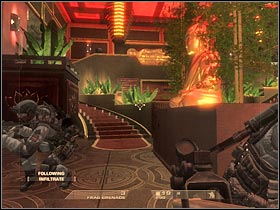
The second group of enemy soldiers will appear near the stairs (#1). You will have to take them out quickly. I would recommend choosing long bursts, instead of single shots. Additionally, you should be using an assault rifle. Don't forget to hide your team behind one of the larger obstacles. The third group is currently occupying the balcony section (#2). Make sure that you're using cover here. Aim at their heads, so you don't lose more ammo.
 |  |
Once you've secured this entire area, head on to the stairs and start moving towards the right corridor. You will be moving towards the Crazy Dragon section of the map (#1). Head on to the new corridor. I would recommend taking a closer look at your tactical map (#2). As you've probably suspected, you will have to secure the main middle room. We'll prepare for an assault here.
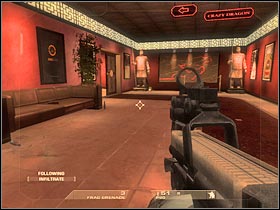 | 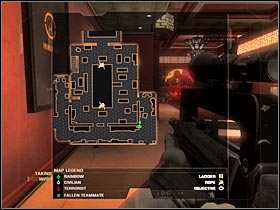 |
I would recommend sending your team to one of the nearby doors (the middle one or the one that's located on your right). Either way, you should be able to tag two terrorists (#1), so they'll be killed in the first place. Give the order to proceed with the assault. Open the door and start using your scope (#2). Watch out for the rest of your squad. Make sure that your teammates are using larger objects for cover. You can't expose them too much, because there are a lot of terrorists here.
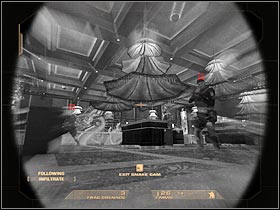 | 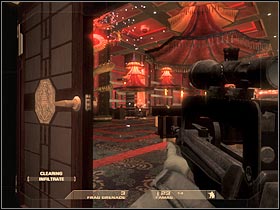 |
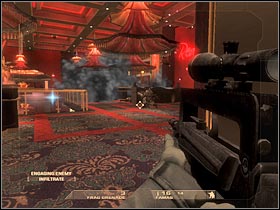
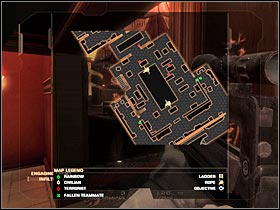
You could also use some of the carried smoke grenades (#1) in order to blind the second group of terrorists. Additionally, you should watch out for reinforcements. A new group of enemy soldiers should arrive here shortly. You should also consider moving towards the left door (#2). Open the door. You will be able to take out several other terrorists from here.
 |  |
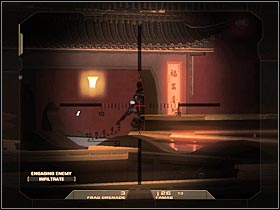
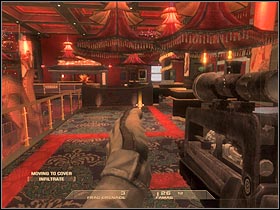
You will have to protect your men against enemy fire (and grenades). As a result, make sure that everyone is using cover. Help your teammates to deal with the terrorists. Choose your targets wisely (#1). I guess I don't have to remind you to use the scope feature. Keep pushing forward (#2), however you don't have to be in a lot of hurry. Staying alive is more important here.
 |  |
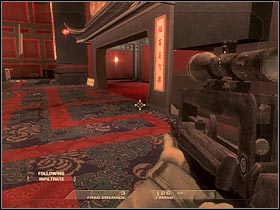
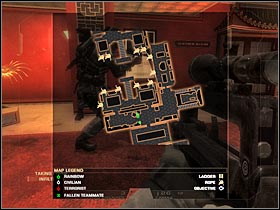
You should be able to reach a new hallway that leads to the second large room of this complex (#1). You won't encounter any additional units here, so you'll be able to plan your next moves very carefully. Once you're there, take a close look at your tactical map (#2). Just as before, I would recommend choosing some of the upper balconies. Your team should prepare for a new assault. Choose the middle door for your teammates.
 |  |
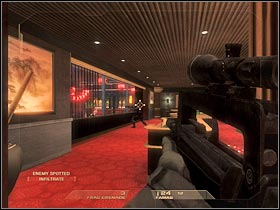
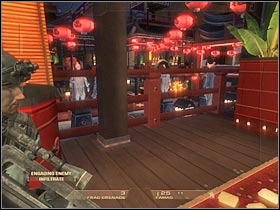
Your teammates should start shooting at the nearby enemy soldiers. Leave them here and head on to a new room that should be located on your right. There's a single enemy sniper here (#1). You will have to kill him quickly. After that, get closer to the windows. You should be able to kill at least 4-6 terrorists from here. Once you've secured this area (don't use the rope!), go back to your squad and help your colleagues to deal with the remaining terrorists (#2).
 |  |
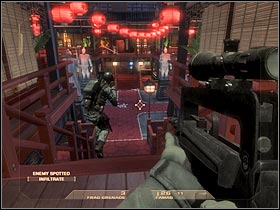
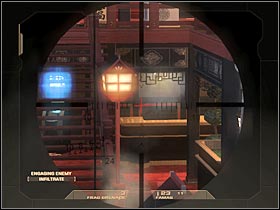
Be careful. There's a second sniper here. He is hiding near the roof, so you probably won't notice him at first glance. Start moving forward. You will have to secure the entire lower floor (#1). Make sure that you're using your scope to kill most of the enemy soldiers (#2). Try to maintain a larger distance. I guess I don't have to remind you about the possibility of hiding behind nearby objects.
 |  |
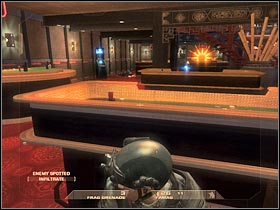
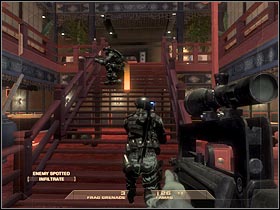
You will have to get closer to some new stairs. Before you decide to proceed any further, make sure that you've secured the entire lower floor (#1). Thankfully, there are a lot of large objects here, so you'll have plenty of cover points. Once you've taken care of the terrorists, head on to the stairs (#2). I would recommend letting your teammates to stay in front.
 |  |
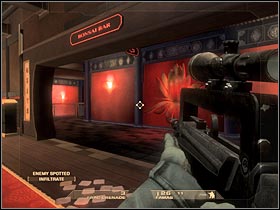
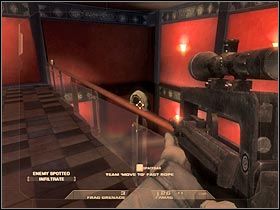
You will have to start moving towards the Bonsai Bar area (#1). You shouldn't encounter any additional terrorists here. Keep moving forward. You will come across a single rappel hook (#2). Use it (you could also order one of your men to proceed with this action). This mission is going to end in just a few seconds.
 |  |
- Tom Clancy's Rainbow Six: Vegas Game Guide & Walkthrough
- Rainbow Six Vegas: Walkthrough
- Rainbow Six Vegas: Mission 1.1 Mexican Border - Inbound
- Rainbow Six Vegas: Mission 1.2 Mexican Border - Trainyard
- Rainbow Six Vegas: Mission 1.3 Mexican Border - Mines
- Rainbow Six Vegas: Mission 1.4 Mexican Border - Escape
- Rainbow Six Vegas: Mission 2.1 Calypso Casino - The Strip
- Rainbow Six Vegas: Mission 2.2 Calypso Casino - Security
- Rainbow Six Vegas: Mission 2.3 Calypso Casino - Prime Time
- Rainbow Six Vegas: Mission 2.4 Calypso Casino - Dr. Smythe
- Rainbow Six Vegas: Mission 2.5 Calypso Casino - Extraction
- Rainbow Six Vegas: Mission 3.1 Downtown Vegas - Exclusive Gone Wrong
- Rainbow Six Vegas: Mission 3.2 Downtown Vegas - Fremont
- Rainbow Six Vegas: Mission 3.3 Downtown Vegas - Mafia House
- Rainbow Six Vegas: Mission 4.1 Vertigo Spire - Tower Assault
- Rainbow Six Vegas: Mission 4.2 Vertigo Spire - Tower Bar
- Rainbow Six Vegas: Mission 5.1 Dante's Casino - Hell's Gate
- Rainbow Six Vegas: Mission 5.2 Dante's Casino - Gabe
- Rainbow Six Vegas: Mission 5.3 Dante's Casino - Kan
- Rainbow Six Vegas: Mission 5.4 Dante's Casino - Data Hub
- Rainbow Six Vegas: Mission 6.1 Nevada Dam - Tourist Center
- Rainbow Six Vegas: Mission 6.2 Nevada Dam - The Dam
- Rainbow Six Vegas: Mission 6.3 Nevada Dam - Spillway
- Rainbow Six Vegas: Mission 6.4 Nevada Dam - Facility
- Rainbow Six Vegas: Mission 6.5 Nevada Dam - The Doctors
- Rainbow Six Vegas: Mission 6.6 Nevada Dam - Irena
- Rainbow Six Vegas: Mission 6.7 Nevada Dam - Top of the Dam
- Rainbow Six Vegas: Walkthrough
You are not permitted to copy any image, text or info from this page. This site is not associated with and/or endorsed by the developers and the publishers. All logos and images are copyrighted by their respective owners.
Copyright © 2000 - 2026 Webedia Polska SA for gamepressure.com, unofficial game guides, walkthroughs, secrets, game tips, maps & strategies for top games.
