Rainbow Six Vegas: Mission 1.1 Mexican Border - Inbound
Time and place: San Joshua Del Mosquiera, Mexico; July 2nd, 1850 Hours
Before we'll proceed with the most interesting Vegas missions, you will have to finish up this chapter in the first place. The action will take place in Mexico. If you had played "Ghost Recon: Advanced Warfighter" before, I'm sure that you'll find some of these areas to be very similar. You'll start the game on your own, without having to worry about the rest of the squad. Thankfully, you'll team up with your colleagues later during the game. I would recommend letting the game to display various hints. Most of them will inform you about current key settings, so you won't have to memorize them before starting the game.
We'll start off inside a large military chopper (#1). I'd strongly recommend that you listen closely to what the rest of the team has to say. You'll get closer to the city area in just a few seconds (#2). Don't worry, you won't have to do anything in particular here so take your time and enjoy your surroundings.
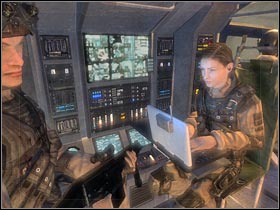 | 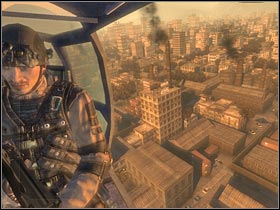 |
You should be getting closer to your first destination. The chopper will make a stop above a small alley. The game will suggest that you should press the SPACE key (#1). This will allow you to automatically use the rope. Wait for your main hero to slide down (#2). You'll start off in a dark spot. Ignore other instructions and get ready for a first fight. I would also recommend that you change the rate of fire in your weapon. Single shot will be just fine and you won't have to look for a new weapon once you've depleted your ammo supply. You could also pick some weapons from fallen enemies, however they won't be as advanced as your start gear.
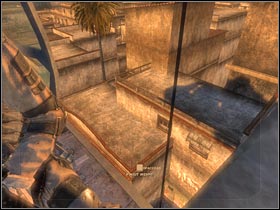 | 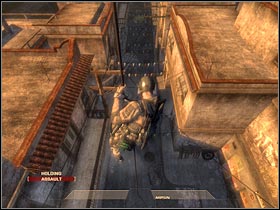 |
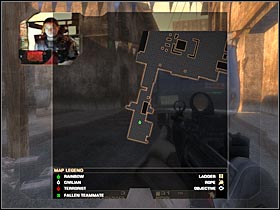
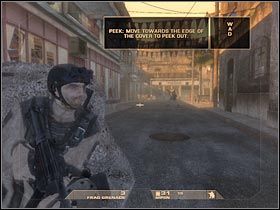
Start off by moving forward. You should be using a tactical map very often. Press the TAB key if you want to see it (#1). Sadly, it's not as thorough as the "Advanced Warfighter" map, so you won't be able to monitor the entire area in real time. Thankfully, you will be able to locate some of the enemy soldiers (red dots). You will also be using the map to find alternate routes to your current destination. You are moving towards a large square. Try getting closer to a small brick wall that should be located on your left. Press the right mouse button (remember this action!) in order to use the wall as a cover (#2). Notice that the game has changed the view to third person perspective (TPP). Wait for a single terrorist to show up. Kill him by aiming at his head. Single shot should do the trick.
 |  |
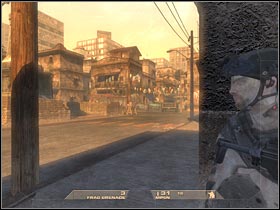
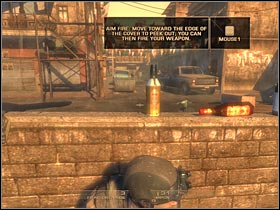
Once you've dealt with the soldier, make a few steps forward. Use the right wall for cover. Try leaning out a little (#1), so you'll be able to take a closer look at your surroundings. Move up closer to the central part of the square. You should be able to find a small brick wall here (#2). Use it for cover. This will allow you to take on a larger group of enemy soldiers. The terrorists are hiding behind cars. You could also try and avoid being seen.
 |  |
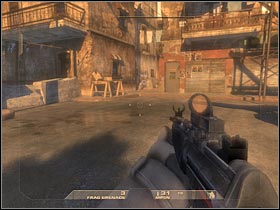
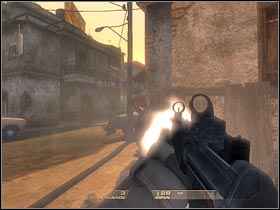
The game will display a new hint in just a few seconds. I would recommend perform this action. You will have to reach a small alley that will be located on your left (#1). This would allow you to organize a surprise attack. Make sure that you have killed all bandits. If you're lucky, they won't even be able to respond to your actions (#2).
 |  |
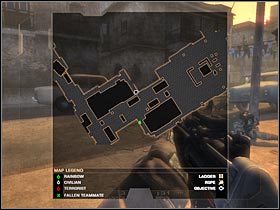
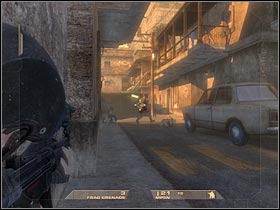
Wait for the new hint to be displayed on your screen. This time you will have to cross a street and head on to the second alley (#1). Just as before, this will allow you to surprise the terrorists. Keep moving forward. Once you've reached the end of the alley, turn left. You should be able to spot all enemies from here (#2). Make sure that they are all dead before you decide to leave the alley area.
 |  |
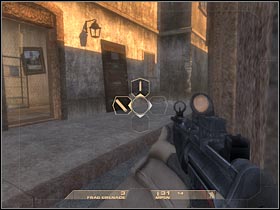
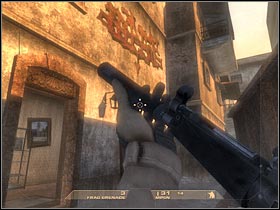
Proceed to the next section (there's a small alley on your right). The game will create a checkpoint here, so you won't have to worry about repeating the first part of this mission. Read the next hint. You could try out a silencer. In order to do that, press the R key and choose this upgrade from a menu. Once you've attached the silencer, enter the nearest building (#2).
 |  |
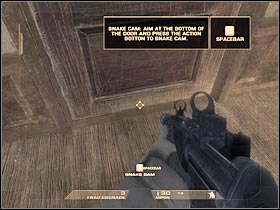
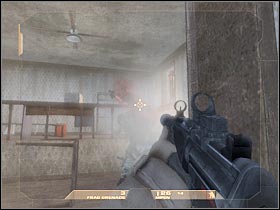
Try positioning yourself by the left wall. Lean out carefully and kill the terrorist. You will have to aim at his head (#1). A single shot should be enough to take him down. There are two other terrorist in the left room. Get closer to the nearest door. Lower your view. You should be able to use a Snake Cam here (#2). Activate it, so you'll know exactly where they are standing.
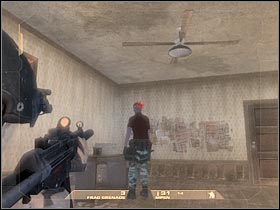 |  |
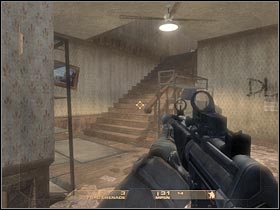
You could try and ignore the terrorists, however I would recommend killing them. It would be wise to approach the room from the right side. You'll find a second door here. Open it and kill the terrorists. Just as before, they won't have time to respond to your attack. Turn around and proceed to the stairs (#2).
 |  |
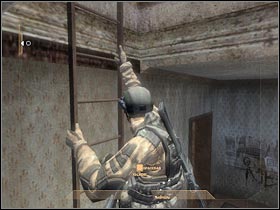
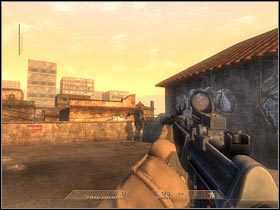
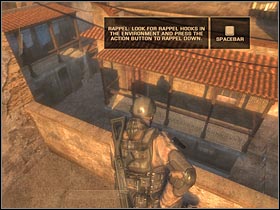
You should be able to reach a new room within just a few seconds. It's going to be located on your left. You will find a ladder here. Use it to reach the roof of this building. Once you're there, use your gun to get rid of the terrorist (#2). You should also unmount the silencer, as you won't need it anymore. Step up to the ledge and wait for a new hint to appear on the screen.
 |  |
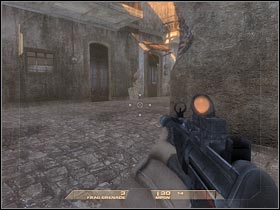
Now you will have to find a rappel hook. That's where you'll attach your rope (#1). Activate the default action (press the use key) and slide down on the rope. There are some new enemies ahead so it would be best to turn around. Head on to a second alley (#2). If you take a closer look at your tactical map, you should notice that choosing this path will allow you to surprise several other terrorists.
 |  |
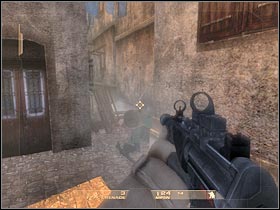
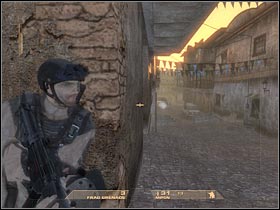
Go ahead and start moving forward. You will have to reach an opposite end of this passageway. This will allow you to organize a surprise attack (#1). Once you've taken care of the first group, go back and try choosing one of the side alleys. Hide behind the wall and start shooting at the enemy soldiers (#2). Additionally, make sure that you're not in the open for too long.
 |  |
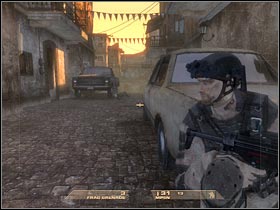
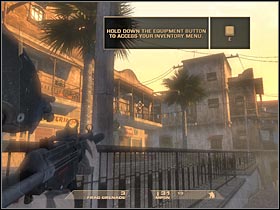
Start moving forward. You shouldn't be in a lot of hurry. This is very important. Try hiding behind of the parked cars (#1). You'll be able to use it for cover. Ignore the next hint, as you won't have to use any smoke grenades here. Position yourself by the left wall. Start off by killing two terrorists. One of them should be standing on a balcony (#2). The second terrorist will be located in front of you. DON'T leave this area just yet!
 |  |
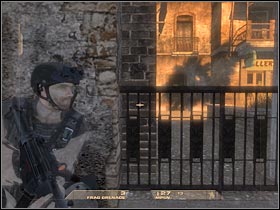
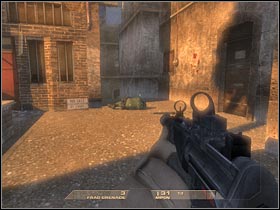
There's also a third bandit in this area. He's going to be located on your left. You probably won't notice him at first glance (#1), so you'll have to be very careful here. Try aiming at his head, so you won't have to waste too much ammunition. Proceed to the next section. In order to do that you will have to reach the stairs. Next, turn left (#2). Keep going straight.
 |  |
Make a few steps forward. You will have to be very careful here. Two enemy soldiers are hiding on your right. One of them will also try to get closer to your position (#1). Make sure that you kill him in the first place. Once you've dealt with the terrorists, move up closer to a small object. Press the SPACE key (#2) to climb over the obstacle.
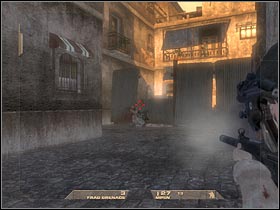 | 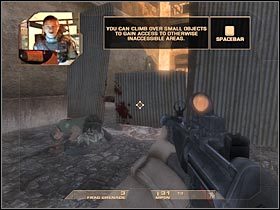 |
Turn right and keep going straight. You should be getting closer to the rest of the squad. Your teammates are hiding inside a large church (#1). We'll use a small trick to reach the church without raising any suspicion. Wait for one of the squad members to use a smoke grenade. This will allow you to get closer to the side entrance (#2). You can't wait here for too long. Otherwise you would have been spotted and (probably) killed.
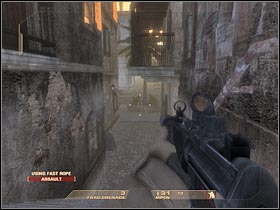 | 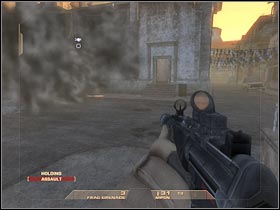 |
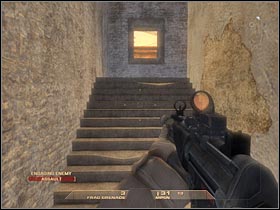
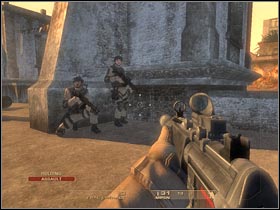
Once you're safely inside the church, turn left and start running forward. You will have to find a large staircase (#1). Keep moving towards the roof of the church building. That's where you'll find your teammates (#2). Step up closer and listen to what the other crew members have to say. There's a challenging fight ahead of you. The terrorists are preparing an attack on the church and your mission will be to defend this outpost.
 |  |
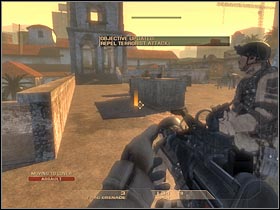
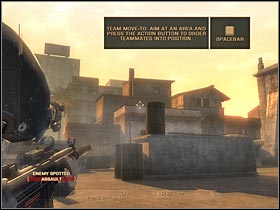
You will be using the SPACE key from now on to command your squad. Start off by ordering your teammates to hide behind one of the available covers (#1). You will have to do the same thing. Start shooting at the visible enemy soldiers (#2). There's a large distance separating your from each other so you'll be quite safe here. Once the terrorists are gone, turn around and take care of the second group. Just as before, your enemies will be using rooftops of the adjacent buildings. Make sure that none of your teammates is wounded. Your crew members must be hiding behind covers. Small brick walls should be enough.
 |  |
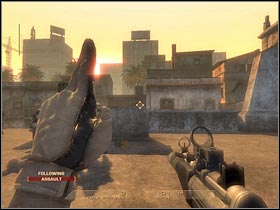
Once you've dealt with this threat, press the ALT key (#1). As a result, you will order your teammates to follow you. Pressing this button again would result in ordering them to hold the current position. Use the stairs once again. Turn left. Order your team to use one of the nearby objects for cover. Wait for the enemy soldiers to show up.
 | 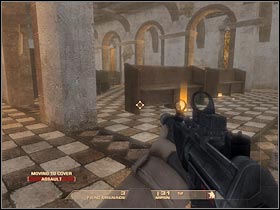 |
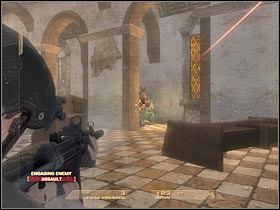
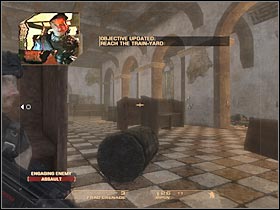
I would recommend making a few steps forward and hiding behind one of the pillars. Most of the enemy soldiers should appear on your right (#1). The left side of the room should be clear, so you won't have to worry about it too much. Try advancing towards the central part of the room. There are some additional hostile units for you to take care of (#2). The rest of the team should be helping you during these fights.
 |  |
Once you've dealt with the terrorists, order the rest of the team to follow your lead. Head on to a large exit (#1). I wouldn't recommend running towards your next destination. The area is not safe, so you should be using smaller objects for cover. Head on to a large gate. There's a pick-up truck in front of it (#2). Make sure that the team is following you.
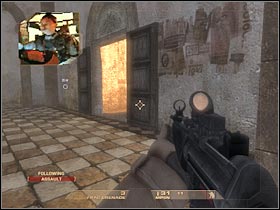 | 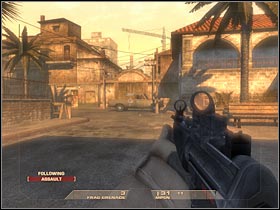 |
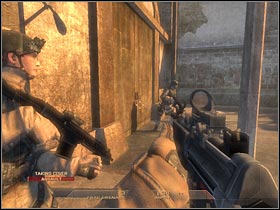
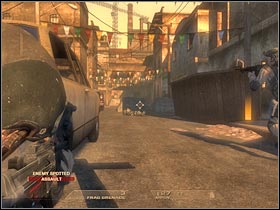
Focus your view on the large gate. Now you will have to press the SPACE key in order to trigger a default action. Wait for one of your teammates to set up an explosive charge (#1). Move back to a safe distance. Once the explosion has occurred, enter the new area and start shooting at visible enemy soldiers. You should also try and find some kind of a cover, mostly because the terrorists are going to be disoriented only for a short period of time (#2).
 |  |
Some of the bandits may hide behind cars right away. If this happens, you would have to surprise them from the left side (#1). Make sure that the area has been secured before you decide to gather the rest of the team around your position. Start moving forward. You should be able to reach a small passageway very soon (#2).
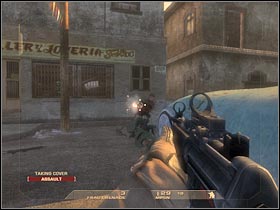 | 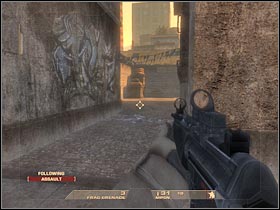 |
You will have an opportunity to practice assaulting rooms in a few seconds. There aren't any hostages inside the warehouse building, however you will learn a few basic things. Start off by ordering your men to move to the left door (#1). You, on the other hand, must turn right. Keep moving forward.
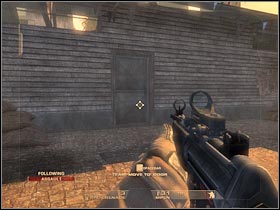 | 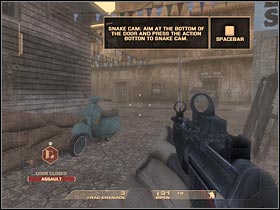 |
You should be able to find a second door here. Step up closer and use the Snake Cam. As you've probably noticed, there are two terrorists inside. I would recommend tagging them. As a result, they will be eliminated in the first place once the assault has started (#1). You will have to press the T key in order to tag your enemies. Once you're ready, press the upper action key (there's a small menu in the lower left corner of the screen). Help your teammates to clear out this room (#2).
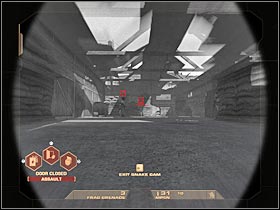 | 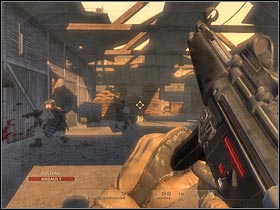 |
Head on towards the nearest door (#1). You shouldn't have any problems finding it, especially since you have a tactical map at your disposal. Start moving towards a much larger warehouse building. Once again, we will launch a simultaneous assault. Order your men to take position near the upper door (#2). There's a large staircase there.
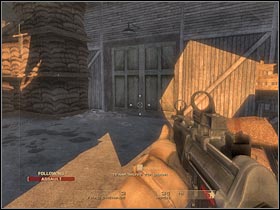 | 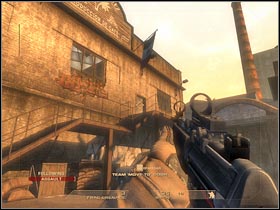 |
Try positioning yourself near the lower (left) door. Your men will be attacking through the balcony. You, on the other hand, have to take care of the remaining terrorist units. Most of the enemy soldiers are standing in front of you (#1), so you won't have to spend too much time looking for them. Once they're gone, exit the warehouse and head on to the upper entrance. Hide behind one of the larger objects and take out the remaining hostiles. I would recommend using the tactical view to find them (#2).
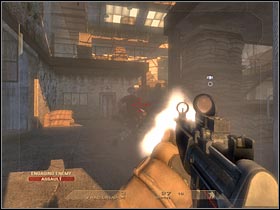 | 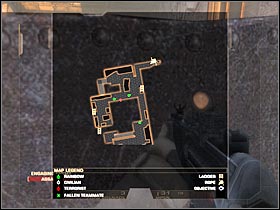 |
Gather the rest of the team around your position. You will have to locate a narrow corridor (#1). It should be located on your left. Start moving forward. You should be able to reach a new rappel hook very soon (#2). Order your teammates to use the rope. Additionally, you will have to give them a second order by pressing the upper action key. As a result, this first mission will come to an end. Wait for the game to load a new map.
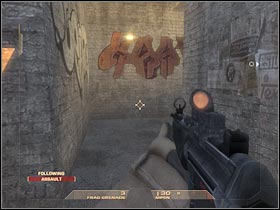 | 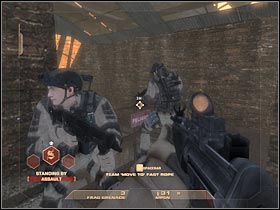 |
- Tom Clancy's Rainbow Six: Vegas Game Guide & Walkthrough
- Rainbow Six Vegas: Walkthrough
- Rainbow Six Vegas: Mission 1.1 Mexican Border - Inbound
- Rainbow Six Vegas: Mission 1.2 Mexican Border - Trainyard
- Rainbow Six Vegas: Mission 1.3 Mexican Border - Mines
- Rainbow Six Vegas: Mission 1.4 Mexican Border - Escape
- Rainbow Six Vegas: Mission 2.1 Calypso Casino - The Strip
- Rainbow Six Vegas: Mission 2.2 Calypso Casino - Security
- Rainbow Six Vegas: Mission 2.3 Calypso Casino - Prime Time
- Rainbow Six Vegas: Mission 2.4 Calypso Casino - Dr. Smythe
- Rainbow Six Vegas: Mission 2.5 Calypso Casino - Extraction
- Rainbow Six Vegas: Mission 3.1 Downtown Vegas - Exclusive Gone Wrong
- Rainbow Six Vegas: Mission 3.2 Downtown Vegas - Fremont
- Rainbow Six Vegas: Mission 3.3 Downtown Vegas - Mafia House
- Rainbow Six Vegas: Mission 4.1 Vertigo Spire - Tower Assault
- Rainbow Six Vegas: Mission 4.2 Vertigo Spire - Tower Bar
- Rainbow Six Vegas: Mission 5.1 Dante's Casino - Hell's Gate
- Rainbow Six Vegas: Mission 5.2 Dante's Casino - Gabe
- Rainbow Six Vegas: Mission 5.3 Dante's Casino - Kan
- Rainbow Six Vegas: Mission 5.4 Dante's Casino - Data Hub
- Rainbow Six Vegas: Mission 6.1 Nevada Dam - Tourist Center
- Rainbow Six Vegas: Mission 6.2 Nevada Dam - The Dam
- Rainbow Six Vegas: Mission 6.3 Nevada Dam - Spillway
- Rainbow Six Vegas: Mission 6.4 Nevada Dam - Facility
- Rainbow Six Vegas: Mission 6.5 Nevada Dam - The Doctors
- Rainbow Six Vegas: Mission 6.6 Nevada Dam - Irena
- Rainbow Six Vegas: Mission 6.7 Nevada Dam - Top of the Dam
- Rainbow Six Vegas: Walkthrough
You are not permitted to copy any image, text or info from this page. This site is not associated with and/or endorsed by the developers and the publishers. All logos and images are copyrighted by their respective owners.
Copyright © 2000 - 2025 Webedia Polska SA for gamepressure.com, unofficial game guides, walkthroughs, secrets, game tips, maps & strategies for top games.
