Rainbow Six Vegas: Mission 2.1 Calypso Casino - The Strip
Time and place: Las Vegas, Nevada; July 2nd, 2214 Hours
The first level of this new chapter will take place mostly outside of casinos. You will be using parked vehicles for cover. This means that you will have to be very careful. Thankfully, you won't have to rescue any civilians.
We'll start off with a short flight (#1). Take your time and enjoy the view. There are a lot of interesting objects here. You will have to wait for the gunship to get closer to the start area (#2). You should also take a closer look at new orders. Your first objective will be to reach an entrance of one of the casinos.
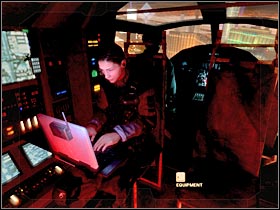 | 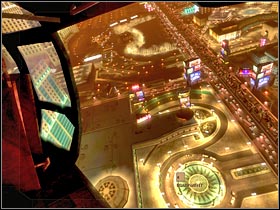 |
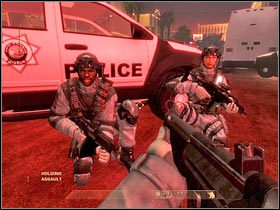
Once you've reached your final destination, you will have to press the default action key to slide down on the rope (#1). Make a few steps forward. You will come across two other soldiers (#2). They will be your new squad members. Just as before, you will also have an opportunity to give them various orders.
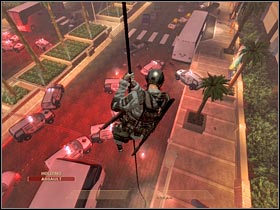 |  |
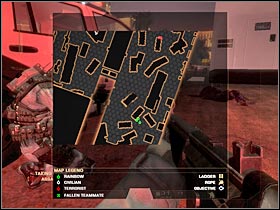
You will have to follow the rest of the team, however you will regain full control over their movements very soon. As you've probably noticed, there are a lot of cars here. You will be using them for cover. I would recommend hiding behind one of the closest cars. You should also take a closer look at the tactical view (#1). Make sure that you use the map frequently, mostly because you won't notice some of the terrorists at first glance. I would recommend sending the rest of the squad to your left (#2). Your team members will start shooting at some of the terrorists.
 | 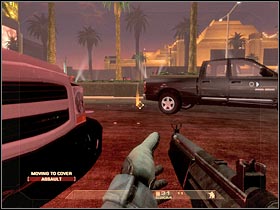 |
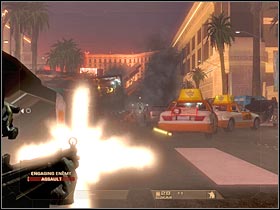
You, on the other hand, should move to your right. Hiding behind a black pick-up truck seems like a good idea. You should be able to take out some of the terrorists from here (#1). Your team will also provide a much needed help. The most important thing here is that none of the enemy soldiers gets closer to your position. Proceed to the cabs. They have been parked nearby. Attack the second group of terrorists from the right flank (#2). Also, choose a new cover point for the rest of your squad (closer to your current position).
 | 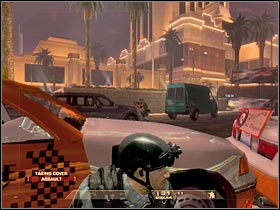 |
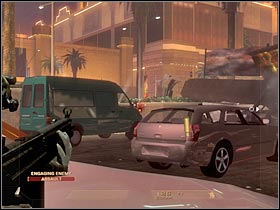
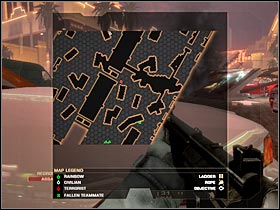
Some of the terrorist will appear in front of you. There's a small passageway there that leads to the next section of the map (#1). Make sure that you're using your tactical map (#2). You will have to take out all terrorists. Once this is done, order the rest of the squad to follow your lead. Head on to that location. Take your time. Remember that you aren't rushed by anyone.
 |  |
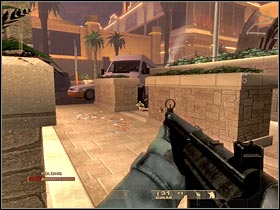
Start moving towards the small passageway. Be careful, though. This area should be guarded by at least one enemy soldier (#1). You will have to take him out quickly. Once you've dealt with this problem, order the rest of the squad to find a good cover. Start shooting at the visible enemy soldiers (#2). Use the scope or the zoom feature. The entire squad should help you to deal with this problem. Just make sure that your teammates are hiding behind a larger object.
 | 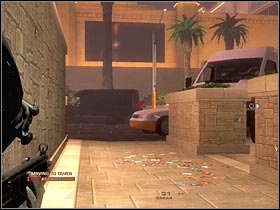 |
Keep going straight. There's a new cab on your right. It would be wise to use it for cover. You should also be able to take out some new terrorists from here (#1). Remember that windows aren't considered to be an obstacle. Once the area has been secured, send the rest of the team to your left. Thanks to that, the terrorists won't be able to surprise you (#2).
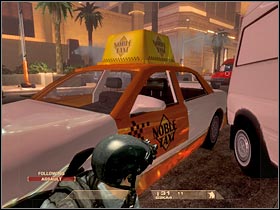 | 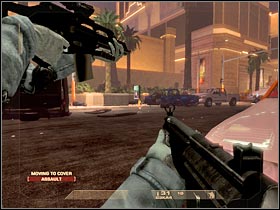 |
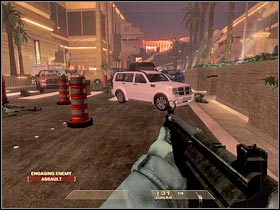
Most of the enemy soldiers will appear in front of your current position. You will have to be ready for that. Eliminate them before they manage to get closer to you or your team. I would recommend hiding behind a black car (#1). Ignore the red van, mostly because you would expose yourself too much. Some of the terrorists will be hiding behind a white car (#2). Make sure that you've taken care of that problem. Don't go there just yet. Gather the rest of the team around your position.
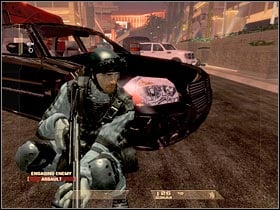 |  |
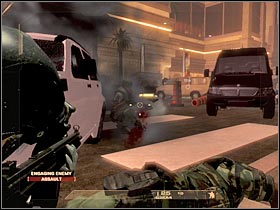
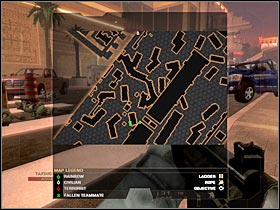
There are some quite challenging fights ahead. You will have to secure the white car. Some of the terrorists will be hiding here, so it would be best to surprise them (#1). Clear out this entire area. There's a second passageway on your right (#2). You will have to be VERY careful here, mostly because some of the bandits may still be hiding. Make sure that the squad is following your lead.
 |  |
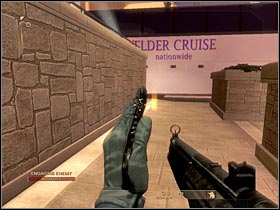
Keep moving forward. Order your men to guard a small brick wall that should be located in front of you (#1). I would recommend that you turn right and hide behind the back of the bus (#2). You should be able to kill most of the terrorists from here, however make sure that none of them gets closer to your position.
 | 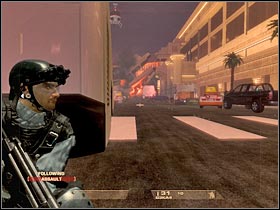 |
Try moving the whole team to your right. I would recommend choosing a small passageway that should be located near the right building (#1). Eliminate a small group of terrorists. Just as before, you must try to maintain a larger distance. Start moving forward. You will have to eliminate several other bandits along the way. Hide behind one of the smaller objects (#2). The rest of the team should get closer to the casino.
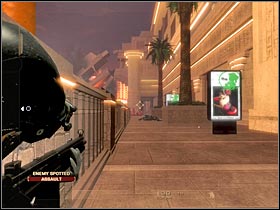 | 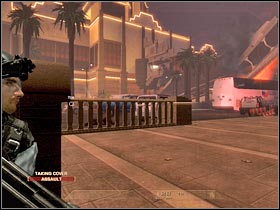 |
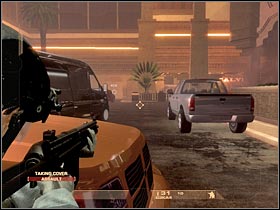
Keep moving towards your current destination. Be careful, though. The area has not been secured, so there are some bandits here. Order your men to hide behind a large, white van (#1). You, on the other hand, should move to the right side of the passageway (#2). Hide behind an orange car and start shooting at the visible enemy soldiers.
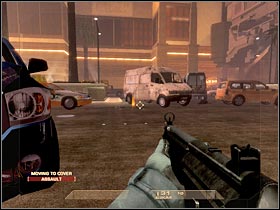 |  |
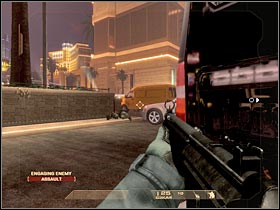
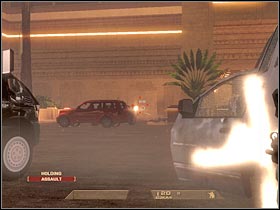
Start moving forward (slowly!!). Some of the terrorists may actually try to get closer (#1). You will have to take care of them as soon as possible. Order your men to hide behind one of the parked cars. You should do the same. Try to kill at least 2-3 terrorists from here (#2). Use your scope or the zoom feature. Additionally, choose single shots instead of longer bursts.
 |  |
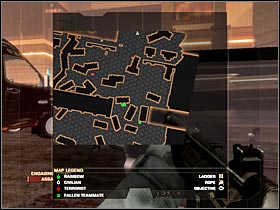
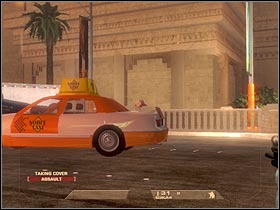
Most of the enemy soldiers will appear on the left side of the screen (#1), however your team should cover that area, so you don't have anything to worry about. Focus most of your attention on killing enemy snipers (#2). You should have a gun with a scope at your disposal, so it shouldn't be much of a problem.
 |  |
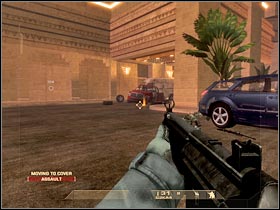
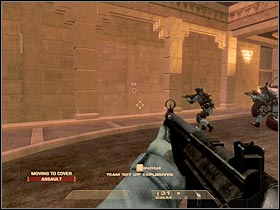
Start moving towards the designated area of the map (#1). Sadly, you won't be able to head on to the main entrance of the casino. Make sure that this entire area has been secured. Turn left and order your men to place an explosive charge on the wall of the casino (#2). Wait for the explosion to occur. You will have to maintain a safe distance!
 |  |
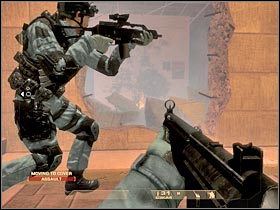
Proceed to the main building through the destroyed part of the wall (#1). You won't encounter any hostiles here, so you won't have to make any unnecessary stops. Additionally, the game will create a checkpoint area here. Start moving forward. Once you've reached a large door, use your camera (#2). As you've probably noticed, one of the terrorists is heading this way. Get ready!
 | 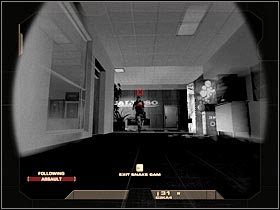 |
Wait for the bandit to open the door. You will have to kill him (#1), before he has a chance to retaliate. It shouldn't be much of a problem. You may proceed to the next section. Head on to a double door (#2). Use the camera once again. You will have to tag two targets (in front of you and on the right). Order your men to prepare for an assault. Head on to a second room that should be located on your right.
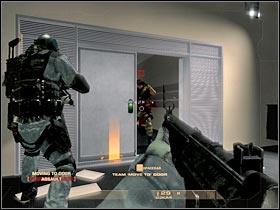 | 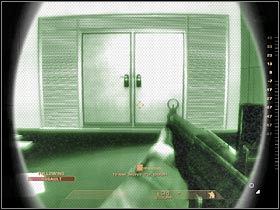 |
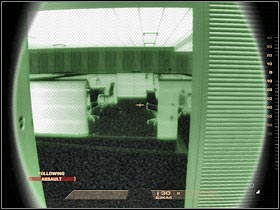
Your colleagues should use an explosive device to breach the door. You should be able to locate a small window here. Use it to get rid of the remaining terrorists (#1). They will be stunned for about two seconds, so it's your best chance. Go back to the double door and enter the room. Make a few steps forward and hide behind the cover. You should be able to kill the last terrorist from here (#2). Order the team to follow your lead.
 | 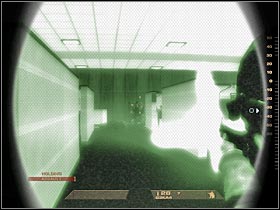 |
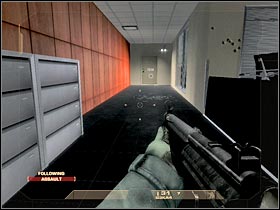
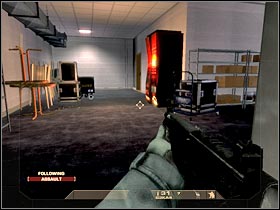
Make a few steps forward and turn right. Start moving towards a new door (#1). You can deactivate your nightvision goggles for the time being. There aren't any hostiles here. Once you've reached a new room (#2), wait for the progress bar to appear on your screen. The game will load a second map of this chapter.
 |  |
- Tom Clancy's Rainbow Six: Vegas Game Guide & Walkthrough
- Rainbow Six Vegas: Walkthrough
- Rainbow Six Vegas: Mission 1.1 Mexican Border - Inbound
- Rainbow Six Vegas: Mission 1.2 Mexican Border - Trainyard
- Rainbow Six Vegas: Mission 1.3 Mexican Border - Mines
- Rainbow Six Vegas: Mission 1.4 Mexican Border - Escape
- Rainbow Six Vegas: Mission 2.1 Calypso Casino - The Strip
- Rainbow Six Vegas: Mission 2.2 Calypso Casino - Security
- Rainbow Six Vegas: Mission 2.3 Calypso Casino - Prime Time
- Rainbow Six Vegas: Mission 2.4 Calypso Casino - Dr. Smythe
- Rainbow Six Vegas: Mission 2.5 Calypso Casino - Extraction
- Rainbow Six Vegas: Mission 3.1 Downtown Vegas - Exclusive Gone Wrong
- Rainbow Six Vegas: Mission 3.2 Downtown Vegas - Fremont
- Rainbow Six Vegas: Mission 3.3 Downtown Vegas - Mafia House
- Rainbow Six Vegas: Mission 4.1 Vertigo Spire - Tower Assault
- Rainbow Six Vegas: Mission 4.2 Vertigo Spire - Tower Bar
- Rainbow Six Vegas: Mission 5.1 Dante's Casino - Hell's Gate
- Rainbow Six Vegas: Mission 5.2 Dante's Casino - Gabe
- Rainbow Six Vegas: Mission 5.3 Dante's Casino - Kan
- Rainbow Six Vegas: Mission 5.4 Dante's Casino - Data Hub
- Rainbow Six Vegas: Mission 6.1 Nevada Dam - Tourist Center
- Rainbow Six Vegas: Mission 6.2 Nevada Dam - The Dam
- Rainbow Six Vegas: Mission 6.3 Nevada Dam - Spillway
- Rainbow Six Vegas: Mission 6.4 Nevada Dam - Facility
- Rainbow Six Vegas: Mission 6.5 Nevada Dam - The Doctors
- Rainbow Six Vegas: Mission 6.6 Nevada Dam - Irena
- Rainbow Six Vegas: Mission 6.7 Nevada Dam - Top of the Dam
- Rainbow Six Vegas: Walkthrough
You are not permitted to copy any image, text or info from this page. This site is not associated with and/or endorsed by the developers and the publishers. All logos and images are copyrighted by their respective owners.
Copyright © 2000 - 2025 Webedia Polska SA for gamepressure.com, unofficial game guides, walkthroughs, secrets, game tips, maps & strategies for top games.
