Well of Tears | Optional Tombs: Shantytown
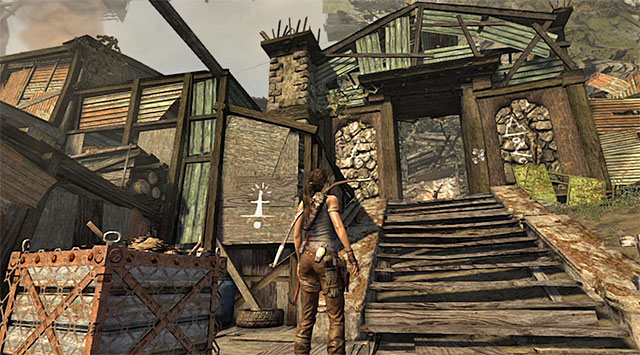
Entrance coordinates: [712580; 3416067]
Note: You can explore the tomb during your first visit to Shantytown. Examine the northern area, west of the gate that you open in the course of Highway to Hell. Locate the entrance to the building with white symbols painted on the walls.
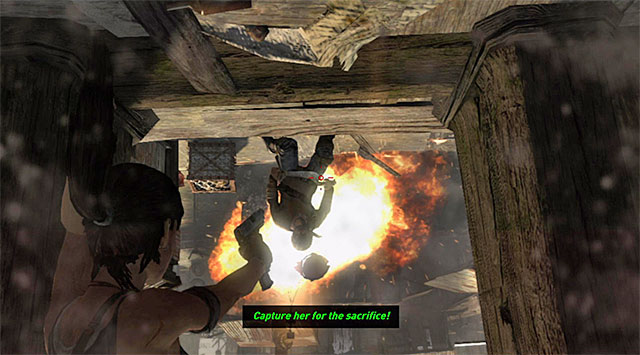
Be on your guard because as soon as she goes in, Lara will fall into a trap, which is something you can't avoid. Shoot the guards trying to get close.
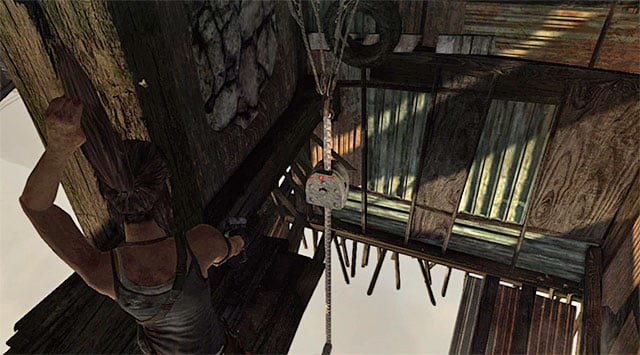
Depending on preferences, you can spend the whole shootout hanging head down, or try and set yourself free as soon as possible. Regardless, sooner or later you're going to have to shoot the pulley anyway.
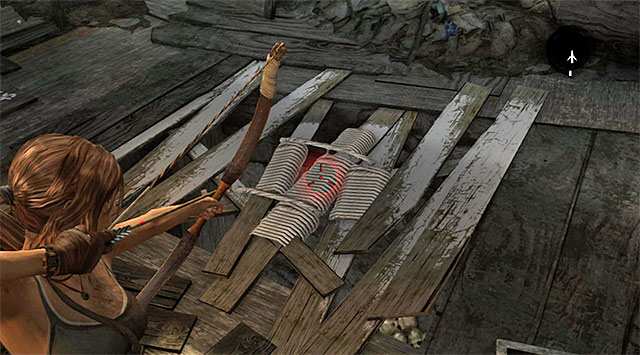
When the fighting is over, approach the altar and shoot a rope arrow to pull out the planks on the floor. Jump into the hole to find a GPS Cache (collectible) and a dimly lit tunnel leading to the tomb.
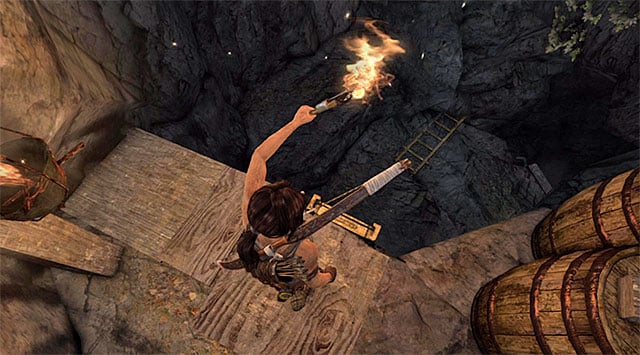
Follow the linear path, over some wooden planks. When you reach the edge, go down the ladder. Soon you'll reach another ladder, but this one is partially damaged, so you'll have to drop down at the end of the way. Move forward, past some cracks between the wall, until you reach the main hall of the tomb; traditionally, there's going to be a puzzle to solve (there's also another base camp).
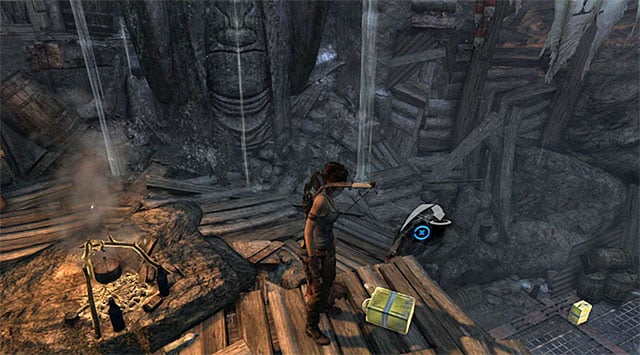
Start by picking up one of the yellow canisters scattered around.
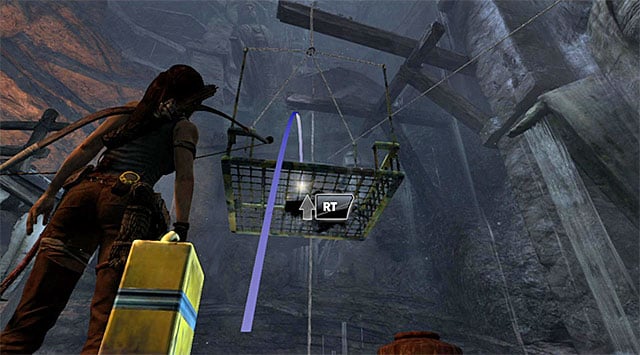
With it, go near the camp and get into aiming mode. Set such trajectory so that the canister lands on the interactive platform.
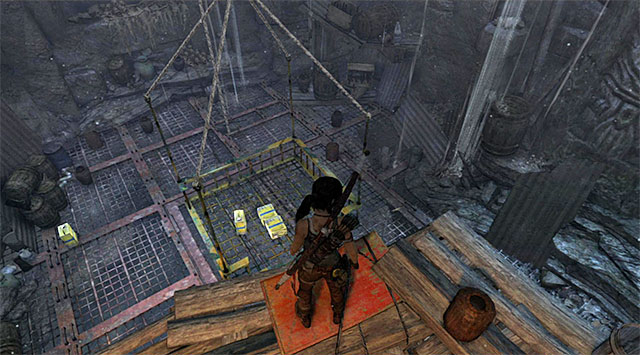
Do the same with two other canisters. With three canisters on the platform, it should drop to the bottom.
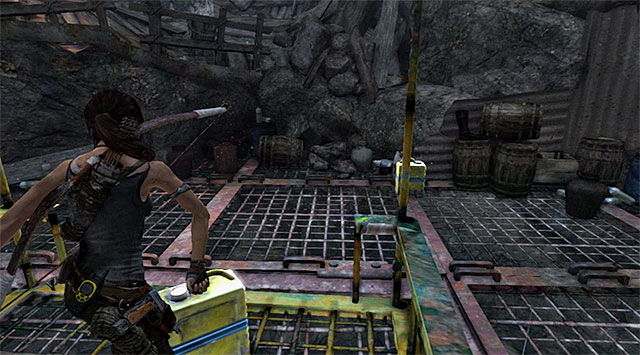
Stand on it and pick up a canister. Hurl it away; there should be two canisters left on the platform.
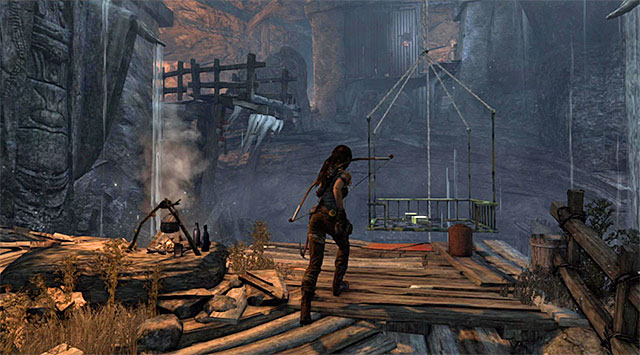
This is when the hard part begins. You'll need to step off the platform and immediately return near the base camp. Leap over to the platform as it ascends.
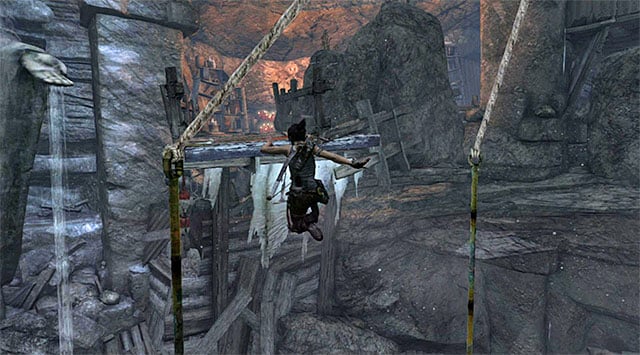
Quickly turn left and perform another jump, this time in order to grab onto an interactive ledge. If you're too slow, the platform will drop to the bottom again (if so, repeat your last steps).
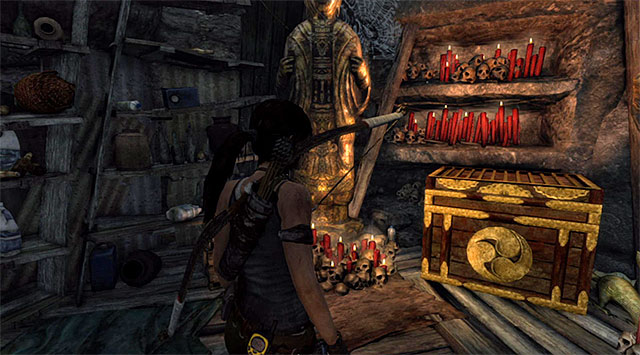
Only one thing left: enter the treasure room. The chest holds 250 Salvage points and a map of Relics and Documents (reward: 1250 XP). Backtrack to the entrance (you'll need the climbing axe on the way).
You are not permitted to copy any image, text or info from this page. This site is not associated with and/or endorsed by the Square-Enix / Eidos or Crystal Dynamics. All logos and images are copyrighted by their respective owners.
Copyright © 2000 - 2025 Webedia Polska SA for gamepressure.com, unofficial game guides, walkthroughs, secrets, game tips, maps & strategies for top games.
