Tomb Raider: Reach the Endurance Wreck (part 2)
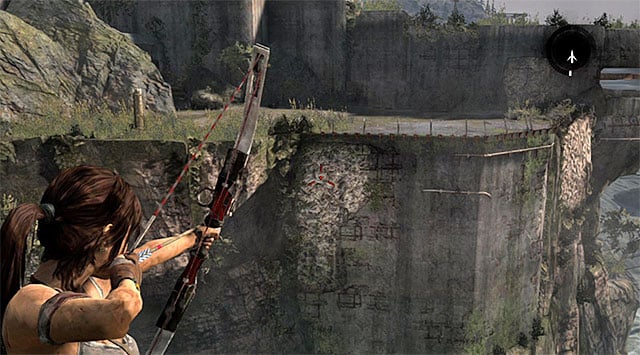
Continue down the narrow corridor until you reach a small hill with the Bunker Vista base camp. As usual, remember to examine all newly unlocked areas; on your way to the Endurance you'll stumble upon a lot of new collectibles. Face the eastern ledge, pictured above, and create a rope bridge across the chasm.
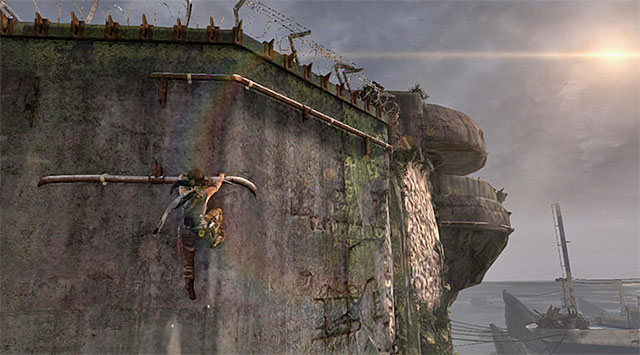
Slide down the rope, but press the action button right before hitting the wall. Start moving to the right, jumping when needed, until you reach a new interactive wall (don't forget about the climbing axe).
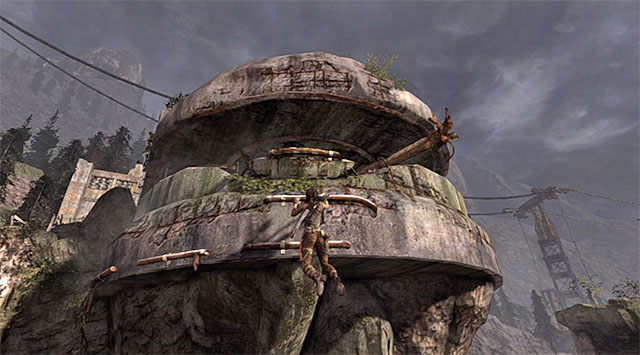
Again, leap over to some interactive ledges and keep moving right. Finally, grab onto the upper edges (screenshot) which will lead you straight to the bunker. For starters, locate a hole in the wall and pass through it to reach the main area occupied by a large group of enemies.
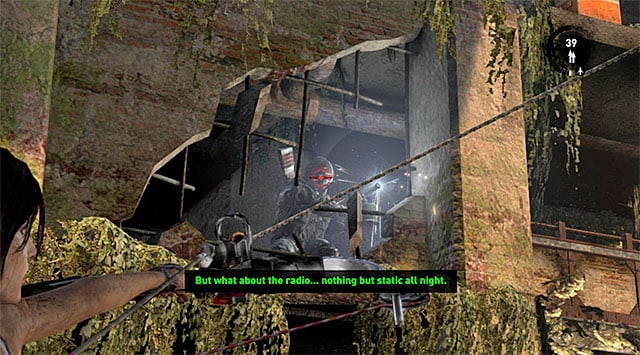
I strongly recommend staying in hiding for as long as you can so that you'll have less enemies to take down at the start of the upcoming battle. Stealth kill the guard that has his back to Lara, then use the bow to shoot the guards on the galleries (one on the left, one on the right). They should be busy with other things, so they won't see Lara until it's too late.
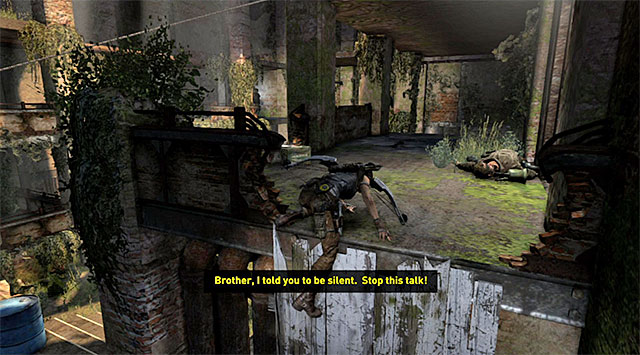
Once they're down, sneak to the right and bounce off the wall to get to the gallery. Look around for two guards away from the main group, and make use of the bow again.
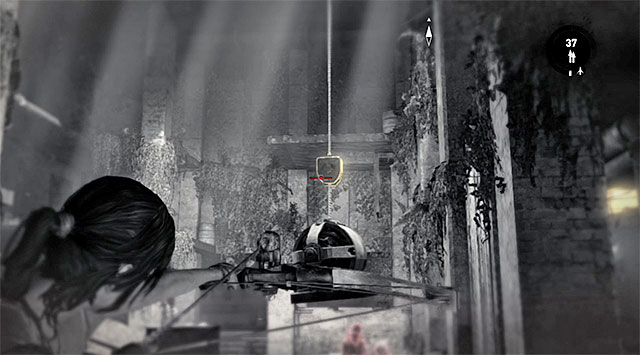
Leave the main group for last and don't be in too much rush while at it; one of the guards will be stealth killed. The best way to start the battle would be to drop the cargo load on their heads (screenshot), but you can also blow up an explosive barrel.
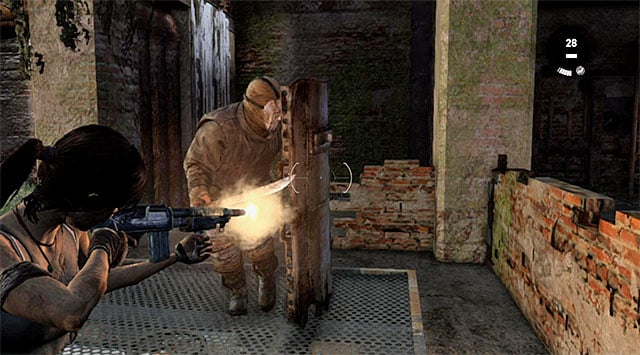
Once the fighting commences, don't forget to take covers and keep in mind that reinforcements will arrive shortly. Try to maintain a safe distance and avoid any explosive surprises they may hurl at your feet. The final stage of the battle will summon a riot shield-wielder, so make sure to dodge first and shoot later.
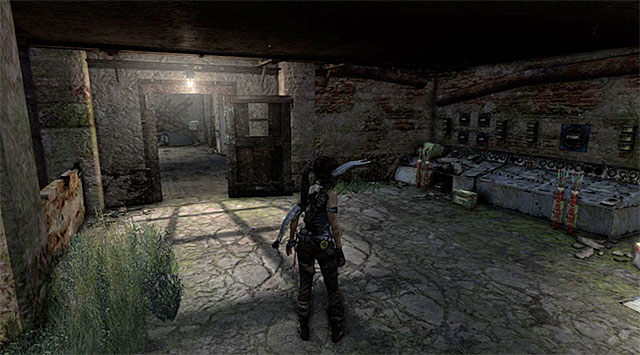
Afterwards, examine the area thoroughly (make sure to replenish you ammo!), then head north-west towards the exit (screenshot). Ignore the inaccessible sideway areas for now; you'll be able to check them out only further in the game, once Lara acquires some new gear.
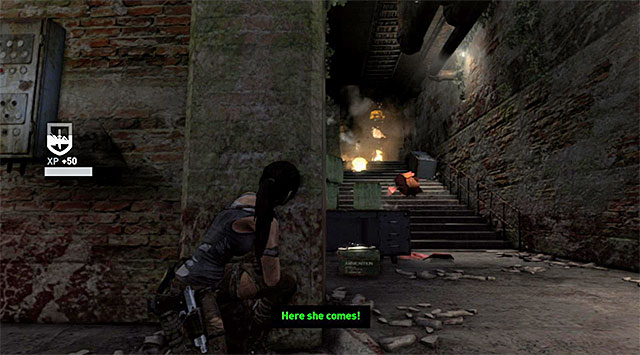
Turn left at the fork. The enemies will try to send an explosive barrel your way. You can either retreat to the previous area and wait until it blows up, or shoot it right away to dispose of the enemies who tried to outsmart you.
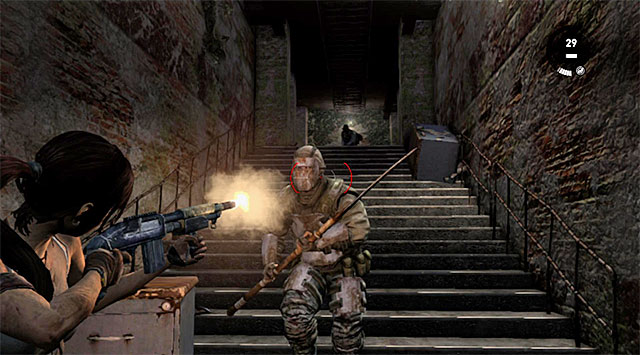
Get ready for a battle that will have two major catches. Firstly, there will be an armored guard with a spear heading your way. The shotgun or the grenade launcher would be the best means to get rid of him.
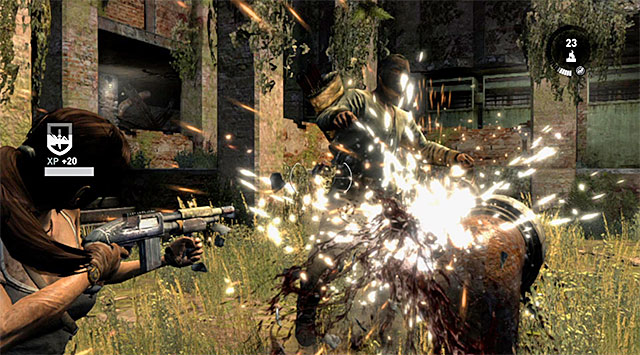
Secondly, new enemies will soon spawn in the main area of the bunker which you have just secured. It's a good idea to retreat there so that at the start of the battle Lara isn't surrounded by two separate groups. Fight until everybody's down. Afterwards, make your way to the stairs again and go up.
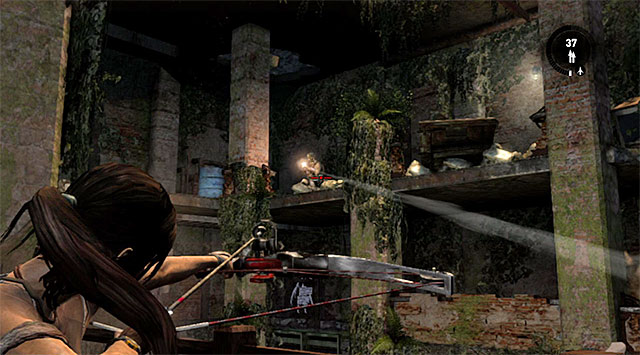
Check out the sideway room for some supplies, then move to the nearby gallery and hide behind the wall. Start attacking your enemies from there, but take down the guys with explosives and crossbows first. Keep an eye out for at least one enemy that might flank you from your left.
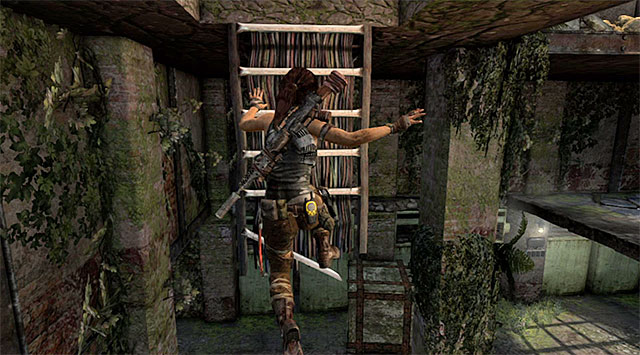
When the battle is won, go left and leap over to the platform where the aforementioned enemy has just been. Turn right and perform another two leaps - the first towards the metal beam, the second towards the interactive edges that will take you further up the bunker.
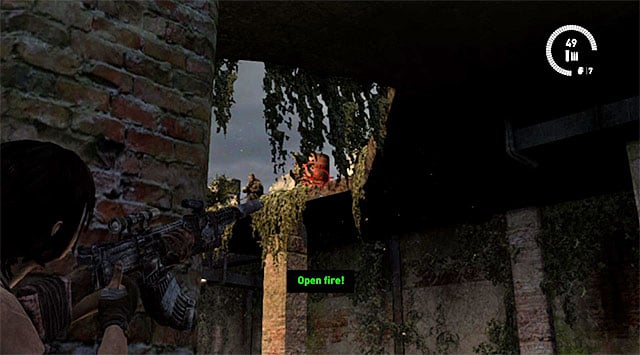
Getting rid of the last group is very easy - just shoot the explosive barrel pictured on the screenshot. Check out the floor, then go the ramp from which you can leap over to the hanging cargo.
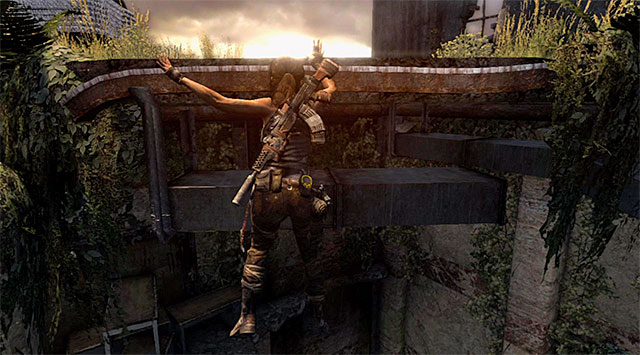
Move right along the edges until you can pull up. Leap over to the edge in front, it will take you to the roof of the bunker.
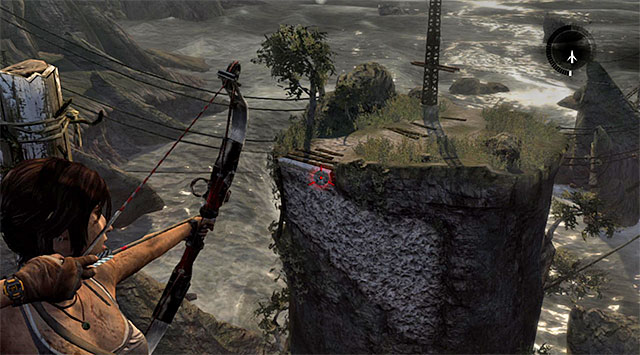
Examine the area, then head north-east and rest at the newly discovered Endurance Overlook base camp. Stand by the edge and create a rope bridge across the chasm. Go down the line and use another rope bridge (already there) to get to the Endurance's deck (reward: 100 XP).
You are not permitted to copy any image, text or info from this page. This site is not associated with and/or endorsed by the developers and the publishers. All logos and images are copyrighted by their respective owners.
Copyright © 2000 - 2026 Webedia Polska SA for gamepressure.com, unofficial game guides, walkthroughs, secrets, game tips, maps & strategies for top games.
