Tomb Raider: The Flooded Vault
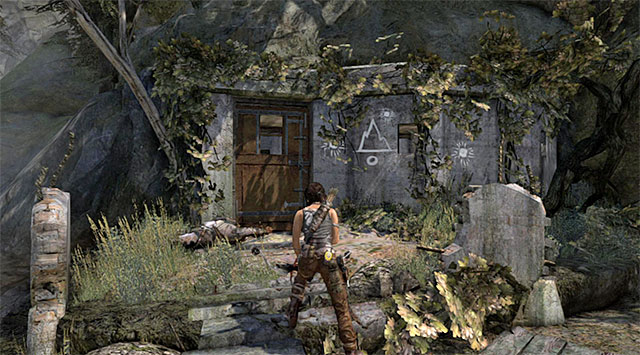
Entrance coordinates: [712521; 3415962]
Note: You can explore this tomb as you go through the south-eastern part of the beach, on your way to the Endurance. Shortly after sliding down the zip-line from the top of the lighthouse, you'll run into two guards you have to take down. Once they're down, head for the entrance to the bunker and use the climbing axe to open the door.

Pass through subsequent corridors, but make sure to look around for collectibles. Use the ladder, then, with the help of the climbing axe, leap over a wide chasm (hold the action button).

Take the upper or the lower path (both meet back up in the same spot), and continue onwards. Soon you'll reach dimly lit areas which will force you to use the torch and lead you to the main chamber, where a new puzzle awaits (as well as a new base camp).
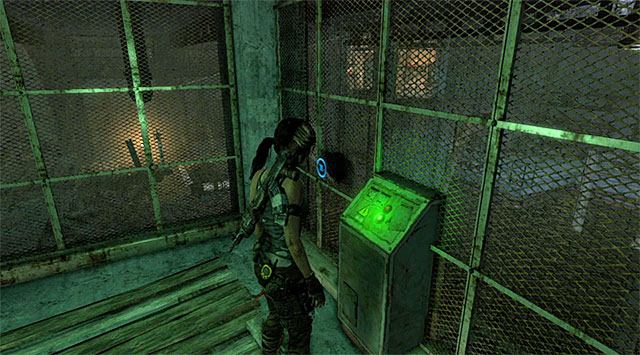
Go up the stairs and use the first control panel to cause an electrical discharge in the adjacent room.
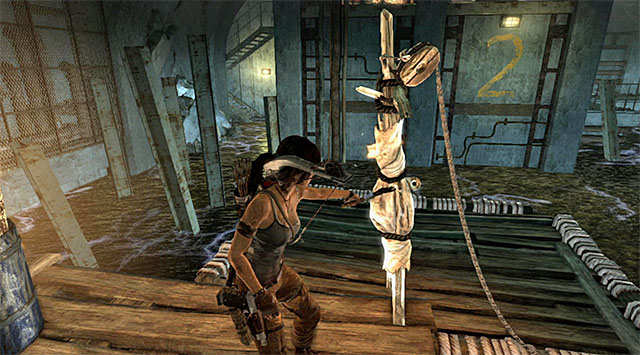
Backtrack near the base camp and use the second control panel to unlock access to a new room. Go left and light the rope sustaining the raft with fire arrows.
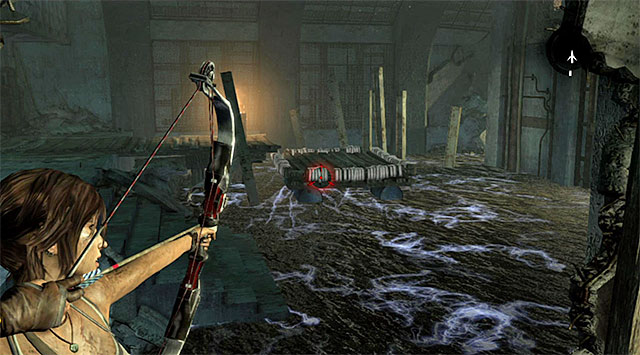
For a change, go left now. Blast through the door, then place yourself in such a position so that you could pull the raft towards you.
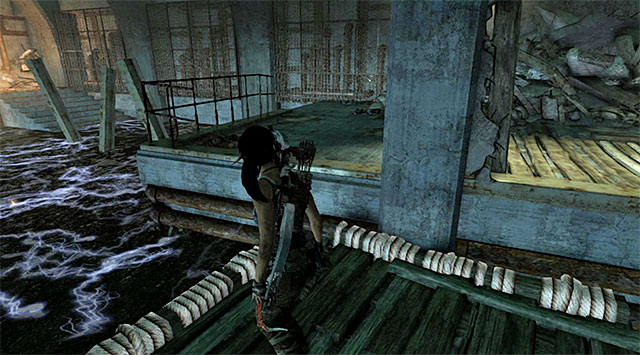
You're going to need to shoot rope arrows at least twice, only then will the raft swim where you want it to. Step on it, turn right and move over to the safe platform.
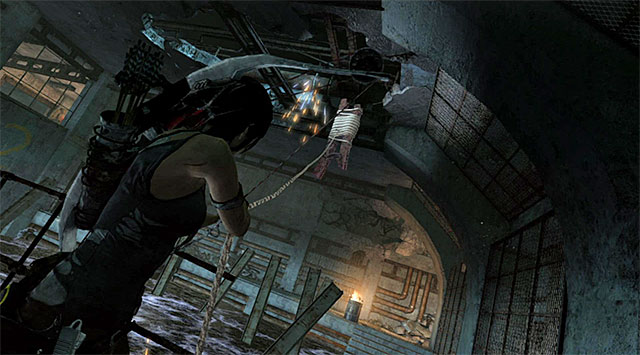
Stop near the discharge, look up and shoot a rope arrow at the indicated spot. As soon as you do so, run to the platform further away. Hurry up, the discharge will be gone only for a while.
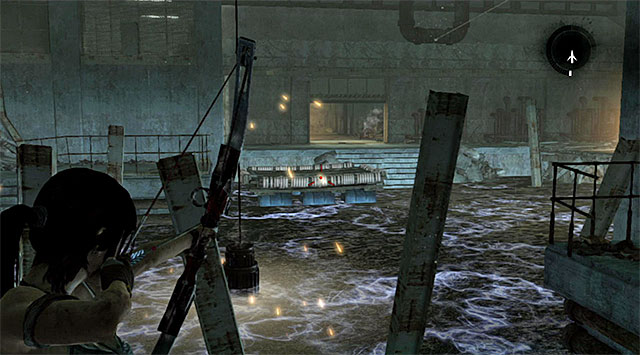
Face the raft again and start pulling it towards you. Do it until it reaches the lamp under the water.
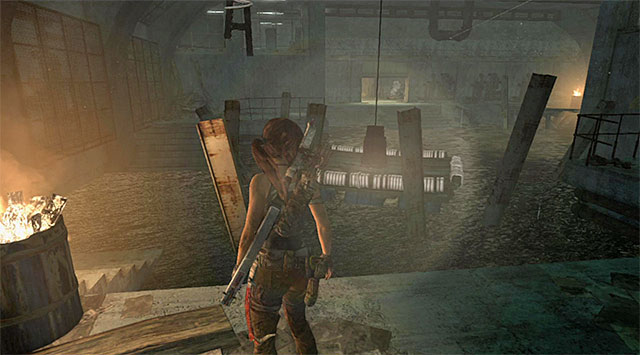
Send another rope arrow towards the high interactive spot to temporarily lift the lamp. Quickly pull the raft towards you once again. The whole idea is to have the lamp touch the raft, which will cause the discharge to disappear for good.

Jump into the water and check out the area to the left of the chamber entrance. You'll find stairs leading up to the higher levels inside the bunker.
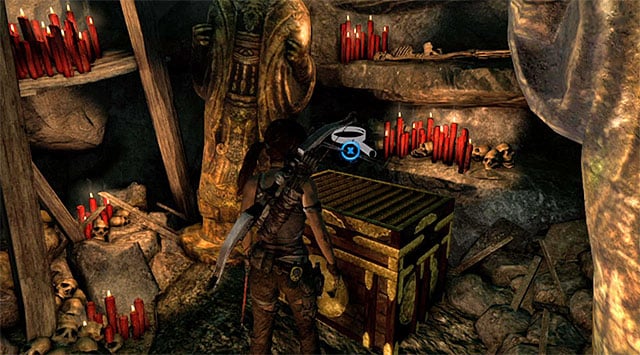
When you get there, find the treasure room and open the chest. It holds 250 Salvage points and a map of Relics and Documents (reward: 1250 XP).
You are not permitted to copy any image, text or info from this page. This site is not associated with and/or endorsed by the developers and the publishers. All logos and images are copyrighted by their respective owners.
Copyright © 2000 - 2026 Webedia Polska SA for gamepressure.com, unofficial game guides, walkthroughs, secrets, game tips, maps & strategies for top games.
