Tomb Raider: Find Alex
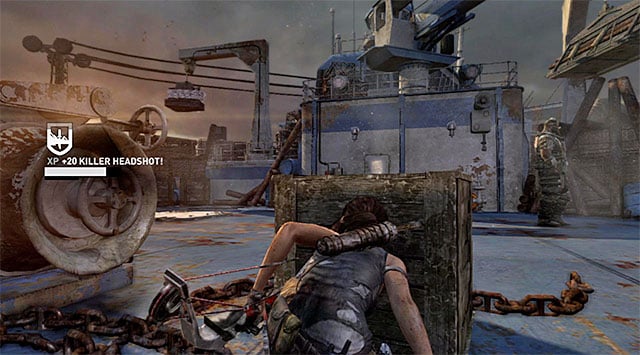
As you leave the tunnel, immediately take cover behind a small crate. You don't have to, but it will greatly help you in the upcoming events. For starters, try to get rid of the two "regular" guards; wait until the tall fellow walking on deck stops watching them, and shoot them using the bow or the stealth pistol.
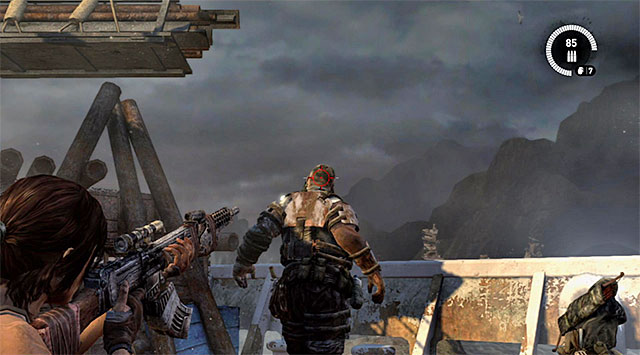
Afterwards, proceed to the overgrown mini boss-type of enemy. The only "weak spot" on his body is the head, so try to take at least one shot at it first.
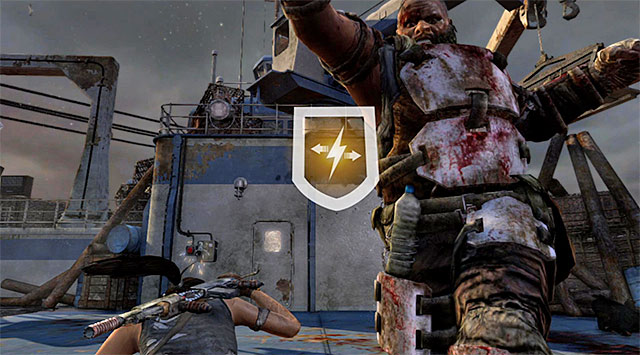
When the proper duel begins, apply the same tactic as with the riot shield-wielders: dodge. Don't wait until the last moment, though, because if you let the boss get too close, he may grab Lara and hurt her very seriously (or even kill her if she's already wounded).
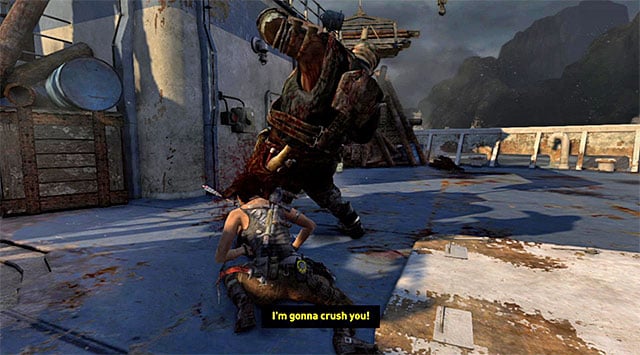
Apart from dodging, you can also try slowing him down by performing special attacks (screenshot), but it's only possible if you've unlocked them in exchange for XP.
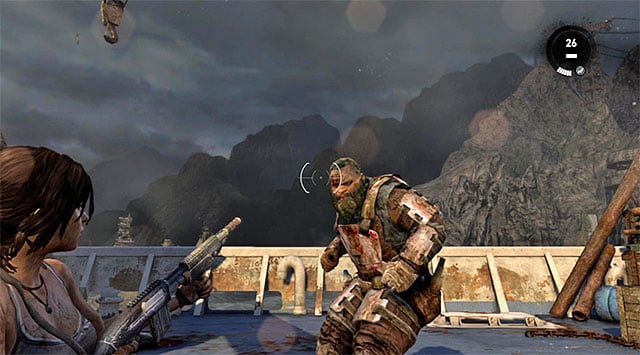
No matter how you choose to dodge, look for opportunities to damage him in the head. I recommend the shotgun, but the assault rifle also works well. The guard is very resistant, so you'll need to perform at least 3-4 successful shots.
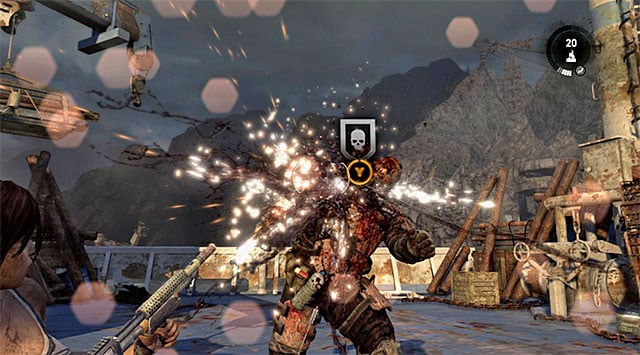
Fight until the execution icon pops up over his head. Run to him quickly and press the melee button. You need to hurry because if you're too slow the enemy will regain his health and unnecessarily prolong the battle.
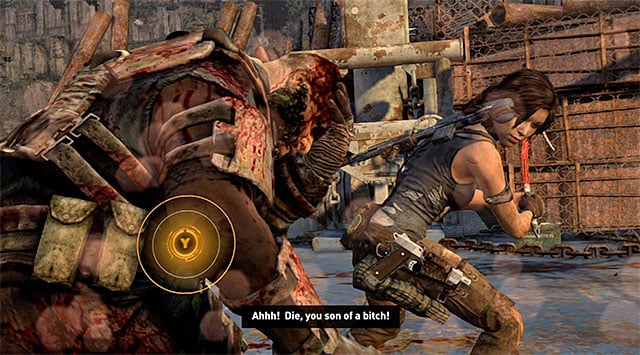
It's not over yet, because to take him down once and for all you also need to perform a QTE by pressing the action button twice (screenshot). Your reward will be a Rope Ascender which will help you reach new (or previously inaccessible) areas.
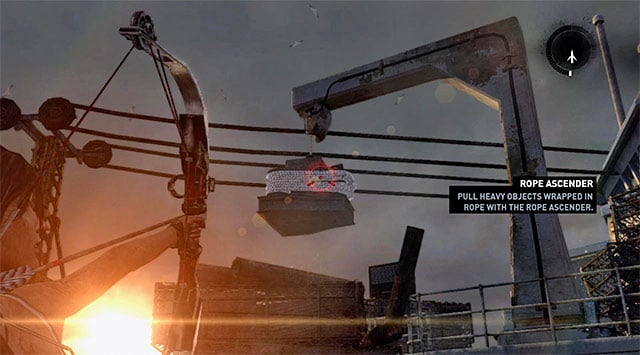
The game will let you test your newly acquired gear right away. Shoot a rope arrow at the cargo load hanging from a crane. Hold the action button to use the rope ascender. Wait until the cargo creates a hole in the deck, and drop down through it.
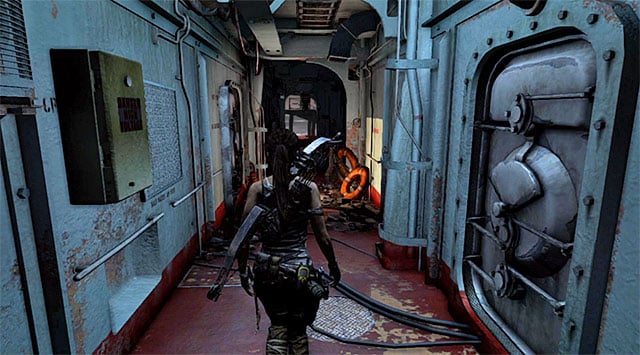
Move ahead to reach Lara's cabin where the game will trigger a short cut-scene (reward: 150 XP). Keep going, but stay on your guard; there are enemies nearby.
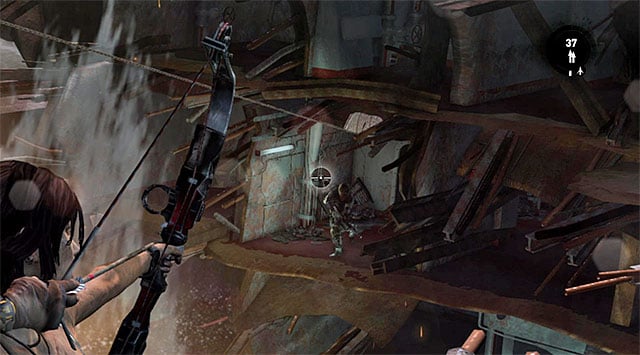
Ambush the guard on the left, then quickly dispose of the other one in the distance, using the bow or firearms. Slide down the zip-line.
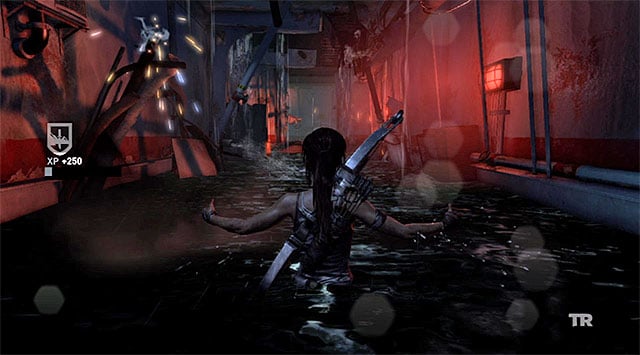
Resume the linear walk forward, down the partially flooded corridor (reward: 250 XP). You don't need to stop on the way, there are no enemies to run into nor collectibles to miss. Soon you'll reach a room in which you'll find the wounded Alex. You'll also have to solve a harder two-part puzzle.
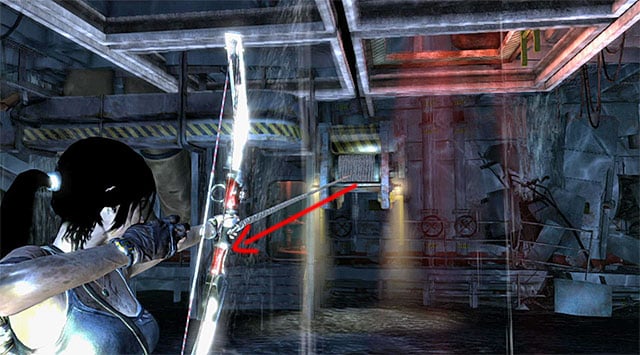
First, go to the room where Alex is (don't go near the blockade to avoid being electrocuted). Turn around, shoot a rope arrow at the moving structure pictured above, and pull it towards you using the rope ascender (hold the action button).
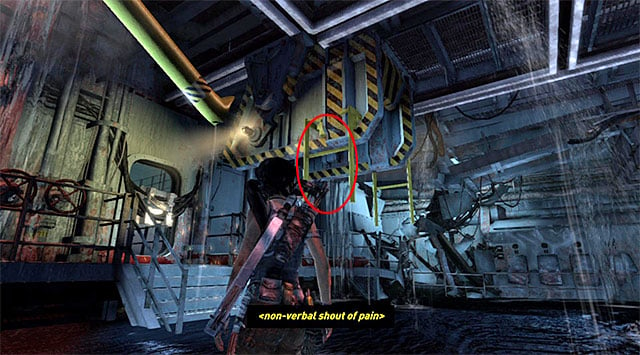
Go right, face the structure you've just pulled, and leap up to the ladder (screenshot). Don't let go until the moving structure reaches a new spot.
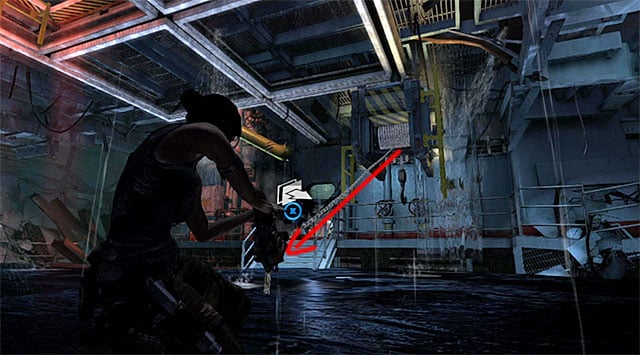
Let go of the ladder, move right (towards the starting point) and shoot another rope arrow to pull the structure towards you.
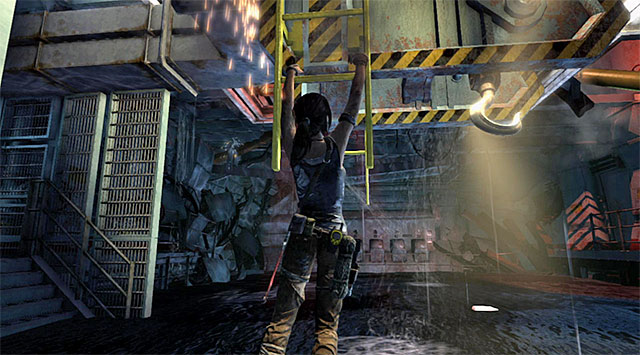
The next step is the most important, because you need to grab onto the ladder farther to the right (screenshot) in order to move the structure again.
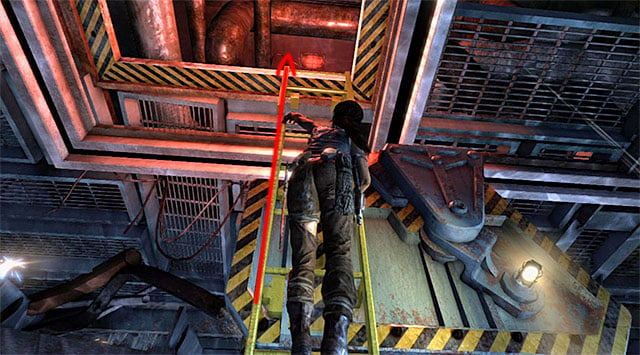
If you've done everything right, the moving object should stop right underneath the opening in the ceiling. Use both ladders to get to the vent shaft above the main room.
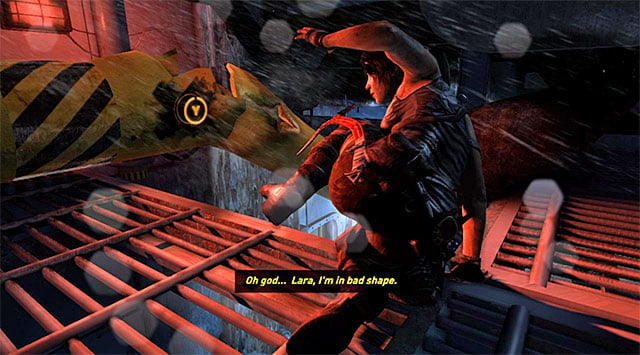
Go through the shaft, then press the indicated button a couple of times to destroy the pipe and proceed further.
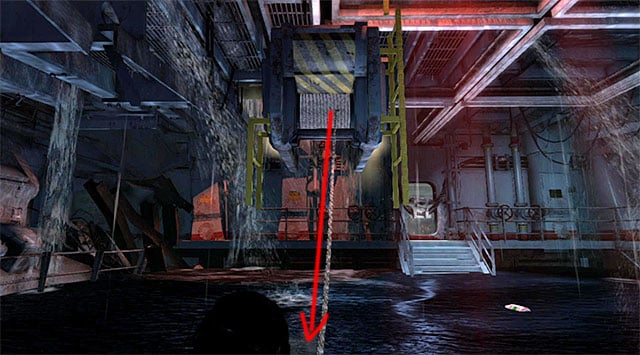
Go back to the moving structure and place yourself near the starting point so that you could shoot another rope arrow (screenshot).
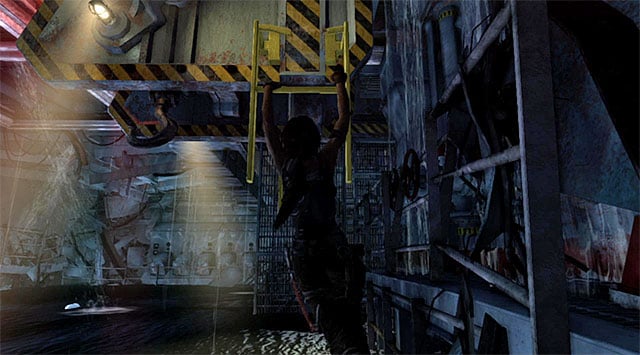
Turn left, run to the corner and face the interactive object again. Leap up to the smaller ladder to move the moving structure (don't let go of the ladder too soon!)
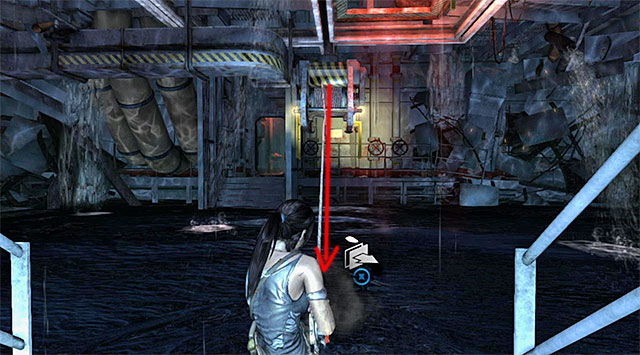
Again, approach the blocked passageway leading to the room where Alex is. Turn around and pull the structure towards you the usual way.
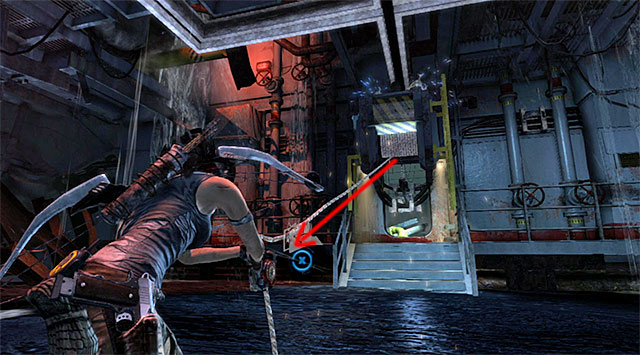
There's one last thing to do. Go back to the starting point and pull the moving object towards you one last time. If you've done everything right, a short cut-scene should tell you the way to Alex is now open (reward: 100 XP).
You are not permitted to copy any image, text or info from this page. This site is not associated with and/or endorsed by the developers and the publishers. All logos and images are copyrighted by their respective owners.
Copyright © 2000 - 2026 Webedia Polska SA for gamepressure.com, unofficial game guides, walkthroughs, secrets, game tips, maps & strategies for top games.
