Find the Bunker | 8: Cry for Help Walkthrough
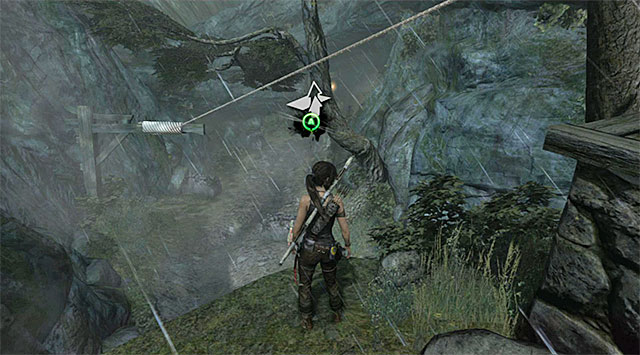
Go down the only available path, the one leading west. You could use the zip-line you're going to find at the end, but given that there are enemies in the area, it would be safer if you drop down.
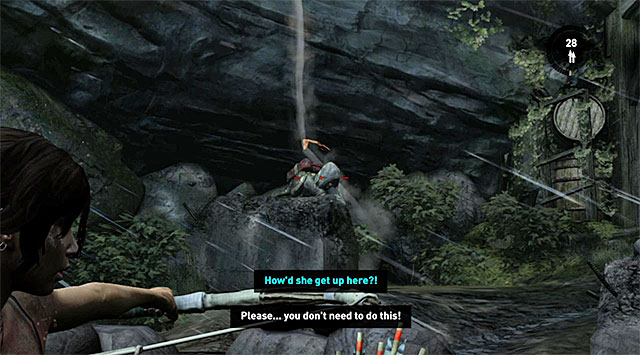
Eventually, you'll be spotted anyway, but if you want to gain a small advantage right from the beginning, aim at the lamp hanging above the camp. Hide behind the closest cover and start shooting, either with the bow or with the pistol. Some enemies will have Molotov cocktails, so keep moving from cover to cover. Watch out for the guard with a sword; if possible, don't let him get too close; if so, dodge.
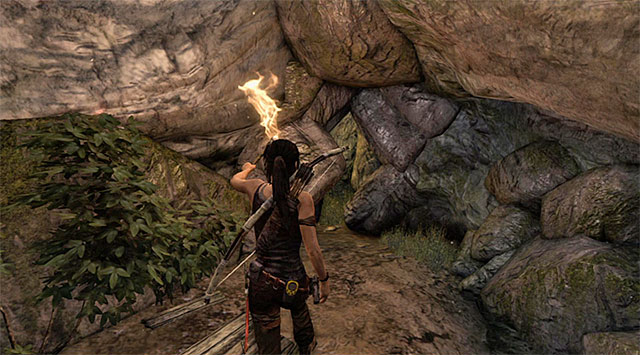
When the fighting is over, collect whatever supplies you find and start exploring a new location, Base Approach. The path leads north, to a narrow passageway between the rocks through which Lara will automatically squeeze.
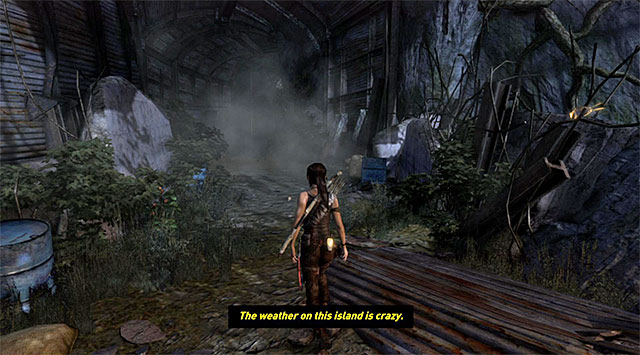
Head north-east and a few moments later you'll reach a new base camp (Broken Tunnel), where the game will trigger a longer cut-scene. When you regain control over Lara, search the area for collectibles (you also hunt crows and rats), then make your way north.
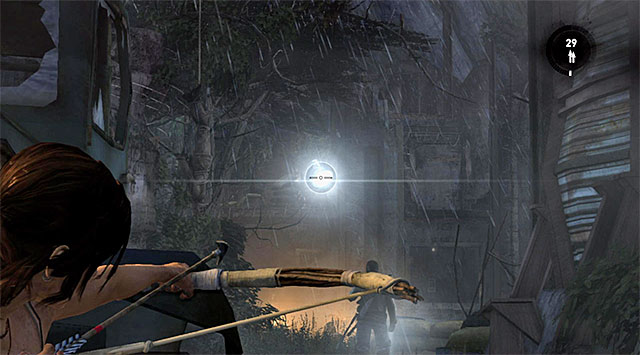
Approach the camp very carefully; a large number of enemies guards it. I strongly advise against a full-on attack, you might draw instant attention to yourself and not survive it. Instead, attack from hiding. Take a spot behind the wreckage of the truck and shoot the searchlight pictured on the screenshot.
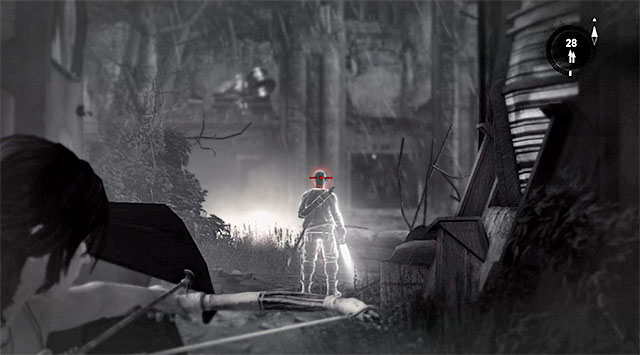
Once the light is turned off, wait until the situation calms down a bit, then take down the guard with his back towards you, standing right in front of the tunnel's exit (screenshot). Get closer to the camp afterwards (reward: 100 XP).
You are not permitted to copy any image, text or info from this page. This site is not associated with and/or endorsed by the Square-Enix / Eidos or Crystal Dynamics. All logos and images are copyrighted by their respective owners.
Copyright © 2000 - 2025 Webedia Polska SA for gamepressure.com, unofficial game guides, walkthroughs, secrets, game tips, maps & strategies for top games.
