Find a Way Out | 11: Another Fine Mess Walkthrough
You'll start in a brand new location (Chasm Monastery) and, same as at the beginning of the game, your first job would to be to set Lara free. Wiggle the analog stick left and right (or press directional keys) to swing her.
When the camera changes its angle, start rapidly tapping the action button to have her break free.
Since there are no items of interest in the area, locate the hole in the wall and squeeze through it right away. You'll watch a short cut-scene, but don't attempt to go back to the previous room; it would mean certain death. Instead, start walking down the narrow tunnels and corridors (reward: 100 XP).
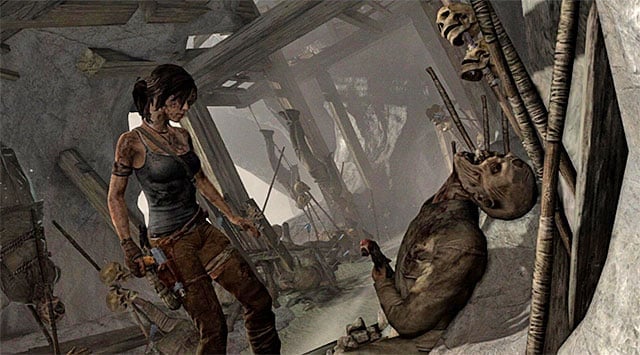
Move forward through the larger room, but stop to pick up some ammo. You'll find something better next to one of the corpses, though: a Trench Shotgun.
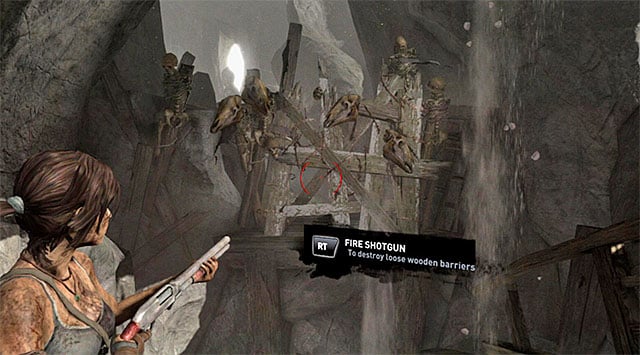
Use the newly acquired weapon straightaway to blast through the barricade (screenshot) (reward: 250 XP). You'll be using the shotgun this way more often in the near future. Go through the newly unlocked passage.
Follow the narrow corridor until you reach a hole in the wall that you need to leap up to. When you land in the room with a sarcophagus, the game will trigger a longer cut-scene, and as soon as it ends, a shootout will start. It pays off to use the shotgun here; it's deadly efficient in close ranged combat. If you run out of ammo, look around for crates, switch weapons or start using the climbing axe in melee combat.
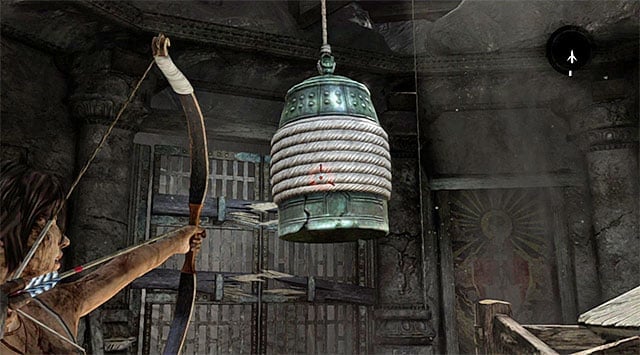
To get out of the sarcophagus room, you'll need to solve a simple puzzle. Stand as indicated on the above screenshot, right in front of the barricaded entrance. Shot a rope arrow as the hanging object and start swinging it; it will eventually break through the door.
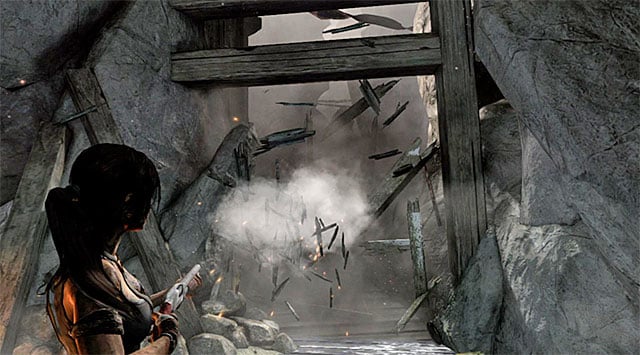
Take the newly unlocked passage and you'll reach a narrow tunnel, as well as another base camp (Sheltered Alcove), where you should rest. Once you're strength is back, turn right and blast through the barricade.
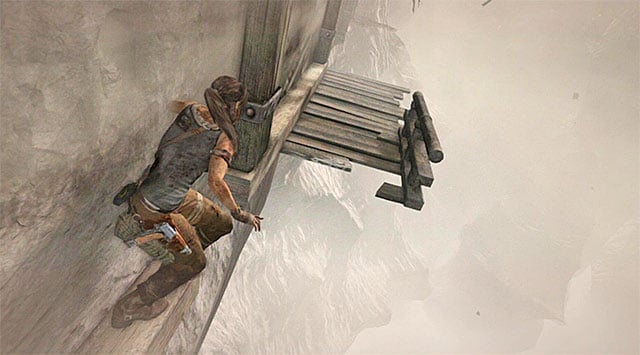
Make your way towards the gallery. The crossing isn't especially challenging at the beginning, you only need to wiggle the analog stick in the proper direction (or press the directional key). Problems arise where Lara has to leap over (action button) to a broken wooden balcony (screenshot).
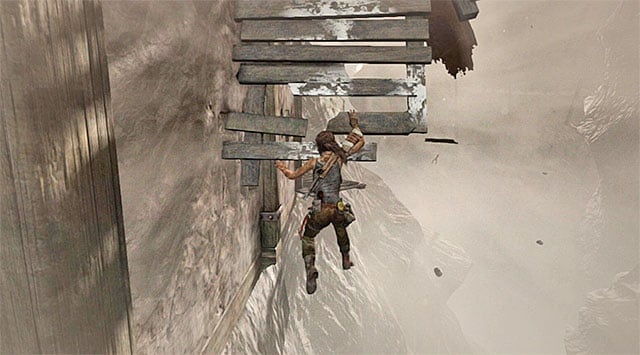
Get ready to act as soon as you land on it. If you don't want Lara to fall down the precipice, you can't stop for one second. Run-up, jump and grab onto any piece. Make your way to the top in order to reach a safe platform. Locate a hole in the wall of the building on the left and slip through it.
You'll walk right into a new shootout. Eliminate the enemies with firearms first, leaving the riot shield-welder for last. Same as with the previous ones, keep dodging, but this time use the shotgun; 1-2 shots should take care of the matter. When he's down, deal with whoever's left.
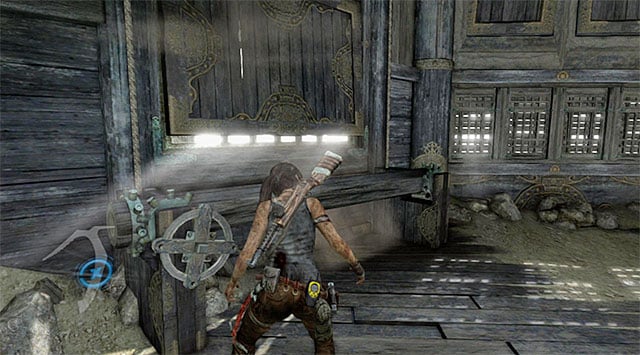
Go up the ramp to the upper floor, but be ready to kill a single guard who'll try to ambush you. The first floor has a puzzle to solve, a bit more complicated than the last one, so make sure to follow the instructions below. Approach and interact with the mechanism that controls the shutters (screenshot).
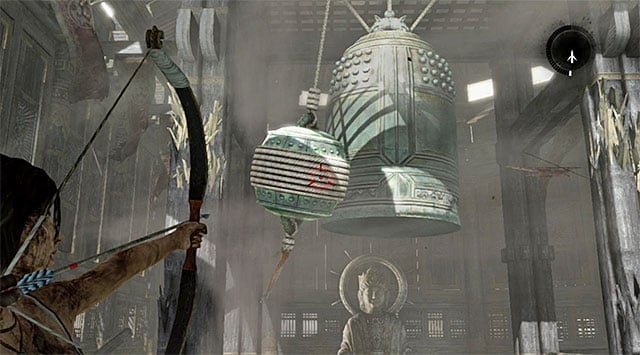
Face the object hanging from the ceiling and shoot a rope arrow to swing it, causing it to break the left wooden support.
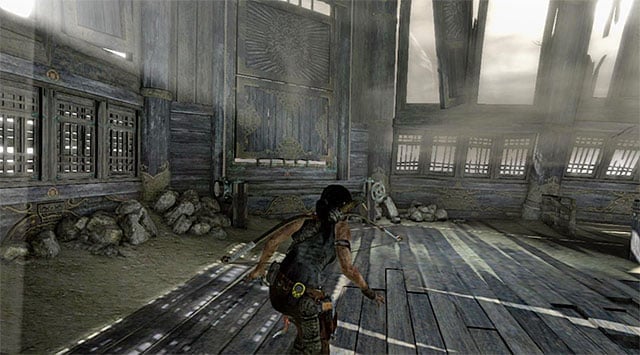
Go back to the shutter mechanism and close them. Approach the previously ignored mechanism on the right to open the other shutters.
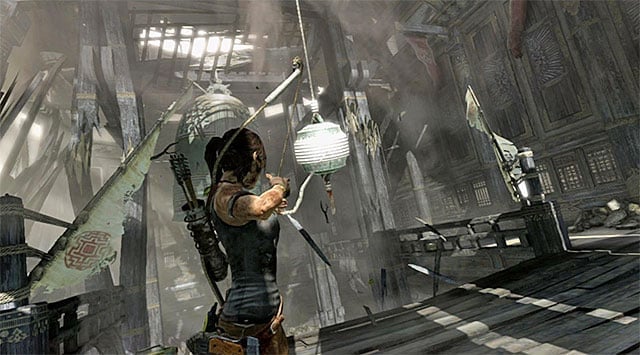
Shoot a rope arrow again and destroy the support on the right.
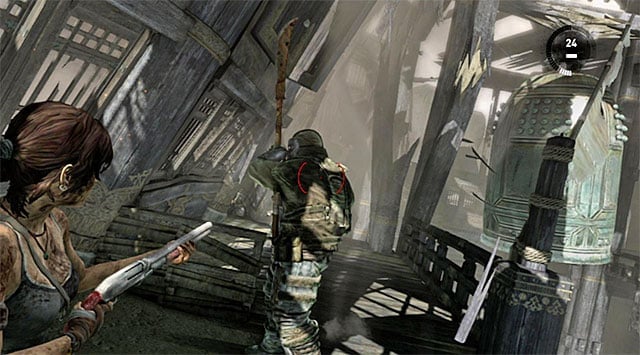
Be aware that this will spawn some new enemies. They'll be coming from the same ramp you've taken to get here. Take them down with the shotgun, especially since they will need to cross a narrow corridor to get close to you. Watch out for the overgrown one (screenshot); dodge and kill him with the shotgun.
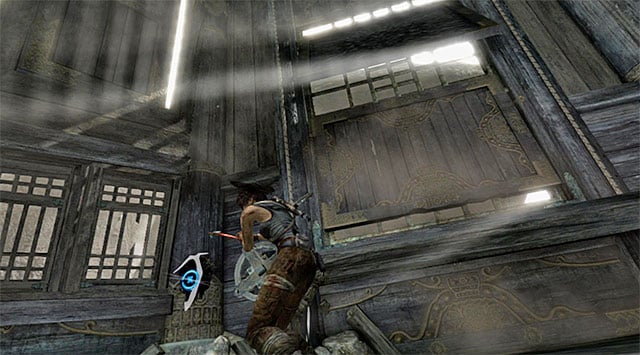
The final part of the puzzle is a little less obvious. Approach the left mechanism again to open the shutters one more time (all shutters should be open now).
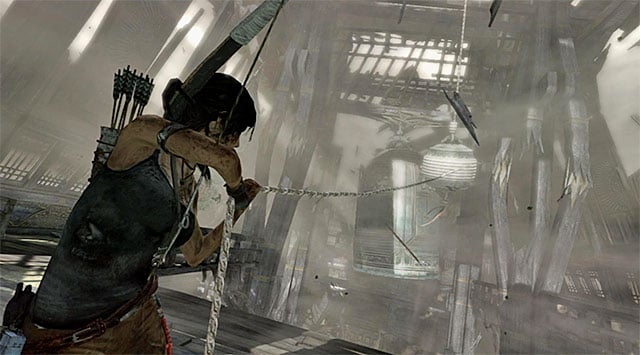
Finally, face the hanging object and shoot a rope arrow to swing it again. It should hit the huge bell, triggering a cut-scene that will illustrate the falling of the building (reward: 250 XP).
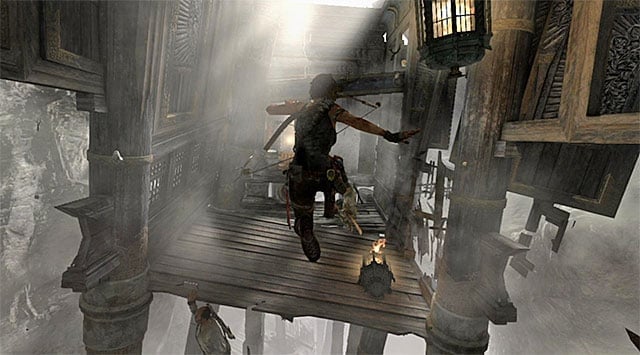
Start running as soon as you regain control over Lara; ignore the guards and don't stop. You're going to have to jump a few times, but that's nothing you should be worrying about.
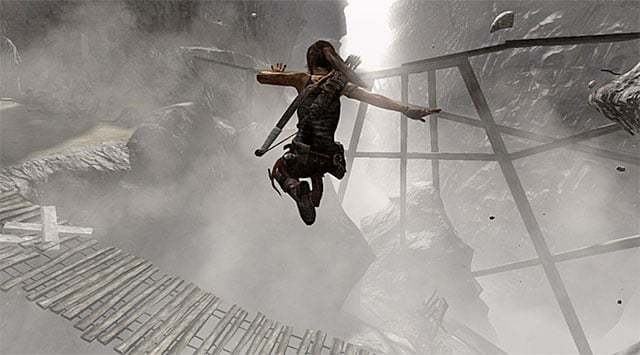
When you reach the end of the tunnel, leap across towards the drawbridge.
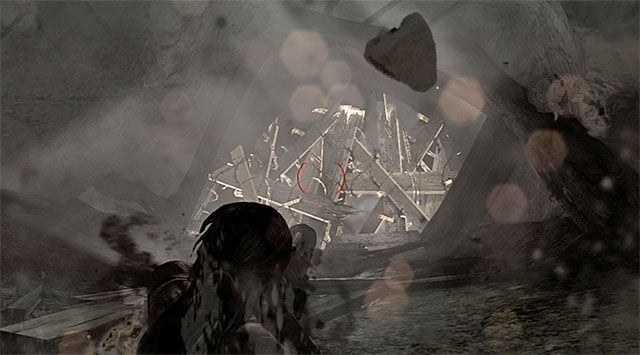
The ride downhill isn't too difficult, though you'll need to blast through some barricades as you go (screenshot); otherwise, Lara will receive some serious damage. Shortly thereafter, she'll find herself in the Mountain Village, and you'll conclude the current stage (reward: 500 XP).
You are not permitted to copy any image, text or info from this page. This site is not associated with and/or endorsed by the Square-Enix / Eidos or Crystal Dynamics. All logos and images are copyrighted by their respective owners.
Copyright © 2000 - 2025 Webedia Polska SA for gamepressure.com, unofficial game guides, walkthroughs, secrets, game tips, maps & strategies for top games.
