The Surge 2: A. I. D Command - The Lost Child Walkthrough
Last update:
After you finish all tasks in Gideon's Rock and Cloud9, it's time for Gateway Bravo and A.I.D Command- another story related areas in The Surge 2. In this chapter you will find information about how to reach the next safe area and what dangers await you in the A.I.D. Command level.
- The road to Gateway Bravo
- A.I.D Command
- The RadiCure-40 Medication - side quest
- Hotel entrance
- Force Hook
- Metal Armor Boss
The road to Gateway Bravo
The door switch (1) is located just behind it on the right side. This will allow you to sneak in more easily next time. You can also climb the top of the ledge (2) when you use the "Cargo Elevator" in Cloud9 and activate the magnetic elevator of the building on the opposite side.
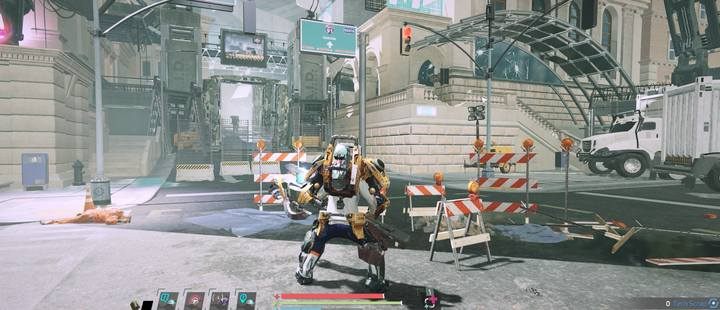
There are military units on level 5 and occasional robots on level 6 standing on your way. In the building on the right (3) you will find MedBay. Just behind the gate turn right and stick to the wall of the building to go down to the underworld. Thus, you will pass through the second gate.
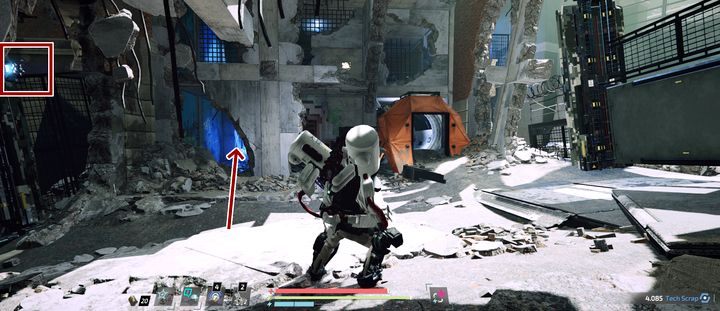
Behind the second gate, deactivate the door lock again, then use the left passage to avoid one of your opponents which stands on your way. Move towards the magnetic elevators to find a way to Gateway Bravo (above ground). You can try to run to the elevators, as the area is full of enemies.
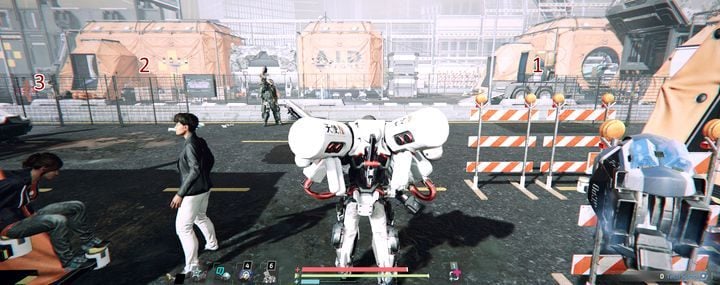
In Gateway Bravo you will find:
- Medbay,
- Dr. Sorensson, who will assign you the side quest of finding a cure in the A. I. D. Command,
- Benjamin Burke, who you could have freed in prison.
A path to A.I.D Command is behind the MedBay (elevator).
A.I.D Command
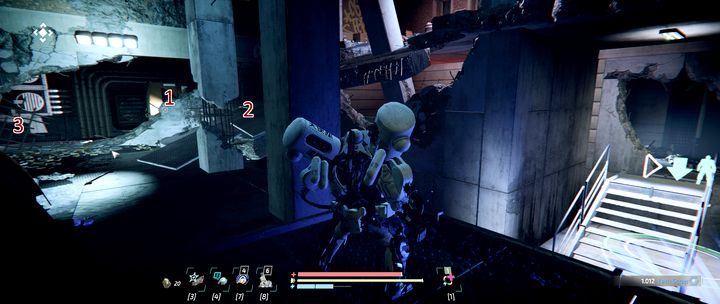
The A.I.D Command sector is quite linear. When you take the lift to the area, head to the magnetic lift as you walk down the aisle between buildings. Activate MedBay (1). You now have two ways to choose from: upstairs (2) - as you walk through a ruined city, or a door opposite MedBay, leading to the northern areas of Jericho (3). The area is very small and is the only way back to Jericho. It has several exits: at the subway near the fork behind Jericho's first gate, at the tower in front of Gateway Bravo and at the Cloud9 club.
Next to MedBay, you'll find Bugaface, who commissions a side quest called: There and back again. He may not show up when you first get to MedBay.
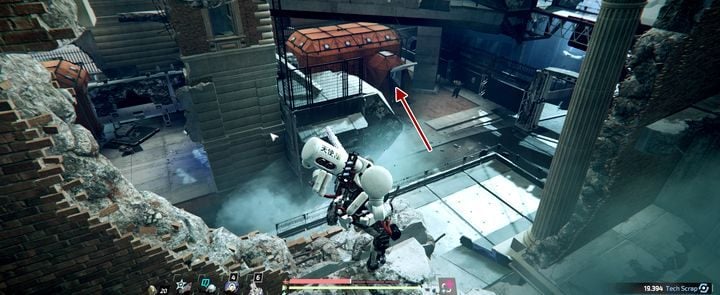
Follow the road up through the building, then jump down to the street and into the damaged building. Here, avoid the robot of the 6 level and use the path in the sewer at the end of the square. When you get out of the magnetic elevator, you'll be on a high tower.
At the bottom, under the tower, there are two robots and a guard nearby - a good solution is to run to the ramp of the neighboring building and slowly pull the opponents. Next to the guard there is an electric lock to open the gate, which will shorten the way to MedBay.
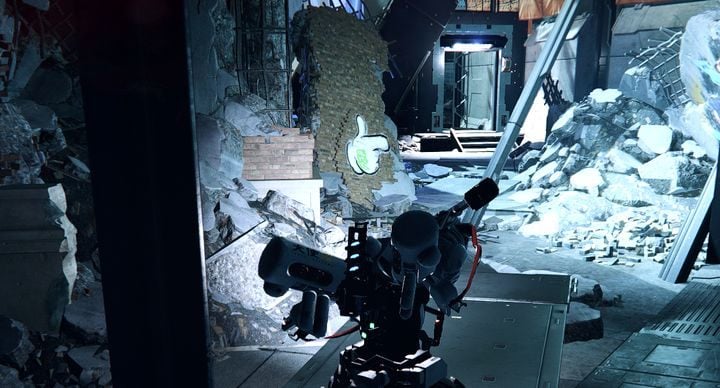
Once you have passed through the building, you should first follow the indications of the white glove painted on the walls: this shortcut will allow you to get closest to MedBay and avoid most enemies in case of death. This is a key shortcut.
The RadiCure-40 Medication - side quest
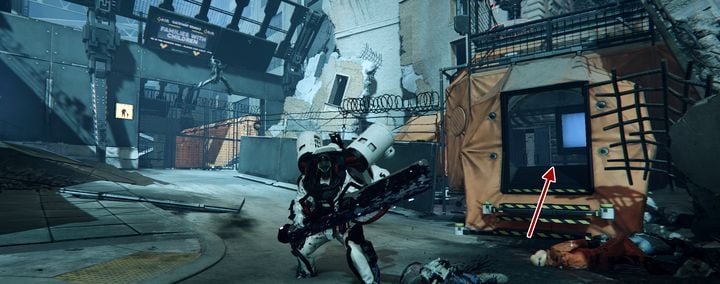
At this point, cross the gate to the street. There you'll find two police robots and two military robots, attached to the walls. Don't begin a fight against multiple enemies at once. Your target is an orange tent on the street.
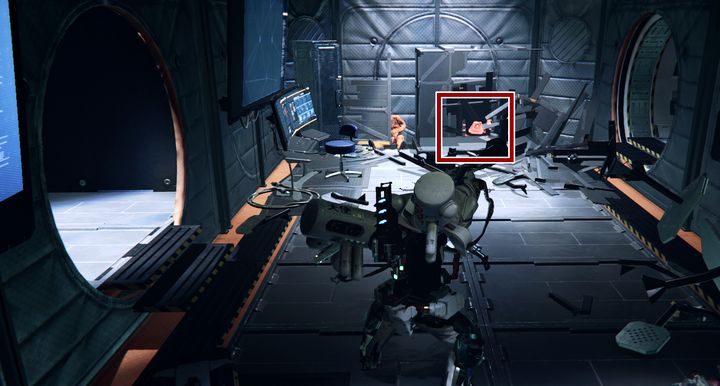
Inside it you will find a crate. Break it and collect RadiCure-40 Medication . It's a drug sought by Dr. Sorensson.
Hotel entrance
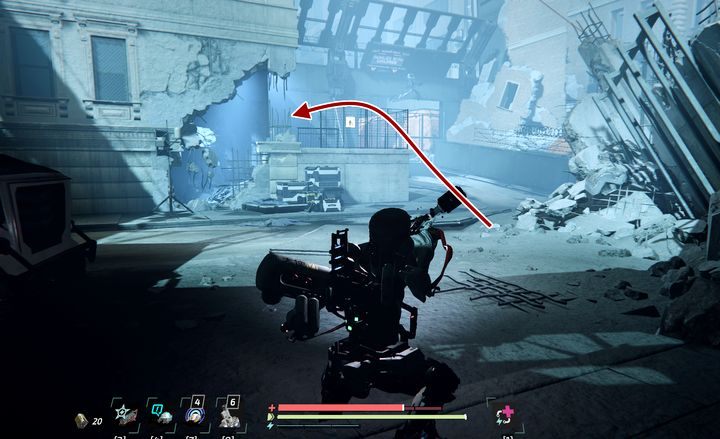
In A.I.D. Command you get to the end of the road, where you go out onto a wide street. There's an entrance to the basement. When you use the magnetic lift and go up, look at the corridor on the right, where you will find The Awful Truth audiolog. It will help you to complete the Time is of the Essence side quest.
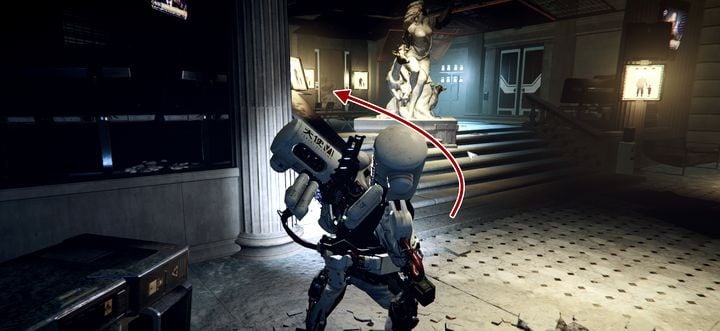
Now head towards the less devastated hall with a statue: two enemies are lurking here. Also, there are closed door to the Hospital.
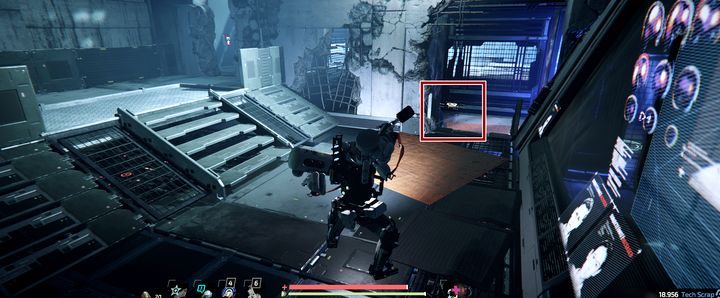
Upstairs, right behind the stage in a small room, you will encounter a room with many opponents. You have to defeat them, because one of them has an access card. Go to the magnetic elevator at the end of the room and go to the upper floor.
Force Hook
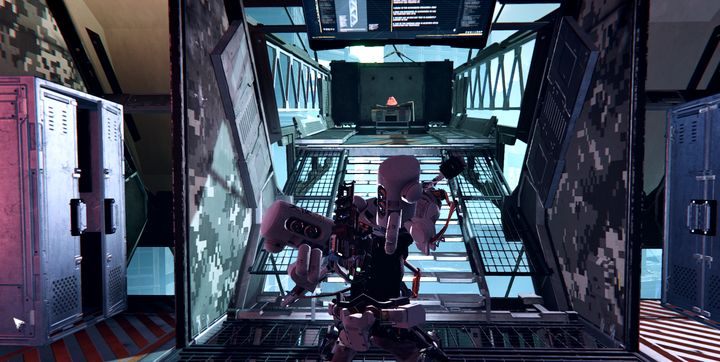
On the top floor you will encounter a large robot (level 6) that can easily be thrown off the roof once you have successfully dodged its charge. Also get rid of your remaining opponents to get a second access card. Now go to the "balcony", where there is a glowing point on the chest: this is the Force Hook - a tool that allows you to slide on ropes suspended in numerous locations. However, it does not allow you to move up or ascend the line.
If you turn around, you'll meet Weaver on your way. After a short dialogue, you can enter the next room with him. It is a fragment loosely linked to the storyline, but not part of any particular task.
Metal Armor Boss
To continue, return to MedBay at the beginning of the location - you'll get there faster by using the Hook.
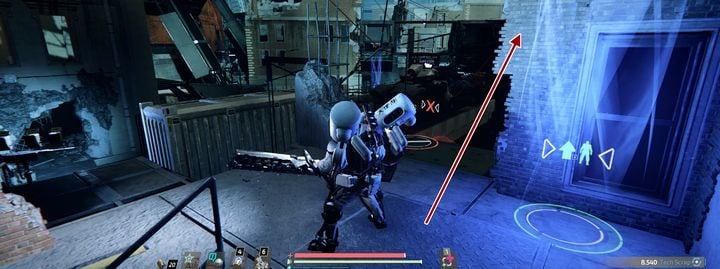
Behind the first staircase leading to the destroyed city there is a magnetic lift. At its top you will find a place where you can use the rope. After using the rope, it will lead you to the small part of the town where you can slowly end this stage of gameplay.
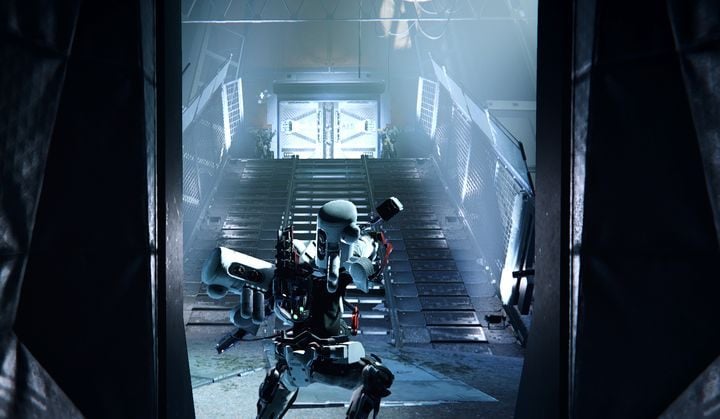
Two guards protect the entrance to the boss arena. You can avoid them or recharge your batteries before fighting the boss.
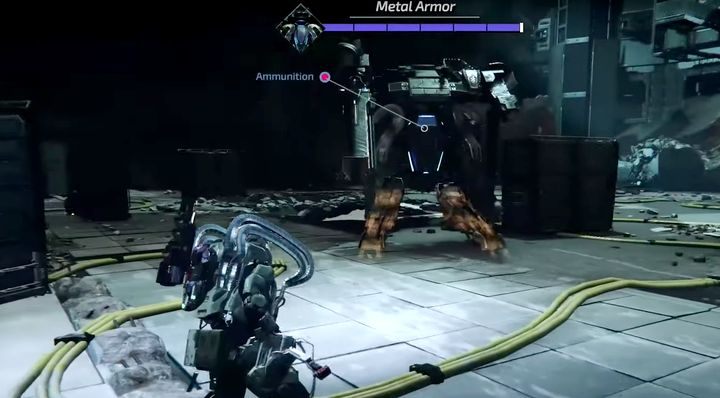
When you get into the arena, the boss will jump down from a higher level. It's a simple two-stage battle. It's worth using a light or medium sized weapon. If you're using extremely heavy weapons, you'll have to use fast attacks without a lot of momentum. Your main target are the legs of the boss.
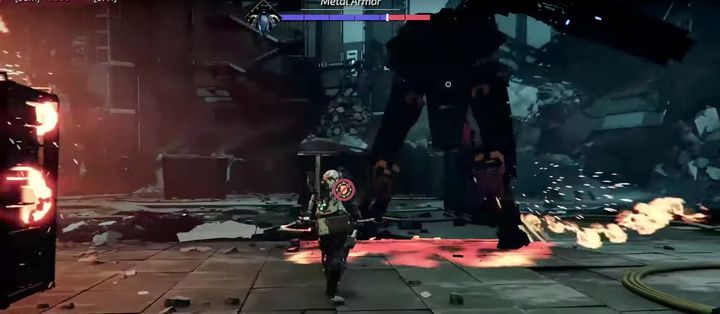
The opponent makes several attacks:
- Kick - only straight ahead, so you can continue to attack the enemy from behind or on the side without worrying about being damaged,
- Rifle - when you are far away from the boss he activates a rifle with a fast attack rate; hide from it behind the crates or run sideways with using sprint. When you are close enough, you can also get hit by a rifle when the boss uses an attack consisting in firing around within the range of approx. 2m. On the other hand, this is not a strong attack.
- Flamethrower - an attack that you cannot block but it can be easily avoided. In the basic version, the boss fires a single beam of fire into your direction. If you're hiding behind a cover, it'll be a single projectile fired up.
- Flame area - the most dangerous attack of the boss which is signaled by an unavoidable attack icon (as in the screenshot above). Initially, the boss spills napalm around him, then shoots the flames out over a larger area. When you know what's coming, get as far away from the boss as you can and hide behind the cover.
The strategy in the first stage is to attack the legs on the side/rear with several blows with a fast weapon, or 1-2 strikes from a heavy weapon. This stage is easy and you can complete it quickly even without losing your health. Also, you can help yourself with a drone (the ammo is next to the crates), but it is better to leave it for the second stage of the fight.
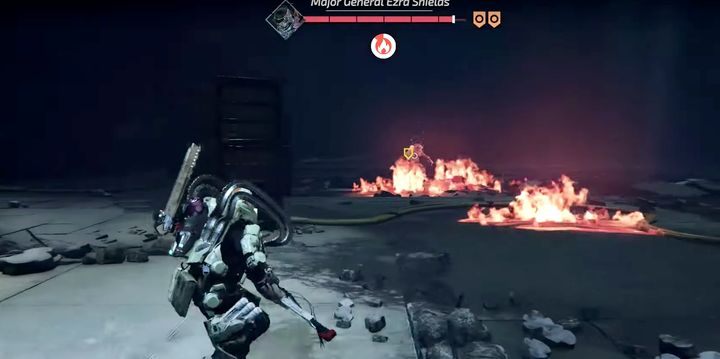
In the second stage, the boss leaves his mech. It becomes dynamic and dangerous. It has two combinations of strikes and an attack with a jump (dodge it by jumping back in the last moment, because the boss has a small range of manipulation during his flight). After a failed attack the boss is quite vulnerable to a quick counter strike. Choose one target and attack only one limb of the boss.
Note that the suit that was abandoned is still working. From time to time it will attack you with a remote and precise strike or with area of effect attack. The AoE attack may damage your opponent as well. You must be on the move at all times to avoid taking unnecessary extra damage.
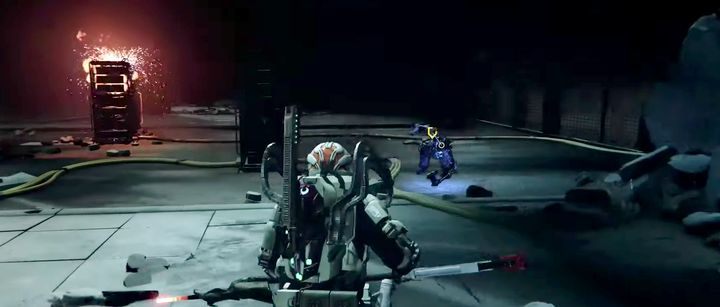
In this fight, you must make precise dodges cause you have to counterattack quickly - the boss has short cooldowns and breaks between his attacks. You must take advantage of every opportunity. In the case of powerful weapons, if you know combos well, you can stop the enemy's attack or even throw him into the air. Parrying is the most effective form of defense and counter-attacking in this duel.
- The Surge 2 Guide
- The Surge 2: Walkthrough
- The Surge 2: Main story
- The Surge 2: Walkthrough tips and missions list
- The Surge 2: Escape from Detention Walkthrough
- The Surge 2: Jericho Seaside Court Walkthrough
- The Surge 2: Port Nixon - The Drug Lord Walkthrough
- The Surge 2: Cloud9 - The Way Of The Hunter Walkthrough
- The Surge 2: Gideon's Rock - The Three Towers Walkthrough
- The Surge 2: A. I. D Command - The Lost Child Walkthrough
- The Surge 2: Main story
- The Surge 2: Walkthrough
You are not permitted to copy any image, text or info from this page. This site is not associated with and/or endorsed by the developers and the publishers. All logos and images are copyrighted by their respective owners.
Copyright © 2000 - 2025 Webedia Polska SA for gamepressure.com, unofficial game guides, walkthroughs, secrets, game tips, maps & strategies for top games.
