The Sinking City: Starting tips
This section of the guide to The Sinking City contains a large number of starting tips. We discuss a lot of questions that can be problematic during the first few hours of the game or those that are dangerous to your character. Other topics have been discussed on separate pages of the guide.
- Don't jump into the water or you will be attacked by eels
- Save the game before each conversation
- Search all locations marked with a magnifying glass icon
- Avoid fighting monsters if you don't need to do that
- Always try to have at least one first aid kit in stock
- Activate Mind's Eye if you notice image distortion
- Don't ignore Reed's blue mental health bar
- Search for new phone booths to use fast travel
- Don't kill civilians
- Don't waste ammunition on locks and boards
- Read the descriptions of the collected evidence carefully
- Complete side cases
- You can open the loot containers multiple times
Don't jump into the water or you will be attacked by eels
Reed can swim, though it is never a good idea to jump into the water. After a few seconds, you get attacked by eels - your health points will drop gradually. Avoid getting into the water and use the boat whenever you need to get to another place. Boats appear in almost every place where the land ends and the flooded part of the city begins. You don't have to use the same boat throughout the entire game.
Save the game before each conversation
Some of the conversations require you to make choices. They may concern, for example, accusing another person or helping them to avoid trouble with the law. The choices can have different consequences. By making a manual save before a conversation, you can protect yourself from accidentally making a wrong decision or you can test various options. However, some of the consequences will appear later in the game.
Search all locations marked with a magnifying glass icon
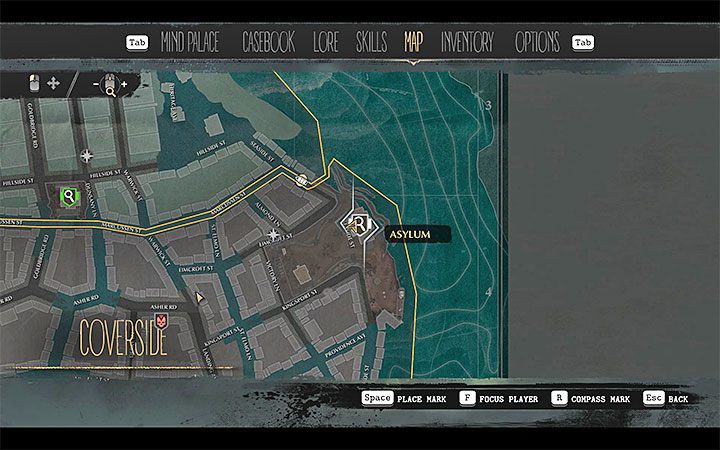
These can be, for example, crime scenes, houses or headquarters of various organizations. Explore locations for a 100% bonus to experience points. Also, by getting a full set of evidence, it can be a lot easier for you to unlock new leads and therefore complete a case. If you play at a low difficulty level, the game will inform you that you have completed a location. Otherwise, we advise you to check our walkthrough.
Avoid fighting monsters if you don't need to do that
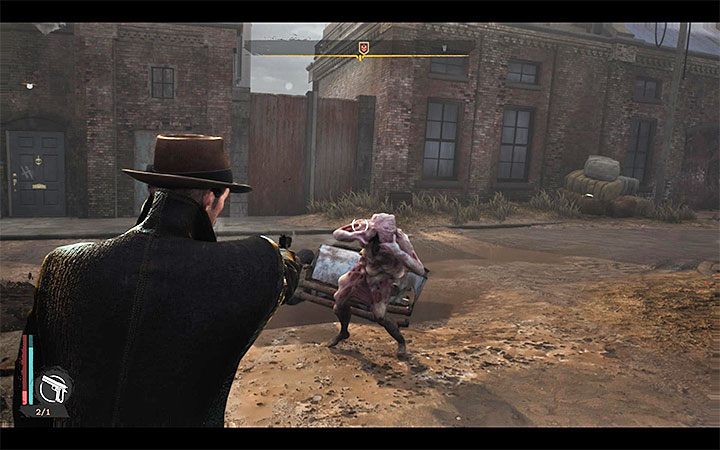
Direct confrontations with monsters (and hostile living enemies) is possible, but you risk losing health and supplies. We especially don't recommend fighting when you are early in the game - at this point in the game, Reed doesn't have additional weapons, traps, grenades, etc. Fight only when monsters prevent you from exploring a location related to the current investigation. Otherwise, either avoid them or escape.
Always try to have at least one first aid kit in stock
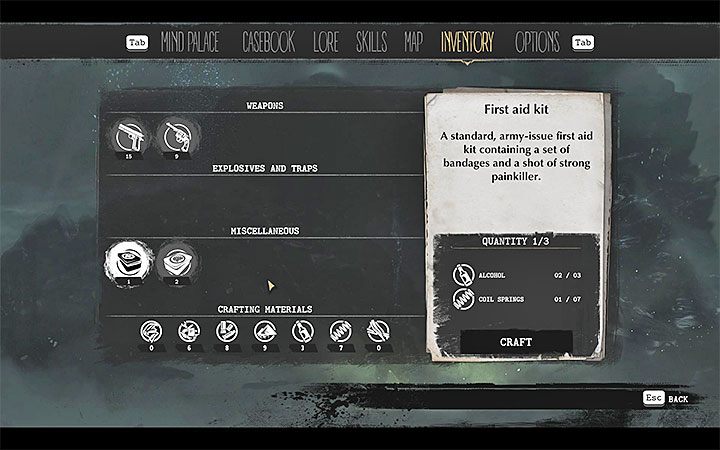
The health of the hero doesn't recover by itself-remember this every time you start a new fight. You have to use a first aid kit. Try to always have at least one first aid kit in your inventory. New kits can be found as loot or they can be crafted -a first aid kit can be made with 2 units of alcohol and using Kraft for the manufacture of first aid kit needed 2 units of alcohol and 1 coil spring.
Activate Mind's Eye if you notice image distortion
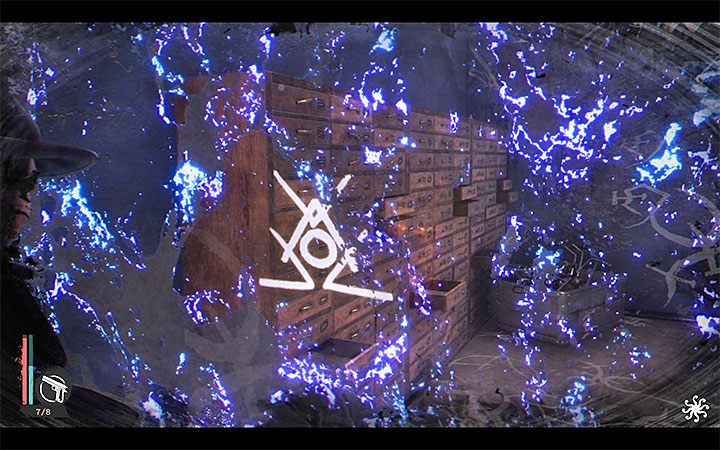
Distortions usually occur when you are exploring locations marked with a magnifying glass. Press the Mind's Eye activation key and find the hidden trace. They appear in several variations. This can be, for example, hidden points on objects you are inspecting closely, signs (omens) which Reed can follow, or entire walls that are illusions hiding secret passages. Our walkthrough contains all possible uses of the Mind's Eye.
Don't ignore Reed's blue mental health bar

You can lose mental health as a result of traumatic experience and by killing innocent NPCs. As the blue band depletes, you will experience more and more serious hallucinations. Some of them take the form of monsters - don't waste ammo by shooting at them, just run away. Reed can die when he loses the entire blue bar. Wait until the bar regenerates itself or take medicines that will calm Reed down (you can craft these items).
Search for new phone booths to use fast travel

Oakmont is a pretty big city, but you can make the game easier for you by using fast travel. Phone booths are not active by default and are not even visible on the map. Try to find at least one booth when you reach a large area where you can walk on the land. This will help you greatly if you decide to return to the same place later. The locations of the telephone booths can be found in our world atlas.
Don't kill civilians

In The Sinking City, it is possible to attack innocent characters, but doing this isn't a good idea. An attacked character can open fire. Moreover, even if you kill someone, you will lose a lot of mental health and put Reed's life in danger. Civilians don't drop loot and the don't give you experience points. Kill only those living enemies who are hostile to Reed by default (for example, thugs.)
Don't waste ammunition on locks and boards
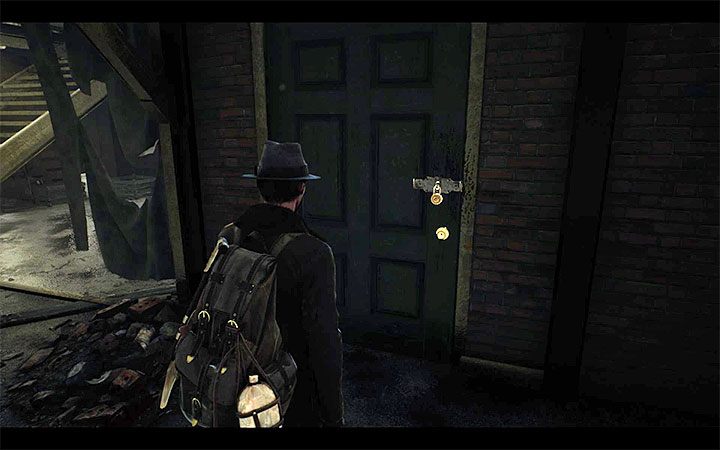
Some traces and interactive elements hide behind the doors with a lock or behind wooden boards. Don't waste your ammo on these kinds of obstacles. Instead, press the melee weapon key. After a few hits, a lock or a board will be destroyed. Melee weapons don't have durability and they are always effective.
Read the descriptions of the collected evidence carefully
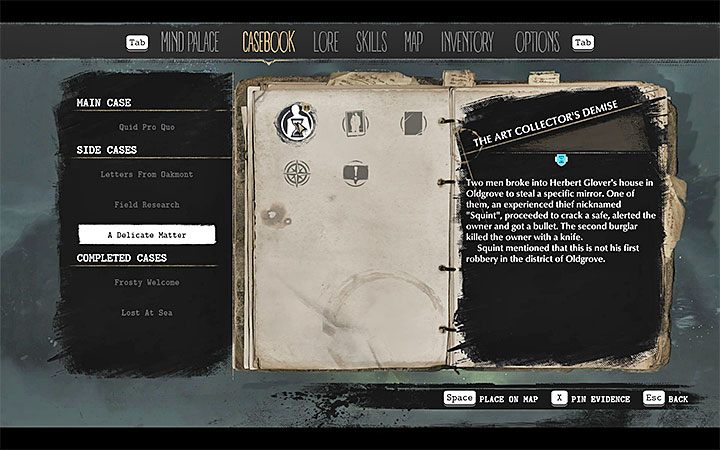
In The Sinking City, the game doesn't mark locations on the map that you should visit in a specific order. You have to come up with everything by yourself - the main way to do that is to analyze the collected evidence. The description of a piece of evidence may contain valuable advice, e.g. the address you can investigate or a person that can be tracked. Our walkthrough contains all the necessary steps.
Complete side cases
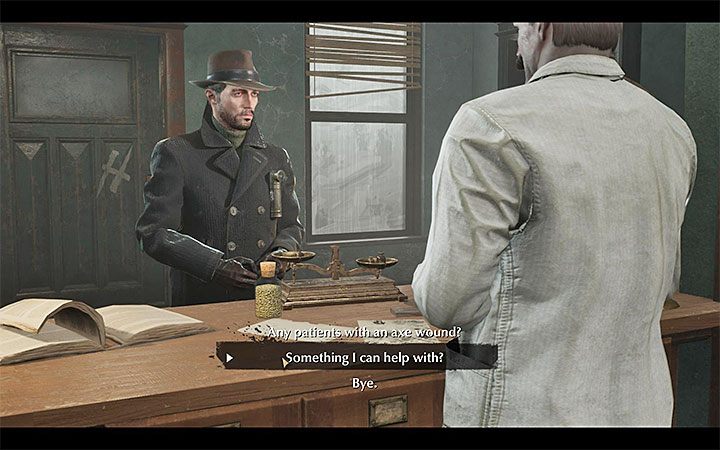
The main way of unlocking side cases is to meet NPCs. These can be people you visit during main cases or during free exploration of the world. Each side case is an opportunity for getting additional experience points. Some side investigations are related to trophies/achievements. Our walkthrough contains the full list of side cases.
You can open the loot containers multiple times
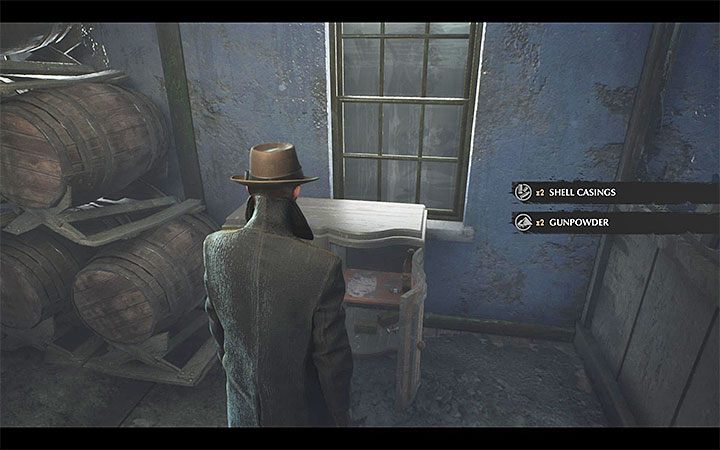
Boxes with loot (first aid kits, rounds, crafting materials for crafting, etc.) can be opened multiple times. This is useful primarily after you free up space in your inventory. However, you can also collect loot from containers during repeated visits to the same locations later in the game. The game does not remember which boxes were searched - the boxes that were investigated by Reed will have new loot. This is especially useful if you have run out of ammo or first aid kits.
You are not permitted to copy any image, text or info from this page. This site is not associated with and/or endorsed by the developers and the publishers. All logos and images are copyrighted by their respective owners.
Copyright © 2000 - 2025 Webedia Polska SA for gamepressure.com, unofficial game guides, walkthroughs, secrets, game tips, maps & strategies for top games.
