The Sinking City: Nosedive walkthrough
This page of the guide to The Sinking City has a walkthrough for Nosedive main case. Your objective is to find Ebernote Blackwood. During this case, you will learn his goals - it turns out that Ku Klux Klan is part of this.
- Blackwood's flooded office
- Find the KKK headquarters
- Visit The Orion Club
- Meeting with the Imperial Wizard
- Examine Blackwood's Hideout
- Find the diving spot
- Crossing the depths
- Exploration of Temple of Dagon
- Meeting with Harriet Dough - an important choice
Blackwood's flooded office
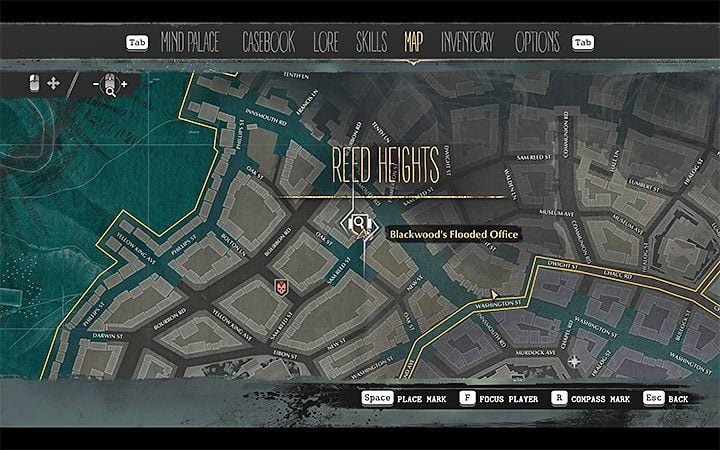
This case starts automatically after completing the Fathers and sons main case. You immediately unlock the first two tracks - The Meeting in the City and A Photo of Ebernote.
You have to reach the partially flooded building, where Ebernote will meet with Fred (Reed will take his place). Go to Blackwood's Flooded Office in Reed Heights. This is the flooded fragment of Sam Reed Street, between Innsmouth Road and Oak Street.
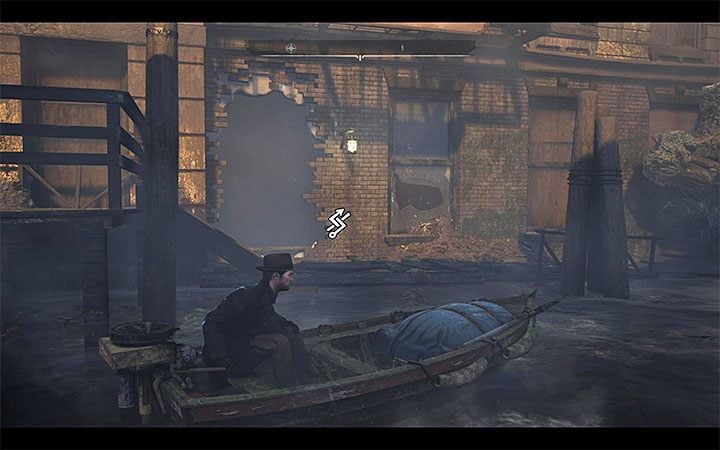
The place where you can dock a boat is located near the partially flooded building -presented in the picture above.
Beware of the two KKK members - they will attack Reed right after you enter the building. You can retreat and kill them when they run out of the building or immediately start a battle with them.
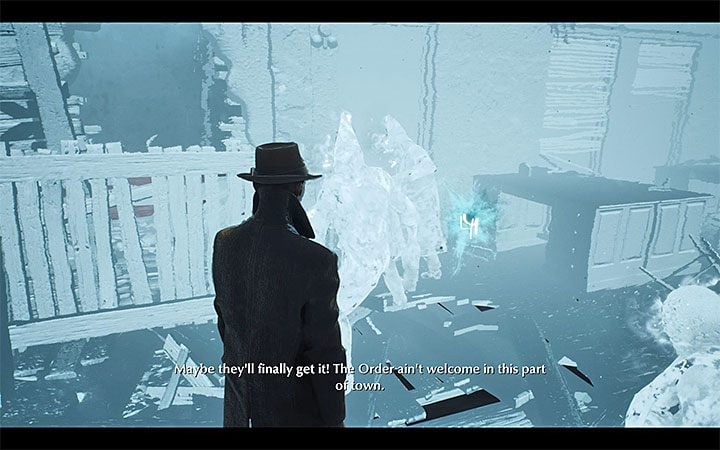
After getting rid of enemies, start exploring the building:
- Remove the Note of Warning from the hanging corpse. You should also investigate this corpse.
- Search the locker with loot.
- Examine the corpses lying on the floor and then investigate the knife stuck in that body. The eye icon will appear on the blade covered in blood. Activate the Mind Eye - the silhouette will lead you to the upper floor.
- Examine another corpse on the upper floor and check the letter near the left hand - To Professor Dough.
- Search the 4 containers with loot located on the upper floor.
- Find and explore three areas with obvious traces left by bullets (the back of the wardrobe and two parts of the wall).
- Pick up the Translation Notes lying on the floor.
A blue cloud will appear, symbolizing the opportunity to start retrocognition. The correct event order:
- Ebernote is warned about the KKK (the upper floor).
- Ebernote surrenders after one of the KKK members aim at him (the upper floor).
- The innocent person is hanged (ground floor).
- Ebernote is kidnapped (around exit on the ground floor).
Conclusion - the meeting place was attacked by members of the Ku Klux Klan. They have kidnapped Ebernote and killed others. Open the Mind Palace. Connect Hooded Massacre and Not the first, not the last - this unlocks Fishfaces not welcome deduction. The office should now be explored in 100%.
Find the KKK headquarters
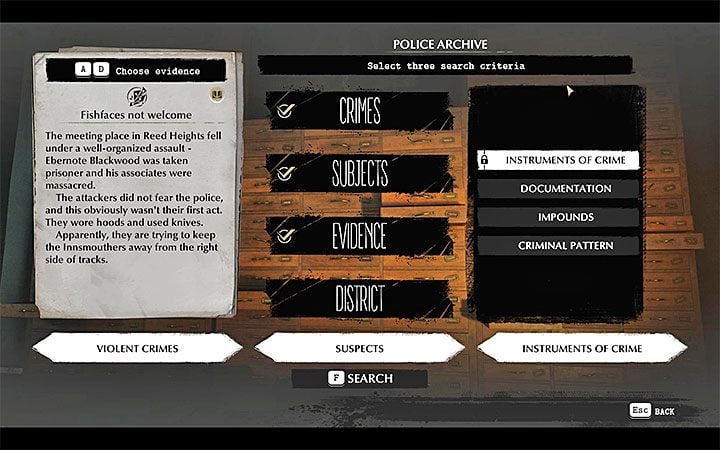
In order to continue the investigation, you have to find traces of earlier activities of the KKK. Get to the Oakmont Police Department and use the archive:
- As evidence for the analysis, select Fishfaces not welcome.
- Select Crimes and then Violent Crimes.
- Select Subjects and then Suspects.
- Select Evidence and then Instruments of Crime.
You should find a document about The Orion Club.
Visit The Orion Club
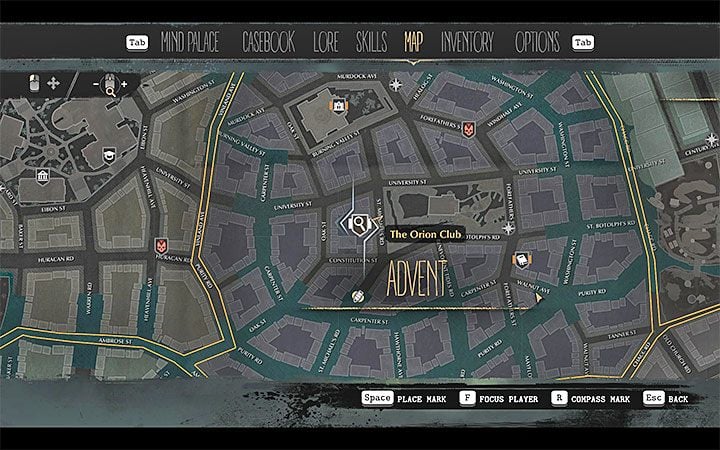
The Orion Club is in Advent district. The club is located on St. Michael's Road, South of University Street - presented in the picture above.
Before entering the club, try to save the game manually and stock up on as many supplies as possible - ammunition, first aid kits, traps, grenades, etc. While exploring the club, you will be attacked by numerous monsters. They usually attack you in groups. We don't recommend running out of the building during the fights. There is a chance that you can accidentally threaten some civilians and you will be attacked by a police officer or other armed NPC.
The first group of monsters will attack you right after Reed enters the club. Their numbers and types are picked randomly, however, this is probably the first place from the main plot where you will meet creatures with large mouths. Aim for the "tanks" at the back of their bodies to defeat them faster. As for fights with large groups of monsters or with stronger enemies, use grenades, a shotgun and a rifle.
- Examine the corpse of the KKK member at the stairs.
- Defeat other monsters in the basement and examine the locker with a loot.
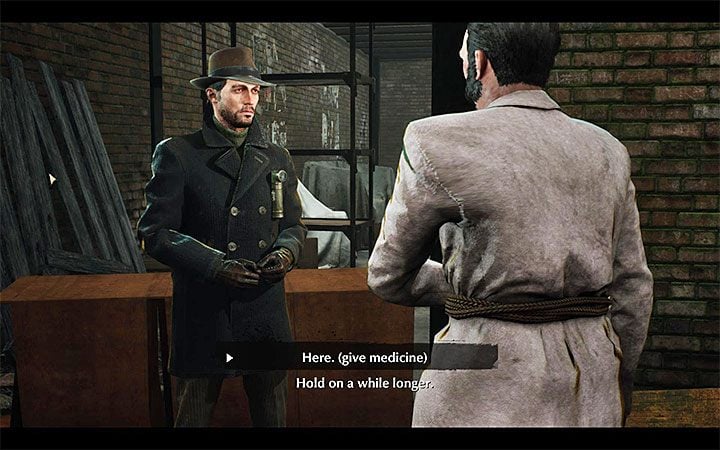
Jump over the tipped furniture in the basement and talk to the wounded man. You can leave him, or give him a first aid kit (the dialog option from the picture). In the latter case, he will give you ammo (you also get a few experience points).
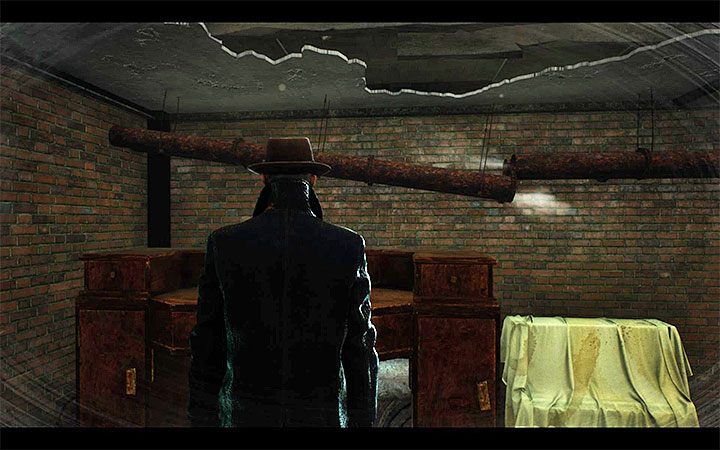
Stay in the same place where the wounded member of KKK is, and approach the wall with the white cross drawn on it. Activate the Mind's Eye and let the symbols overlap. The wall-illusion will disappear.
There, you will find 2 containers with loot and a corpse to investigate. However, the most important place is presented in the picture - you can climb up the items to get to the apartment on the ground floor.
You can now examine the new rooms:
- Destroy the lock on the exit door to unlock the exit from the apartment. It leads to the place in which you started exploring The Orion Club.
- Interact with 2 loot containers.
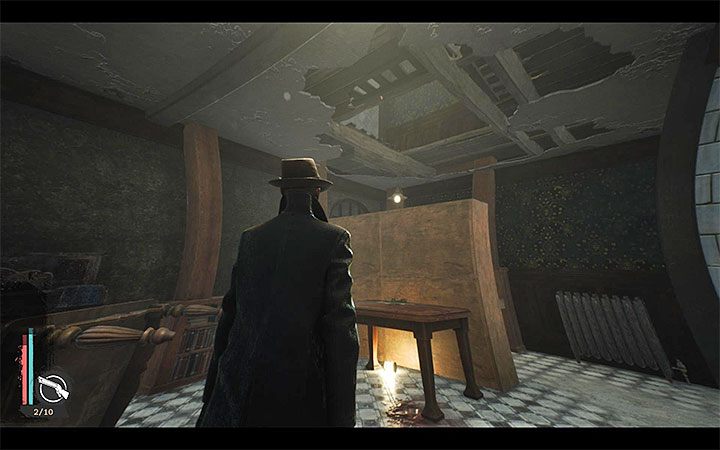
- Take the KKK Orders from the table. Here, you can climb the furniture to reach the next floor - this place is presented in the picture above.
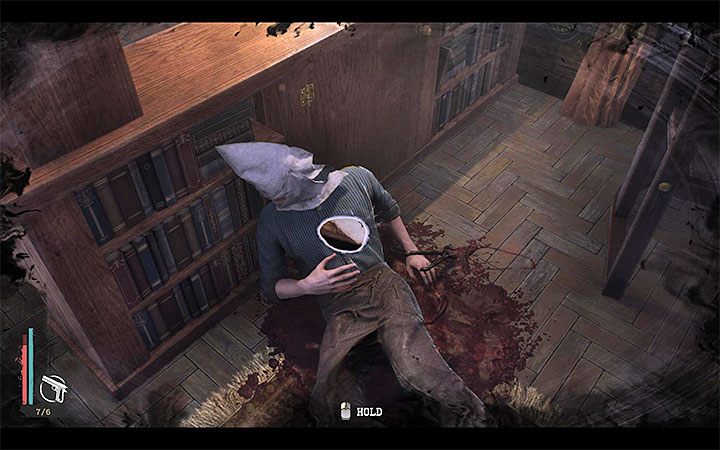
After entering the new apartment, start with eliminating new monsters. You can run around the apartment, but do not go out prematurely on the staircase. Once the area is clear, inspect the surroundings:
- A symbol is written on the wall in the bathroom.
- The chest contains loot.
- The Confession and Nickel Key are next to the corpse in the living room. Activate the Mind's Eye, look at the corpse (the picture above), and watch the past events showing you how Blackwood was forced to sign the testimony. Open the Mind Palace. Connect Blackwood and the Professor and Blackwood-Dough correspondence - this unlocks Blackwood has a plan deduction.
- Examine the torturing device on the right of the corpse.
Leave the apartment by destroying the lock on the exit door.
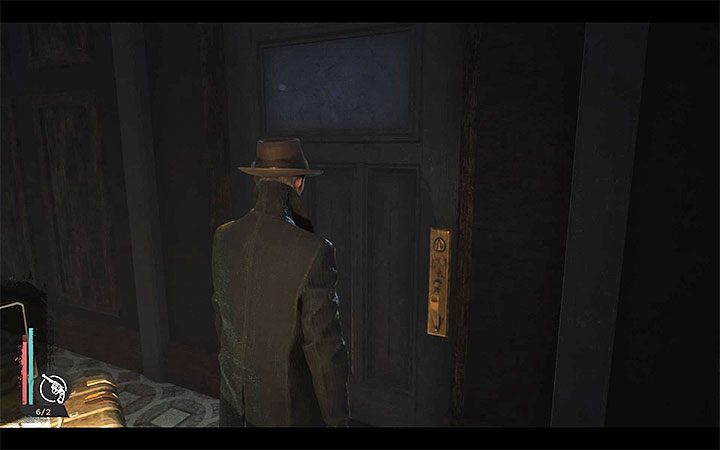
You should encounter a few monsters in the staircase. If you have to, you can retreat to the last apartment to fight the monsters in a larger area.
Go up the stairs to the upper floor. More monsters await around the corner. You will also find a container with loot. Before you open the door (see the picture), restore 100% of Reed's health points.
Meeting with the Imperial Wizard
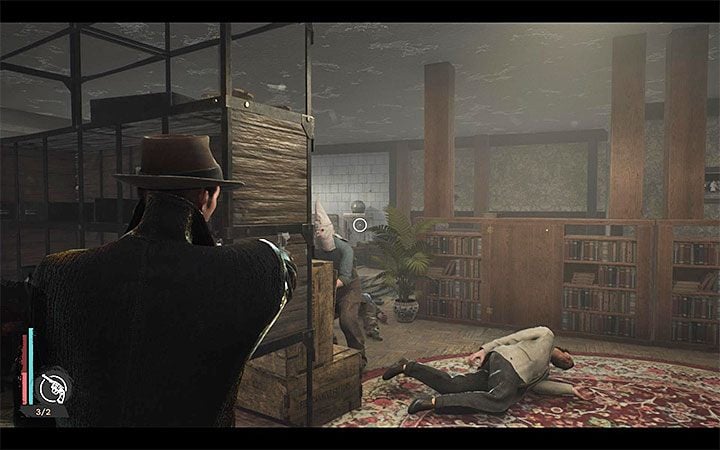
After entering the new apartment, you will have a conversation with the Imperial Wizard. Regardless of which dialogue option you choose, the conversation will end with a fight. During the conversation, we recommend choosing the snarky dialogue option twice - Reed will ask the Imperial Wizard to perform a magic trick. This unlocks It's a Kind of Magic golden trophy/achievement. Thanks to the conversation, you unlock The Hideout's Address trace. The Orion Club should now be completed in 100%.
When the fight begins, quickly retreat to the left and get behind the shelf (the picture above). You have to defeat the Wizard and his bodyguards armed with shotguns. When the fight is over, you can examine 3 books (they are not "officially" treated as traces) and collect loot from 3 boxes.
Examine Blackwood's Hideout
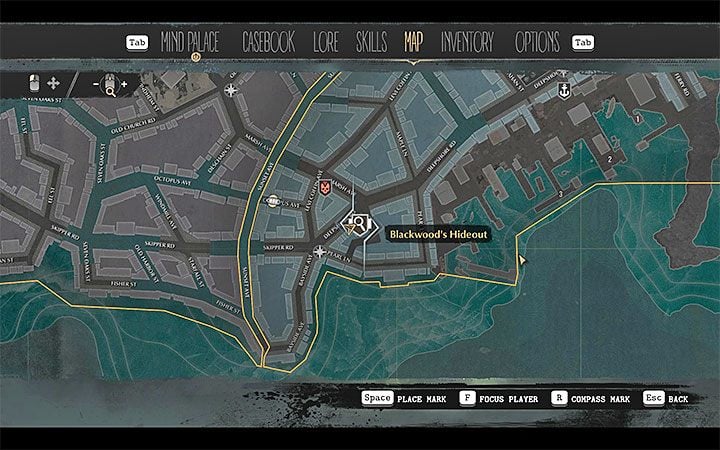
Leave The Orion Club (you can destroy another lock in the staircase). Blackwood's Hideout is located in Grimhaven Bay on Deepshore Road, between Skipper Road and Marsh Avenue - this place is presented in the picture above (a residential building with a green elevation).
Enter the building to trigger a cut-scene - Reed will start hallucinating. When the hallucinations start, we recommend taking Antipsychotics to make the mental health bar get full again.
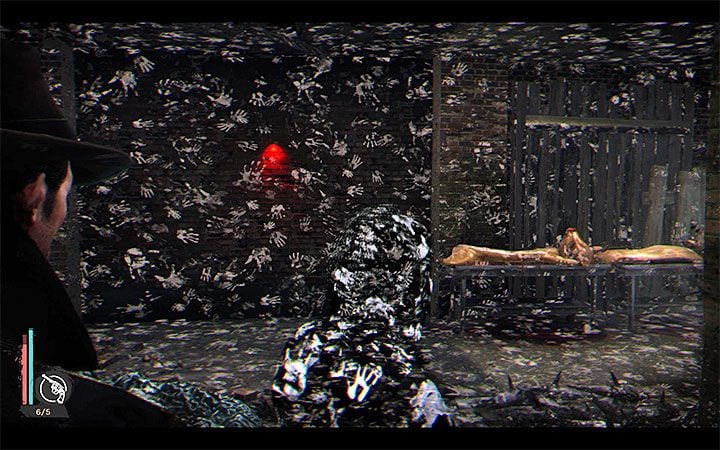
Start exploring the building:
- Look at any poster.
- Watch plates with leftovers from the fish soup.
- Open the chest to get loot.
- Look at the bed.
- Examine the crate with fish.
- Look at the map on the table.
- Watch the tall pot standing on the stove.
- Go upstairs and inspect the altar.
- On the upper floor, you can find two chests with loot.
- Go back to the ground floor, activate the Mind's Eye and follow the signs/omens in the form of a human silhouette. They will lead you to the red wall presented in the picture. Allow the symbols to match and the illusionary wall will disappear.
- Get to the two dead members of the KKK and check their bodies.
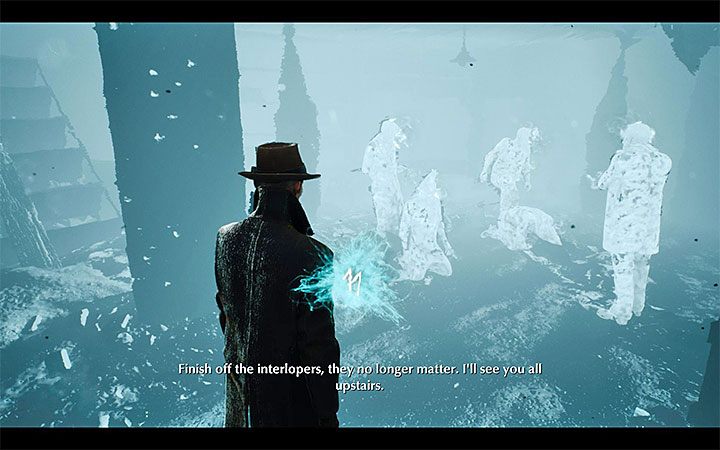
You can begin retrocognition. Interactive points are located on all floors. Here is the correct sequence of events:
- The KKK members are killed in the basement.
- Conversation on the ground floor.
- The speech at the altar on the upper floor.
Conclusion- Ebernott Blackwood is after Harriet Dough and that after killing people in the basement, he left the building along with his guards. The hideout should now be explored in 100%. Open the Mind Palace:
- Connect EOD is dangerous and EOD planned the kidnapping - this unlocks EOD needs Harriet deduction.
- Connect Into the sea and Markings on the map - unlock Deep Dive deduction.
Find the diving spot
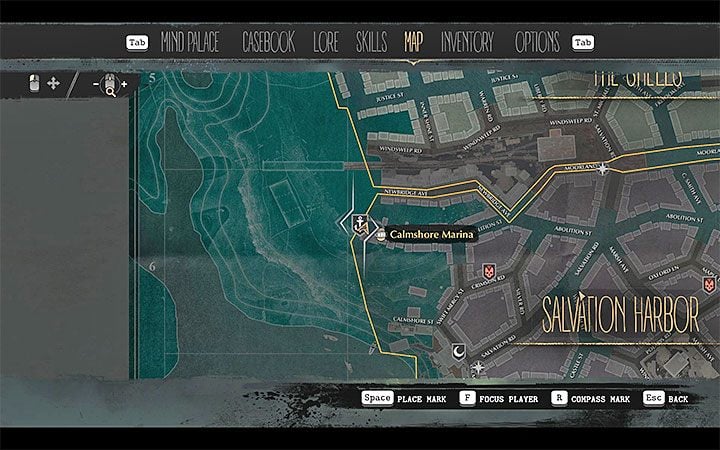
Your new objective is to go to Calmshore Marina - visit the north-west corner of Salvation Harbor. You have to access the marina by using a boat - its location is presented in the picture above.
Upon arrival, reach the place with a diving suit. Use it to dive.
The area near the marina is occupied by monsters. You can go around it from the north or just run through it and quickly climb up the boxes to jump over the barricade.
Crossing the depths
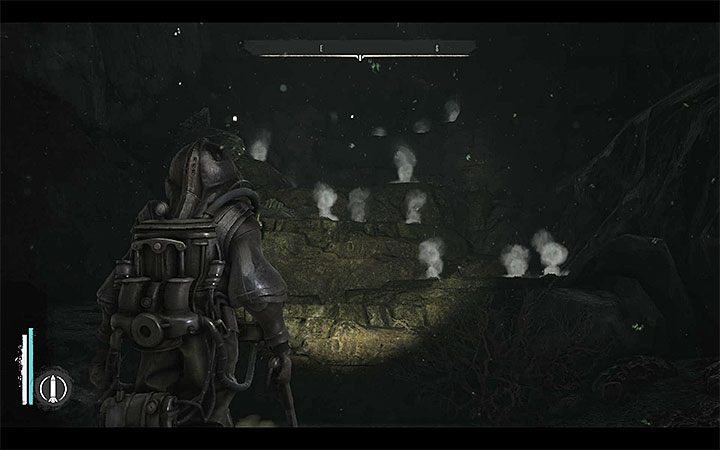
When exploring the depths, the correct walking path will be indicated by the lamps. You'll also find a few dead divers in scuba diving suits along the way, although these are not interactive areas and you don't have to look at them closely.
Just like in the previous underwater scene, you need to watch out for hot air coming out of the holes on the seabed. An additional obstacle is that additional climbing is required in many places of this type. Always put yourself in a place where you can start climbing, and proceed to it immediately after the air temporarily stops. This should guarantee you enough time to get around dangerous places. In case of damage to the suit immediately "fix" it.
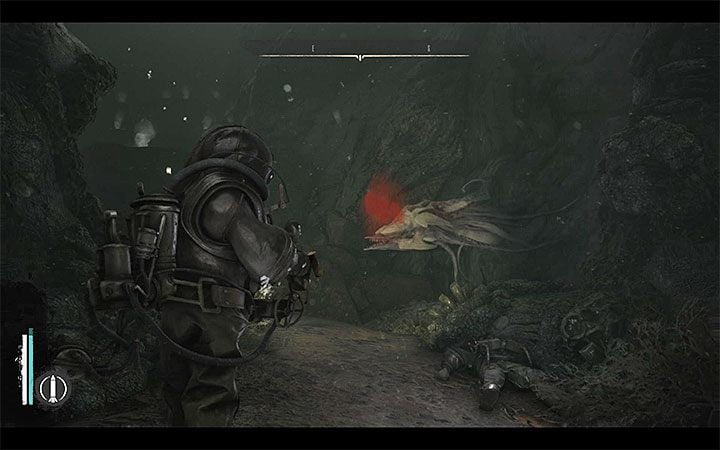
During the crossing, the monster's tentacles and underwater creatures will reappear. In both cases, the "combat tactics" are identical - attack the creature with a harpoon from mid-range and quickly pass it before it resumes an attack.
Just like in the previous dive sequences, you must eventually reach the entrance to the cave from which the light comes out. Reed will take off his suit and you can explore the area on your own.
Exploration of Temple of Dagon
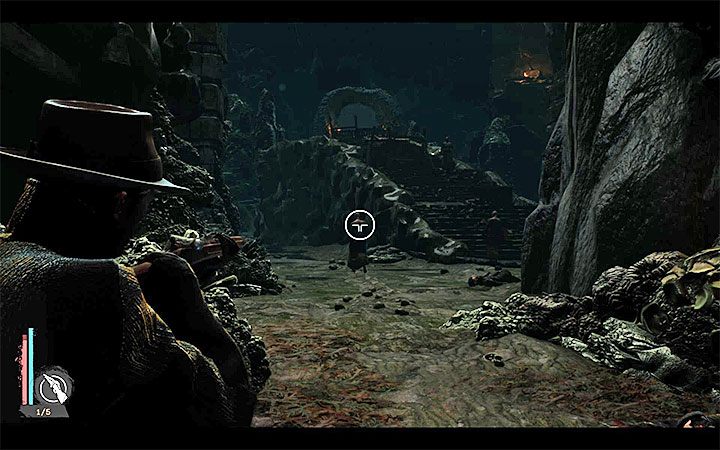
You have reached the Temple of Dagon. Watch the corpse near the starting spot and take the small loot from the chest. When you start exploring the caves, expect some battles with enemies armed with firearms. To eliminate them, you can use a revolver or a combat rifle. Run on the sides, so as not to get hit.
In addition to fighting, keep an eye out for new ammo crates or crafting materials. This should allow you to (at least partially) replenish your stock.
Investigate huge eggs along the road. Get to the place where Ebernote Blackwood resides and talk to him about all topics. You will unlock the Blackwood's Statement and the game should now count the temple as location explored in 100%.
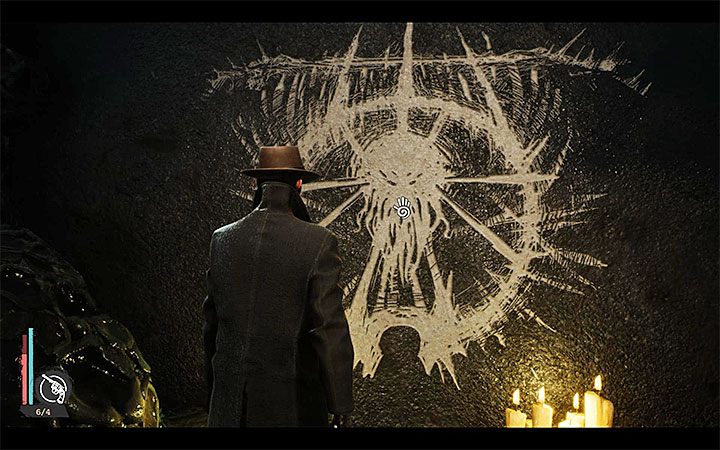
Continue the journey by passing through the round hole next to the altar. You'll reach the next Frescos (the first Fresco is shown in the picture). Each wall should be pressed and touched. Then use Mind's Eye to connect the symbols. Frescos will disappear. A passage will get unlocked. There are three frescoes to study and you will get the Not Too Deep for Me trophy.
Meeting with Harriet Dough - an important choice
Professor Harriet Dough will stand to the left of the altar. Talk to her on all possible topics. Open the Mind Palace:
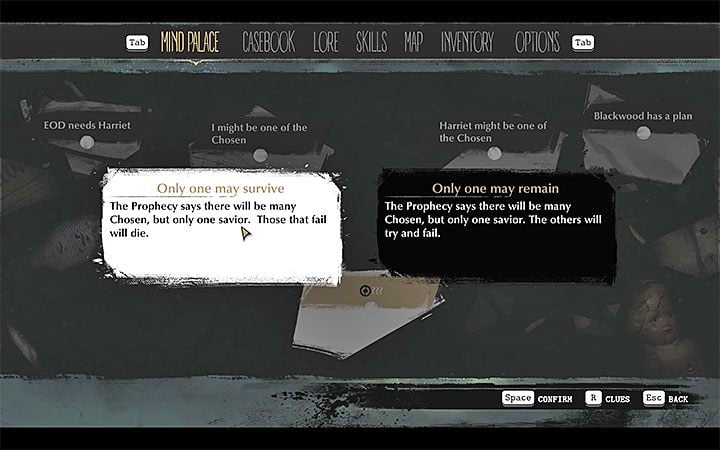
- Combine the clues and tracks: EOD planned the kidnapping and The Prophecy - you will unlock the deduction - Harriet might be one of the Chosen.
- Combine the clues and tracks: The Prophecy and Another Vision - you will unlock deduction called I might be one of the Chosen.
- Connect clues One Savior and The Prophecy. Two possible deductions will appear (image above).
- If you choose deduction called Only one may survive, Reed will conclude with I must kill Harriet Dough.
- If you choose deduction One, one may remain Reed comes to the conclusion I must save Harriet.
The above selection is not binding. The right decision is made only after you have talked to Harriet again (description below).
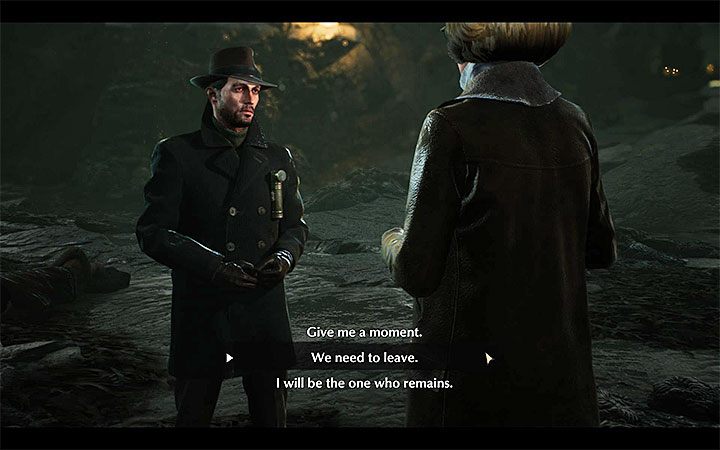
Initiate a new conversation with Harriet Dough. You have two behaviors to choose from:
- We Need to Leave - it's the second dialogue option. Reed decides to get out together with Harriet without killing her.
- Murder Harriet - the third dialogue option (I will be the one who remains) - Reed believes that he is the Chosen one and that Harriet must die. Be prepared to attack and kill the woman. You can use melee weapons or firearms.
SPOILER - Even if you decide to get out of the cave with Harriet, after the start of the major investigation you will learn that she has not survived entering the surface and she lies dead in the morgue.
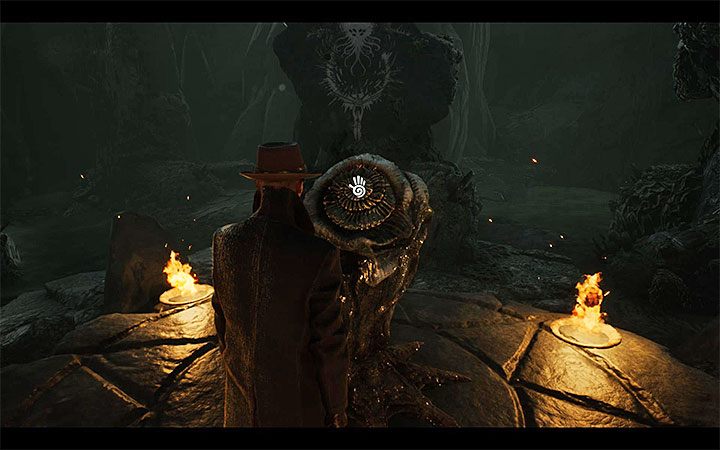
No matter how you behaved, walk near the altar and click on it. A cut-scene will turn on (if Harriet is still alive, she will stand on the side). The action will soon move to the Hospital of St. Mary), where you begin another important major investigation - Deal with the Devil.
In addition, the game will provide you with XP (item rewards you will receive later) and open a new side investigation Silence is Golden.
- The Sinking City Guide
- The Sinking City: Walkthrough
- The Sinking City: Main cases
- The Sinking City: Frosty Welcome walkthrough
- The Sinking City: Lost At Sea walkthrough
- The Sinking City: Quid Pro Quo walkthrough
- The Sinking City: Fathers and Sons walkthrough
- The Sinking City: Nosedive walkthrough
- The Sinking City: Deal with the Devil walkthrough
- The Sinking City: Self-Defense walkthrough
- The Sinking City: Fleeing Phoenix walkthrough
- The Sinking City: Into the Depths walkthrough
- The Sinking City: List of endings walkthrough
- The Sinking City: Main cases
- The Sinking City: Walkthrough
You are not permitted to copy any image, text or info from this page. This site is not associated with and/or endorsed by the developers and the publishers. All logos and images are copyrighted by their respective owners.
Copyright © 2000 - 2026 Webedia Polska SA for gamepressure.com, unofficial game guides, walkthroughs, secrets, game tips, maps & strategies for top games.
