Styx Shards of Darkness: The Labyrinth
In the labyrinth, you have to complete six trials and obtain insignia for completing them. Then, you take them to the labyrinth entrance to escape. Behind each door, there is the next level of the labyrinth, where you obtain an insignium. You have to obtain all six of them and arrange them in the correct position inside the chamber in the center. Then you will be able to continue. Hint: you do not have to take each insignium into the chamber right after you collect it. You can first obtain them all and then take them there. This will save you time.
- Trial of Courage
- Trial of Agility
- Trial of wisdom
- Trial of Faith
- Trial of Covertness and freeing Helledryn
- Trial of Strength
- Escape the labyrinth
Trial of Courage
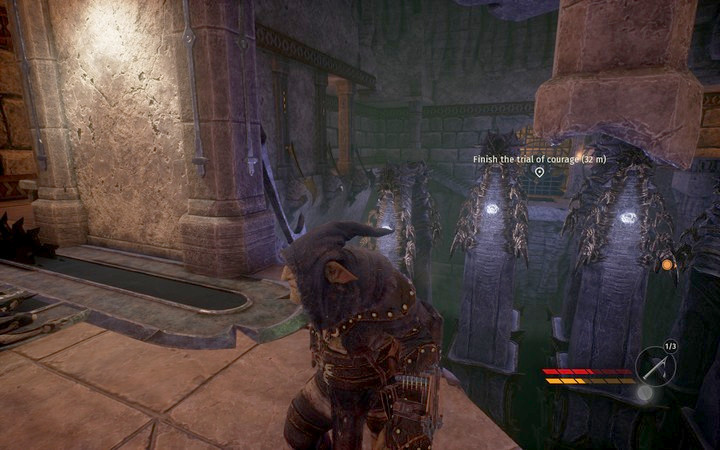
The first passage from the starting point (go left twice). Up above, there is a hostile elf. After you go through the door, go left and walk around the room and avoid traps. The key in each one of them is choosing the right moment. Use rolls.
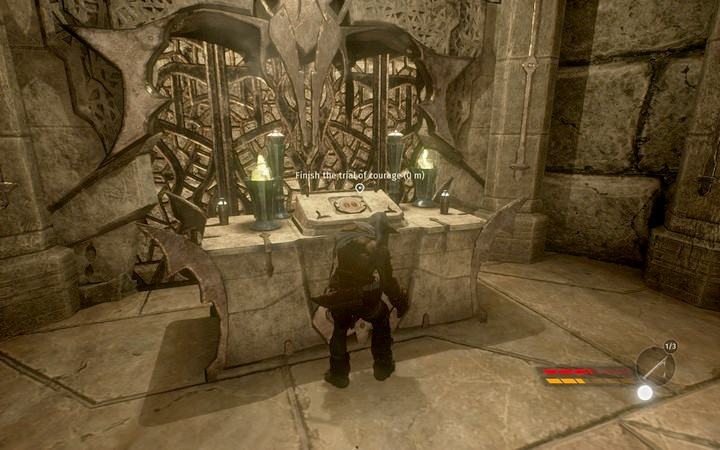
Collect the first insygnium. You have to take it to the starting point, where you should place them. After you leave through the first door, go right, climb the stairs and go straight ahead.
Trial of Agility
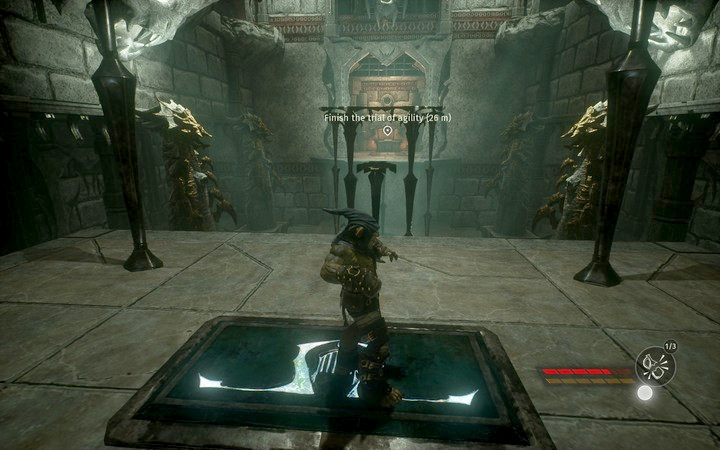
The second corridor to the left from the starting point (to the left, at a right angle). Enter the door after you open it with the lever. You have to stand on a wide pressure plate in front of the door and, using the moving stairs, make it over to the other side, before the door closes. Remember to use rolls. Behind the door, there is the second insygnium.
Hint: try to complete the course as fast as you can and, after you have collected the insygnium, return through the same door, into he starting point. To the right of the door, there are handholds that will allow you to get above the closed door. Otherwise, you will have to take a route around and avoid several elves.
Trial of wisdom
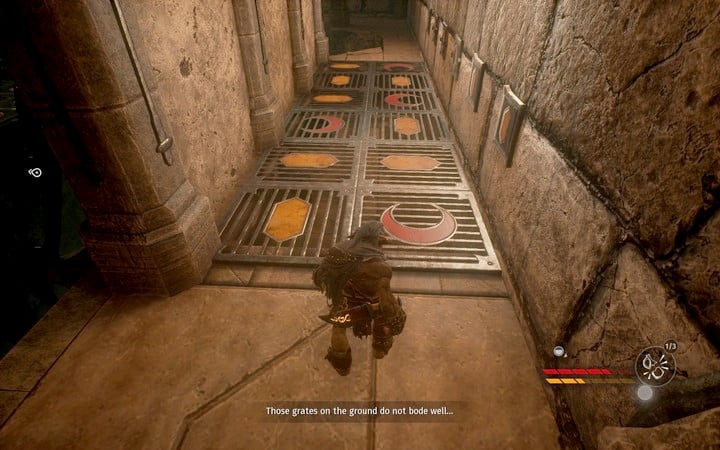
The third trial - the second door to the left of the starting point. Climb up the destroyed stairs while following the elves - it is a good idea to take out the one that stops by the altar. Open the next door and walk inside. Now, go right. There are symbols on the ground and on the wall. You can only stand on those of the symbols that are presented on the wall, or you will get burned. With the falling blocks, remember to roll (blocks 2 and 3 fall down simultaneously, block 1 has a delay). Now, jump into the center.
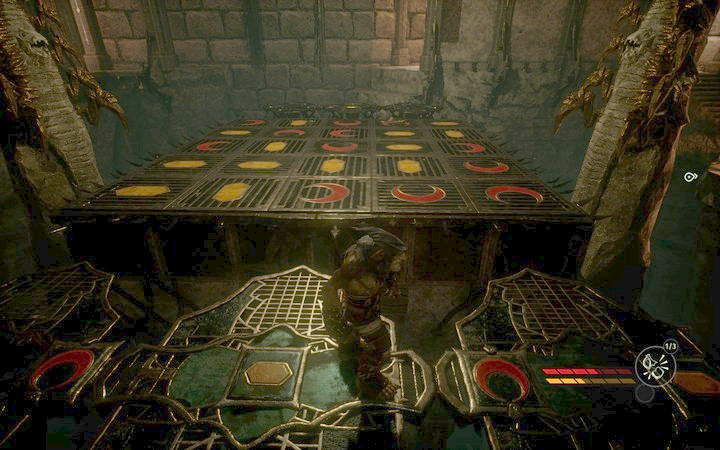
Just like earlier - this time also pay attention to the shapes
Jump into the center. The same rule applies here: In the column in front of the arena, there is a symbol that it is safe to stand on in a given row. Solve this puzzle, collect the third insygnium and take it to the center - this time around, it will be easier to take the door.
Go through the door, jump down to the left, climb up onto the balcony, cross the bridge to the other side and go left (note that you are above a trap of agility - go in the direction of the puzzle's entrance). You will run into two elves.
Trial of Faith
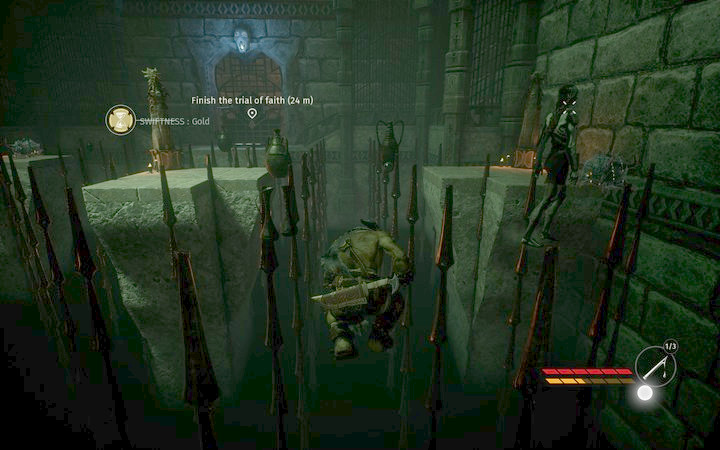
The corridor to the right of the starting point (go right twice). This trial consists in moving around over invisible blocks. In order not to lose much time, it is a good idea to either kill the elf, or shoot him with a poisonous bolt (it does not kill him). The slower way is to wait for him to approach the shrine and start to pray. While walking over the blocks, hold down the RMB/right trigger in order not to fall down where the invisible floor ends.
After you have collected the fourth insygnium, leave the room and go left, onto the stairs. Then, go straight ahead (several elves will kill each other which will eventually clear the path a little).
Trial of Covertness and freeing Helledryn
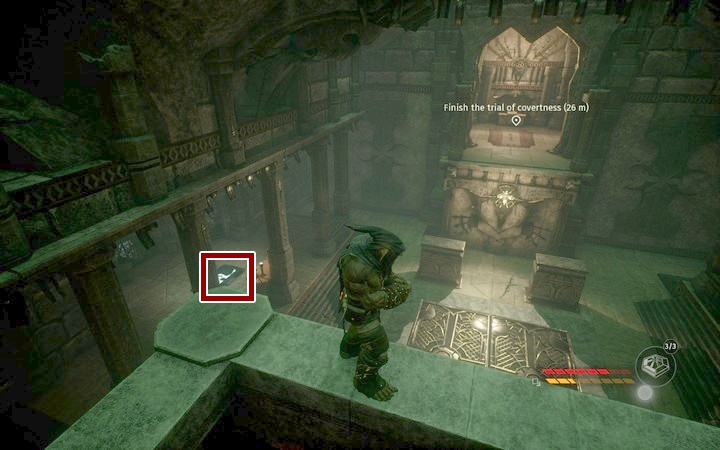
The next trial (the door to the right of the starting point) cinsists in crossing a small arena with a cave troll on it. To make it out of here, you have to press three plates on the walls of the chamber.
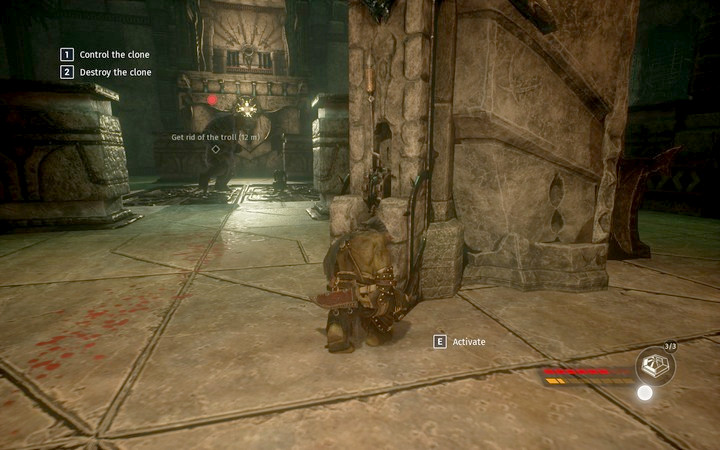
The optional objective is to free Helledryn. You will find her locked away behind the plate on the right. For this to be possible, you first have to deal with the troll, which is easier than you might think. What you have to do is use the lever below the arena entrance (by one of the pressure plates). This will open a trapdoor in the center of the arena. To attract the troll there, form a clone and put it on top of the grate.
Trial of Strength
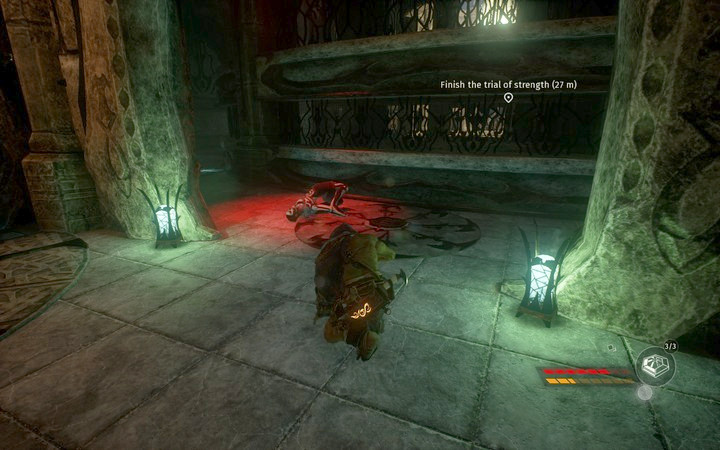
The last trial (if you have followed the order in this guide). The last corridor to the right of the starting point. It is easy to notice that there is a reflection of white light coming from above. After it spots you, it will activate saws that will cross the chamber and return to their starting point. Go left (you can use grates in the floor, or invisibility, to avoid the shaft of light). Finally, crouch under the wall and leave in the next corridor, closer to the center of the labyrinth. At the end of the corridor, walk under the wall again and exit into an outer corridor.
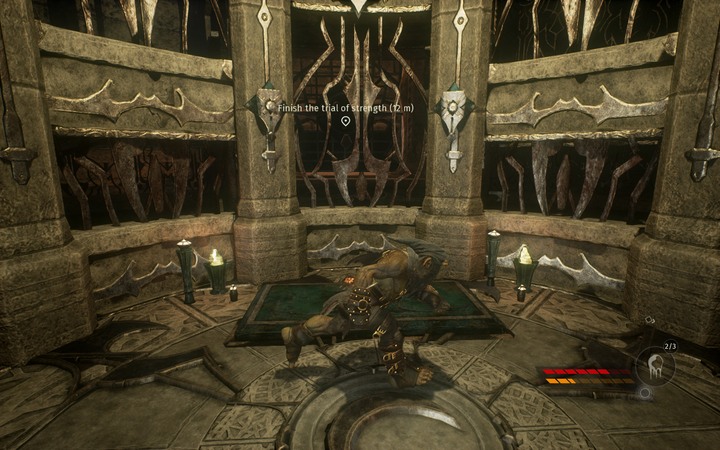
You will reach a closed gate. The plate that opens it is in the center of the labyrinth and you have to go through another dangerous corridor to get there. Open the door, go right, climb up the stairs and go to the end of the corridor.
Escape the labyrinth
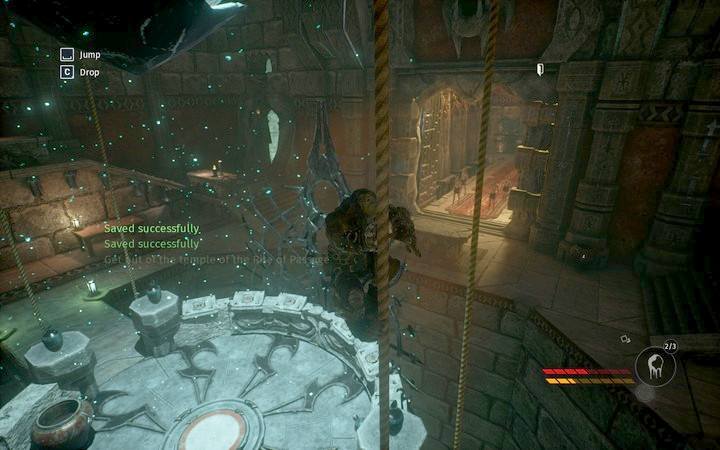
As soon as you have arranged all of the insignia in their positions, four elves will enter the chamber. Escape up the rope quickly to hide. Then, jump off towards the door (yep, it's gonna hurt a little), where they came from.
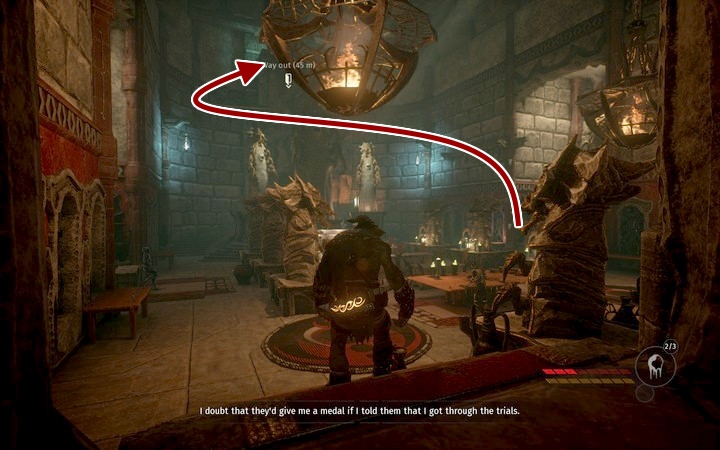
In the next chamber, you will have to get onto the balcony up above and that's it. Walk oer to the corner of the room, where there are handholds, and climb to wards the altar. Then, use the rope to get onto the balcony.
You are not permitted to copy any image, text or info from this page. This site is not associated with and/or endorsed by the developers and the publishers. All logos and images are copyrighted by their respective owners.
Copyright © 2000 - 2026 Webedia Polska SA for gamepressure.com, unofficial game guides, walkthroughs, secrets, game tips, maps & strategies for top games.
