Still Life 2: Chapter 10 - McPherson - part 1
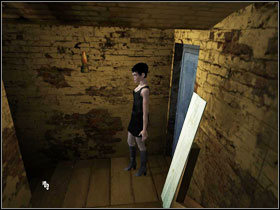 | 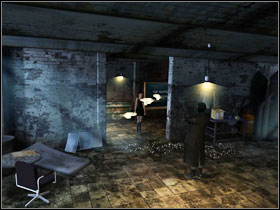 |
Leave the room and go to the other side of the basement #1, where we have found a hammer a long time ago. Watch a cutscene after which #2 our character will once again return to some old events.
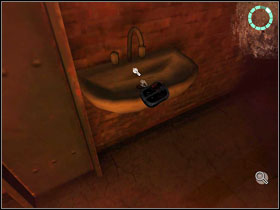 | 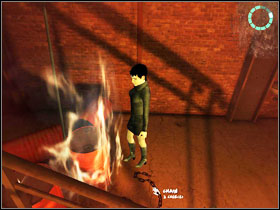 |
Approach the sink the use the murderer's cape on it #1. On the other side of the room, pick up the chain #2 and a hook from the floor. Combine them in the inventory and create a grabber.
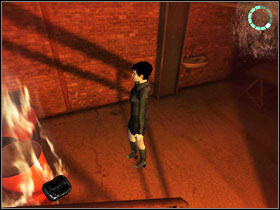 | 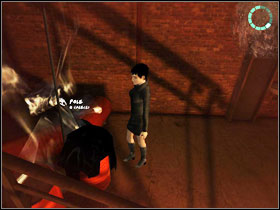 |
Take a closer look at the burning barrel #1 and cover it with the soaked cape. Now we can remove the pole from between the barrels #2. Go deeper into the room ("behind" the sink).
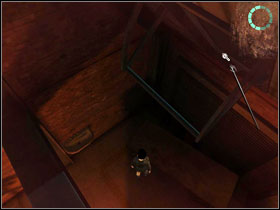 | 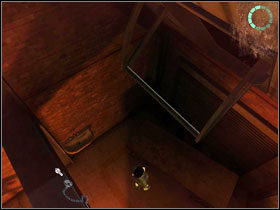 |
Use the pole to open the window #1, after that use the grabber, to grab the beam above #2 and get out of the trouble safely by jumping through the window.
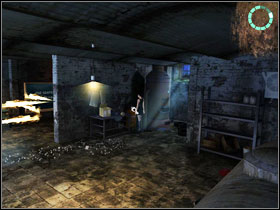 | 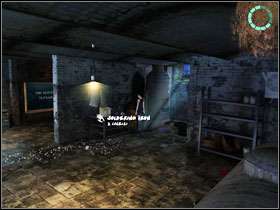 |
Approach the cylinder's valve near the table and #1 and turn it off. Take the soldering iron lying on your left #2 and run to the windows.
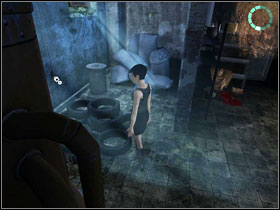 | 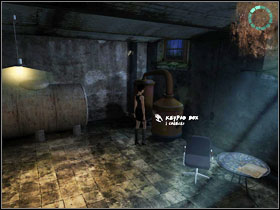 |
Above the pile of wheels you will find a switch which will open the windows on one side of the basement #1. Run to the opposite wall, take the keypad box #2 and afterwards, using another switch, open the other windows. Check the door that Hawker used to escape.
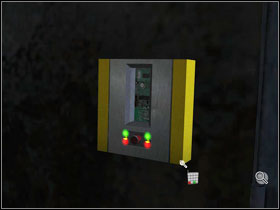 |  |
They are locked, however next to them there is a box in which we can place the keypad #1. To open them, use the same code that you have seen before through the camera. If we want to see it again, take a look at the back of the receiver on the right. The code is "D090746B2". Brave Vic is now capable of jumping though a wall of flames #2. Head to the room with the computer you have activated with a fragment of a finger.
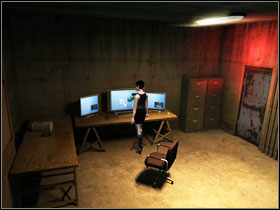 | 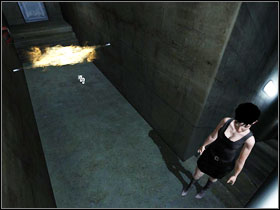 |
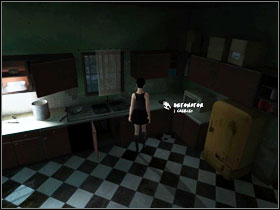
Use the terminal #1, enter the cameras section and the group marked as "C". We see Hawker in the kitchen. Go see him - return through the flames #2. Unfortunately our character won't eliminate the psycho at once, but will warn and in effect - let him escape.
 | 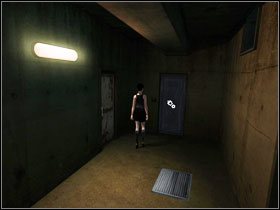 |
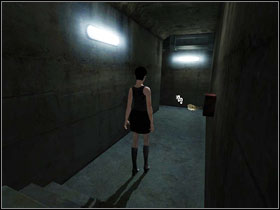
Take the detonator and C-4 charges #1. If you have two knives, you will have a problem with space in the inventory and will have to leave one of them it one the storerooms (for example the cabinet upstairs). Go back to the "second" corridor of the bunker #2 and take a look at the closed door. Combine the C-4 with the detonator and stick it to the door. Now it's time to combine the soldering iron with the feeding cable and afterwards stick it into the charge planted earlier. Finally, plug it into the socket. Boom!
- Still Life 2 Game Guide & Walkthrough
- Still Life 2: Walkthrough
- Still Life 2: Walkthrough - Prologue - McPherson
- Still Life 2: Chapter 1 - Paloma
- Still Life 2: The CSIA
- Still Life 2: Chapter 2 - McPherson
- Still Life 2: Chapter 3 - Paloma - part 1
- Still Life 2: Chapter 3 - Paloma - part 2
- Still Life 2: Chapter 4 - McPherson - part 1
- Still Life 2: Chapter 4 - McPherson - part 2
- Still Life 2: Chapter 5 - McPherson
- Still Life 2: Chapter 6 - McPherson
- Still Life 2: Chapter 7 - Paloma
- Still Life 2: Chapter 8 - McPherson - part 1
- Still Life 2: Chapter 8 - McPherson - part 2
- Still Life 2: Chapter 9 - Paloma and McPherson
- Still Life 2: Chapter 10 - McPherson - part 1
- Still Life 2: Chapter 10 - McPherson - part 2
- Still Life 2: Walkthrough
You are not permitted to copy any image, text or info from this page. This site is not associated with and/or endorsed by the developers and the publishers. All logos and images are copyrighted by their respective owners.
Copyright © 2000 - 2026 Webedia Polska SA for gamepressure.com, unofficial game guides, walkthroughs, secrets, game tips, maps & strategies for top games.
