Still Life 2: Chapter 8 - McPherson - part 1
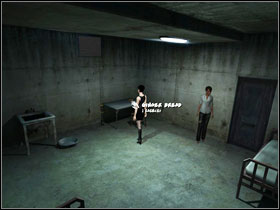 | 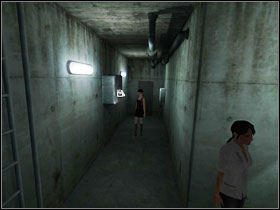 |
Take the ginger bread from the table #1 and pick up the nearby metal detector. Give the bread to the imprisoned man, which will soften his hunger. Take the fork from the locker where Paloma's items were placed. If we plan on stepping onto one of the mines in the further part of the game, we should take the first-aid-kit and from the box across - a coloured disinfectant spray.
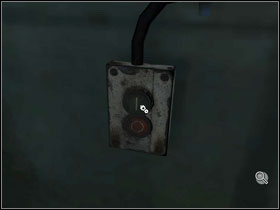 | 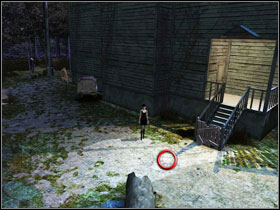 |
Use the button placed on the wall next to the ladder #1 and go outside. Carefully approach the door at the back of the house. Now it's very important to click on exactly the same spot as marked on the screen #2. By doing so, Vic will take a closer look at the mine placed there, reveal it a little and arm it...
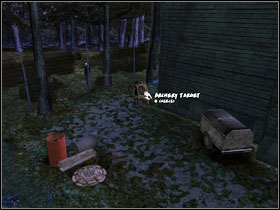 | 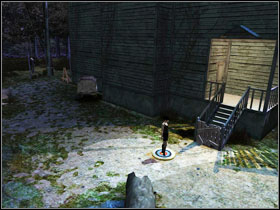 |
We have to put something heavy on it. The archery target lying in the back will be perfect #1. It requires quite some space in the inventory (4x2), so tidy it up. Once the mine is covered, we will see that McPherson is quite hardcore and walking on mines is a normal thing for her #2.
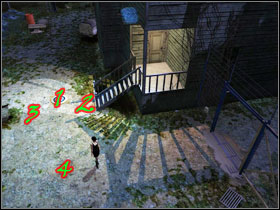 | 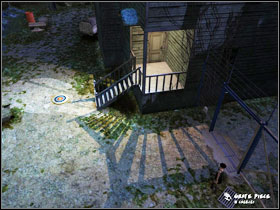 |
Apart from that mine, there are two more (numbers 1, 2, 3) #1. Take the grate piece lying nearby the gate #2, approach the mine no. 2 carefully and use the metal detector set on the 1st level on it. Afterwards dig it out of ground and cover with the grate. In the place marked with 4, use the detector set on the 4th sensitivity level. Pick up the fragment of a bicycle tire from which Vic will make an improvised picklock.
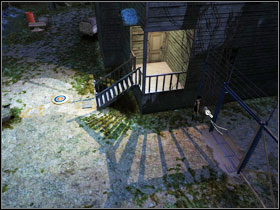 | 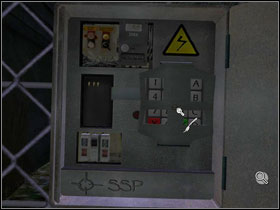 |
Use the picklock on the box next to the gate #1. Use the fork on its interior and unscrew the lid covering the keyboard #2. Now we can take the keypad box, which will disarm the trap and we will be able to safely cross the gate. Go to the yard before the front entrance.
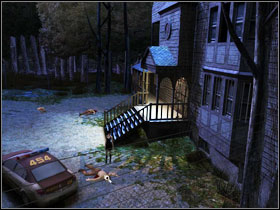 | 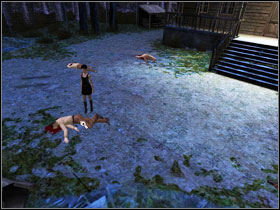 |
We find a watch #1 by the first body and by the second #2 - a knife. Before we go inside the house, take the multispectral lamp from the boot.
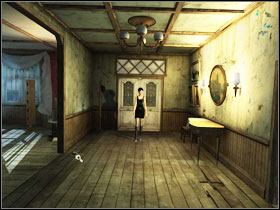 | 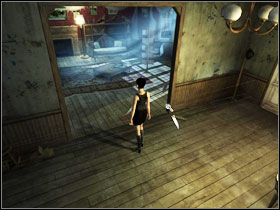 |
There are two traps in the corridor. Look at the dead rat at your feet #1 and afterwards spray the entrance to the living room #2 with our coloured spray. It will make some lines stretched across the room's walls to appear. Cut it with the knife, disarming the trap.
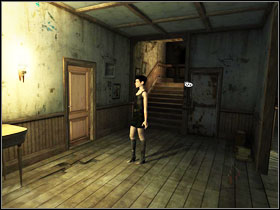 | 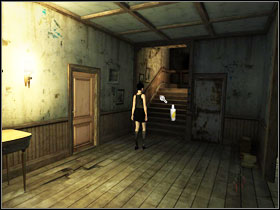 |
Do the same with the trap set by the stairs leading up. Firstly, take a look at the holes in the door frame #1, use the spray on the passage #2 and in the end, use the knife. Go to the living room, take the reflector (2x2) standing by the window and go upstairs, to the room from chapter I.
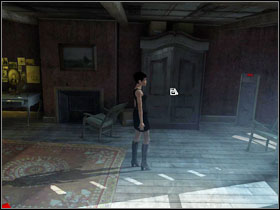 | 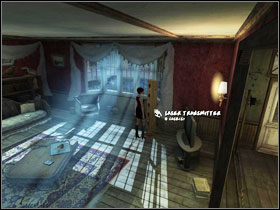 |
Put back the fork, picklock, coloured spray and the keypad box to the wardrobe #1. Go back to the living room for the laser transmitter (2x4) #2. Go down to the basement, to the room with a computer.
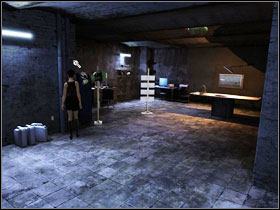 | 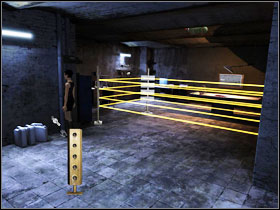 |
Take a look at the reflector and after that at the frame on the wall on the left #1. Place the lamp which you took from the car's boot in it. The next step is to connect transmitter to the socket by the floor #2. Now we can easily cut through the yellow beams. Use this to your advantage and move deeper into the room.
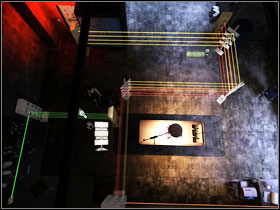 | 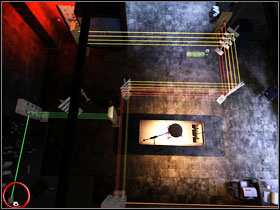 |
Place the reflector on the stand on the left side (by the green beams) #1. It's time to shut down the device emitting the signal by the green laser. Despite the big distance, press the button in the lower left corner of the screen #2.
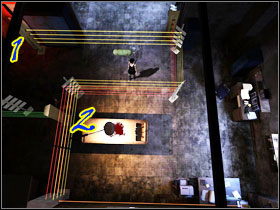 | 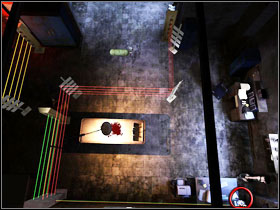 |
Take a look at and move two wooden emitters in the order marked on the screen #1. From now on we can move freely throughout the whole room. Tell Vic to turn off the device in the lower right corner of the screen #2 and say goodbye to the lasers.
- Still Life 2 Game Guide & Walkthrough
- Still Life 2: Walkthrough
- Still Life 2: Walkthrough - Prologue - McPherson
- Still Life 2: Chapter 1 - Paloma
- Still Life 2: The CSIA
- Still Life 2: Chapter 2 - McPherson
- Still Life 2: Chapter 3 - Paloma - part 1
- Still Life 2: Chapter 3 - Paloma - part 2
- Still Life 2: Chapter 4 - McPherson - part 1
- Still Life 2: Chapter 4 - McPherson - part 2
- Still Life 2: Chapter 5 - McPherson
- Still Life 2: Chapter 6 - McPherson
- Still Life 2: Chapter 7 - Paloma
- Still Life 2: Chapter 8 - McPherson - part 1
- Still Life 2: Chapter 8 - McPherson - part 2
- Still Life 2: Chapter 9 - Paloma and McPherson
- Still Life 2: Chapter 10 - McPherson - part 1
- Still Life 2: Chapter 10 - McPherson - part 2
- Still Life 2: Walkthrough
You are not permitted to copy any image, text or info from this page. This site is not associated with and/or endorsed by the developers and the publishers. All logos and images are copyrighted by their respective owners.
Copyright © 2000 - 2026 Webedia Polska SA for gamepressure.com, unofficial game guides, walkthroughs, secrets, game tips, maps & strategies for top games.
