Still Life 2: Chapter 6 - McPherson
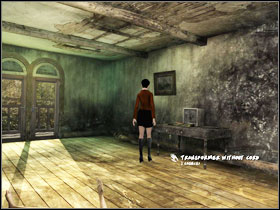 | 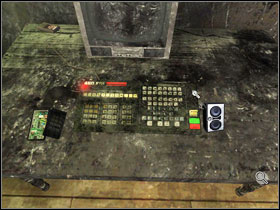 |
Across from the door, under the table #1, we find transformer without cord. Combine it in your inventory with the cord that you have found earlier. Connect it to the console by the wall (upper left corner of the operating keyboard) and plug in the speaker (upper right corner) #2. Press the machine's button and try to turn it on. Take a look at the opened box on the left. Before we go to the balcony, pick up the poker lying under the stove.
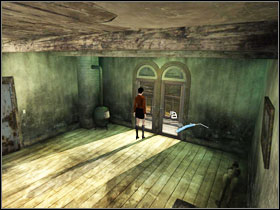 | 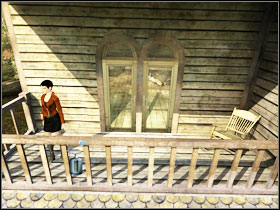 |
Open the balcony door #1 with the pick gun. Once outside, use the spray on the barrier #2 and then take a blood sample with a swab (chemical and database analysis). Go out of the house. Before we speak with James who arrived at the crime scene, Garris should cut in on the conversation. Tell him to go upstairs and check the console. Afterwards head to the kitchen, where you will exchange your observations with the sheriff. After the conversation, talk to her once again and we will receive the key to the sheriff's car.
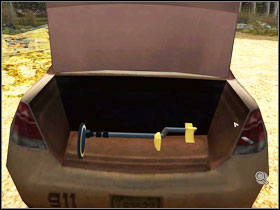 | 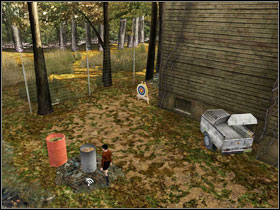 |
Use the key on the car's boot and take the metal detector #1 from inside. A new icon has appeared in our inventory (under the gun icon), representing the detector. Pressing it will change the device's strength. Set it to 3. Go to the back of the house and use the metal detector on the gray barrel #2. Get rid of the planks using the poker.
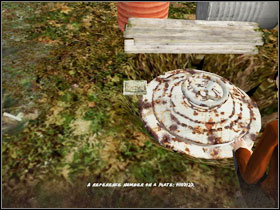 | 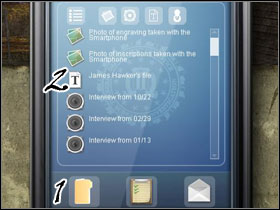 |
This way we have unveiled a hatch, but we can't do anything about it right now #1. Open the inventory and enter the phone screen #2. By pressing the right symbols, open Hawker's files. Get back upstairs to Garris, who's messing around the console. We learn that he needs the device's documentation. It's time to call Claire. Go back to the living room and begin a conversation with your ex-partner. Don't try to be gentle and choose the aggressive dialogue lines. Once the conversation is interrupted, call again and try to settle things down. After some talking, Hawker will help us with the computer in the basement.
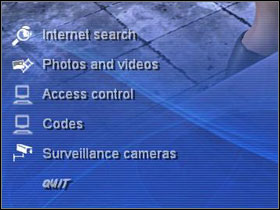 | 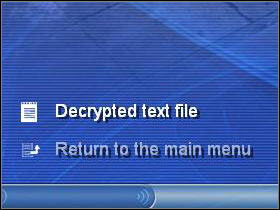 |
The monitor will guide us through the various options #1. By checking out the internet we can print the documentation Garris asked for. Skip the "access control" option for, go to the codes and open the text file only to find that it is encrypted. Our pendrive will help us; just plug it into the computer. This time unusually, the document won't be transferred to the CSIA. To open it, once again take a look at the monitor and after that - the codes. The decrypted file will appear before our eyed #2. If we want to, take the printed technical manual from the printer and go give it to Garris. There will be no time for that once we go into the "access control" and open the hatch (the code is H103123D55). We end the chapter by exiting the basement.
- Still Life 2 Game Guide & Walkthrough
- Still Life 2: Walkthrough
- Still Life 2: Walkthrough - Prologue - McPherson
- Still Life 2: Chapter 1 - Paloma
- Still Life 2: The CSIA
- Still Life 2: Chapter 2 - McPherson
- Still Life 2: Chapter 3 - Paloma - part 1
- Still Life 2: Chapter 3 - Paloma - part 2
- Still Life 2: Chapter 4 - McPherson - part 1
- Still Life 2: Chapter 4 - McPherson - part 2
- Still Life 2: Chapter 5 - McPherson
- Still Life 2: Chapter 6 - McPherson
- Still Life 2: Chapter 7 - Paloma
- Still Life 2: Chapter 8 - McPherson - part 1
- Still Life 2: Chapter 8 - McPherson - part 2
- Still Life 2: Chapter 9 - Paloma and McPherson
- Still Life 2: Chapter 10 - McPherson - part 1
- Still Life 2: Chapter 10 - McPherson - part 2
- Still Life 2: Walkthrough
You are not permitted to copy any image, text or info from this page. This site is not associated with and/or endorsed by the developers and the publishers. All logos and images are copyrighted by their respective owners.
Copyright © 2000 - 2025 Webedia Polska SA for gamepressure.com, unofficial game guides, walkthroughs, secrets, game tips, maps & strategies for top games.
