Mission 9: Altitude Adjustment | Walkthrough
Find the Way to Eden Tower
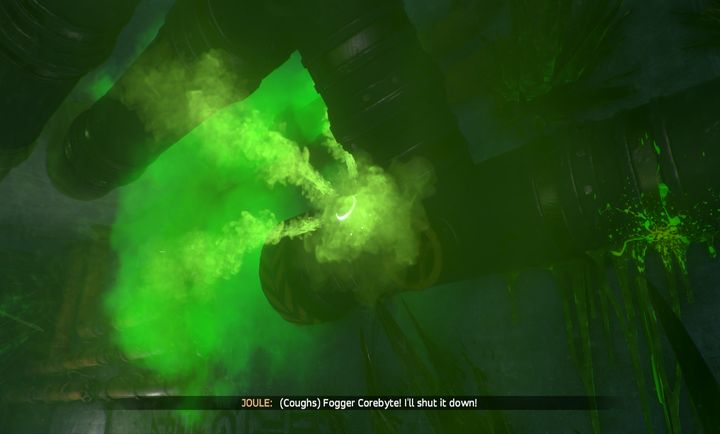
Fogger Corebyte cannot change his location, but his gas spreads throughout a large distance.
There is a transport pod to the right from the entrance. You can change companions and return to Crawler to improve them. I suggest exchanging Seth for Mack, as there is something to dig out along the way. The corridor before you contains new enemies - Fogger Corebyte. Their only ability is releasing a spacious cloud of poison gas. Fortunately, a few hits will be enough to destroy them. The tunnel contains a few robots of this type, so watch out.
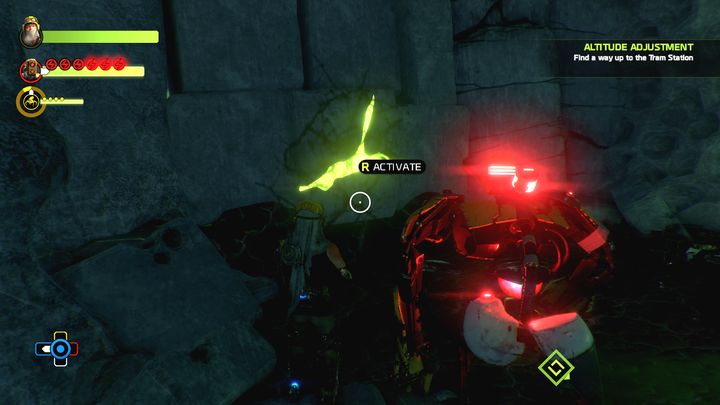
Duncan will unlock the way to the chest.
There is a ruptured tunnel at the end of the corridor. Joule will notice the way forward, but it's too high to be able to reach it. Additionally, you'll be attacked by a blue AP-3. Once you defeat him, jump to the bottom. Watch out, as there is a number of exploding Diver Corebytes and some Thumper Corebytes - these enemies hide underground and explode after a moment of hovering. You can destroy them only by using the extractor. There is a stone on the left that can be destroyed by Duncan. The stone reveals a small room with a chest. Once you open it, use the corridor to follow the objective indicator.
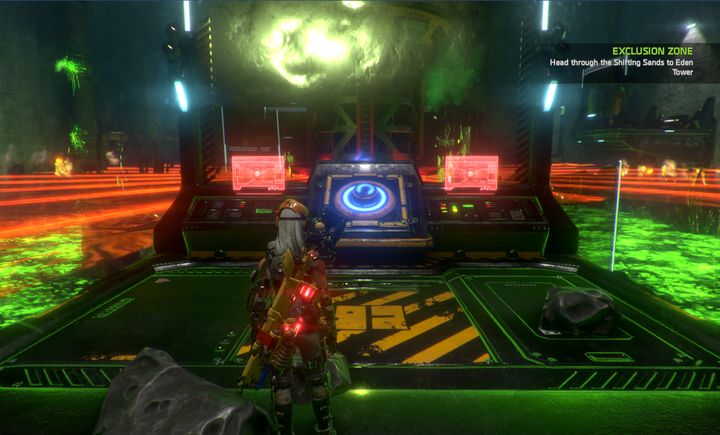
To continue the mission, you need to bring three Cellbots to the respective consoles.
After entering the tunnel, you'll encounter a wall that can be destroyed by your companion. There is a console without a Cellbot behind it. Your entrance to the room will activate the system that locks the way further and activate the deadly lasers. After a short cut-scene, return to the tunnel, and you'll see a way up on the left. There is a hidden chest at the end of it.
The blue Cellbot is located to the right from the console, on a ledge behind the green geyser. You should jump over the hazardous area to activate a little robot, and then return to the console with him. This will raise the height on which the lasers work. Then, you need to jump to the left from the console, and move between the following elevations using sprint. The distance covered by this ability is enough to reach the next safe spot, and at the same time doesn't increase the height of the lasers. The fourth ledge, standing directly behind the green geyser, is taken by a Fogger. Destroy him before you cross the geyser, as his attack can eat up a lot of your health points.
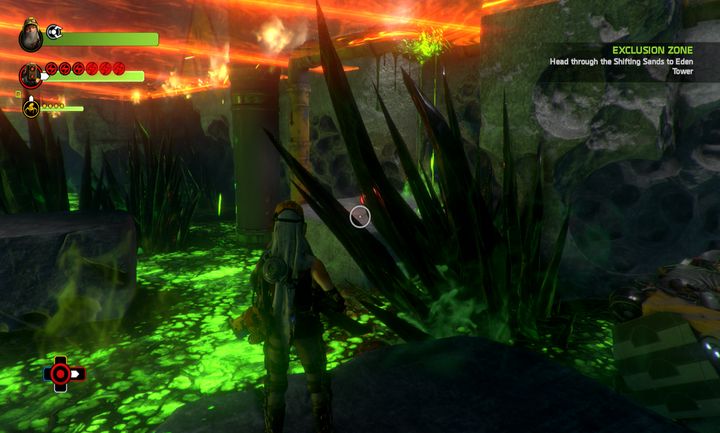
Once you cross the next geyser, look to your left - you'll see a rock ledge that can be accessed by sprinting. Behind it, there is another one with a red Cellbot located on it. Before you reach it, take notice of a next Fogger on a wall to the left from the ledge. Then, step back, and lead the robot to the next panel with the socket.
The last Cellbot is located on the ledge located three steps from the platform. Reach it by moving across the containers, and lead it to its console by following the designated path. Bringing the last robot in will deactivate the laser and allow you to access the platform which is your current objective.
Locate all the Parts for a FL1-R Frame
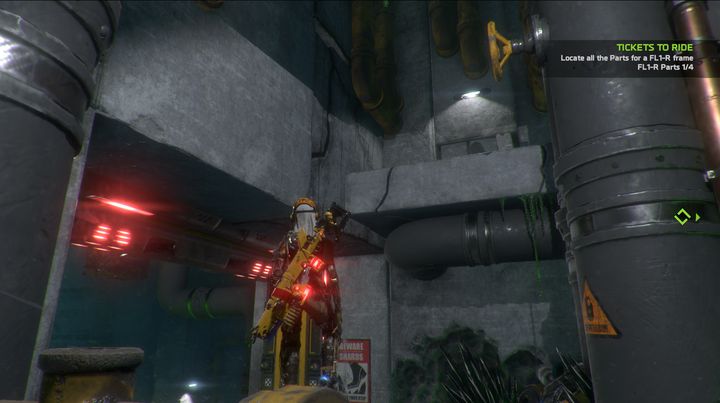
To reach the ledge, you need to make two long jumps and sprint. Joule should climb up the edge by herself.
Once you jump on the platform, take a look at the blue audiolog lying on the table. There is a chest surrounded by a barrier and a workbench in the circle. Use the console marked by the objective indicator to access the container and its contents. You can continue once you open it. You'll find yourself in a location with many pipes. Jump on one of them that is a bit higher than the rest, and turn in the direction of the exit. You'll see a ledge in the distance. To access it, make two long jumps and a sprint. Joule will climb up the edge herself. After Duncan destroys the wall, you'll see a treasure chest there. When returning, take a look at the ledges hanging opposite the place where you stand. Using them will facilitate getting through the corridor.
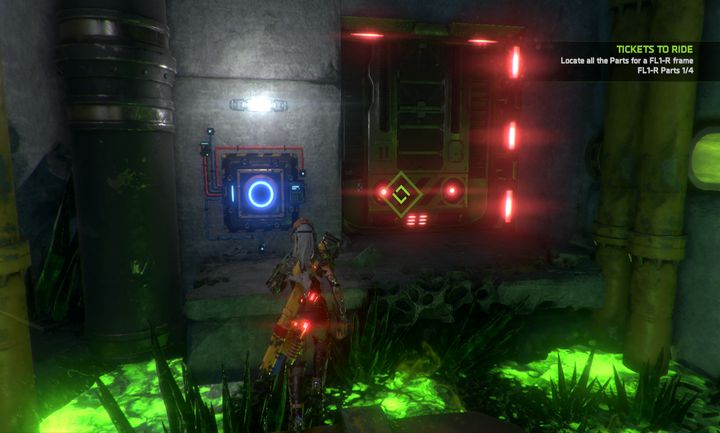
The locked gate requires a blue Cellbot that can be found nearby.
By proceeding forward and eliminating a few enemies, you'll reach a closed gate with a blue socket for a Cellbot nearby. There is a path to the right that leads you to it. However, watch out for two Foggers that await you on the way. Returning with a small robot to the door, you'll be attacked by Thumpers emerging from the toxins. Eliminate them using your extractor as quickly as you can. When you reach the socket, Cellbot will open the way for you.
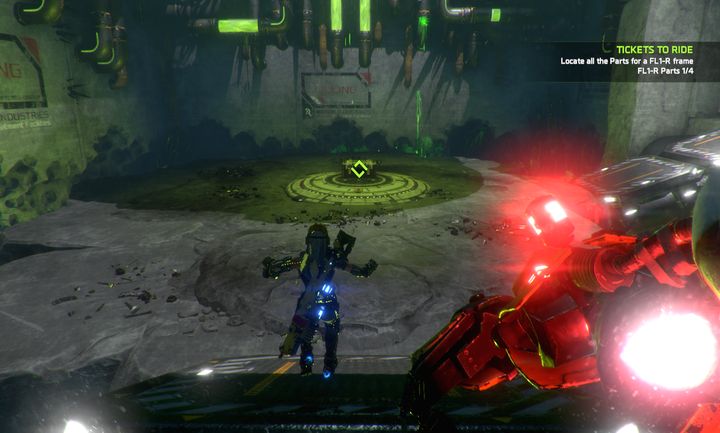
You'll see a chest lying in the middle of the arena. Approach it, attempt to open, and prepare for a new type of enemy - AP-3 with a prismatic frame. To defeat the new enemy, you need to throw them off balance with a charged shot to the back before you're able to deal any damage to them. The enemies using such frame reflect your bullets, and have certain weak spots that need to be shot at. Once you defeat the enemies, the chest will be unlocked, and a new path will open after you loot it.
Keep a weapon with red ammo at hand, as when you cross the threshold of the next corridor, you'll be attacked by a few Divers. In the next room you'll encounter violet FL1-R Deadeye. This enemy can shoot fire rings and stunning lasers. Once you defeat him, use Mack to dig out a valuable item for you. The way further will be locked by a red Lattice Corebyte. Defeat its elements hovering under the ceiling, then fire a charged shot at the middle of the blockade.
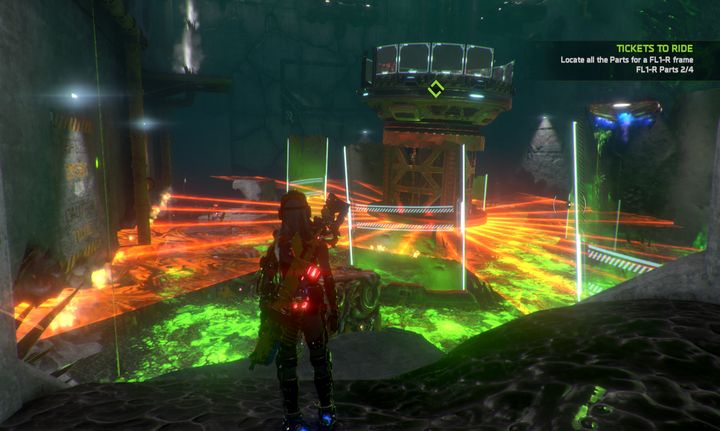
The next room contains a tower with lasers that this time slowly descend and ascend. The only way to reach your objective is keeping to the barriers. Stand on the ledge located just after the first barrier, and when the lasers reach the maximal height, cross the three following ledges as quickly as possible to reach the next cover. There, jump on a higher level and shoot down the nearby Fogger. When the lasers get to the bottom, quickly move for the next shield. When the burning light will once again move to the top, move to the next ledge and shoot down next Fogger as quickly as possible. Behind him there is a last ledge and a safe haven behind a stone wall. Jump on it and reach the top of the tower using the mobile ledge. You'll find a chest that disables the laser after opening. A gate will raise, and three Divers will enter the scene. Once you destroy them, use the newly opened path.
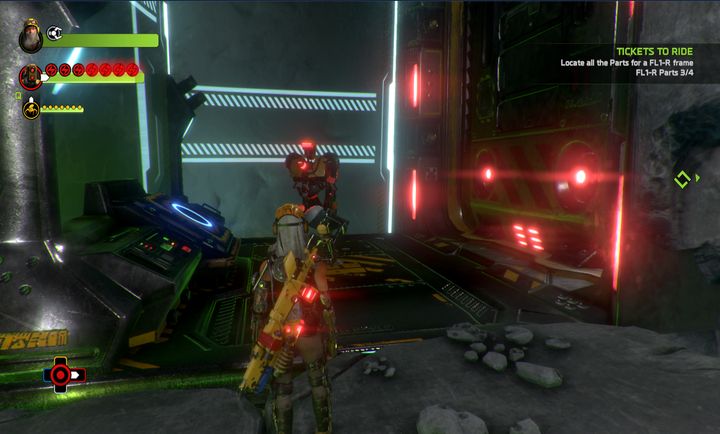
Cellbot is hidden to your left, behind the black spikes.
The next room is flooded by toxins and full of Foggers. Destroy them while jumping through the ledges. Following the only possible path, you'll finally reach a locked gate requiring a blue Cellbot. The robot is hidden behind the black spikes located opposite to the gate. Watch out - the moment you approach the Cellbot, a Thumper will jump out from underneath the toxins. Escort Cellbot back to the gate to be able to continue.
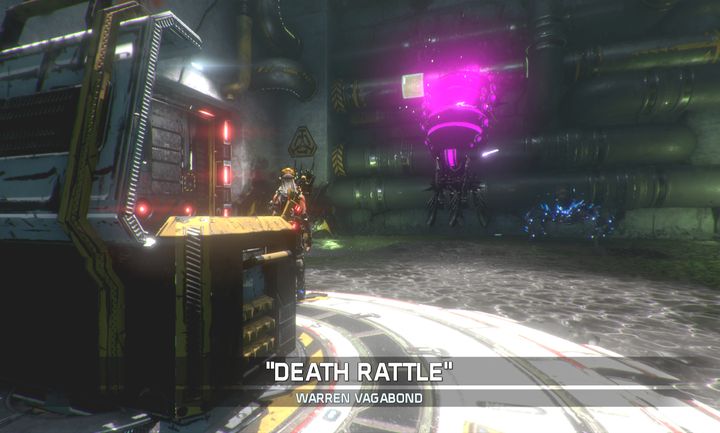
Death Rattle doesn't hold a prismatic core, even if the description is similar to a boss encounter.
The next corridor contains a large number of Foggers, as well as red and blue Divers. Push forward, destroying enemies along the way, until you reach the chamber with a chest. The chest contains the last missing fragment of FL1-R frame. Before you approach it, circle around it, as there is a Fogger connected to the opposite wall. When you acquire the necessary item, you'll be attacked by Death Rattle - a violet FL1-R and a blue SP-DR. Aside from fire ring attacks and stunning laser, those enemies can summon Fixer Corebytes that will heal them during combat. Once you defeat all the enemies, a new path will be unlocked, leading to the place where you've found the first part of FL1-R frame, and a workbench. Approach it and remake one of your companions.
Return to the Destroyed Bridge
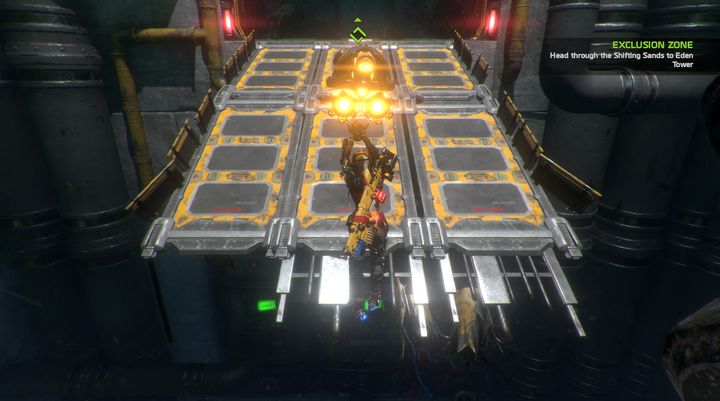
Once you remade your companion to FL1-R model, you can employ a set of new abilities. During a jump, you can now press the companion change button to significantly slow the fall and extend the flight. Additionally, you can now use the hot air geysers to ascend to serious heights.
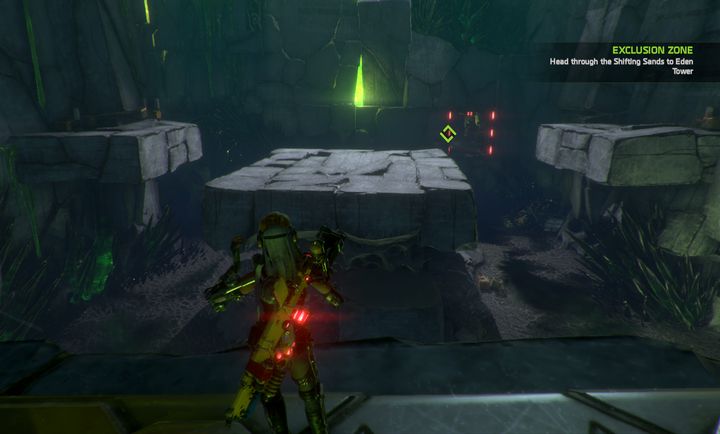
Jump from the platform and fly in the direction of the objective. Once you cross the corridor, climb to the top, where you can find a hot air geyser. Approach it until you see an ability to use your companion's special ability. It will raise you high in the air and you'll reach the other end of the bridge easily. While being upstairs, jump down before the protruding spikes. There is a wall behind you that can be destroyed by Duncan. Inside, you'll find resources and a red audiolog. Once you gather everything from that chamber, return upstairs and after jumping across the blades, use your FL1-R companion to reach the other end of the abyss.
BOSS: Elder Alarum
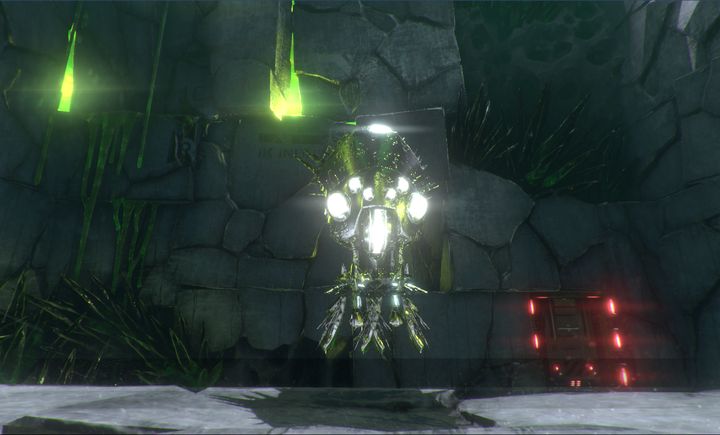
Elder Alarum's frame deflects the fired bullets.
Elder Alarum encounter begins shortly after the end of a very short enemy introduction. It's a very tough fight as a result of a special frame that deflects the carbine bullets. The only way to deal him some damage is hitting the core - from below or from behind. Additionally, the boss can call for reinforcements - SP-DRs, K-9s, Floaters, and Grabbers.
You should begin with eliminating the summoned minions. Most often, the boss hovers by the middle ledge, so you should change your position. Take notice that the pit isn't filled with toxins, so you can safely jump down there to hide or pull away enemy reinforcements. You should wait until the boss starts preparing for an attack or support call to attack him - at these moments, he rises his front body part, revealing the core.
Elder Alarum has a few attacks, with the most dangerous one being a precision laser beam that can take even the whole health bar. Before he shoots, you can see a thin light beam on its target. This attack is hard to dodge, so find a cover as quickly as possible, or try double jumps and sprints.
The best tactic for this boss is using Duncan or FL1-R's ability on the boss to distract him, and then performing a charged attack from the bottom or from the back aimed at the core. When the enemy health level falls below 30%, you will be able to remove his core using your extractor. When you get it one, the door to the next location will be unlocked.
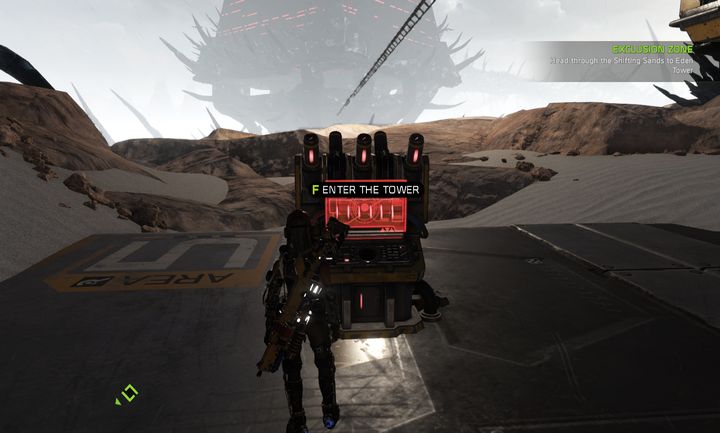
You'll find yourself in Shifting Sands once again. Take a look at the audiolog located to the right from your position. Additionally, there is a wall further to the right that can be destroyed using Duncan's special ability. The wall will unlock the way to the place where you've set off to The Warren. There is a train console to the left from the exit. Once you activate it, you'll finish the mission.
You are not permitted to copy any image, text or info from this page. This site is not associated with and/or endorsed by the Microsoft Studios or Comcept. All logos and images are copyrighted by their respective owners.
Copyright © 2000 - 2025 Webedia Polska SA for gamepressure.com, unofficial game guides, walkthroughs, secrets, game tips, maps & strategies for top games.
