ReCore: Mission 3 Status Check
Status Check is the third mission in ReCore. Below you will find a detailed list and a description of all of its stages.
- The way to the power-supplying panel
- Looking for prismatic cores.
- BOSS - Skull Cracker
- Activating Pylon 512
The way to the power-supplying panel
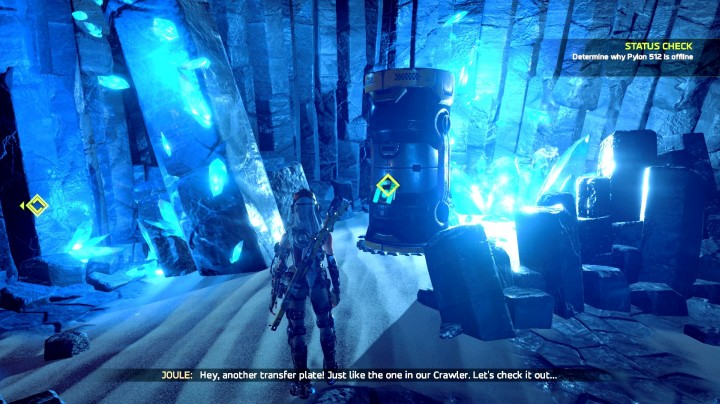
After regaining control over the character you will find that you're in a tunnel. The only way is the one in front of you. After a short walk, you will reach door, next to which there will be a transport chamber, exactly like the one in your base. After activating the chamber, you will find that there's a small robot stuck in there - V01-LT. It's task is to maintain the chambers, and it will let you get here straight from the Crawler easily.
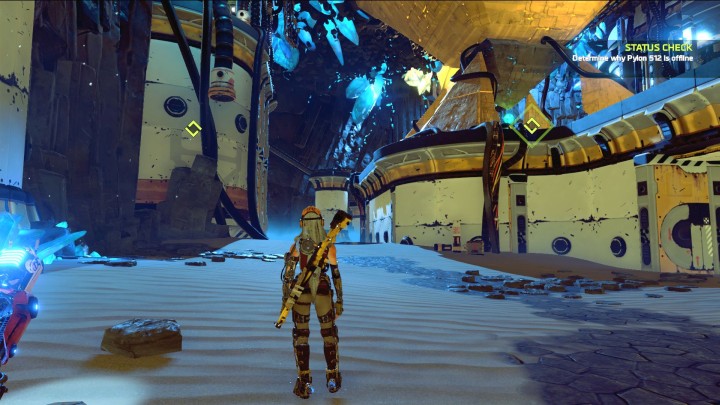
In the next tunnel, your attention can be drawn by the small robots on the walls (harmless). You can ignore them, or shoot them down for a marginal amount of XP. After the corridor ends, you will reach a cavern of considerable area, full of buildings - this is the central control room for the Pylon 512. There are some resources to get here, as well as one cluster of enemies - Rouge K-9 and Poppers.
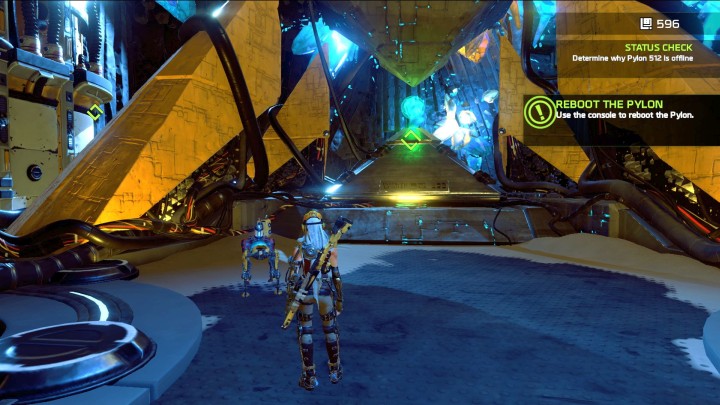
After getting to the control panel for Pylon 512 you will find that the Prismatic Core that you own is too feeble to power the thing up. You will have to go deeper underground and find more of such cores.
Looking for prismatic cores.
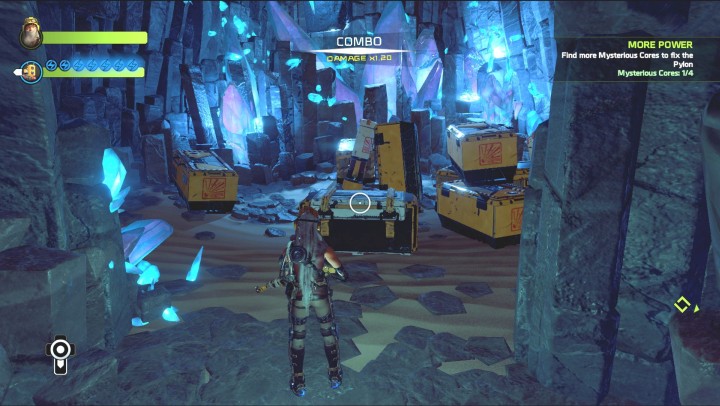
Go pass the power supply panel and get onto the ramp which goes to the left. You will find a medium sized cave with two red robots hovering in one place. The doors on the other side are closed, look for a spider on a wall. It explodes when damaged. Behind the wall it's sitting on, you will find your first ammo upgrade - red ammunition. It's activated by pressing 2 on the keyboard. This ammunition allows you to open doors blocked by red robots, and deal more damage to red enemies.
After returning to the cave, you'll be attacked by red Rouge K-9. If you change your ammo type to red, you will instantly notice you're dealing more damage. There's more: a charged attack may set your enemies on fire, which means even more damage. After destroying them, shoot the robots flying close to the door with red ammo. This will open the way forward - careful, it's full of Corebytes Poppers.
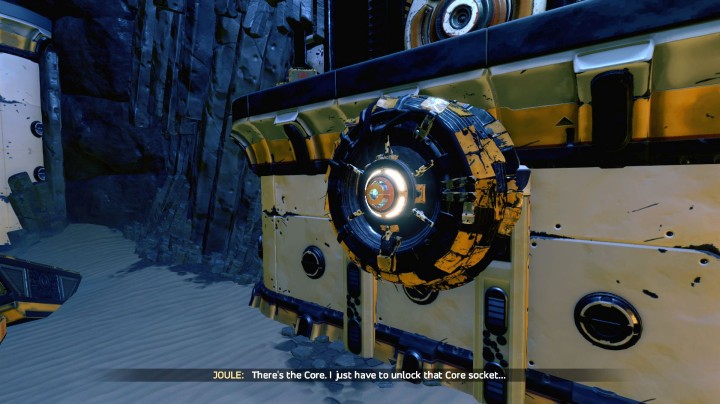
The next area contains the core you're looking for. Unfortunately, it's blocked and the only way to get it is to find six Cellbots hidden in the vicinity. Keep in mind that these robots have a distinct green afterglow. The first one is near the platform - you have to bring it to that platform, same as the next robot. The next one is near the ramp elevated above the surface, but it's guarded by Rouge K-9.
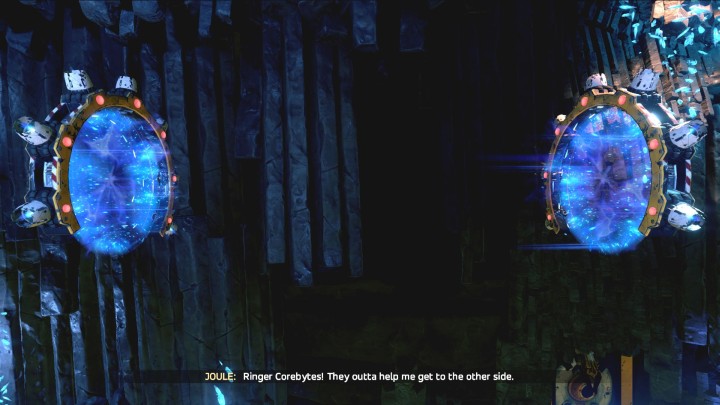
The rings charge Joule's exoskeleton, which again allows her to jump and sprint without landing.
There's no need to bring each Cellbot separately to the platform that powers the socket with the core. You have to get to the elevated ramp, and after jumping onto a column, Joule will notice Ringer Corebyte, which work as additional power for her exoskeleton. After each jump through them, she will get one additional jump and sprint. Using this ability will allow you to the opposite side and corridor, where your objectives are located. Before you get to the next cave, jump down to the platform nearby and by using double jump and sprint, get to the small ledge, there you will find another Cellbot.
To catch the third one, get onto the ramp in the middle of the room, turn around, and jump onto the next, higher platform.
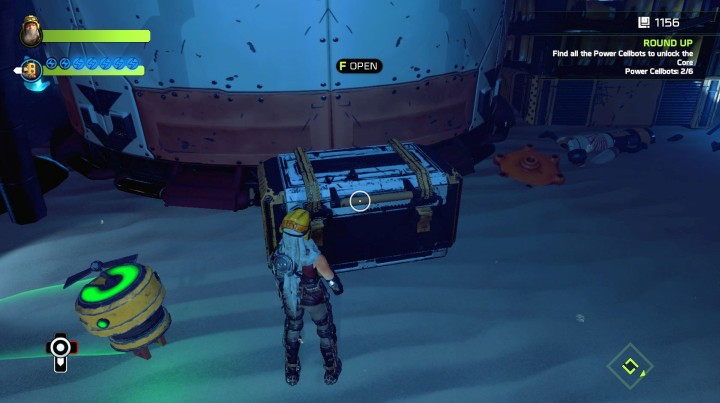
After returning to the cave, you will notice that it's split into two corridors; fortunately, both ways are short and end up in the same place. The left corridor contains the last Cellbot. The right one contains the box seen above.
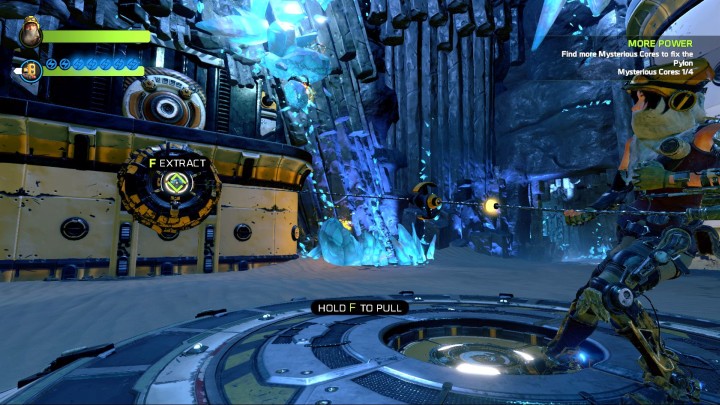
After achieving all the objectives, go back to the chamber with the slot for the prismatic core. Green robots will get to their stations themselves, which will allow you to get the core out, and open the gate above the power slot.
Before leaving the area and getting back to the chamber powering up the pylon, you should look around the small room that's been opened after taking the core out. Apart from many boxes with resources, there also is one with some nice loot.
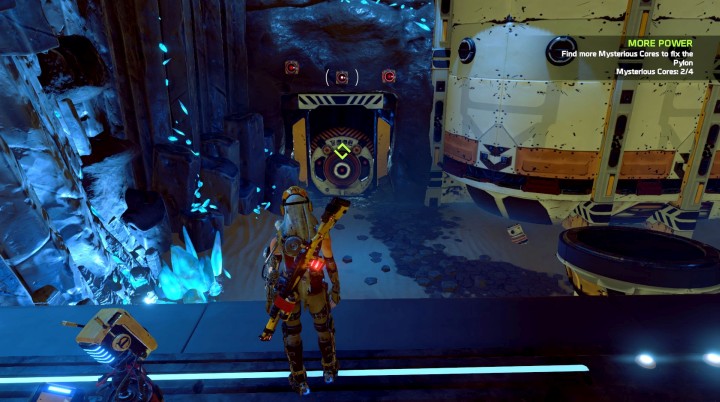
After returning to the chamber powering up the Pylon, stand in front of the door with two red robots above them, and shot them both with red ammo - the door will open. Behind, in a narrow corridor, awaits another treasure box, and then a cavern with Spider Corebots. Notice that they're not the same color, the first wave is two blue and one red; make sure you get the red one first to eliminate one third of the force right away. The blue enemies are a little bit more sensitive to white ammo. Select it by pressing 1 on your keyboard.
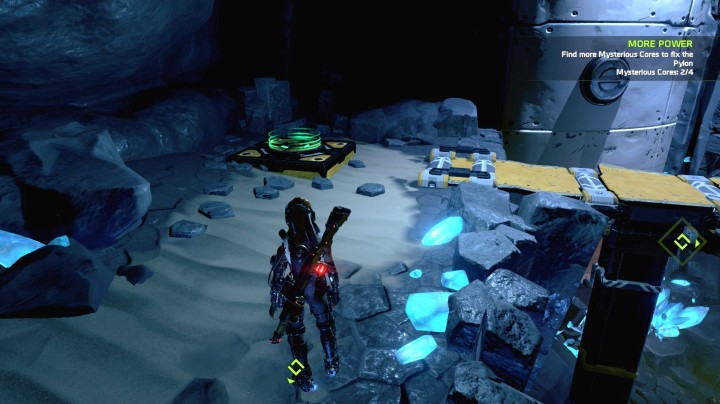
After dealing with the enemies, you should look around the room and destroy the boxes with resources. Under one pile of these will be a switch. After pressing it, you have a couple seconds to get to an optional box - getting there requires a very long jump;
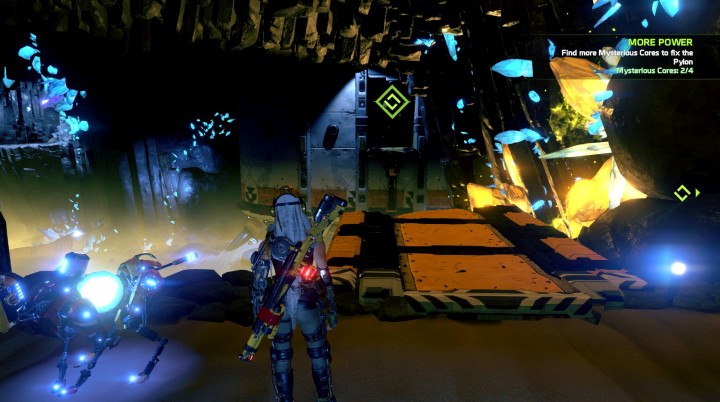
Run as fast as you can to the bridge on the opposite side of the room and use the combination sprint-jump-sprint. Start the first sprint on the edge of the broken platform; jump only when the boost is about to end. It's really quite a distance, and it can be challenging.
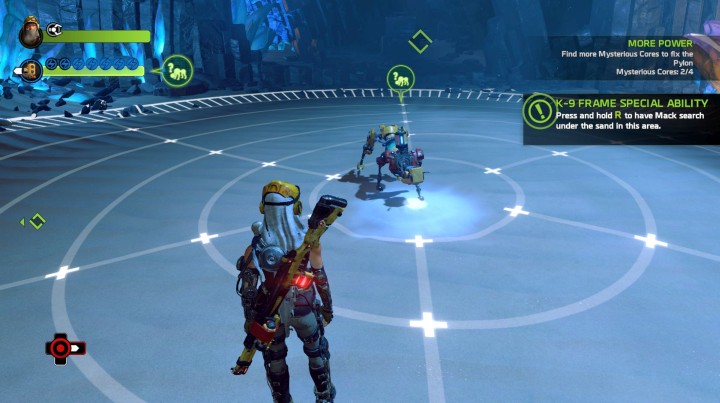
Using Mac's special ability is required to find the second core.
On the right from the broken bridge you'll find the rest of the path. Right after getting through the tunnel, take the left path to find another box. Go a bit further and you will realize you've reached a dead-end. At it's far end, behind many crates with resources, there's another box, unfortunately without a core. In order to find the target, you need to use Mac's special ability in the center of the room, by holding R. He will start looking, and eventually will dig out another prismatic core. Just stand in front of it and press F to pick it up. Time to get back to the room powering the Pylon. On your way there, you will be attacked by small groups of Poppers.
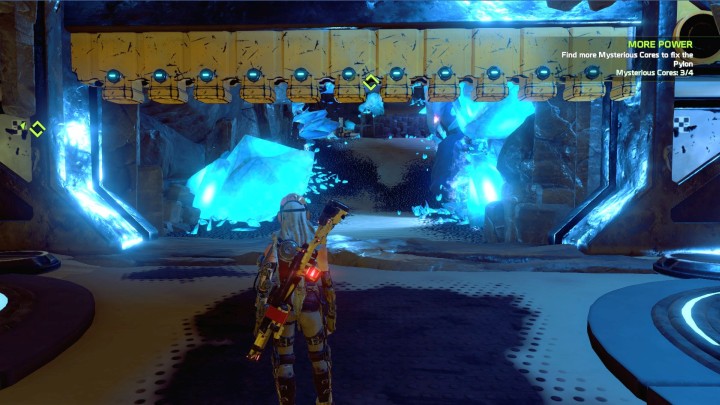
The last core can be found in the room opposing the Pylon's power panel. A boss awaits there - Skull Cracker. Before the fight begins make sure that you're able to switch ammo types fluently. At the end of the corridor will be door that you have to open by using a prismatic core. Just stand in front of them and hold F.
BOSS - Skull Cracker
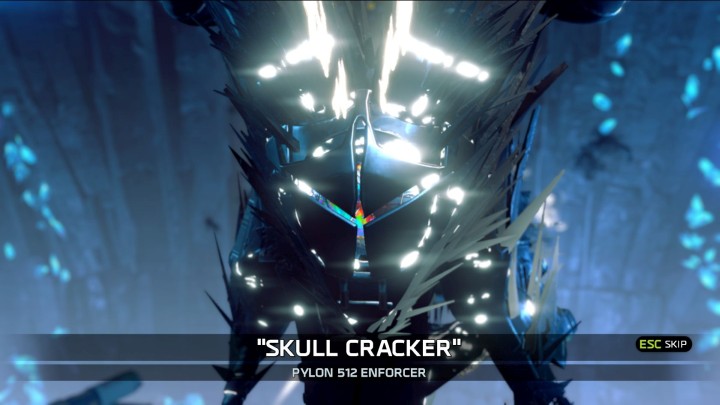
The fight with Skull Cracker begins after a short presentation of his abilities. This fight will require changing ammo colors.
A good idea is to start with a charged attack - if a fully charged bullet reaches the target, will make the enemy tumble and break its attack. The enemy will change colors during the clash - blue, yellow and red. Each change brings about a change of weaknesses and tactics.
Skull Cracker's main attack is a charge. Besides big damage, it also tosses the protagonist on the barrier, which causes a temporary paralysis. To end it as soon as possible, quickly press keys: A & D. Skull Cracker, besides attacking, can also summon reinforcements: Rouge K-9s and Poppers.
- When the boss is blue, shoot him with white ammo. It causes a bit more damage than red, although there's no chance of incinerating the enemy. On this stage, Skull Cracker's main attack will be the charge, which deals big damage and throws Joule at the barrier, which stuns her. The best way to dodge this attack is by keeping the distance and sprinting.
- When the boss is yellow, it produces a barrier which can dump a lot of damage. It doesn't have special attacks then, but it can still summon some allies.
- When it's red, the main attack will be fire waves, setting Joule on fire. It's easy to dodge them just by jumping over.
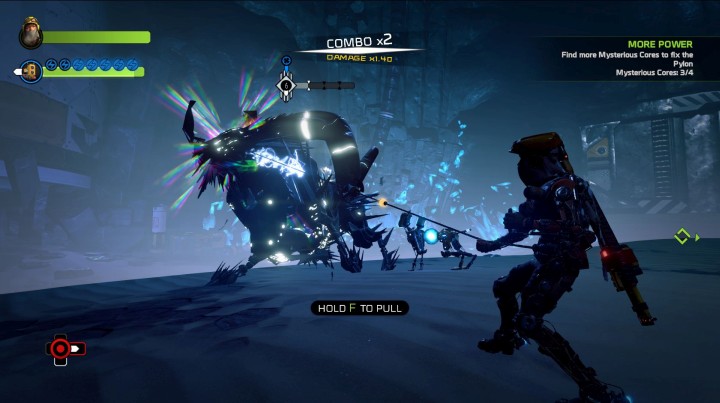
When its HP are around 25%, it will start regenerating, and dealing more damage will be impossible. The only way to finish the fight, is by extracting the core. In order to do that, press F, when aiming at the enemy, and hold it until the marker on your wire will reach the protagonist. If the wire becomes red, stop the extraction for a moment - otherwise it may snap. After a successful extraction, the boss will be finished, and you will get the last prismatic core needed. The only thing left now is activation of the Pylon in the power-control panel.
Activating Pylon 512
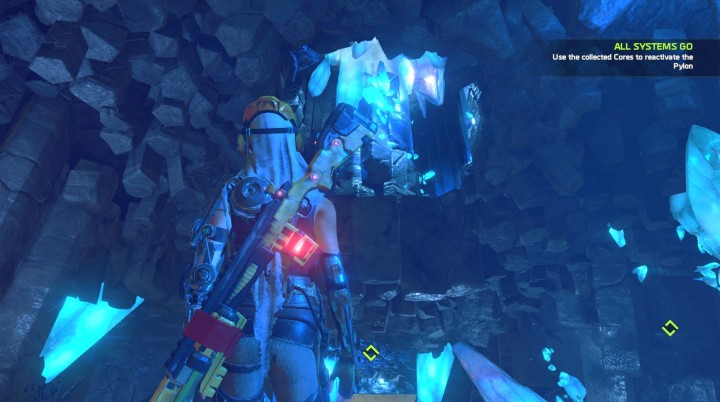
Getting back to the central panel, notice that right above the entrance to the boss' cavern, there's a very tiny room - you can jump in there easily. There's a couple of useful items there.
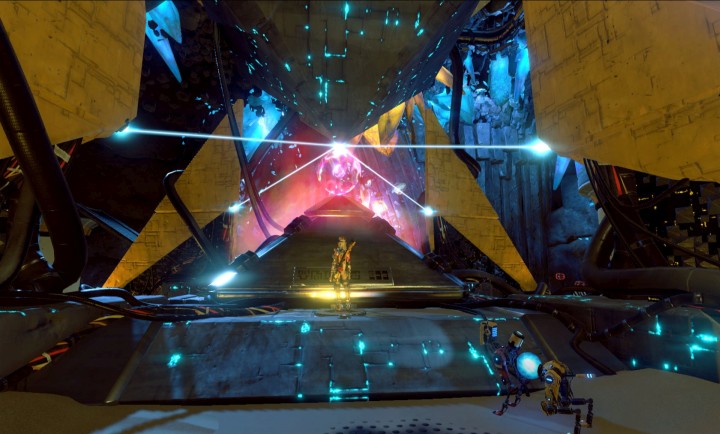
After getting back to the control room, you just need to approach the panel and press F, to activate Pylon 512. After a short scene, you can get back to the surface. The way back is located opposite to the panel, and leads through a corridor which brought you here originally.
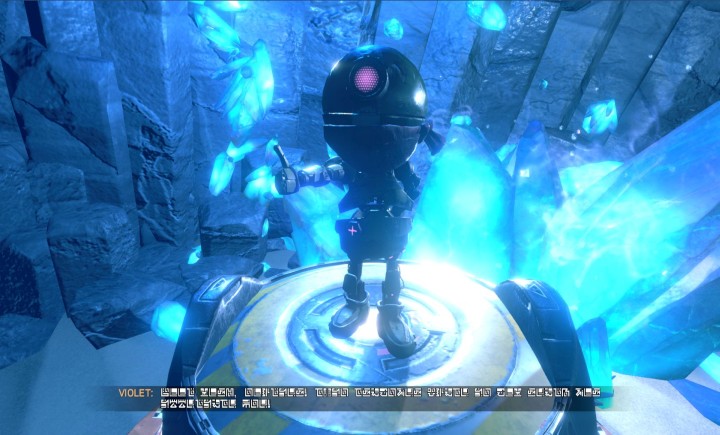
While getting back to the surface, you will once again pass by Violet. It will inform you that the transport chamber has been repaired and that you can now use it. These chambers can be used for fast travel, however you don't have any destinations unlocked yet, which makes it useless for now. If you want to upgrade your companion or construct new elements for him, go back to Crawler and activate the onboard chamber. After talking to the small purple robot, go reach the end of the corridor and use the door which will get you back to Lonely Basin. From now on, the structure of the game becomes significantly more open, and besides completing the main quest, you can travel around the game world, traverse undergrounds such as the one you've just been to (if you can meet the requirements), and upgrade your companion in the base.
- ReCore Game Guide
- ReCore: Game Guide
- ReCore: Walkthrough
- ReCore: Mission 1 On the Hunt
- ReCore: Mission 2 Paradise Lost
- ReCore: Mission 3 Status Check
- ReCore: Mission 4 Whispers in the Sand
- ReCore: Mission 5 Is Anybody Out There?
- ReCore: Mission 6 Arachnid Acrophobia
- ReCore: Mission 7 Top Secret
- ReCore: Mission 8 Exclusion Zone
- ReCore: Mission 9 Altitude Adjustment
- ReCore: Mission 10 Eden Tower
- ReCore: Walkthrough
- ReCore: Game Guide
You are not permitted to copy any image, text or info from this page. This site is not associated with and/or endorsed by the developers and the publishers. All logos and images are copyrighted by their respective owners.
Copyright © 2000 - 2025 Webedia Polska SA for gamepressure.com, unofficial game guides, walkthroughs, secrets, game tips, maps & strategies for top games.
