Project Dagger | Rage 2 Walkthrough
Last update:
This page in our guide to Rage 2 contains a detailed walkthrough for Project Dagger, the final mission. Your objective is to attack the Authority Headquarters. After eliminating the regular Authority forces, you will face the final boss - a Titan controlled by General Cross.
- Unlocking the mission
- Get inside the Authority Headquarters
- Find General Cross
- Defeat Colossal Titan / General Cross - final boss
Unlocking the mission
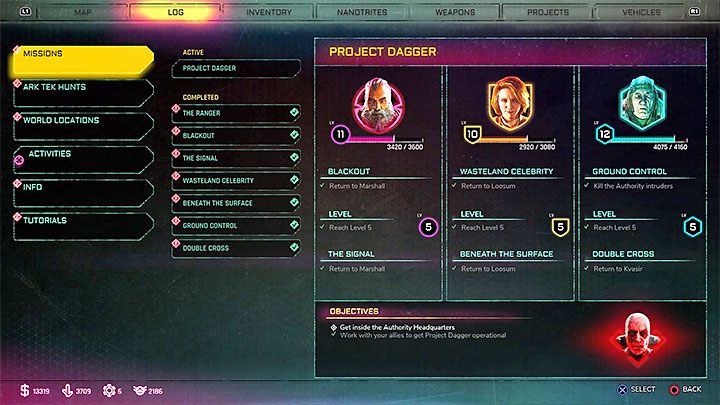
You can't start Project Dagger until you complete all other story missions. You need to finish:
- The Ranger - This mission is a prologue.
- Blackout and The Signal - They are related to John Marshall.
- Wasteland Celebrity and Beneath the Surface - They are related to Loosum Hagar.
- Ground Control and Double Cross - They are related to Dr. Anton Kvasir.
Open the menu to check your progress (see the picture above). The objective to attack the Authority Headquarters should appear at the bottom of the screen.
Get inside the Authority Headquarters
Authority Headquarters are located in the northern part of the map, west of The Wilds region. Only one road leads to that place. If you want to get there faster, start in Dreadwood town.
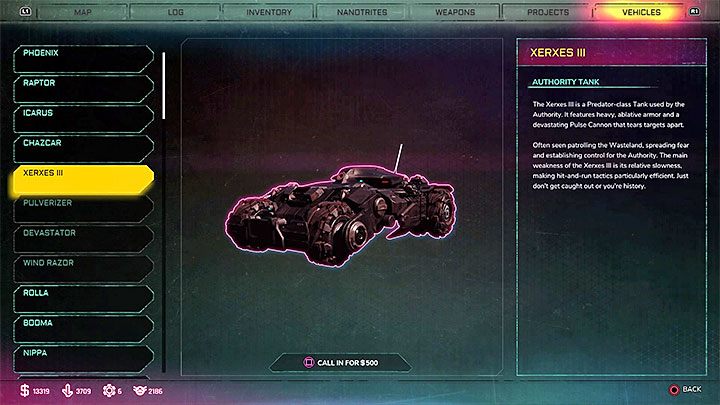
You will need a tank. Open the garage menu and select Xerxes III. You need to pay $500 to call it but this is a one-time expense - you won't have to call it more than once in the final mission.
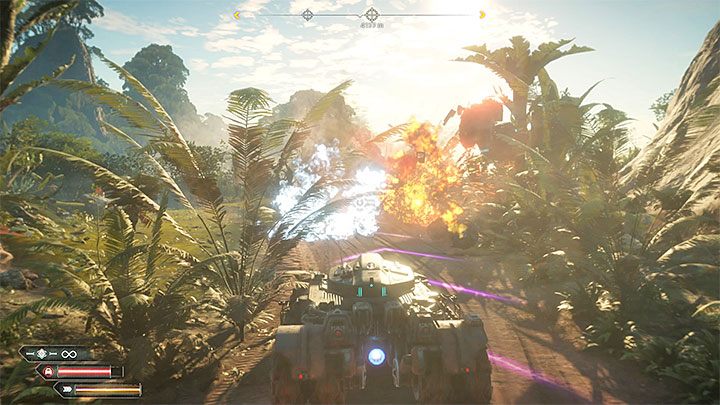
Follow the GPS. At least one tank will stand on your way to the Headquarters. Xerxes III is equipped with an Energy Cannon. This weapon has unlimited ammo but its reload time is rather long. Be sure that each shot hits the target.
You can't repair the tank. However, this mission makes things easy for you. When you die driving the tank, you will respawn in the last checkpoint (the game creates them frequently). Your tank will have full armor bar.
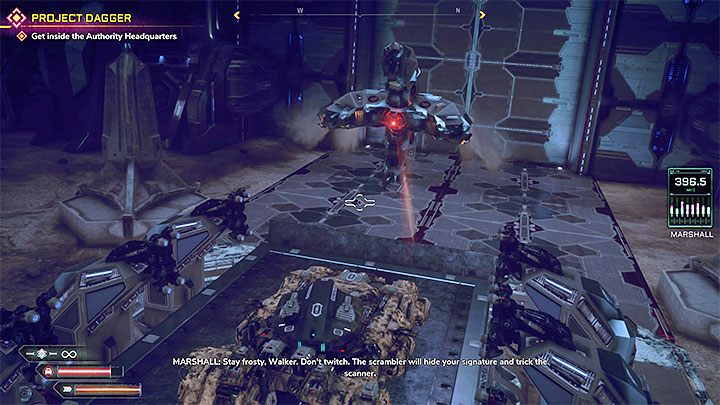
Stay on the main road to reach the Headquarters' entrance. The next steps are linear - you won't be using your Cannon here. Stop the tank on the large rectangular plate to scan the vehicle. You won't get attacked here - Kvasir will provide the DNA sample for the analyze.
Find General Cross
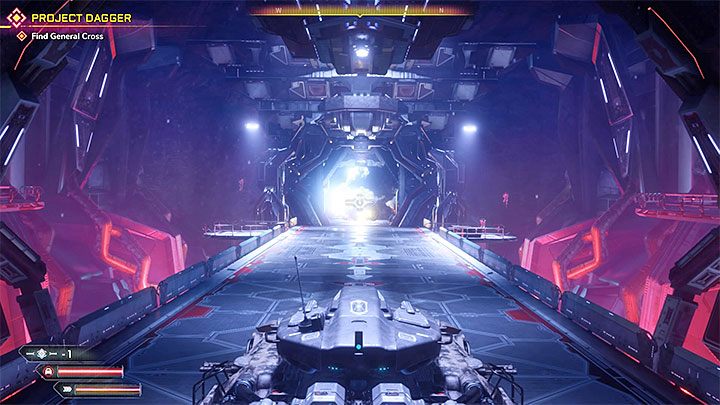
Enter the Headquarters and reach the room with three blockades. General Cross will speak to you. It's a trap.
Kill the enemies fast. Start with destroying their tank - it will appear in the nearest gate. You also have to eliminate enemies on the side balconies.
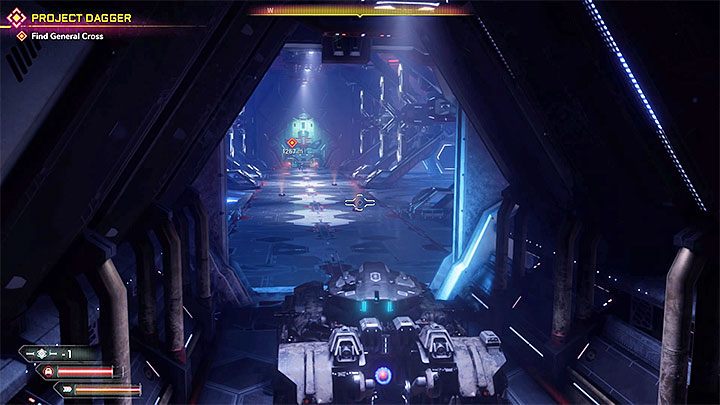
Drive through the base. We recommend driving slowly - you will be able to eliminate enemies fast. The next corridor has a new threat - mines. Shoot them from a safe distance - if you drive over a mine, it can damage your tank pretty badly.
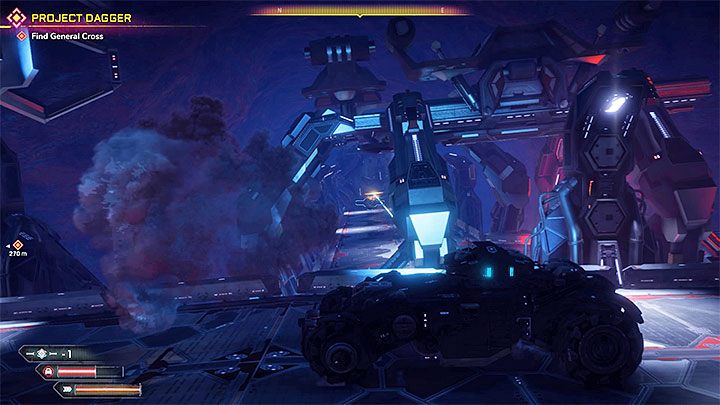
In the next area, try to focus fire on the tanks driving on the right "track". Try to eliminate them before they leave. Otherwise, one of them will be able to flank you - eliminating it will be more difficult (see the picture).
Keep driving and eliminating more tanks and enemies. In one of the next rooms, you have to pay attention to enemies placed on the balcony located far above the ground.
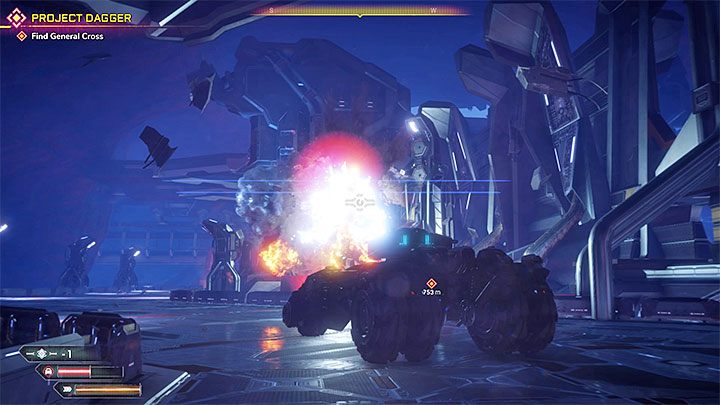
Soon, you will reach the first fork. You can choose any of the paths - they both offer the same level of difficulty and they lead to the same place.
From now on, you have to deal with a new threat - Authority Sentries. Shoot them as soon as they open. Move forward/backward while you are attacking the Sentries. You can also simply keep firing at them, preventing the Sentries from attacking you back. Don't try to drive past them - they can track you from a distance.
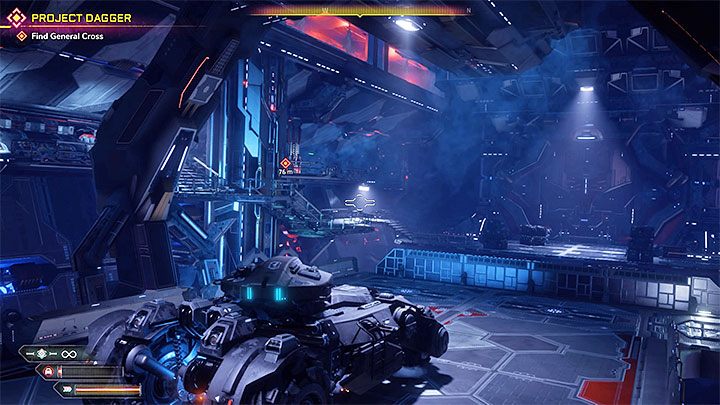
Keep moving forward and eliminate more Sentries (focus only on those in your reach - you don't have to secure both paths). Besides the Sentries, you will be attacked by more Authority soldiers.
You have to reach the small room presented in the picture. Exit the tank (you couldn't do that earlier) and start attacking the enemies. Eliminate all Authority soldiers in this room. Run and jump a lot to avoid enemy fire.
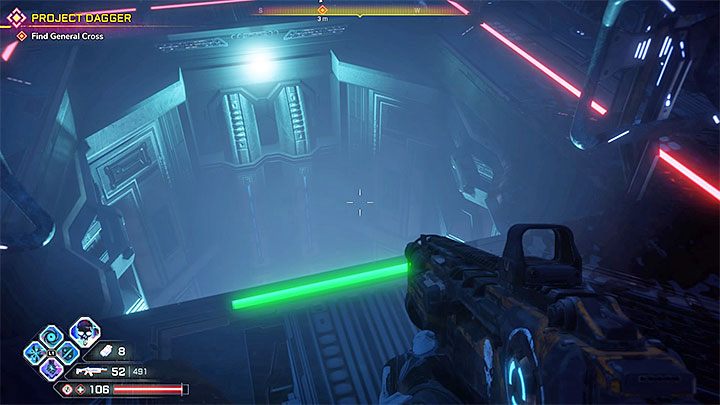
Continue moving on foot. Don't forget to check the interactive cabins hanging on the walls - you can recognize them by pulsating purple lights. Inside them, you will find ammo, health infusions, and other supplies.
Keep moving down the next corridor until you reach a hole in the floor. Jump down and then move forward.
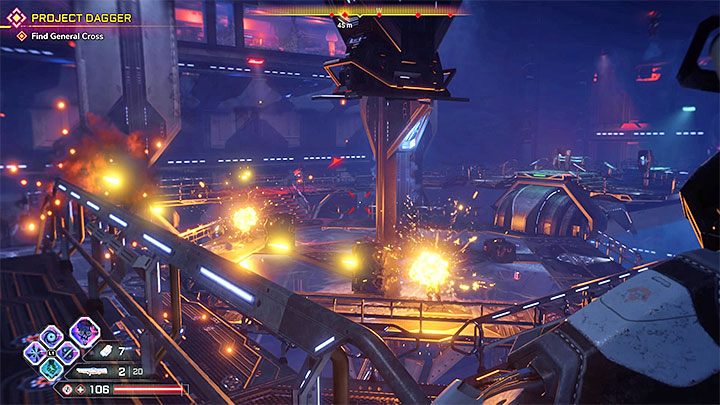
A bigger battle awaits you in the next large room. Use the Smart Rocket Launcher, Shatter, and other abilities with AoE properties to eliminate the enemies. After that, go to the biometric device. Prepare yourself for another fight.
Reach any of the two lifts marked by the game. You will reach the lower floor. During the ride, a few enemies will appear in the second lift. Eliminate them fast.
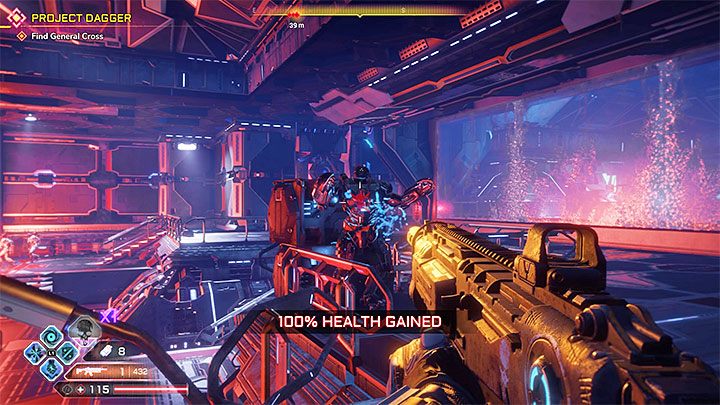
Time for another large battle. Watch out for the enemy in heavy armor. Attack him with the Smart Rocket Launcher, Hyper-Cannon, or other powerful weapons and abilities. You should also try to keep him at distance. Use Overdrive to deal more damage.
Once all enemies are dead, follow the linear path. Don't forget to refill ammo and health infusions from the nearby cabinets.
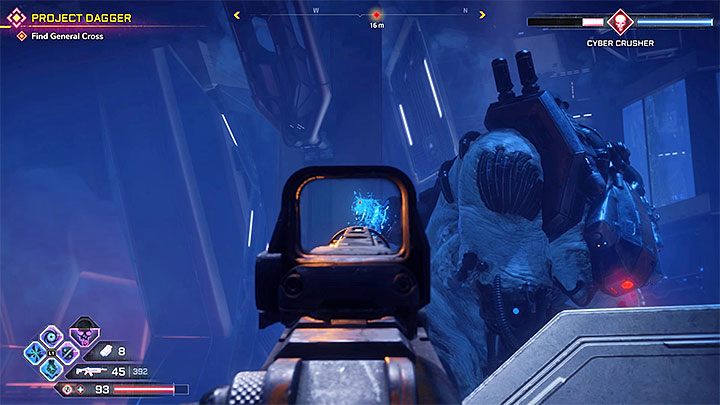
Shortly after using one of the lifts, you will face the last Cyber Crusher. This fight is identical to the ones you had in the past. Below you can find the most important information about this confrontation:
- Keep Cyber Crusher at a distance by jumping and dashing. Avoid his laser by jumping to the sides or getting outside its reach.
- Attack the weak spot on the boss's chest. Destroy it to reveal two cylinders on Cyber Crusher's back. Run to them and shoot.
- When the boss loses part of its armor, focus your fire on the head.
Defeat Colossal Titan / General Cross - final boss
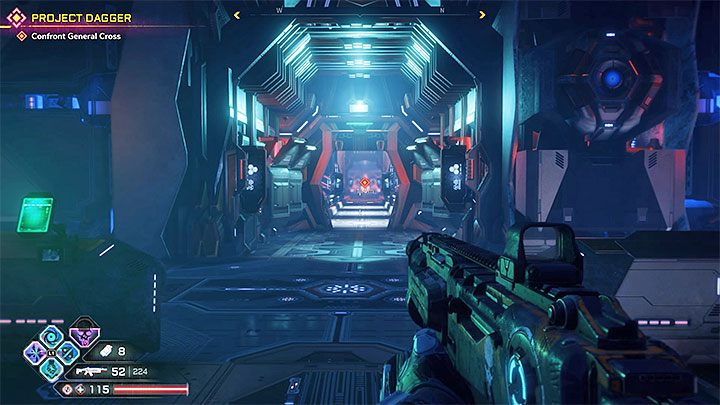
Once Cyber Crusher is dead, use another lift. You reach a narrow corridor. Collect ammo and health infusions from the cabinets on the walls. You will need them to defeat the final boss.
You have to defeat a Colossal Titan controlled by General Cross.
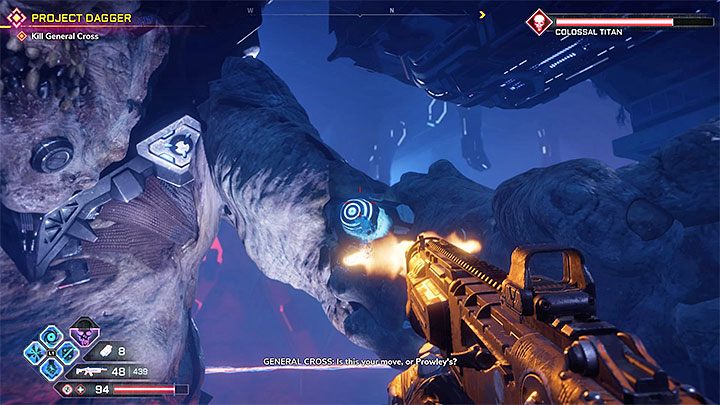
Damage the Titan by shooting at its weak spots - they will change depending on the phase. The boss slams his hands on the ground, creating a shock wave. Jump over them. Grav-Jump with the ability to stop in the air for a brief moment will be useful here. Also, avoid "fireballs" by running to the sides.
Aim at the blue cylinders located near the boss's palms. You need to destroy four of them. Do that with any weapon.
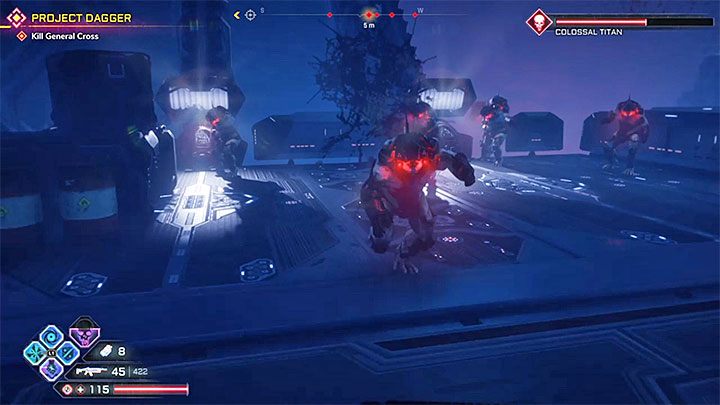
The boss will fall back. Your new task is to eliminate minor enemies. These opponents will appear on the left and on the right of the Titan.
Use Combat Shotgun, Smart Rocket Launcher, Shatter or Slam to eliminate the enemies. You should also make good use of the Overdrive. This is a long battle, you will have plenty of opportunities to charge the Overdrive multiple times.
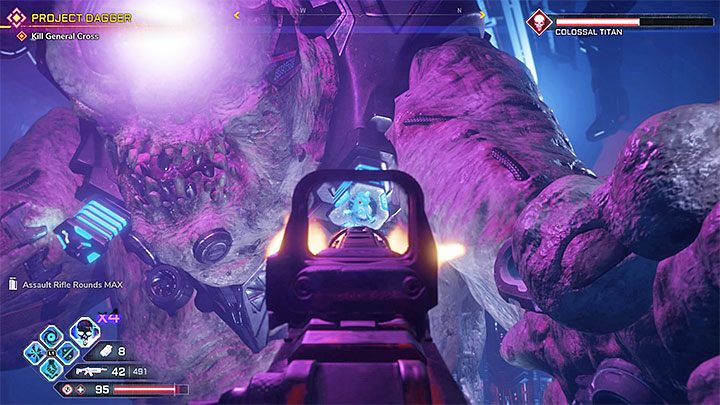
When the Titan moves closer to the "arena", focus on attacking new cylinders. These ones are located around the boss's neck.
Besides palm slams, fireballs and shock waves, you now also have to avoid laser attacks. Use Dash right before the boss starts firing his laser.
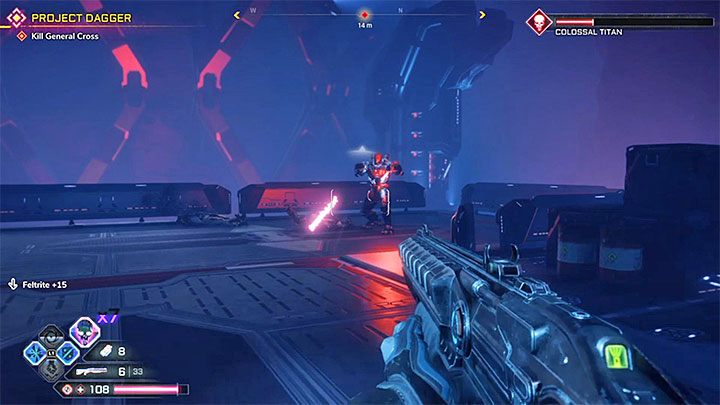
Destroy the cylinders to force the boss to retreat. Eliminate more regular enemies - they will be accompanied by stronger variants.
Soldiers wearing heavy armors are the biggest threat. Use your best weapons and skills, like Shatter or Slam to defeat them. Eliminate elite enemies one after another - they will spawn at the opposite ends of the arena. Also, if you leave one of them alive for long enough, that enemy will restore his shield.
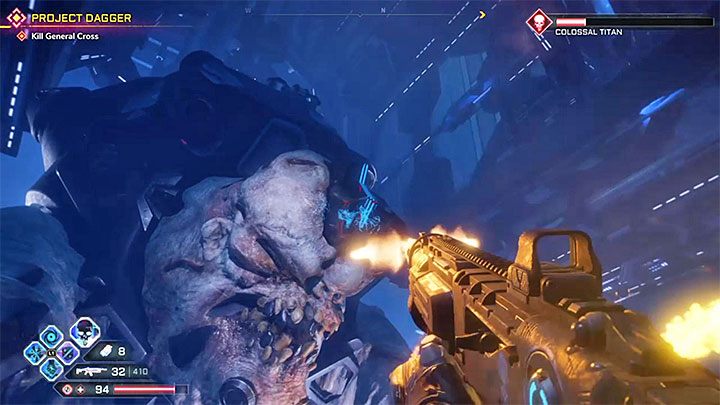
Once the regular enemies are dead, go back to attacking the boss. Shoot its weak spot on the forehead. Don't forget to avoid the Titan's attacks - run around the arena and jump over the shock waves.
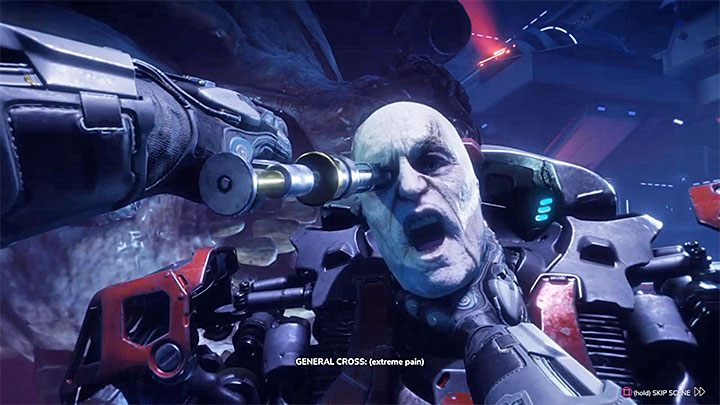
Once the Titan is defeated, the game will play a cut-scene during which you execute General Cross. Watch the two-part ending cut-scene. The second part starts after the credits (you can skip it after waiting a little bit).
Even though you have completed the story campaign, you are able to travel the world and complete side activities. You can, e.g. discover and complete new locations, attack convoys, upgrade the character, or collect weapons, skills, and vehicles.
You are not permitted to copy any image, text or info from this page. This site is not associated with and/or endorsed by the Bethesda Softworks or Avalanche Studios. All logos and images are copyrighted by their respective owners.
Copyright © 2000 - 2025 Webedia Polska SA for gamepressure.com, unofficial game guides, walkthroughs, secrets, game tips, maps & strategies for top games.
