Overlord II: Hunting Grounds
Map
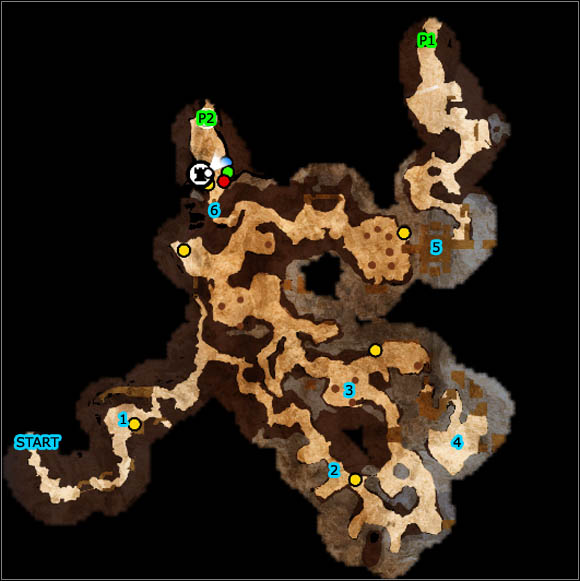
Map key:
Important locations
1. The cleft, encounter Yeti, the monster;
2. Baby seals;
3. Wolves in cages;
4. Baby seals, encounter with elves;
5. A fight with Yeti;
6. Bridge (can be opened from the north).
Passages
P1. Passage to Nordberg Sanctuary;
P2. Passage to Nordberg Town.
Walkthrough
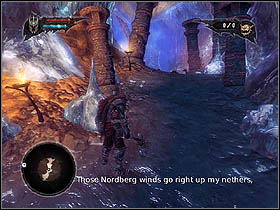 | 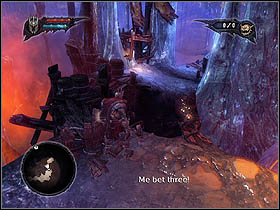 |
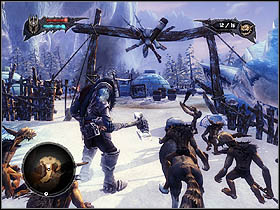
It's high time to become the real Overlord. Follow your Minions. When you've got to the chasm, destroy the barrels with your axe. They are on the bridge on the left, and then pass the bridge to cross the chasm.
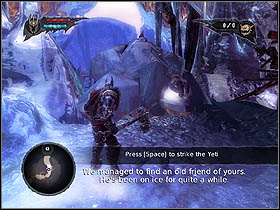 | 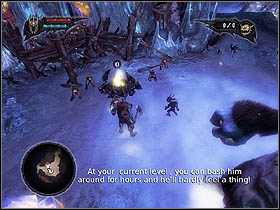 |
Free Yeti by crushing the ice. Then call your Minions over using Minion spawning pit nearby.
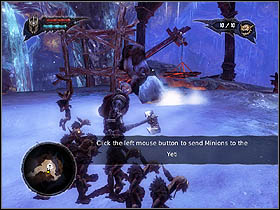 | 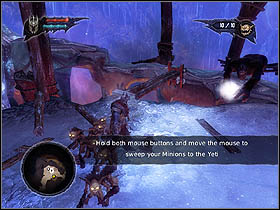 |
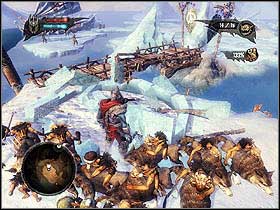
Notice that Yeti's leg sticks in a piece of ice. Command Minions to attack it. You can help them by using your axe.
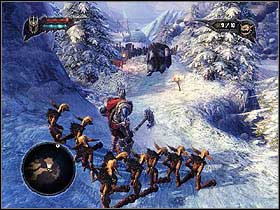
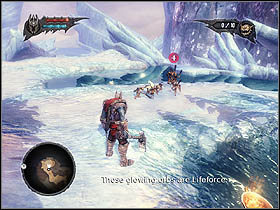
Yeti will jump over the chasm and will begin to hurl ice into you [1]. Destroy the nearby crane so that Minions can approach to the monster and banish Yeti from staying in the cave.
 |  |
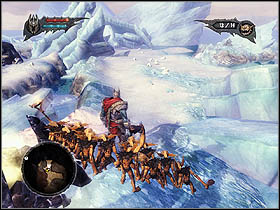
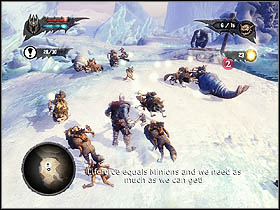
You'll find the exit on the right. Exit the cave and follow Yeti. You'll reach the place where you'll meet baby seals [2]. Command your Minions to eliminate all of the seals. Then you'll find some health, which should be collected by Minions and left in front of the Overlord.
 |  |
Move on, and persist in eliminating baby animals (you should collect at least 30 Lifeforce orbs). Don't pay any attention to Yeti who seats nearby. After another cut-scene which should have turned on in the meanwhile, yeti don't make any problems at least at the moment. What's more, the pass to the next stage will be opened.
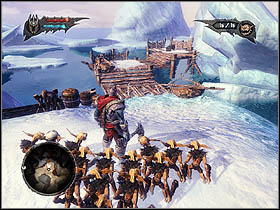
On the right you'll see a bridge. Here are some barrels. Command Minions to destroy them and bring the gold found inside the barrels.
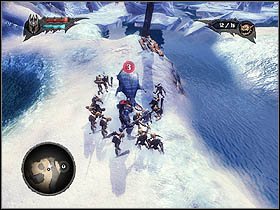 |  |
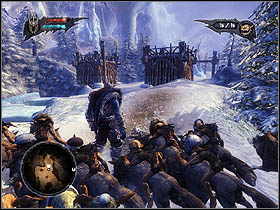
Go further. You shouldn't meet any difficulties. Follow the path and kill animals which you encounter. You'll get to human's camp, where you'll find some wolves in the cages [3]. Destroy the cages and the igloo, kill the people and command Minions to sit astride wolves.
 |  |
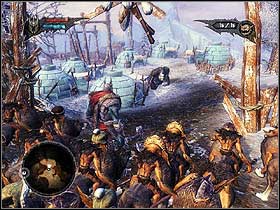
The path leads to a harbour. Destroy another igloo; ransack the whole camp situated next to the water, then send 4 Minions to a knob which is located near the coast. It enables you to close the swing bridge and get to a group of baby seals. Kill all the animals, grab the health and defeat elves that are approaching [4]. After that you can find some magic energy. Collect it.
That place is ideal for you to complete the side quest. It's about killing all the babe seals.
 |  |
It's time to come back because Yeti has already opened the pass to the next part of the stage. Further steps are as easy as the previous ones. Ransack and slaughter everything what moves, collect money and every other objects which you will find in the boxes, igloo etc. at once.
 | ![At the end of your journey you will find a harbour and the first boss who you have to defeat - that's the monster, Yeti [5] - Main quests - Hunting Grounds - Main quests - Overlord II - Game Guide and Walkthrough](/overlordii/gfx/word/-1376600078.jpg) |
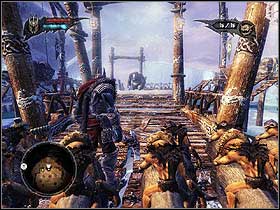
At the end of your journey you will find a harbour and the first boss who you have to defeat - that's the monster, Yeti [5]. When you have approached to him, command your Minions to attack him. It would be better if you attacked Yeti aside. Then you would avoid punches.
Yeti will be jumping from one suspended boat to another. The boats are located on the left and right side of the harbour. As you meet that kind of situation the elves approach to you. Command your Minions to destroy each of the poles the boat is suspended to and where Yeti has jumped into, then 'take care' of the elves. When the poles have been destroyed the boat drops so Yeti comes back to the harbour and then you have a possibility to punch him.
After a while you'll have to repeat the whole strategy with the second boat. If you manage with that boat, Yeti won't have a possibility to escape so you will get an opportunity to kill him.
 |  |
Now you can go further from the harbour. Later you will meet some legionnaires and fishermen on your way. Kill them all, grab their belongings then get to nearby cave [P1]. You'll have to leave your wolves here.
- Overlord II Game Guide
- Overlord II: Game Guide
- Overlord II: Main quests
- Overlord II: Prologue
- Overlord II: Hunting Grounds
- Overlord II: Nordberg Sanctuary
- Overlord II: Nordberg Town
- Overlord II: Tower
- Overlord II: Nordberg Sanctuary (once again)
- Overlord II: Nordberg Town (siege)
- Overlord II: Nordhaven
- Overlord II: Everlight Reef
- Overlord II: Everlight Jungle
- Overlord II: Everlight Facility
- Overlord II: Everlight Temple Outskirts
- Overlord II: Everlight Temple
- Overlord II: Everlight Temple Outskirts (once again)
- Overlord II: Everlight Town
- Overlord II: Empire Harbor
- Overlord II: Empire Heartland
- Overlord II: Empire Sewers
- Overlord II: Empire Arena
- Overlord II: Wasteland Main - part 1
- Overlord II: Wasteland Main - part 2
- Overlord II: Wasteland Sanctuary Town
- Overlord II: Wasteland Sanctuary Depths - part 1
- Overlord II: Wasteland Sanctuary Depths - part 2
- Overlord II: Wasteland Sanctuary Town (once again)
- Overlord II: Empire Hills
- Overlord II: Empire City
- Overlord II: Empire Palace
- Overlord II: Main quests
- Overlord II: Game Guide
You are not permitted to copy any image, text or info from this page. This site is not associated with and/or endorsed by the developers and the publishers. All logos and images are copyrighted by their respective owners.
Copyright © 2000 - 2026 Webedia Polska SA for gamepressure.com, unofficial game guides, walkthroughs, secrets, game tips, maps & strategies for top games.
