Lost Judgment: Chapter 5 Double Jeopardy - walkthrough
This Lost Judgment guide page contains the walkthrough for Chapter 5 - Double Jeopardy.
On the following page of the Lost Judgment guide you'll find a walkthrough of Chapter 5: Double Jeopardy. Thanks to our tips you'll be able to finish the mission in RK Hangout and open the safe. We'll also hint at the course of action in Yui Mamiya's apartment.
Genda Law Office

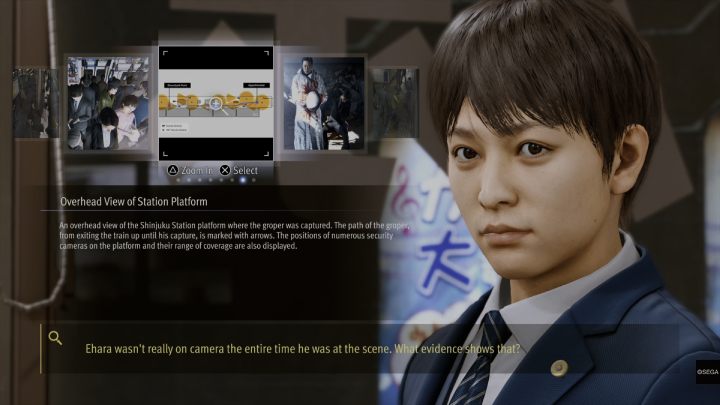
Go to the Genda Law Office. Talk to Saori and select the dialogue option: The groping incident was a setup. Select the Overhead view of Station Platform as your evidence. Leave the building after that.
RK Members
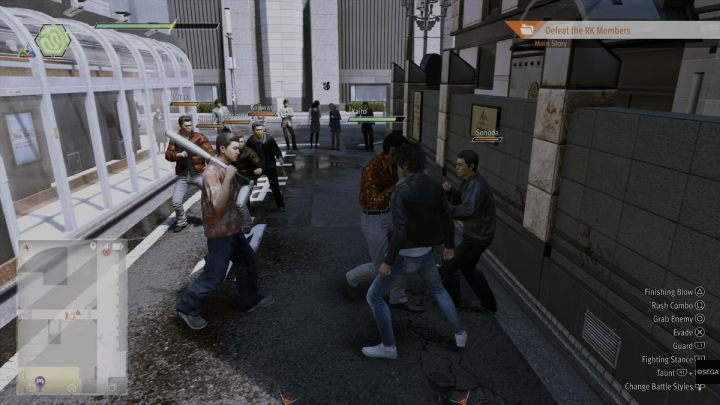
Once you leave the office go forward until you reach the end of the street, then turn left. Soon, you will be attacked by RK Members.
Some of the enemies wield knives and baseball bats. Use the Snake style to disarm them, then switch to Crane and dispatch them all.

After winning the battle, go to the RK headquarters at the designated location.
Enter the HQ, then use the door on the right. Use Search Mode to examine:
- The air duct,
- The safe,
- Bottle crates.
Walk up to the bottle crates lined up against the wall.
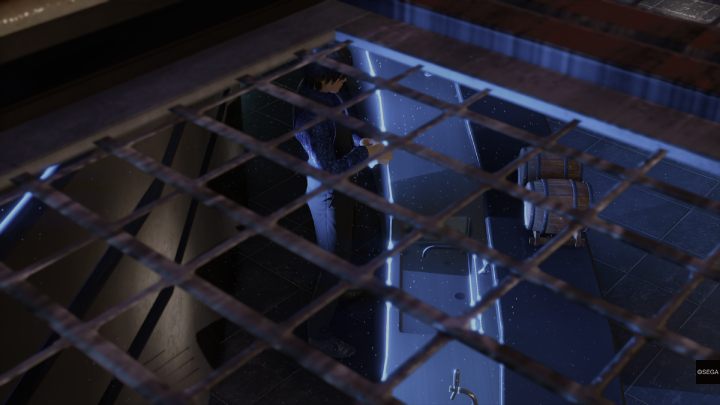
Go through the air duct until Yagami spots the bartender. Then follow him to the restroom.
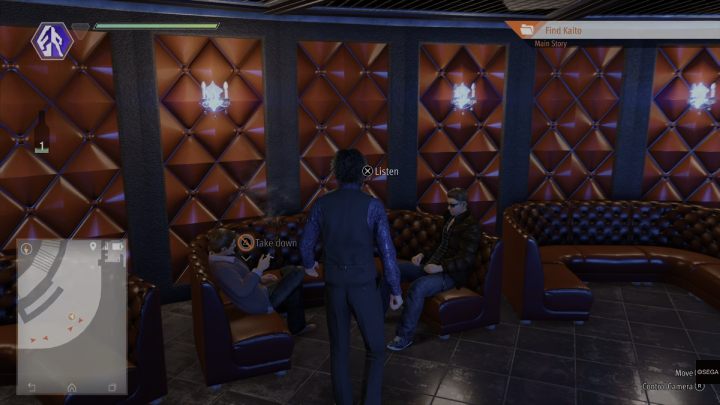
Leave the restroom while disguised as the bartender. Turn right and listen to the conversation between the two men. Thanks to them, you'll learn the safe combination.

Return to the room by the RK headquarters' main door. The combination for the safe is 1811. Inside the safe you'll find the Guard Pants SS.
Head down the stairs. An RK member will interrupt you by the bar. Walk up to the bar and press Triangle/Y to make a strong drink for him.

Walk to the designated spot on the floor, throw a coin to distract the standing man and proceed to the next checkpoint.
Use the coin again to lure another RK member and proceed.

The final RK member is standing under the stairs leading to the VIP room. Toss the coin in the designated spot and wait for him to turn your back towards you once he hears the sound. Walk up to him and press Triangle/Y.
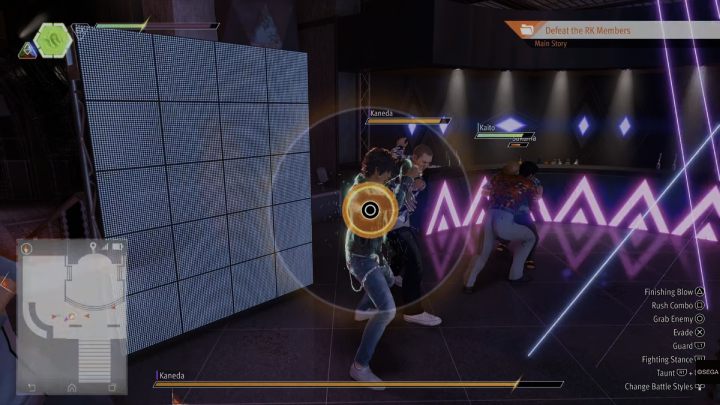
Once the fight against the RK members starts, use Snake style to disarm the strongest enemy. Then defeat all regular enemies with the Crane style, while using Snake or Tiger to deal with Kaneda.
Watch out for your ally's health bar. If he's in danger, help him out by fighting the enemies close to him.
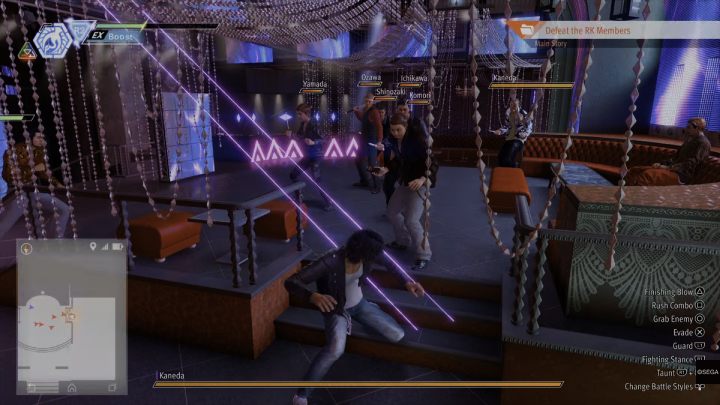
Every single enemy during the next wave is armed. Try to disarm them all, then focus on fighting.

The final wave consists of several more powerful gang members. Kaneda is the only one who's armed.
Get rid of the weakest enemies, then deal with the remnants by using Tiger style.
Yui Mamiya
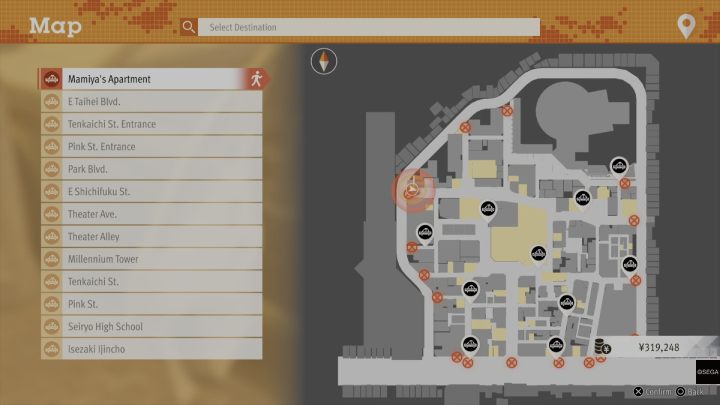
Head to Genda Law office, take a nearby taxi and go to Mamiya's Apartment.

While talking through the intercom select Empathize with her.
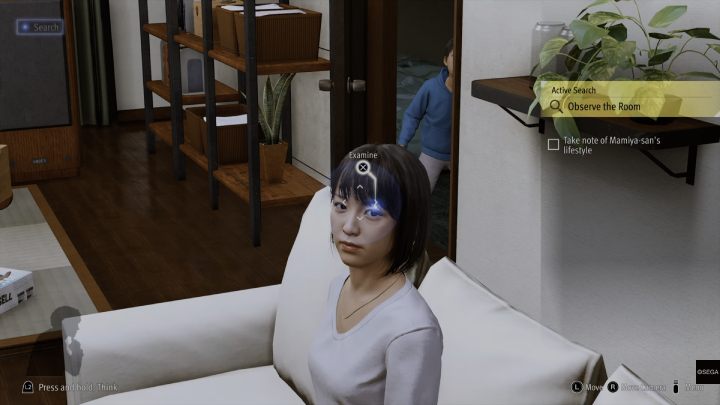
Inside the apartment use Search Mode to examine:
- The picture in the hallway,
- The bike in the hallway,
- A photograph in the hallway,
- The child, hiding behind a door,
- The face of a woman in a white sweater,
- The belly of a woman in a white sweater.
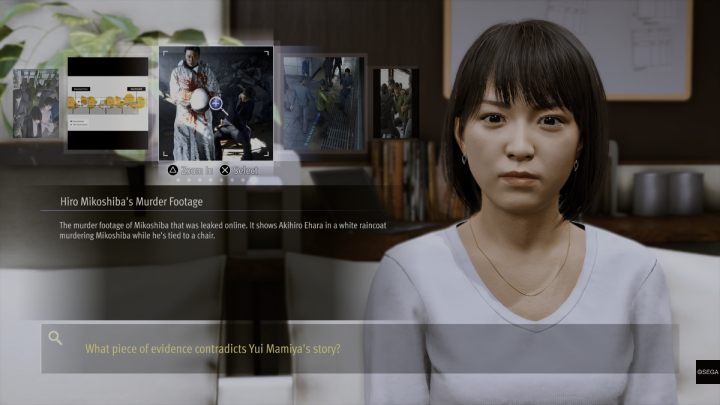
When talking to Yui Mamiya, select the murder video.
After entering the office, talk to Saito and choose Yeah, let's start there.
When talking to the Genda office staff, select the Ehara's accomplices posted it dialogue option. Choose the overhead view of the platform as evidence and point out the blind spot between the cameras in Quick Search.
Finally, select the option: Yui Mamiya was colluding with Ehara.

When talking about the Kurokawa Academy, select the Someone spying on me went there dialogue option.
- Lost Judgment Guide
- Lost Judgment: Walkthrough
- Lost Judgment: Main Storyline
- Lost Judgment: List of all chapters
- Lost Judgment: Chapter 1 Black Sheep - walkthrough
- Lost Judgment: Chapter 2 Vicious Cycle - walkthrough
- Lost Judgment: Chapter 3 Two Sides of the Same Coin - walkthrough
- Lost Judgment: Chapter 4 Red Knife - walkthrough
- Lost Judgment: Chapter 5 Double Jeopardy - walkthrough
- Lost Judgment: Chapter 6 Converging Heat - walkthrough
- Lost Judgment: Chapter 7 Blindsided - walkthrough
- Lost Judgment: Chapter 8 Phantom of Ijincho - walkthrough
- Lost Judgment: Chapter 9 The Weight of Guilt - walkthrough
- Lost Judgment: Chapter 10 Catch a Tiger - walkthrough
- Lost Judgment: Chapter 11 Undercover - walkthrough
- Lost Judgment: Chapter 12 To Nourish a Viper - walkthrough
- Lost Judgment: Final Chapter, Darkest Before the Dawn - walkthrough
- Lost Judgment: Main Storyline
- Lost Judgment: Walkthrough
You are not permitted to copy any image, text or info from this page. This site is not associated with and/or endorsed by the developers and the publishers. All logos and images are copyrighted by their respective owners.
Copyright © 2000 - 2026 Webedia Polska SA for gamepressure.com, unofficial game guides, walkthroughs, secrets, game tips, maps & strategies for top games.
