Kingdom Come Deliverance: Side quests in Ledetchko
Walkthrough for side-quests in Ledetchko: Restless Spirit and Lost In Translation.
This page contains side quests available in Ledetchko and in the smaller nearby locations. Ledetchko is located in the center of the map. You can reach that place by yourself or during the main story line.
Restless Spirit
Related map marker: Necronomicon (Restless Spirit quest) @ Middle Europe
Related map marker: Restless Spirit @ Middle Europe
How to unlock: Speak with the herbalist in her hut north from Ledetchko.
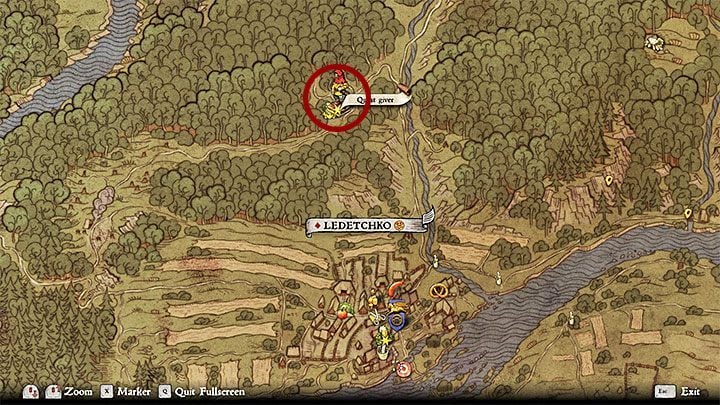
The starting place of this quest isn't located in Ledetchko. Instead, you have to visit the herbalist. Her hut is located on the outskirt of the forest north from Ledetchko (see the picture). She informs you that Drahomira from Ledetchko needs a help. She claims that a ghost haunts her. The herbalist wants you to perform an exorcism.
The first meeting with Drahomira
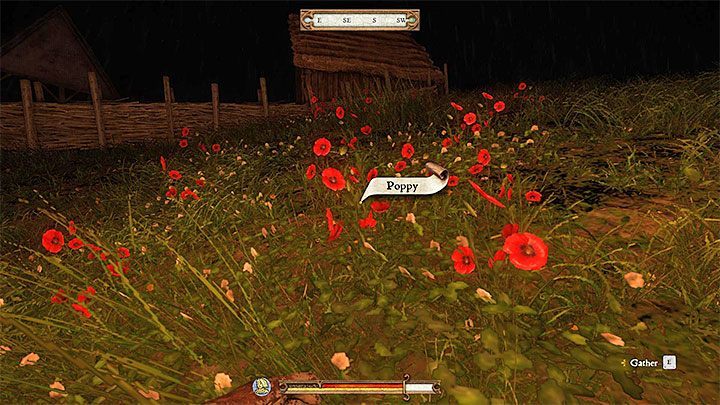
Start with the second mission objective - collect 10 Poppy. Do that before you meet with Drahomira for the first time. You don't have to buy these flowers from the herbalist. They can be found, e.g. in the south end of Ledetchko.
- The picture above shows and example of a place where you can find them (note - there are other red flowers that grow near Ledetchko - ignore them, the only ones that you need are Poppy).
- After that you have to meet with Drahomira in the village and speak about her problem. You can promise her an exorcism.
Collect flowers that grow on a grave and the first ritual
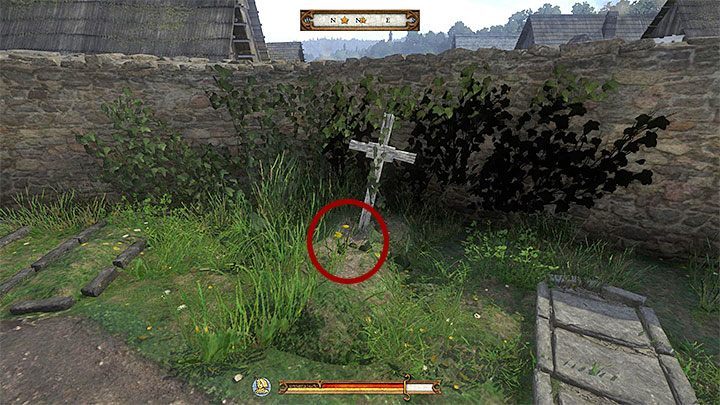
You need flowers that grow on a grave of a restless soul so go to Sasau. There, you have to head to the cemetery near the church.
- Find the grave presented in the picture and collect Cemetery flowers (note - there is a newly made grave next to this one but you have to ignore it).
- Go back to Drahomira and go to her house. Interact with the vessel and start the smudging ritual (the tone of your dialog lines has no impact on this part of the quest). Burn the collected flowers.
Find Necronomicon
Meet Drahomira on the next day so either use the option to speed up time or rest at a tavern. You learn that the exorcism was a failure. The woman suggests you to meet with an apothecary. Reach the Rattay pharmacy and talk about her problem with the ghost.
- The next step is to find a book called Necronomicon. The apothecary suggests you to search for it in the Sasau Monastery. The game doesn't give you any specific markings for its location so be precise while you are doing the following activities.
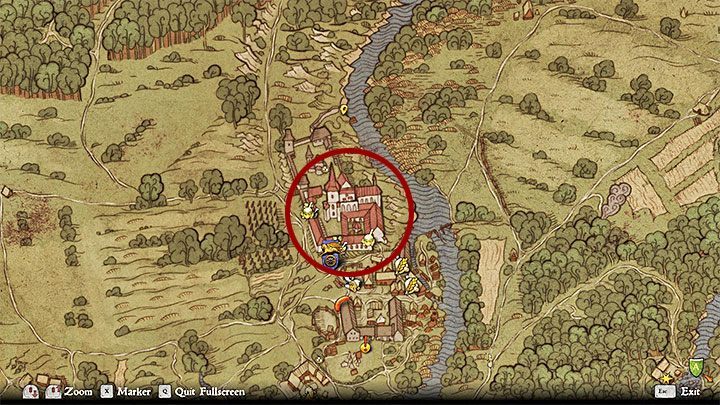
- The monastery is a huge location in the north part of Sasau (the picture). Don't even think that the monks will give you Necronomicon. You have to steal it. Reach the monastery at night (e.g. around midnight). Remove all pieces of equipment that create sound. (You can find separate walkthrough for Necromonicom.).
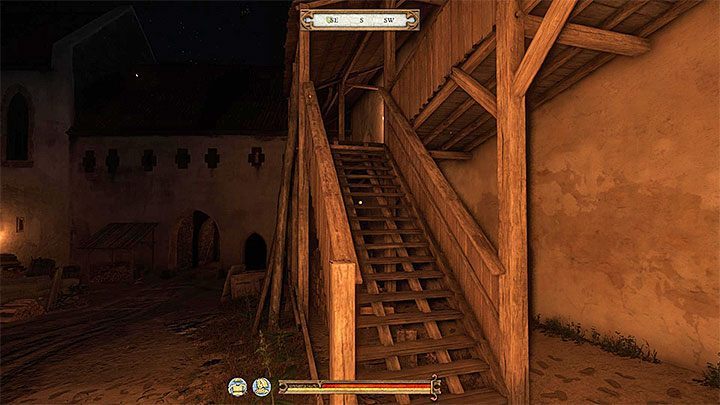
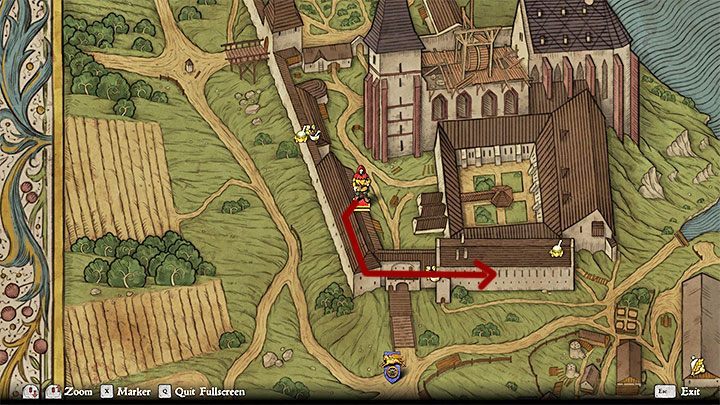
Enter the monastery from the south by crossing the draw bridge. The stairs that lead on the upper balconies are located on the left - they are presented in the picture 1. You have to follow the path presented in the picture 2. Below you can find descriptions of its most notable parts.
- Go south once you reach the upper balconies. You will reach a door that can be opened without using lockpicks (the same goes for all other doors).
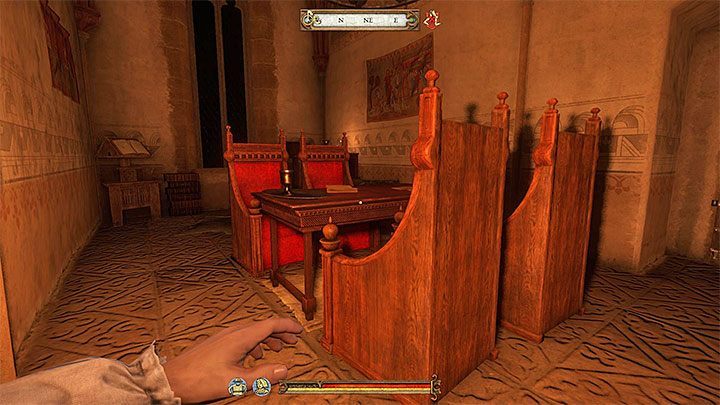
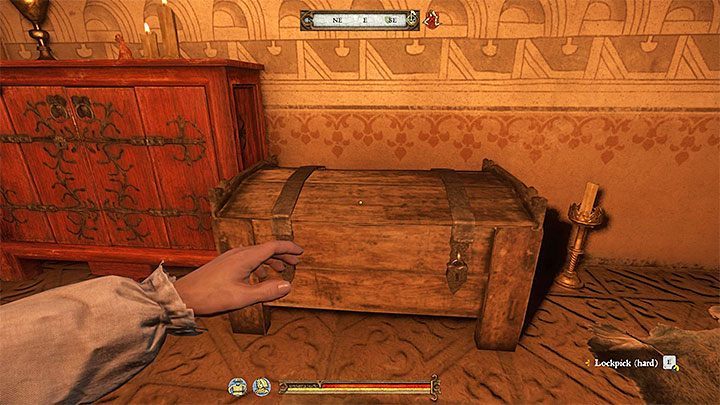
- Keep going through the adjacent rooms until you reach the room with four big chairs (the picture 1). Here, you can find a chest (the picture 2) that you have to open (sadly, it is secured with a hard lock). Take out Key to forbidden books.
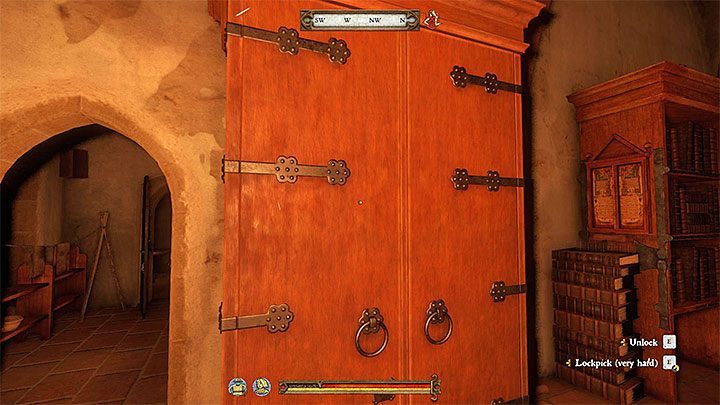
- Head east and go through a few empty rooms. After a while you should reach a huge library (the picture 1). Approach the huge cupboard presented in the picture 2. Use the previously acquired key to open it (otherwise you would have to deal with a very hard lock) and take out Necronomicon I.
- Go back to the apothecary from Rattay. Give him the book (you receive 20 Groschen). He needs time to read the book so wait a few hours and go back (the quest won't update automatically). Speak with the apothecary again and discuss your further actions.
The second ritual
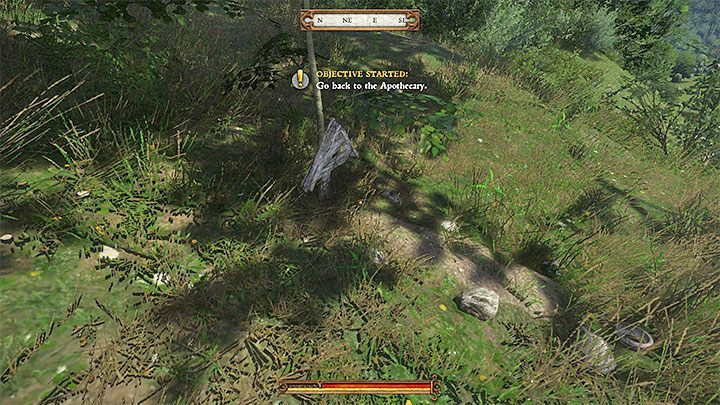
You have to learn what plagues the restless spirit so speak with Drahomira again. Reach Alois' house. That place is burned down but you still have to examine it. Pick up Burnt wood from Alois' farm.
- Besides going to that farm, you also have to find Lada's grave. Talk to anyone from Ledetchko and ask about Lada. You learn where her grave is. It is located on top of a hill in the place presented in the picture. Simply get closer to it to update the quest.
- Go back to the apothecary from Rattay. Go back to Ledetchko, wait in the appointed place until the night and go together to Lada's grave. The man will perform an exorcism.
Visit Father Godwin and place a conciliatory cross
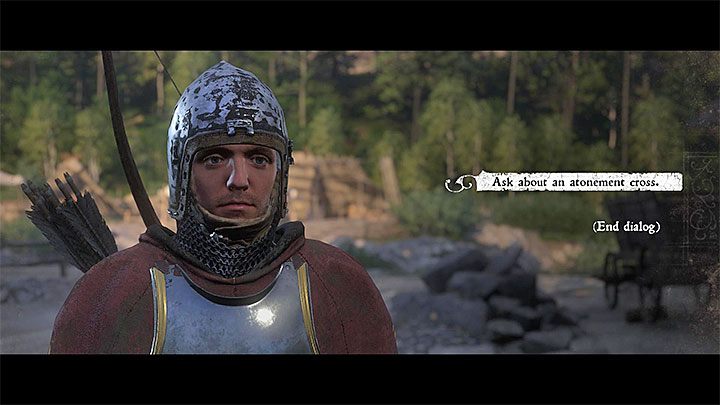
- Wait until dusk and speak with Drahomira again - the ritual performed last night did nothing. The woman gives you 150 Groschen and asks you to meet with Father Godwin in Uzhitz. Speak with the priest and go back to Drahomira. You can convince her to tell the truth or you can rely on persuasion/intimidation.
- Drahomira gives 10 Groschen to cover the costs of a conciliatory cross. To go the quarry near Talmberg and speak with Rupert. The game plays a cut-scene. Speak with Drahomira one last time. She gives you 20 Groschen and Drahomira's ring as rewards for helping her.
Lost in Translation
Related map marker: Cuman's stash (Lost in Translation quest) @ Middle Europe
Related map marker: Lost in Translation @ Middle Europe
How to unlock: Talk to the Miller in his household located west from Ledetchko.
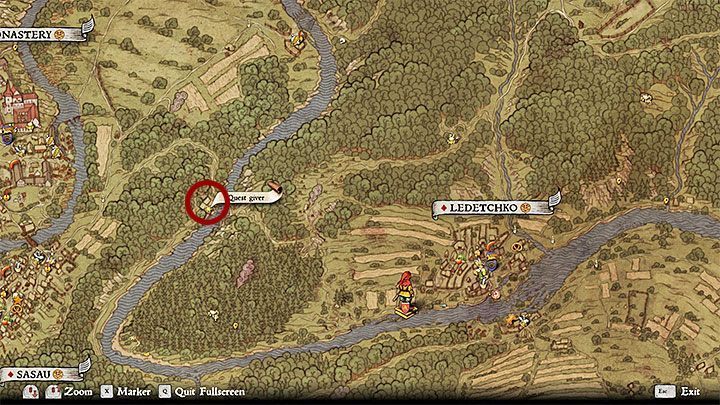
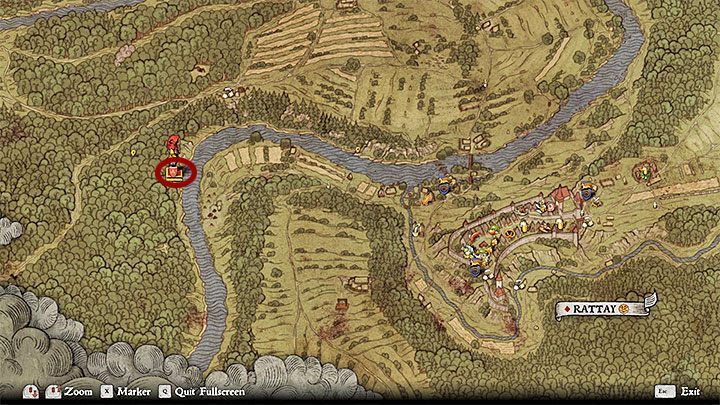
The quest will not start directly in Ledetchko. Instead, you will need to reach a household by the river, located west from Ledetchko - the location was presented in the screenshot. Talk to the Miller and you will learn about the imprisoned Cuman. You will need a translator to communicate with the captive.
Asking a translator for help
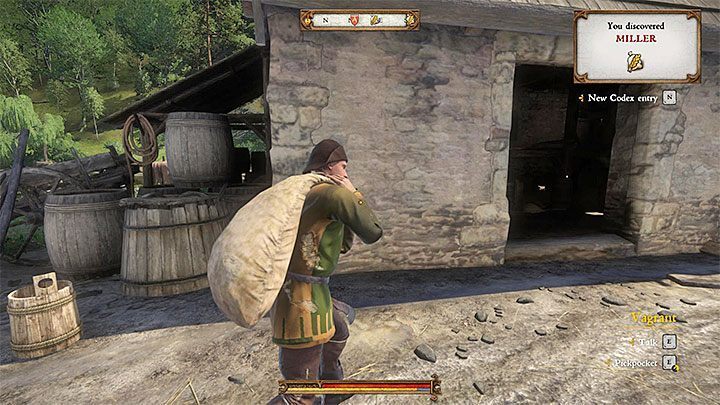
- Head towards a household located north from the place where the quest begins. There, look for a vagabond (Vagrant) and ask him for help with the translation. You will need to pay him 40 Groschen (or less if you haggle) for his services.
- You can accompany the vagabond on his way to the household where the captive is located, or go on your own and wait for his arrival (use skip time if you are impatient).
- Talk with the Miller and watch the interrogation. You can select softer dialogue options or threat to kill the Cuman. Once you end the interrogation and meet with the Miller one more time, the quest will offer you two variants.
Variant 1 - Trust the vagabond and his translation
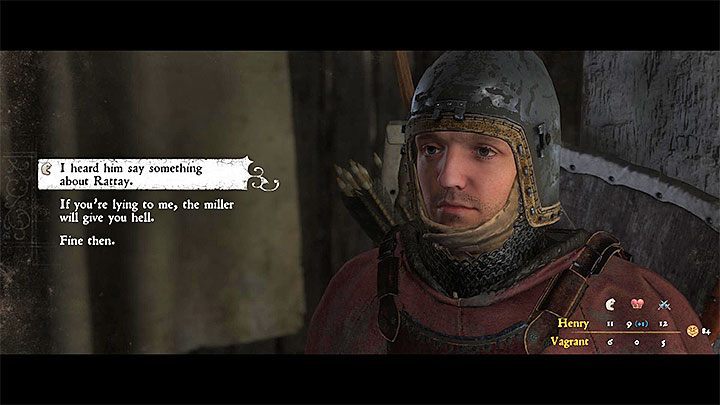
Get back to the captive and speak with the vagabond. You can trust him and take the Cuman to the location where the treasure is supposed to be hidden. Unfortunately, Henry will be tricked and the captive will lead you to a Cuman camp.
- You can fight them or run away. You can catch up with the captive and kill him right away, or (even better) ask about the true location of the treasure.
Variant 2 - Question the vagabond about his translation
The alternative variant suggests to question the vagabond about his translation. You can use Speech and (if you are successful) accuse the vagabond of lying.
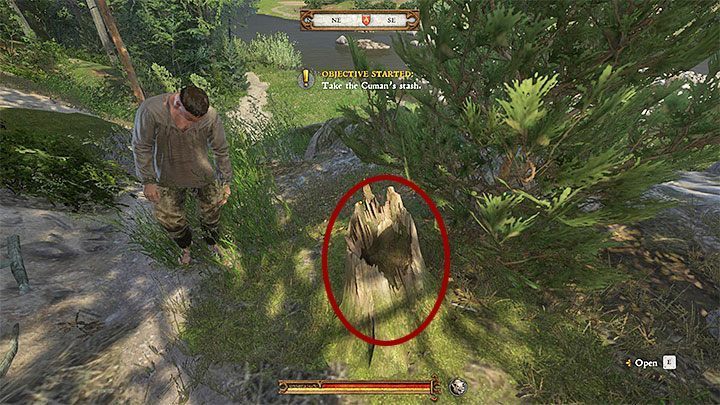
- This way you will find out that the captive wanted to trick Henry and learn about the location of the stash. You don't have to look for the stash on your own, and make the Cuman lead you to it. The stash is hidden in the trunk presented in the picture - on a hill located north-west from Rattay. The stash consists of antidote and 200 Groschen.
Decision during the last part of the quest
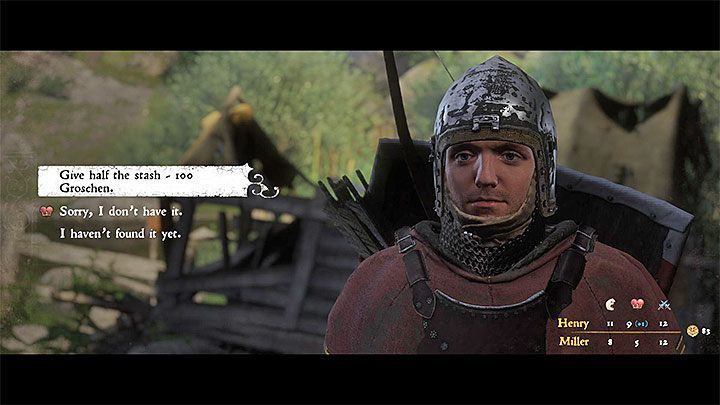
Once you collect the treasure, you can decide on the Cuman's fate. You can:
- Kill the Cuman.
- Release the Cuman.
- Take the Cuman to prison in Rattay. You can also meet with the mayor and collect a reward.
You will also need to decide how you want to deal with the Miller:
- Go back to the Miller and give half the stash (100 Groschen).
- Go back to the Miller and try to impress him and lie about not finding the stash. You will keep 200 Groschen and the Miller won't cause any problems.
Ignore the Miller and keep 200 Groschen for yourself. It's a bad choice, as the Miller can send his thugs after you (and it's all because of "worthless" 100 Groschen).
Is a Friend Indeed
How to unlock: This quest is unlocked automatically just a few days after finishing the quest A Friend in Need...
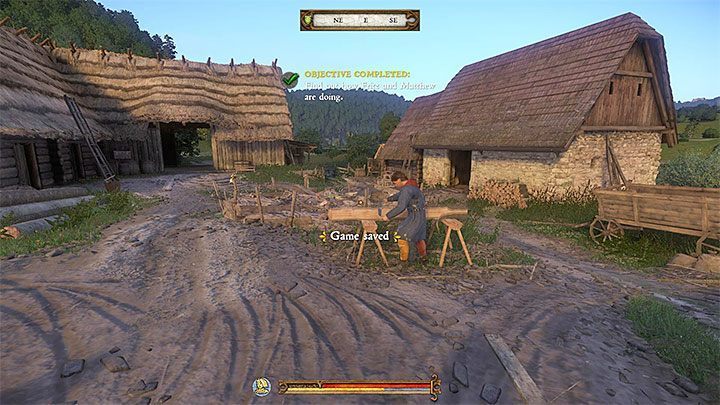
This quest will automatically appear in your logbook a few days after you have completed the side quest A Friend in Need - you will find walkthrough and detailed description on the page with side quests from Sasau. Henry decides to visit his friends and see how they are doing on Oliver's farm in Ledetchko. After arriving at the place, talk to Matthew and Fritz. You will receive mutually exclusive solutions to the problem of Miller Thomas. Additionally, a side quest called A Costly Brawl might become unlocked (you will find the description below).
It's not worthwhile to provoke Fritz while talking with him, because he can start a fight. You have to hit him several times successfully, so that he will leave Henry in peace (you will still be able to continue this quest).
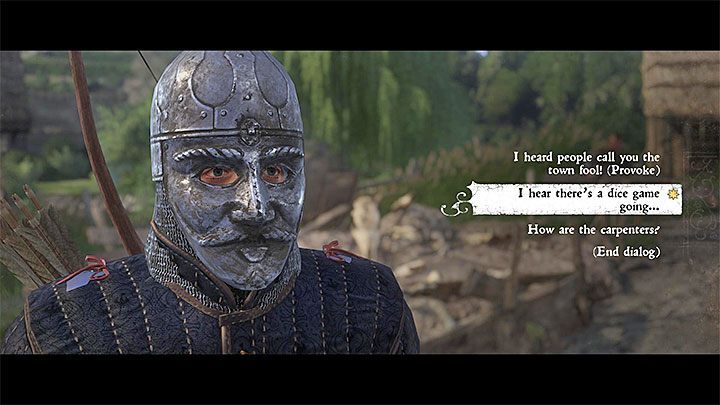
There are few ways to complete this quest:
- Fritz's way - you must provoke Thomas to start a fight. Select the first dialog option and after a successful attempt return to Fritz and Matthew to "enroll" them. Wait around 6:00 p. m., talk to Fritz and follow him to the place of the planned fight. After reaching the hill next to Ledetchko you will start fighting. At first, focus on elimination of Thomas and then help your colleagues to stun two other villagers. Winning this battle will end the quest. You will get 45 groschen.
- Matthew's way - you must speak with Thomas and talk some sense into him. Start the conversation and select the second dialogue option. You will succeed in persuading Thomas to abandon the conflict without choosing any unique dialogue options. Return to Matthew, tell him about the matter and collect 45 groschen.
- Additional way - Tell Thomas about the Die game. This variant is only available if you have previously completed a side quest The Good Thief from Miller Peshek in Rattay. When talking to Thomas, select the first and then the second dialogue option from the list. This way you will manage to outsmart him. Return to Fritz and tell him about it. Wait for around 6:00 pm, talk to Fritz and watch a cutscene how Thomas is surprisingly beaten on a field road. After watching the events you will obtain 45 groschen.
It is best to take care of next side quest - A Costly Brawl.
If you have chosen the first variant, Matthew and Fritz may block on some obstacles on their wait to the fight. Wait until they unlock or continue your journey while waiting for them until the they "respawn" nearby.
A Costly Brawl
How to unlock: Conversation with Fritz during the side quest - ...Is a Friend Indeed.
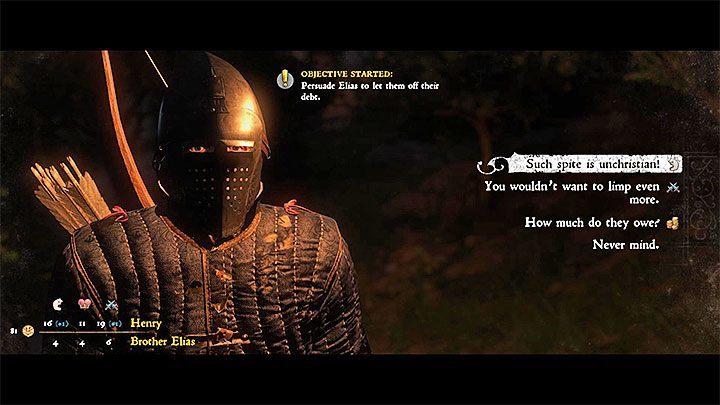
This quest may (not necessarily) be activated during a conversation with Fritz as a part of completing the side quest described above ...Is a Friend Indeed. You will learn from Fritz about the quarrels in the monastery and requests to pay for treatment costs. Go to the Sasau Monastery and find Brother Elijah. You can persuade the monk to ease the conflict in several ways:
- Pay Elijah 100 groschen (or less if you decide to bargain).
- Use persuasion (Elijah has got 4 points in this category).
- Use intimidation (Elijah has got 6 points in this category).
Regardless of the selected variant, bring the good news to Fritz.
This is not the end of your adventures with Matthew and Fritz. After completing the side quests ...Is a Friend Indeed and A Costly Brawl wait a few days and talk to an innkeeper from Ledetchko to ask him about the newest gossip. You will find out that Matthew and Fritz have left Ledetchko and that they are currently staying at Inn in the Glade. Go to the page with descriptions of secondary quests from this location. The next task of this series of quests is called Masquerade.
Tricks of the Trade
Related map marker: Tricks of the Trade @ Middle Europe
How to unlock: Talk with the blacksmith in Ledetchko.
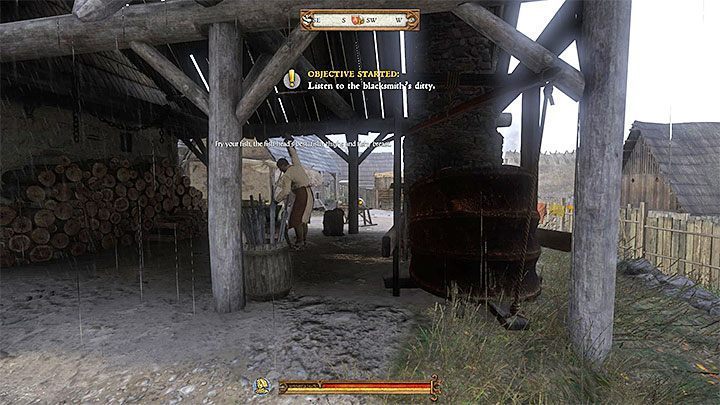
Meet a blacksmith in the southern part of Ledetchko. He wants to learn about the "magical practices" of his competitor from Sasau. Go to Sasau and find the local blacksmith. You can behave in several ways:
- Firstly, talk to the blacksmith's wife about his rhyme and his supposed "magical abilities".
- Listen to the blacksmith's rhymes. Position yourself, for example, in the place shown in the screenshot and let the blacksmith sing a rhyme (it has several lines).
- Talk to a blacksmith from Sasau. It is best to select the first dialogue option about blacksmith skills. After that, you can use persuasion (the attempt cannot be failed) to persuade the blacksmith to reveal his way of forging a weapon. Don't talk about rumors of magical practices while talking, because the blacksmith will stop talking to you and get angry.
Return to the blacksmith from Ledetchko. You can share a weapon hardening technique you have heard from a Sasau' blacksmith or try to repeat a rhyming:
The sun sets out across the skies, he loses his way, to the forge he flies.
Kuttenburg is far, far away. Kuttenberg is far here i'll stay.
My breath is short, my feet are sore. i'd buy a horse, but I am poor.
The sun may burn, the sun may shine, but you'll not wither, darling mine.
The sun he hides behind a cloud, his heart goes cold and his fire goes out.
He drowned the fish and broke its neck, thew it down upon the deck.
Fry your fish, the fish head's best, fishy thighs and fishy breast.
The payment will depend on which end you have chosen and how well you have done it.
- Kingdom Come Deliverance Game Guide
- Kingdom Come Deliverance: Walkthrough
- Kingdom Come Deliverance: Side quests
- Kingdom Come Deliverance: Side quests in Rattay
- Kingdom Come Deliverance: Side quests in Uzhitz
- Kingdom Come Deliverance: Side quests in Talmberg
- Kingdom Come Deliverance: Side quests in Neuhof
- Kingdom Come Deliverance: Side quests in Ledetchko
- Kingdom Come Deliverance: Side quests in Sasau
- Kingdom Come Deliverance: Side quests in Rovna
- Kingdom Come Deliverance: Pestilence - healing all villagers in Merhojed
- Kingdom Come Deliverance: Sasau Monastery (A Needle in a Haystack)
- Kingdom Come Deliverance: Inn in the Glade
- Kingdom Come Deliverance: Side quests
- Kingdom Come Deliverance: Walkthrough
You are not permitted to copy any image, text or info from this page. This site is not associated with and/or endorsed by the developers and the publishers. All logos and images are copyrighted by their respective owners.
Copyright © 2000 - 2026 Webedia Polska SA for gamepressure.com, unofficial game guides, walkthroughs, secrets, game tips, maps & strategies for top games.
