Darkest Dungeon: We Are the Flame

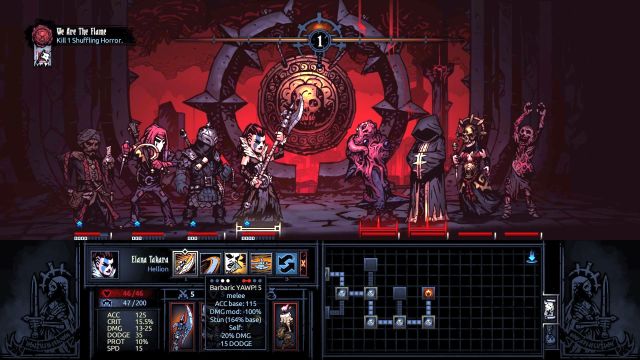
The first mission of the mini-campaign is relatively easy, because it gradually introduces new opponents with more powerful attacks. Since the rooms here are not randomly-generated, you need to go from the left corner of the map to the right one - in which you will be aided by the map attached to this chapter. Under no circumstances, should you move back or explore corridors - in fact, there is nothing here (apart from one chest, but at this stage it is of no use to you) that would make it worthy, for you, to risk the success. Your task is to get to the mini-boss, Shuffling Horror, and defeat him.
In here, you encounter two opponents that you already are familiar with (Ascended Brawler and Ascended Witch), but this time their attacks are stronger and their blows either weaken you or cause bleeding. In general, they are more difficult to defeat. However, the tactic here remains the same - first, you need to kill all of the opponents that set on high stress (Ascended Witch).

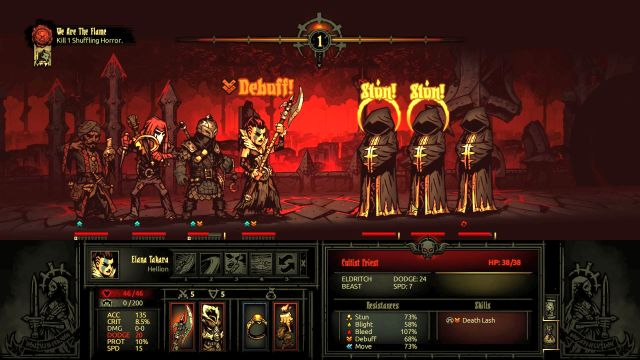
The new ones are Rapturous Cultists. These are completely harmless, because they do not attack your party - their only job is to heal others or protect them with their bodies. It is a good idea to deal with them in the first place, because they needlessly extend the battle. The enemy that you need to be wary of is Cultist Priest. His attacks deal decent damage, weaken the target and can hit two of your characters simultaneously. They are quite vulnerable to Stun, which is why Helion or Bounty Hunter are perfect against them.
Boss - Shuffling Horror

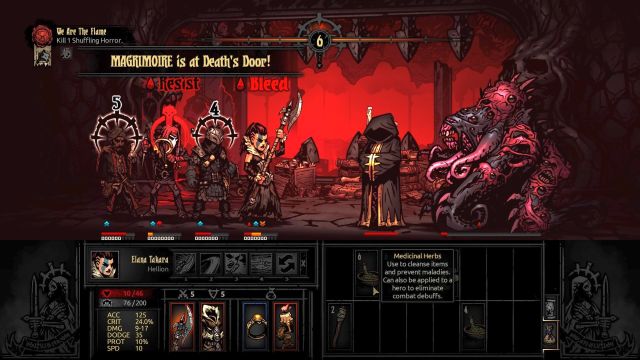
While exploring the corridors of Darkest Dungeon, you soon reach your destination - boss named Shuffling Horror. In the way he looks and behaves, he resembles Shambler - just like in the case of that opponent, he summons other monsters (mainly Cultist Priests), while focusing on attacking your party with abilities that set on you high levels of stress.
Just like in the battle with Shambler, stress is your greatest enemy here. The difference is that there is no quick way to defeat the boss to prevent him from damaging your party too much. What prevents that from happening are his summons and high protection level of the target. This is why the best tactic is to deal DoT damage (bleeding, blight) to the boss himself (he moves twice per turn, which is why he takes twice as much damage) and to use regular attacks against his summons.
Stress management is key here. Without Hound Master or Jester, who have powerful stress-healing abilities, you will not be able to do well here. A much better choice, of the two, is Jester, who can also provide the party with a strong boost, between events of healing stress (ones that increase accuracy, speed and chance of critical hit).
A good party against this boss consists of:
Jester - as mentioned above, he is perfect as the supporting class, because his two songs can heal considerable level of stress in a given character (and increase his resistance to Stress for several turns), as well as buff the party considerably, by raising the parameters (just like other things, buffs can be stacked up to three times). You can replace Jester with Hound Master, who can also handle the party's stress.
Helion - high damage and, above all, capability of setting on powerful bleeding make this battle much easier. Her Iron Swan will also come in handy, while crossing the dungeon, for elimination of opponents in the 4th row (which is where characters that impose the most stress usually are). Also, the ability of stunning opponents in two first rows is useful - negative effects of this ability can be healed with Healing Herbs.
Occultist - healing, weakening and, first of all, ability to mark the target (which harmonizes well with the last suggested character) are capabilities that make this character stand out. A nice addition is also the increased ability to deal damage to Eldritch monsters that abound here.
Bounty Hunter - he harmonizes perfectly with Occultist, who can mark targets for his Collect Bounty. Also, his stunning abilities, as well as one that introduce chaos into enemy ranks are of use.
Of course, this is not the only make-up that will work here, yet it guarantees a quite easy way to end the quest, devoid of stress. Just remember that while fighting with the boss, you should not make it longer than necessary - stress level will quickly surpass the ability to heal it, using your Jester / Hound Master. For defeating the enemy, you receive 3 trinkets (Talisman of the Flame), which are necessary to complete the second quest.
You are not permitted to copy any image, text or info from this page. This site is not associated with and/or endorsed by the Red Hook Studios or Red Hook Studios. All logos and images are copyrighted by their respective owners.
Copyright © 2000 - 2025 Webedia Polska SA for gamepressure.com, unofficial game guides, walkthroughs, secrets, game tips, maps & strategies for top games.
