BattleForge: Siege of Hope - part 1
Last update:
Let's play the second scenario with a Frost deck. You have to defend the city of Hope from the forces of Twilight. Our first goal is to hold the western part of the city. At least one of its human defending teams needs to stay alive.
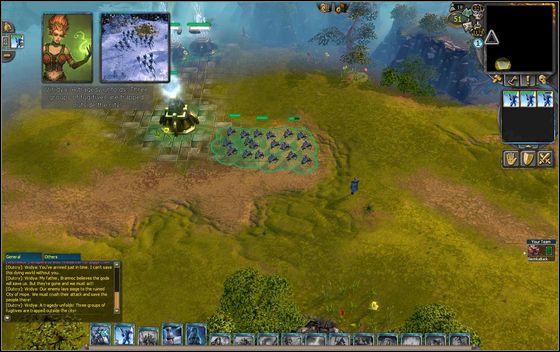
You start with two Power Wells. Summon three teams of Master Archers head to the right. On the road add two more archers squads. After a while a group of enemies will attack you - it turns out that their stationed not far ahead.
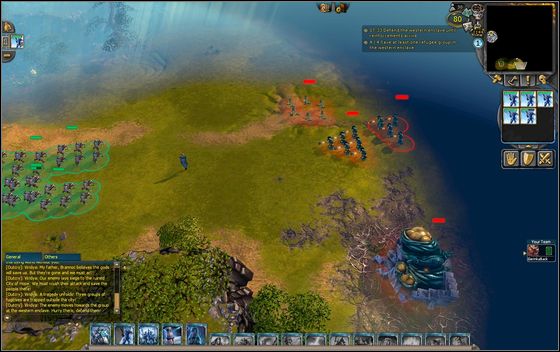
Shoot them as fast as possible, also try to destroy two Twilight Infestation structures that spawn enemies. At the end of the attack take one of the teams and put up two Power Wells, and then a Monument with a Frost Orb - the right spot is just above the enemy's camp.
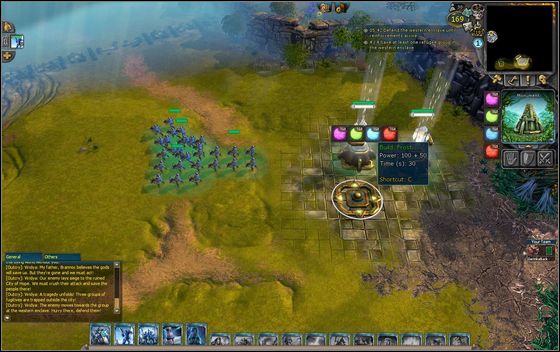
After destroying the whole camp, let your wounded units stand near the Power Wells for a moment, so they can regain health. Next go up north and build a wall. Leave two teams of Master Archers on it. Wait for 100 Power and summon a War Eagle to assist the remaining troops.
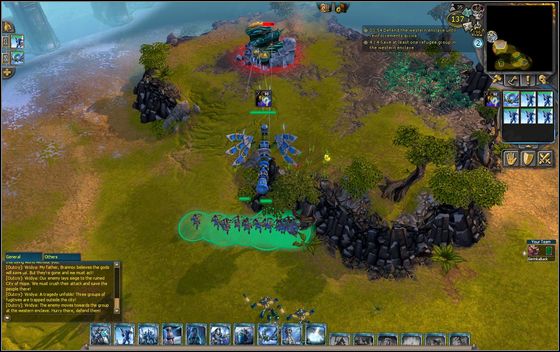
When you reach the crossroads, take a path to the north-west, in the direction of a camp in need of help. You will meet a couple of enemy squads on your way, you should summon a second War Eagle here. Kill the units on the hills to the left and the right just before the camp's entrance. You can find a chest of gold before the defense wall.
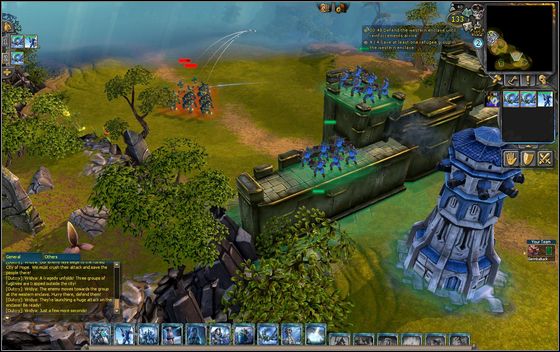
Meanwhile, build a Cannon Tower behind the wall with the archers. It will help them defend against small attacking enemy groups.
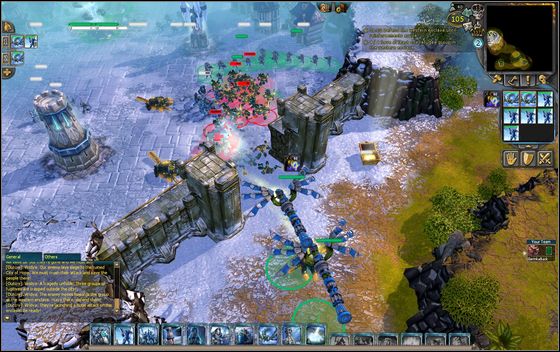
After entering the camp, put up four Power Wells and get ready to defend. The strike forces won't bee too big, so the units you already have - three squads of Archers and two War Eag;es - will suffice. You can use the Eagles' special ability and screech at enemies, knocking them back and deling much damage. After killing the attackers, go back to the crossroads.
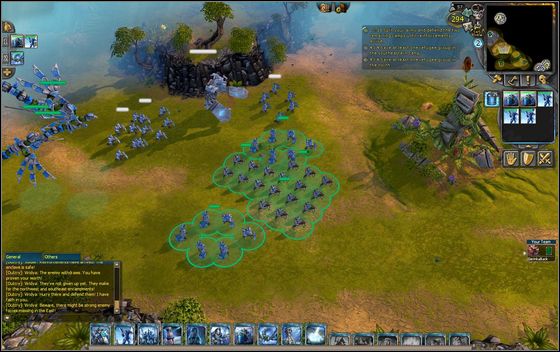
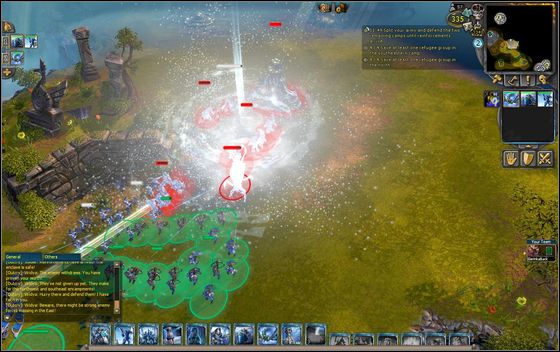
Wait for AI controlled supporting troops at the crossroads (the clock next to the mission objectives shows you the remaining time). Meanwhile, summon three squads of Defenders. Your aim now is to defend two camps at once - a northern and a southern one. Before looking to this,go north and attack a medium-sized enemy camp there, leaving the birds behind at the beginning, so they will stay out of range of a turret. In case of trouble, freeze the enemies with Coldsnap.
- BattleForge Game Guide
- BattleForge: Game Guide
- BattleForge: Example scenarios
- BattleForge: Encounters with Twilight - part 1
- BattleForge: Encounters with Twilight - part 2
- BattleForge: Siege of Hope - part 1
- BattleForge: Siege of Hope - part 2
- BattleForge: Defending Hope - part 1
- BattleForge: Defending Hope - part 2
- BattleForge: The Soultree - part 1
- BattleForge: The Soultree - part 2
- BattleForge: Example scenarios
- BattleForge: Game Guide
You are not permitted to copy any image, text or info from this page. This site is not associated with and/or endorsed by the developers and the publishers. All logos and images are copyrighted by their respective owners.
Copyright © 2000 - 2025 Webedia Polska SA for gamepressure.com, unofficial game guides, walkthroughs, secrets, game tips, maps & strategies for top games.
