Batman: Arkham Knight: Riddler trophies in the Arkham Knight HQ (1-10)
On this page of our guide to Batman: Arkham Knight you will find exact locations of Riddler trophies (1-10) that can be obtained in Arkham Knight HQ. Trophies are one of secrets (collectibles) available in the game.
Trophy 1
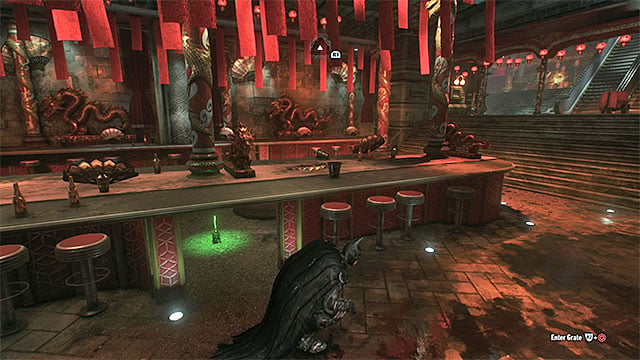
Required gadgets: -
Trophy walkthrough: The Trophy is under the long table and you only need to crouch to collect it. You are not going to need any gadgets here.
Trophy 2
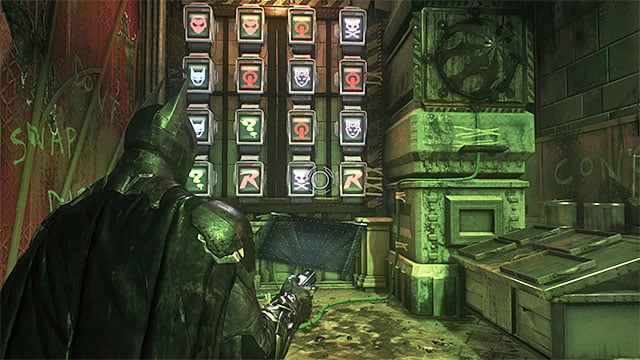
Required gadgets: remote hacking device, batclaw
Trophy walkthrough: To gain access to the trophy, you need to solve a nice riddle. You need to use the remote hacking device and find pairs of identical icons. You do not need to race against time here and you will not be punished for taking too many attempts. After you solve this puzzle, get the trophy, using the batclaw.
Trophy 3
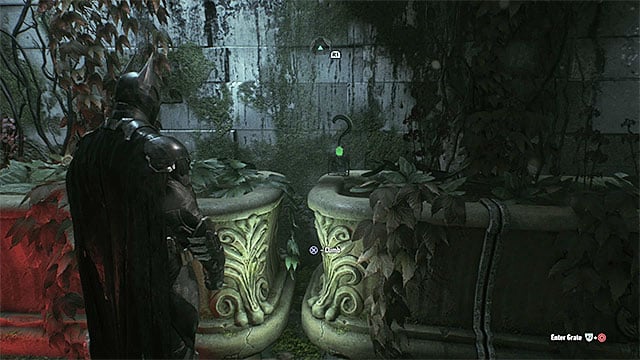
Required gadgets: -
Trophy walkthrough: The Trophy is in an easily accessible location, where the plants are.
Trophy 4
Required gadgets: remote hacking device, batarang, electrical charge, batclaw
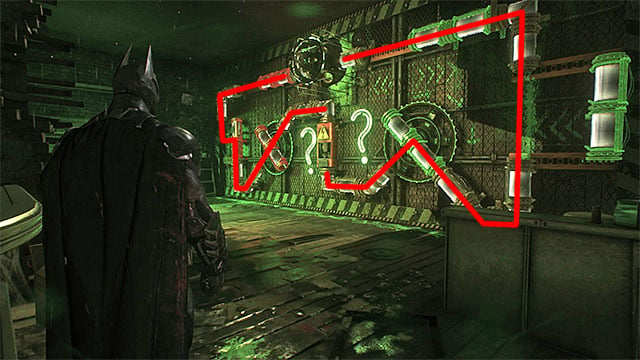
Trophy walkthrough: Find the terminal on the wall and use the remote hacking device to break into it - the password is CONDUCTIVITY. You can now walk into the generator room with two question marks and tubes on the wall.
You need to solve a quite demanding puzzle here. The idea is that you "transport" simultaneously two charges from the starting point to the destination - the routes have been delineated in the above screenshot. The key to success is to manipulate the interactive tubes and turn/move them. For this, you use two question marks, which you need to hit with batarangs. AS soon as you decide you are ready, use the electric charge on the generator. After the charges start moving, fire at the left and right question marks, in turns, to change the situation of the tubes. Finally, you will have to hit both of the question marks simultaneously, for which you can quick launch batarangs. After you solve the puzzle, you can use the batclaw to get the trophy from the cage above.
Trophy 5
Required gadgets: remote hacking device, voice synthesizer, batclaw
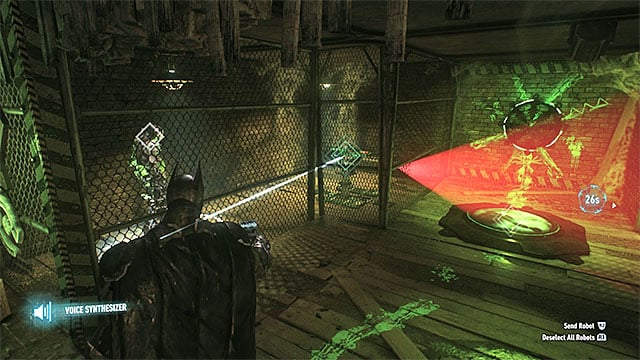
Trophy walkthrough: In the Southern part of the base, find the control panel and hack it with the remote hacking device - the password is ROBOTICS. In the next room, there is Riddler's robot and two turrets. In a moment, you will have to take control of the robot, for which you need a chip that enables you to give instructions to them. If you do not have one, focus on obtaining the rest of the collectibles, thanks to which you obtain it, sooner or later.
Start by using the remote hacking device to disable temporarily the right turret. Now, use the voice synthesizer on the robot and have it reach the left turret to destroy it. After the left turret is sabotaged, walk onto the pressure plate and use the batclaw to get the trophy.
Trophy 6
Required gadgets: -
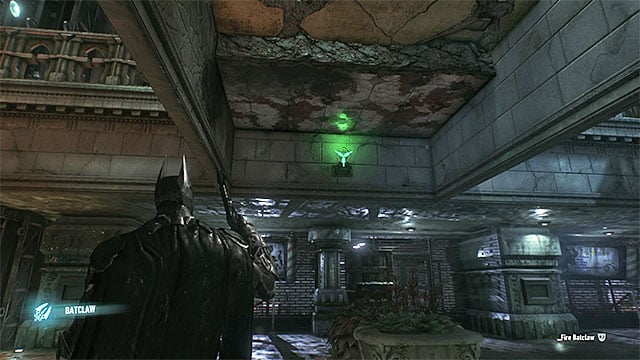
Trophy walkthrough: Explore the lower level. The trophy is attached to the wall, under the ceiling and you need to use the batclaw to get it there.
Trophy 7
Required gadgets: electrical charge
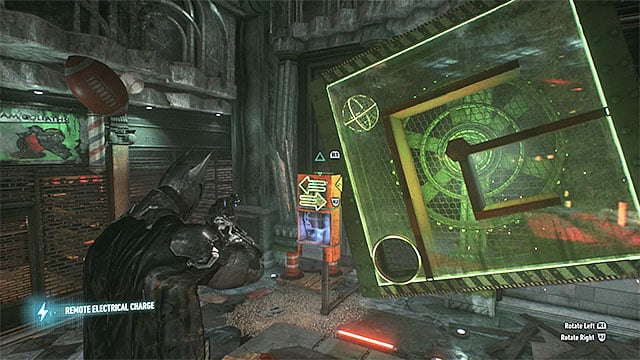
Trophy walkthrough: The trophy is inside the orb inside the big cabinet. To solve this puzzle, you need to use the electric charge on the left generator to spin the cabinet. This way, you complete a simple labyrinth. After the orb reaches the hole, approach and collect the item.
Trophy 8

Required gadgets: explosive gel
Trophy walkthrough: The trophy is in a seemingly inaccessible location on the Western side of the Arkham Knight's HQ. To get it, you need to blow up the weakened wall, using the explosive gel.
Trophy 9
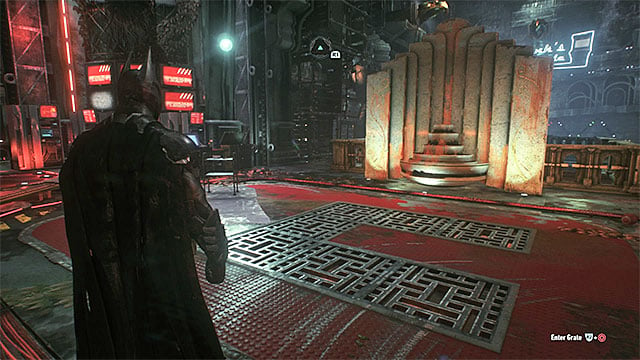
Required gadgets: batclaw
Trophy walkthrough: The trophy is in the area between the Arkham Knight's HQ and the underground tunnels, where you have been escaping from the drilling machine. Start in the center of the HQ, where Commissioner Gordon used to be kept and enter the venting shafts here.
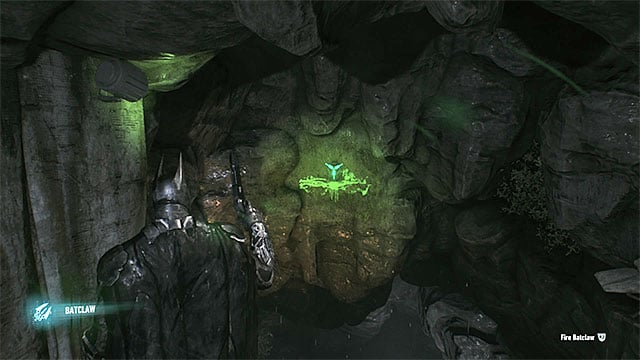
Follow the shafts and then, follow the narrow corridors. Soon, you will notice the trophy in front of Batman and you need to catch it with the batclaw.
Trophy 10
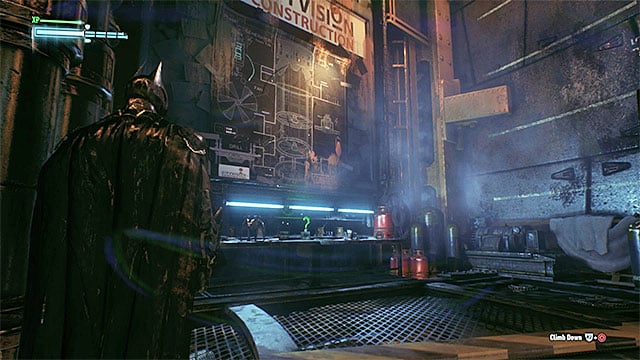
Required gadgets: -
Trophy walkthrough: The trophy is on level one of the shaft. After you get there, approach the table next to the big schemata and collect the item.
- Batman: Arkham Knight Game Guide & Walkthrough
- Batman Arkham Knight: Riddles and challenges
- Batman Arkham Knight: Collectibles - Arkham Knight HQ
- Batman: Arkham Knight: Map of Arkham Knight HQ
- Batman: Arkham Knight: How to get to the Arkham Knight's HQ?
- Batman: Arkham Knight: Riddler trophies in the Arkham Knight HQ (1-10)
- Batman: Arkham Knight: Riddler trophies in the Arkham Knight HQ (11-21)
- Batman: Arkham Knight: Riddles in the Arkham Knight HQ
- Batman: Arkham Knight: Breakable objects in the Arkham Knight HQ
- Batman: Arkham Knight: AR Challenges (Augmented Reality)
- Batman: Arkham Knight: Challenges - Tutorial
- Batman: Arkham Knight: Challenges - Combat
- Batman: Arkham Knight: Challenges - Predator
- Batman: Arkham Knight: Challenges - Batmobile Race
- Batman: Arkham Knight: Challenges - Batmobile Combat
- Batman: Arkham Knight: Challenges - Batmobile Hybrid
- Batman Arkham Knight: Collectibles - Arkham Knight HQ
- Batman Arkham Knight: Riddles and challenges
You are not permitted to copy any image, text or info from this page. This site is not associated with and/or endorsed by the developers and the publishers. All logos and images are copyrighted by their respective owners.
Copyright © 2000 - 2025 Webedia Polska SA for gamepressure.com, unofficial game guides, walkthroughs, secrets, game tips, maps & strategies for top games.
