Banishers Ghosts of New Eden: List of all bosses
In Banishers Ghosts of New Eden you will encounter many enemies. On this page of the guide we have described all the main bosses in the game, how to defeat them and where you will face them.
Last update:
In Banishers: Ghosts of New Eden, you will face many dangerous enemies. From time to time, you will face powerful bosses - manifestations of the sorrows and suffering of the inhabitants of New Eden. Facing them involves multi-phased battles often requiring thoughtful, unique approach and tactics, and finally extra caution and skill in evading attacks. On this page of our guide, we present you with a list of bosses, and provide useful tips on how to fight them.
The Beast
The Beast is the mysterious creature prowling The Dark Woods - the fight against it is a climax of the plot involving two sisters feuding on who should be the leader of the forest camp. This is the first major story boss you will face in Ghosts of New Eden. The battle isn't demanding, but there are a few matters you should know:
- The safest way to fight the Beast is to keep your distance and use your musket to hurt the enemy from long range. Keeping your distance is easy because of the spacious arena for the encounter. The opponent, disoriented by such an approach, will try to charge often. The charge is performed in a straight line, so it is easily evaded by dodging to one of the sides.
- Additionally, after the enemy charges into an obstacle (tree logs, boulders), he will lie idle for a few seconds. This is a good opportunity for a counterattack.
- Apart from the charges, The Beast's movements are rather sluggish, so you can from time to time get closer and attack his weak points (glowing body parts) to speed up the encounter. Depending on the phase, these are: head, front leg, hind leg.
- When fighting in melee range, watch out for sweeping movements signalling an incoming attack.
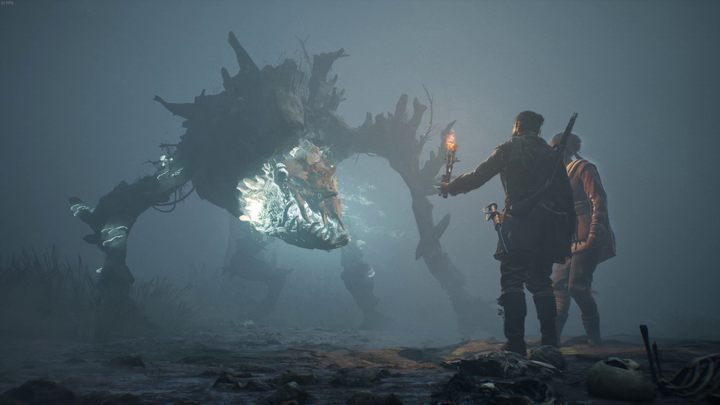
The beast has quite a lot of health points, so the battle may be lengthy. However, try to maintain the rhythm of the fight and at some point, your opponent will finally fall.
The Infamy
Infamy is the physical manifestation of the great injustice that was done to the woman accused of magic in the town of New Eden. During the fight, the pair of protagonists will be put on a trial during which they will have to face their inner demons.
- In the first phase, you'll face a warped clone of Red. He has a similar set of moves to the main character, but during heavy swings, he additionally covers the arena with sticky goo that limits your movements. The easiest way of getting out of the goo's range is to dodge quickly.
- From time to time, the dark clone will spawn a copy of one of the lesser enemies. They are rather weak, so eliminate them quickly so they don't interfere in the fight.
- When avoiding musket shots, dodge at the last possible moment, which is after hearing the gunshot.
- When you deal enough damage to Red's shadow, a shapeless creature will crawl out of his body. Focus all your attention on the being. If you don't manage to kill it in time, it will fuse back with the clone, recovering some of its health.
- In the second phase of the fight you will fight against the dark clone of Antea. The clone's attacks are similar to what Antea can do. Right at the start of phase two, switch to Antea, as Red's attacks deal minimum damage against this clone.
- In the last phase, you'll fight with two clones at once. As before, each hero must defeat his own reflection. After damaging a clone enough, switch to the hero whose reflection you're facing and destroy slimes crawling out of their bodies.
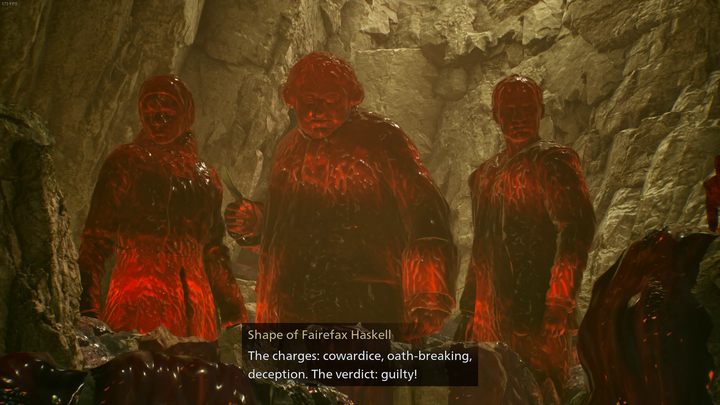
This boss is more demanding than the previous one, but with a bit of finesse and practice, you'll be able to defeat the enemy.
Aul' Saul
The final battle with the undead moss-covered soldier takes place during one of the visits to the witch's island. Here are some tips that will help you in the fight:
- The undead's sweeping attacks are characterized by very vivid animations. Watch Aul' Saul's behavior and jump away when he takes a swing.
- Among his attacks, a charge followed by a powerful sword slash is particularly dangerous. Stay away from the range of this attack.
- Another move to watch out for is a delayed guided spectral bird attack. If you won't react to the attack in time, you may get struck and be exposed to a painful sword strike.
- Additionally, the boss will scatter green fields that slow your movements when touched. Avoid them whenever you can.
- From time to time, Aul' Saul will summon a group of lesser enemies to fight for him. Try to eliminate them right away to clear the battlefield and be able to focus on fighting the boss.
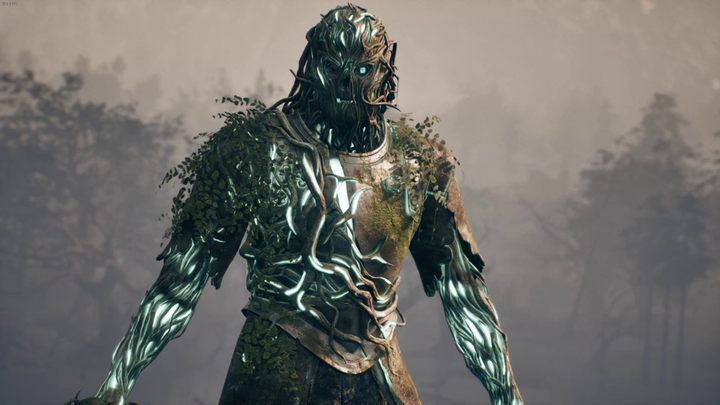
The fight with the undead warrior isn't too hard but requires good coordination, mixing attacks, and switching between the heroes from the player.
The Puppeteer
The fight with The Puppeteer in the mine is one of the most interesting fights in Banishers: Ghosts of New Eden. The battle consists of several phases during which different actions are needed. Here are some tips for the fight:
- In each phase, the first thing to do is to break the chains that bind the boss to the wall. From time to time, individual links of the chain will light up in orange (you'll see the glow only as Antea). Simply shoot at the weak link to destroy it.
- Your efforts to destroy the chain will be interrupted by successive waves of enemies sent by The Puppeteer. Try to eliminate them if they get closer, but focus mainly on the chains and boulders falling from the ceiling (from phase 2).
- Freed from his shackles, the boss will capture Antea. Red, removed from his companion, will have to fight opponents in complete darkness. Move carefully, jump to incoming opponents, deliver a quick series of blows, and then quickly back away.
- After defeating the spirits, the silhouette of the captured companion will appear before Red. In this section, you must rely on your hearing and choose the real Antea screaming from the distance. If you've chose bad, you'll have another opponent to fight. Consider switching to headphones if this section gives you problems.
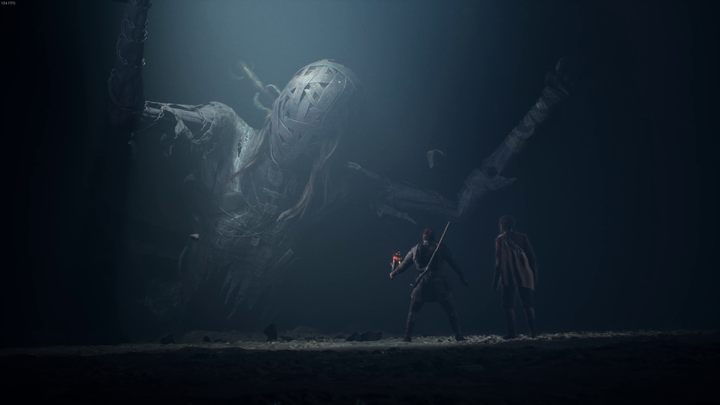
After three intense phases, the battle will end.
Calendre (Nazuku)
Calendre (Nazuku) is the penultimate boss of the game, encountered when traversing The Void to reach the heart of New Eden. Confronted with her painful past, Antea will finally stand up to her inner demons, and the pair of Banishers will learn the true face of the threat. The fight consists of four phases (or actually entire sections), during which you will have to perform various actions.
- In the first phase, you will face Nazuku accompanied by a few lesser spirits directly. Start by ignoring the main enemy and quickly defeating the smaller enemies then focus entirely on the two cores (Sorrow) placed on the arena. This is the source of Nazuku's power, and destroying them will end this phase of the clash.
- There will be some walking in breaks between phases. Use this moment to catch your breath, reload your musket and heal.
- The second phase will see you face Nazuku himself. Before focusing on the boss, destroy the green spirits found on rocks in the vicinity of the arena. Nazuku's basic attack is teleporting near the heroes and leading with a series of blows. Move away as fast as you can once you notice that Nazuku is starting his attack.
- The boss's more sweeping attacks send a wave of black-green energy. Although the boss's area of effect attacks move quite slowly, when combined with similar waves sent out by Sorrow, they may prove to be problematic. Remember to have eyes on the entire arena and jump away from area of effect attacks.
- From time to time, the enemy will summon a greenish aura in the shape of a circle, which will slowly start to surround the protagonists. If the circle closes on you, you'll receive damage. To avoid the attack, perform a dodge when the circle is almost closed. This way you'll get out of its range. The easiest way to do this is to switch to Antea, whose dodges are slightly faster.
- Once you'll deprive 80% of Nazuka's health, the boss will teleport to the nearby islet and Sorrow on it. He will start to replenish his health, but also the location of the core of his power will be revealed. Destroy the pulsating Sorrow with accurate musket shots as fast as possible.
- In the third phase, your target will be Sorrows. There are a few of them in the small labyrinth, but your task will be to find the genuine one. You'll recognize the right one easily, as it isn't destroyed with a single strike. At the same time, Nazuku will try to interrupt you. Ignore him and avoid his attacks.
- The last phase is a bit similar to the second one, but you also will need to destroy the pillar of Sorrow standing in the middle of the arena. it should be easily destroyed with a few accurate shots from the musket.
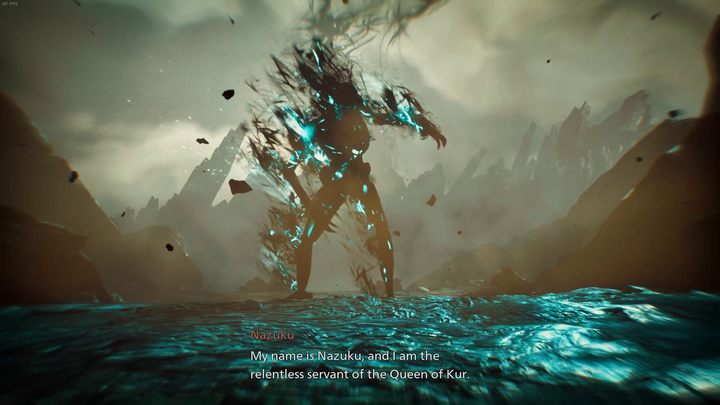
The fight with Nazuku is a multi-layered and long battle, but the real challenge level is not much. Simply exercise caution when closing the distance and have in mind our tips and you should easily defeat the boss haunting Antea's mind.
The Nightmare
The fight against The Nightmare of New Eden is the culminating sequence of the game and a challenge for which the protagonists and the player have been preparing throughout the entire campaign. The battle consists of two parts and will seriously test your skills.
- The Nightmare can attack in melee range with wide slashes with his spectral sword or by using his claws. He can also teleport to the near vicinity of the hero only to attack a moment later. In melee range you are usually at a disadvantage, so if caught there, we recommend dodging quickly and attacking with the musket, or waiting for an opportunity to attack with your sword which appears between the enemy attack animations.
- The boss can also split into 3 or more copies. When faced with such a situation, switch to Antea and look through her eyes to find a version of the enemy surrounded with the most powerful green aura. Without taking your eyes from this enemy, approach it and attack. Only attacks on the "original" will deal damage to the boss.
- Additionally, the boss and his clones will throw spectral spears at you from time to time. Dodge the projectile just before it lands to avoid it correctly.
- After depriving the boss of 3 health cells, a short cut-scene will be initiated after which the second phase of the fight begins. In this phase, The Nightmare is even more aggressive and fierce, so you need to be even more careful during the fight. Each cells represent one of the former bosses you've fought during the game.
- The Puppeteer segment gives the boss access to guided projectiles and the ability to fire chains from the ground. Keep your eyes on the boss and dodge at the right moment.
- In The Infamy cell, the entirety of the arena will covered with sticky goo. Try to avoid stepping in it or dodge to safe area.
- In The Beast phase, The Nightmare becomes very aggressive. He will often jump into the air and attack with a quick charge. If you manage to avoid this charge, the boss will be idle for a few seconds after it.
- The Nightmare will also from time to time summon the spectral version of The Beast. The specter's attack have long reach so it is better to wait them out while remaining far away.
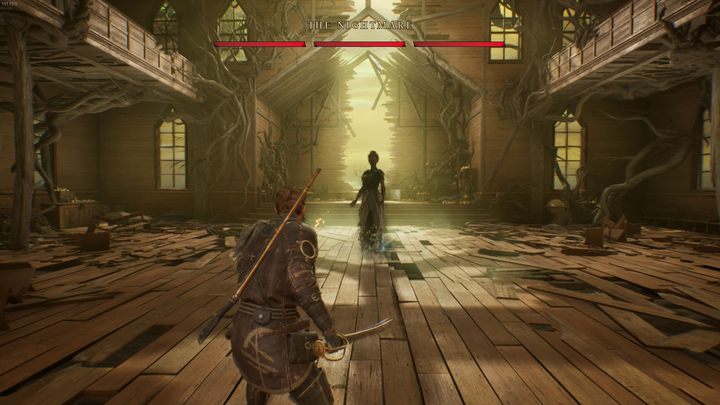
In this battle, Decoctions do not recharge after the start of a new phase, so use them only as a last resort to carry as many as possible over to the second, more difficult phase of the encounter.
- Banishers Ghosts of New Eden Guide
- Banishers Ghosts of New Eden: Game Guide
- Banishers Ghosts of New Eden: Basics
- Banishers: Interactive map
- Banishers Ghosts of New Eden: Tips and tricks
- Banishers Ghosts of New Eden: Difficulty levels
- Banishers Ghosts of New Eden: List of all bosses
- Banishers Ghosts of New Eden: Choices
- Banishers Ghosts of New Eden: All Ritual resources
- Banishers Ghosts of New Eden: All endings
- Banishers Ghosts of New Eden: Best weapon and equipment
- Banishers Ghosts of New Eden: Basics
- Banishers Ghosts of New Eden: Game Guide
You are not permitted to copy any image, text or info from this page. This site is not associated with and/or endorsed by the developers and the publishers. All logos and images are copyrighted by their respective owners.
Copyright © 2000 - 2026 Webedia Polska SA for gamepressure.com, unofficial game guides, walkthroughs, secrets, game tips, maps & strategies for top games.
