Zelda TotK: Riju of Gerudo Town - walkthrough
Having trouble beating Queen Gibdo in TotK? Our guide will help you charge 4 batteries in Lightning Temple and solve the pillar puzzle.
Last update:
On this page of our Zelda: Tears of the Kingdom guide you can find a walkthrough for Riju of Gerudo Town Regional Phenomena main quest. We help in finding your way to Gerudo Town and defending it from Gibdos attack. Further part of the quest involves a puzzle featuring 3 pillars in the desert and a visit to Ligthning Temple where you need to charge 4 batteries. Finally, we help and offer tips on how to defeat Queen Gibdo - the boss of the temple.
- How to unlock the main quest?
- Kara Kara Bazaar
- How to defend Gerudo Town?
- How to solve the 3 Pillars puzzle in Gerudo Desert?
- How to defeat Queen Gibdo?
- Lightning Temple
- How to charge 4 batteries in Lightning Temple?
- How to defeat Queen Gibdo (second battle)?
How to unlock the main quest?
Riju of Gerudo Town quest is initiated after reaching the North Gerudo Ruins in the Gerudo Desert, which is a region in the southwestern part of the map. You're led to the region following one of four markers from Regional Phenomena story quest.
The boss battle concluding the Lightning Temple is very difficult, so you should complete the previous 3 Regional Phenomena quests to get stronger and have the support of multiple companions.
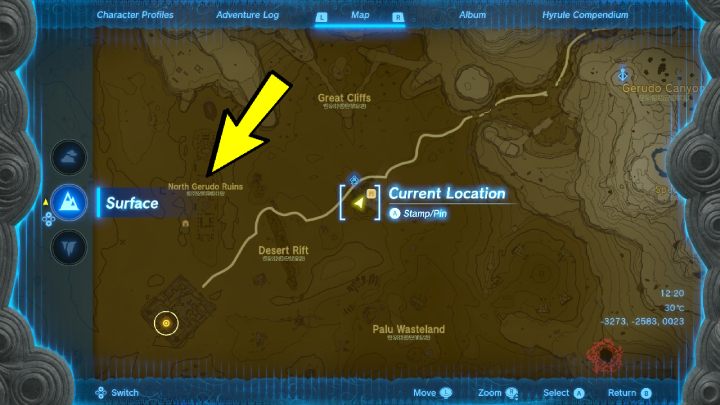
Reaching the Gerudo Town is made difficult by a sandstorm which obstructs your vision. Moreover, while in the sandstorm area, your map and minimap are no use. To reach North Gerudo Ruins, keep to the path and don't stray from it.
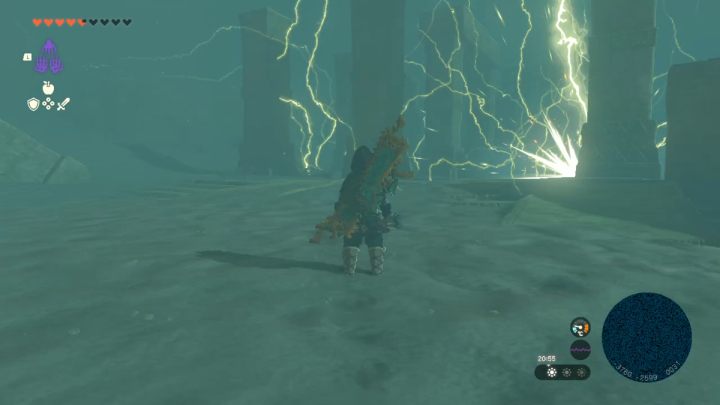
Upon reaching the objective, you'll hear a loud bang. Head towards the lightning and talk to Riju.
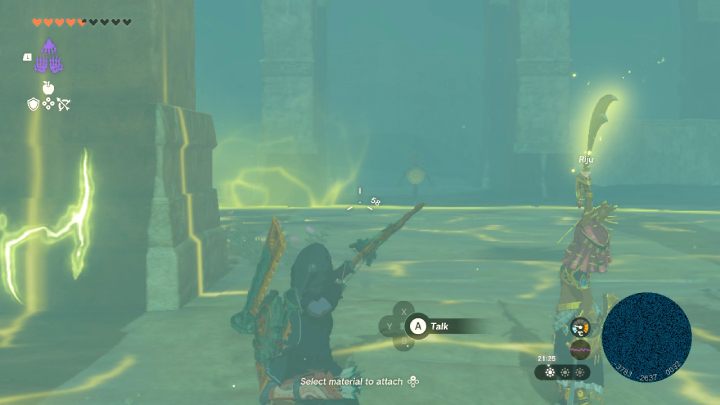
After the conversation, shoot an arrow at the dummy when yellow aura reaches it. The second try sees you hit a rock next to 3 dummies.
Kara Kara Bazaar
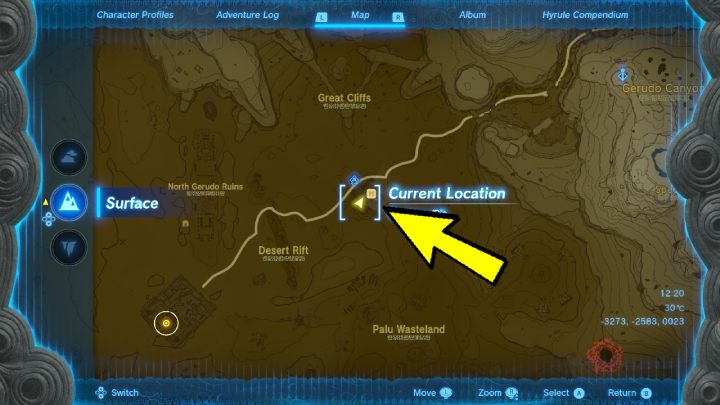
Once you have an idea how Riju's ability works, proceed to Kara Kara Bazaar. If you want to have an easier time reaching it, try fast travelling to the nearby Skyview Tower and glide to the location from there.
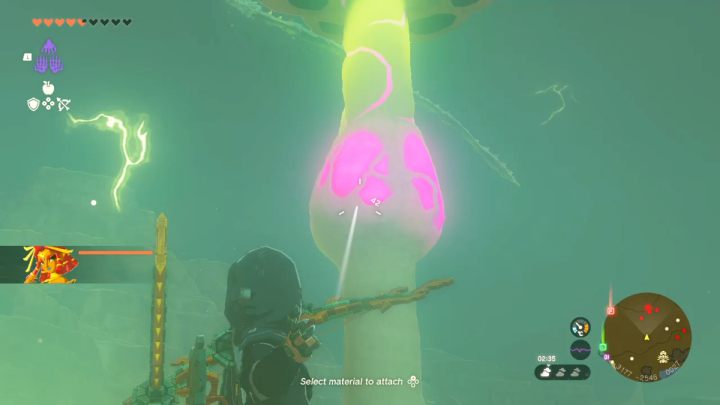
After arriving, a battle against Gibdos will start. Activate Riju's ability and fire an arrow at the pink spot on the hive from which monsters are emerging. Apply the same method on leftover Gibdos.
Gibdos are immune to standard attacks. Only when they are struck by lightning damage, their protection is removed, turning their bodies white.
Before embarking for the next objective, stay a moment at Kara Kara Bazaar and replenish your arrow supply. There is a chest with a Gerudo Bow in a small pond. Simply use Ultrahand to grab and place the chest on solid ground.
One of the merchants in Kara Kara offers Desert Voe Headband, an armor item applying Heat Resistance - you can buy it from him for 450 rupees.
How to defend Gerudo Town?
After Kara Kara Bazaar is safe, time to travel to Gerudo Town.
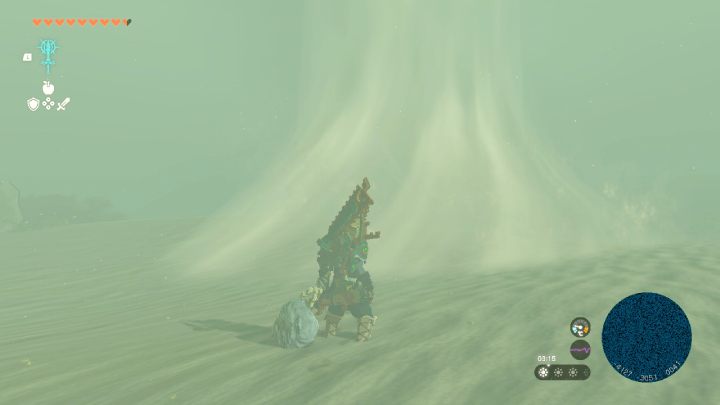
If you come across an air vortex along the way, jump into it and open your glider. A gust of wind wil take you high up and above the sandstorm, allowing you to map a way through it and to Gerudo Town.
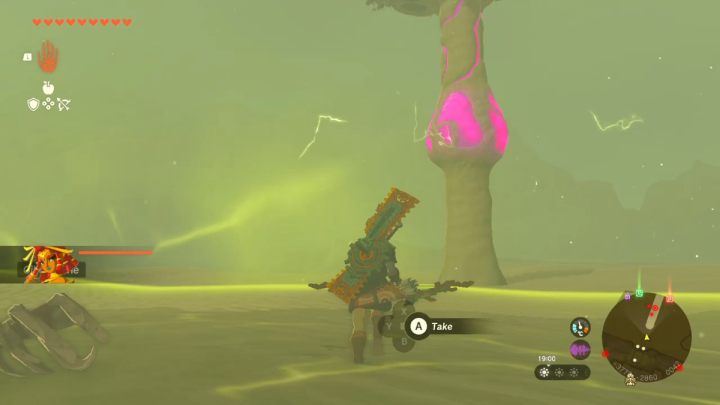
After the conversation with Riju, siege of the city will begin. Your task here is to destroy 3 Gibdo hives - at eastern, western, and northern gates of the town. Wait for the electricity aura to engulf a hive and fire at the pink spot. After destroying a hive, clear the area of remaining monsters.
Once the task is complete, talk to Riju and proceed to Underground Shelter. Reeza will open the door for you. Go through the shelter and talk to Riju at the mural.
How to solve the 3 Pillars puzzle in Gerudo Desert?
After reading the mural in the shelter, your next task will be to solve a puzzle involving 3 pillars.
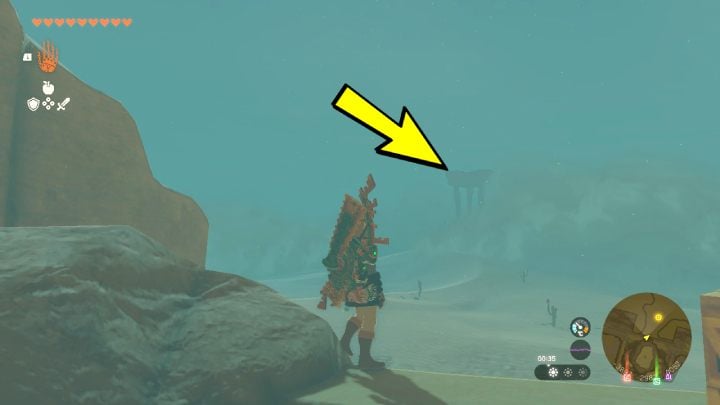
Go to the throne room, stand behind the throne and look at the desert. You'll see a stone pillar in the distance. Head towards it by gliding using encountered air vortexes.
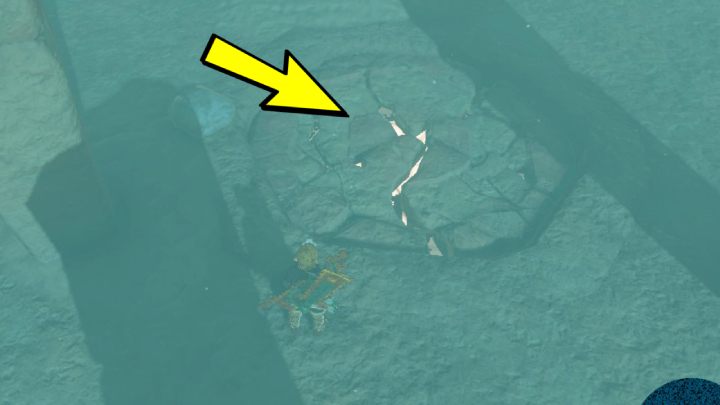
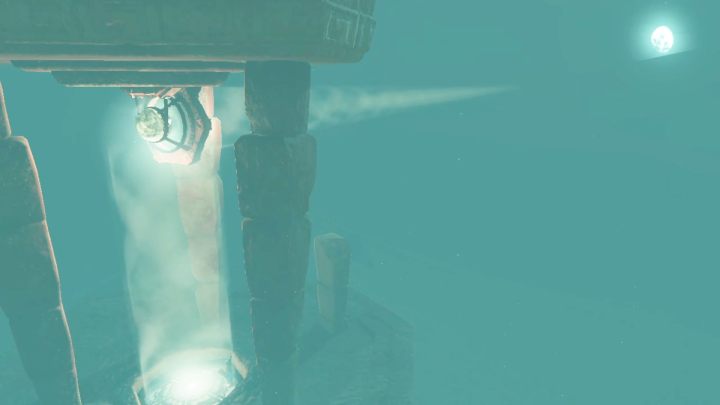
As you approach the first pillar, use Ascend to quickly get upstairs. Destroy the weak point on the floor using a weapon with fused rock - this will activate the first pillar. A light will appear that will guide you to the next pillar.
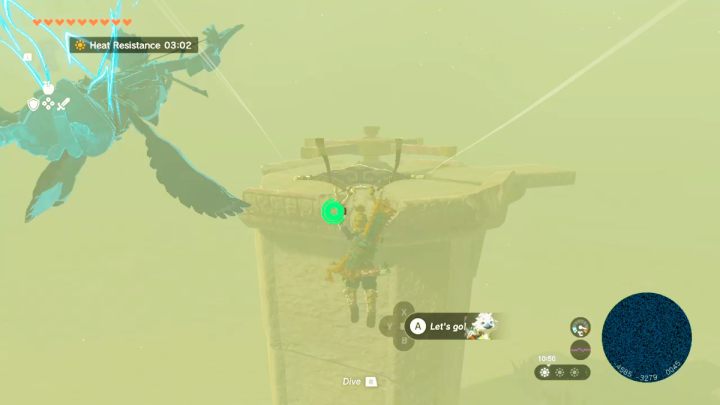
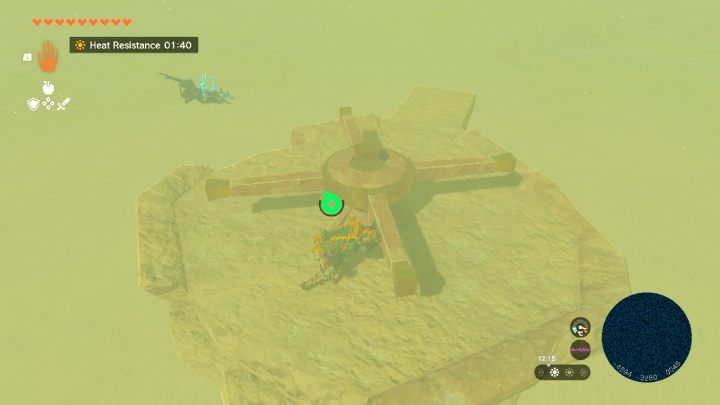
When you reach the second pillar, jump from it to the nearby stone platform. Grab one of the boards attached to the wheel and rotate it counterclockwise.
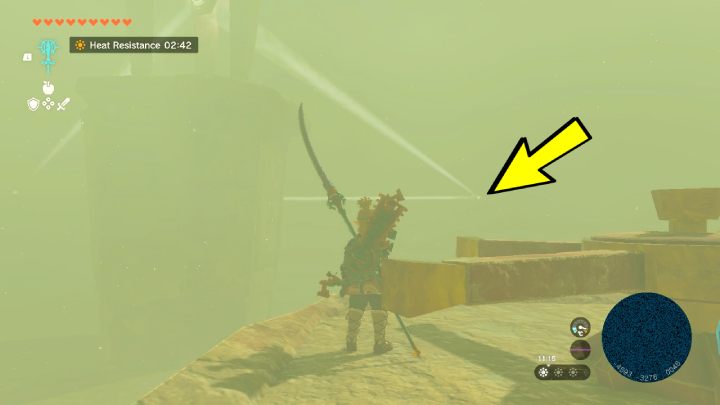
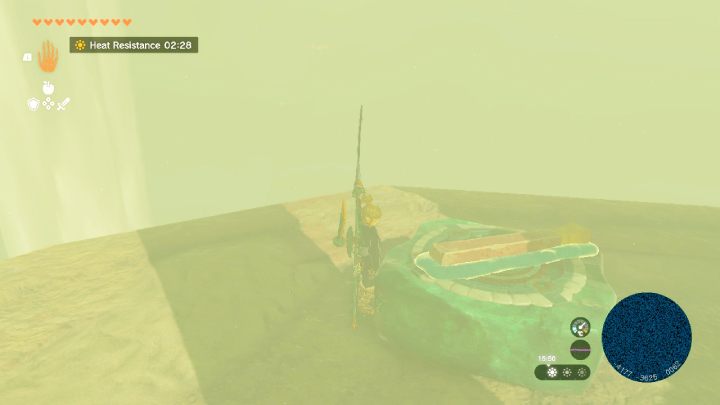
With the second pillar activated, time to head for the final one. Upon arrival, destroy a weak point on the floor and ultrahand a board with a Hover Stone.
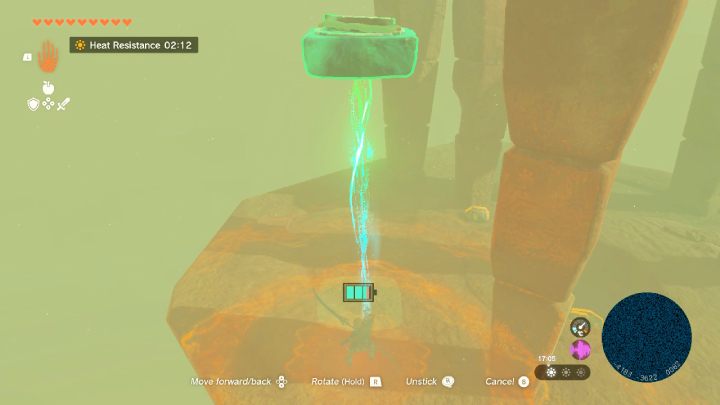
Activate the Hover Stone so it levitates. Then use Ascend to reach the top part of the pillar.
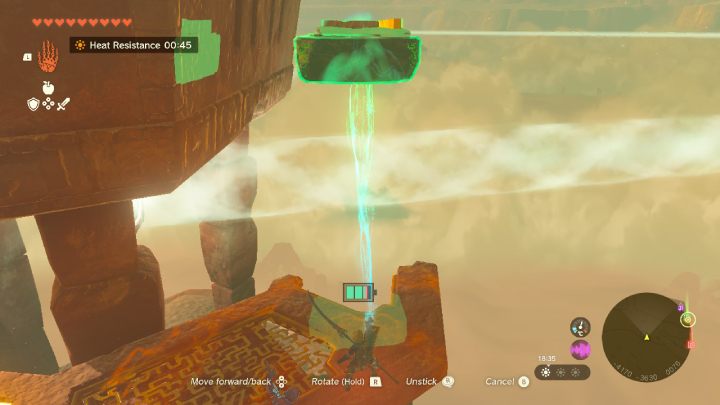
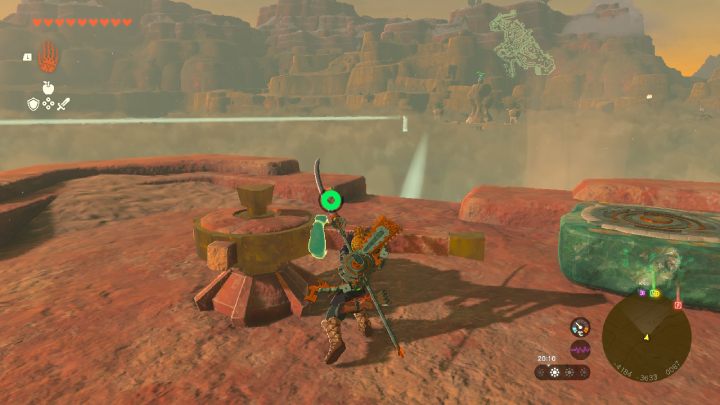
Move the Hover Stone to the top part and remove the board from it. Attach the freed board to the wheel and once again rotate it counterclockwise.
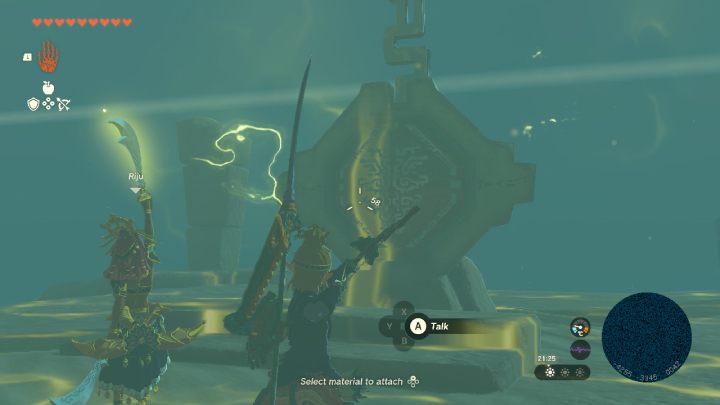
A triangle created of light will be completed - go to the middle of it and activate Riju's ability. When the aura engulfs it, shoot at the statue and wait for Lightning Temple to appear.
How to defeat Queen Gibdo?
A large hive will appear at the entrance after the emergence of Lightning Temple.
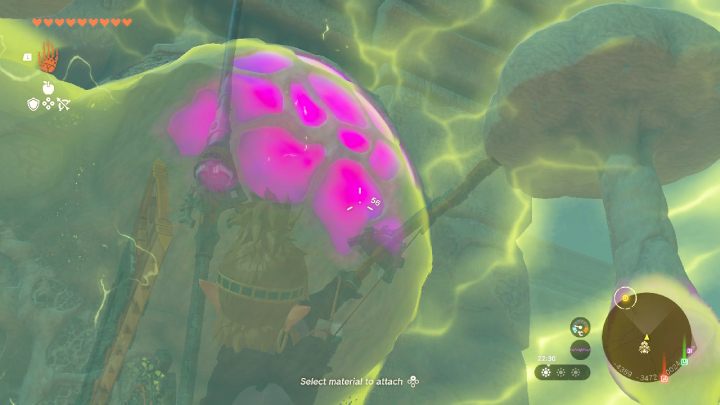
Activate Riju's ability and shoot the hive. A frenzied Queen Gibdo will appear from it.
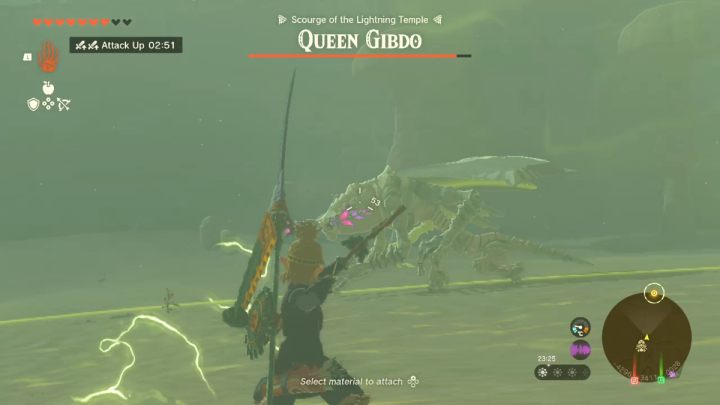
Queen Gibdo is damaged the same way as lesser Gidbos. When struck with lightning, Queen Gibdo will lose her protective cover, and her body will turn white. Now is the time to approach her and attack a few times.
Use Riju's ability or fire at the Queen with arrows fused with Electric Keese Eyeball, Shock Fruit or Yellow Chuchu Jelly. Once you deal enough damage to her, Queen Gibdo will escape.
Destroy the remaining hives and defeat all remaining Gibdos.
Lightning Temple
Upon entering the Lightning Temple, you'll find a few Korok-Frond Gusters. You can attack with this item to create a wind gust that will blow away the sand.
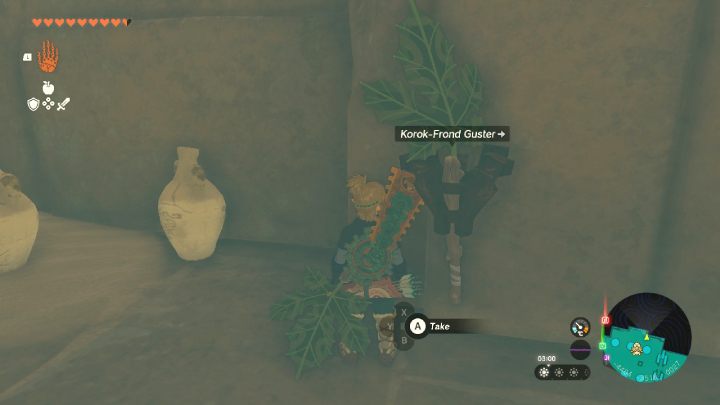
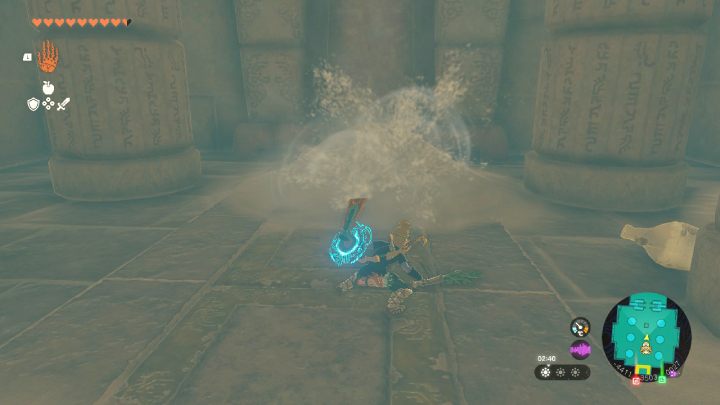
Get rid of the sand in front of the stone door and stand on the switch. Go through the door and descend to level B1.
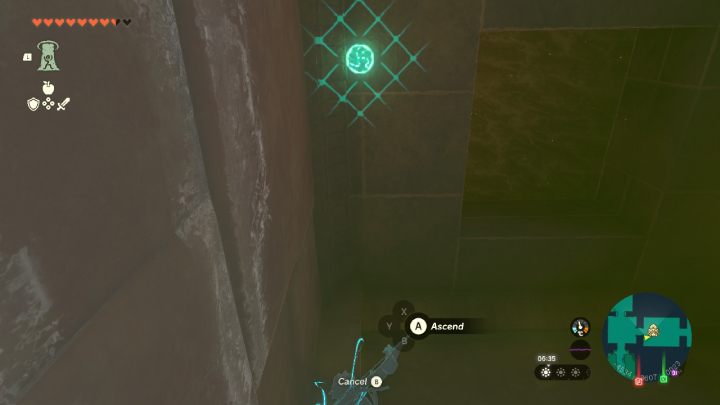
When you reach the end of the corridor, turn right and continue forward. Suddenly, you'll fall down. Defeat the flying monster and use Ascend to return to level B1.
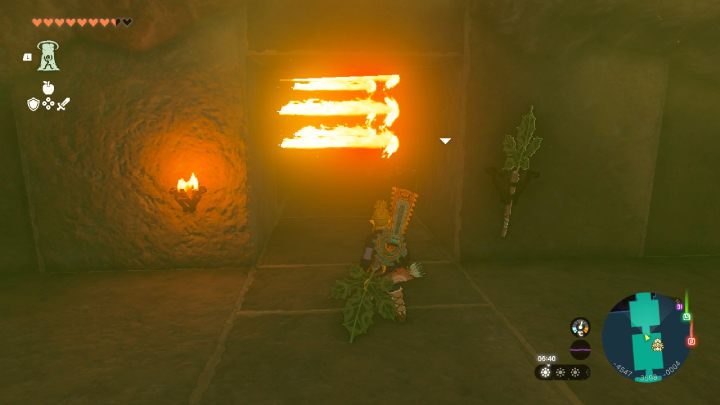
Go forward and pass through the corridor with traps. Wait until the flames are doused and quickly run a section. At the end of the corridor, you'll find a switch on the ground - stand on it and wait for Riju to approach.
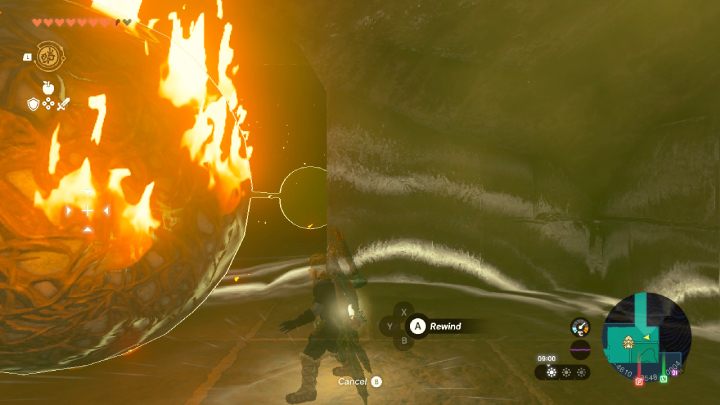
The next trap you'll encounter will be a burning sphere. Use Recall to make it go reverse and run up to the next room. Stand on the switch, which will deactivate the trap.
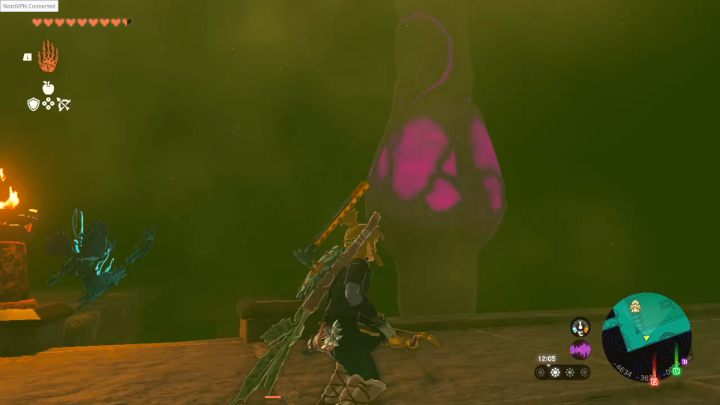
Destroy the encountered hive and all opponents around it. You'll enter the Room of Hopeful Light.
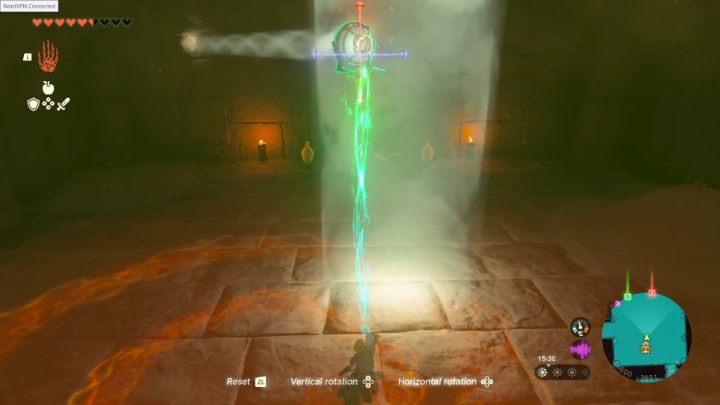
Defeat the Zonai robot and remove the sand from the floor. You'll find a mirror. Grab the mirror and reflect the light in the direction of a green area above the locked gate. This will unlock the door and allow you to proceed to level 1F.
How to charge 4 batteries in Lightning Temple?
Interact with the altar. For the elevator to work, you need to charge 4 batteries.
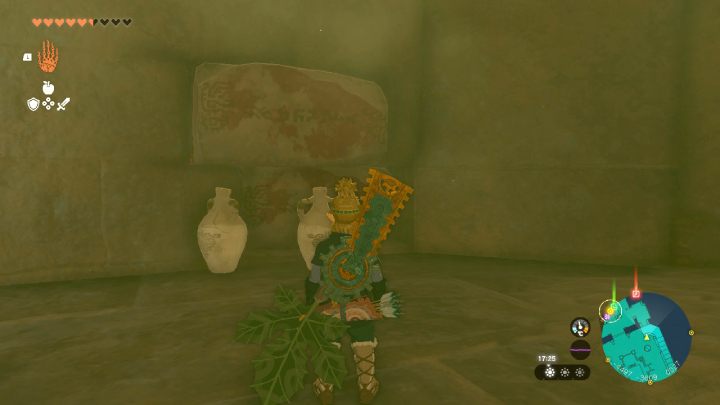
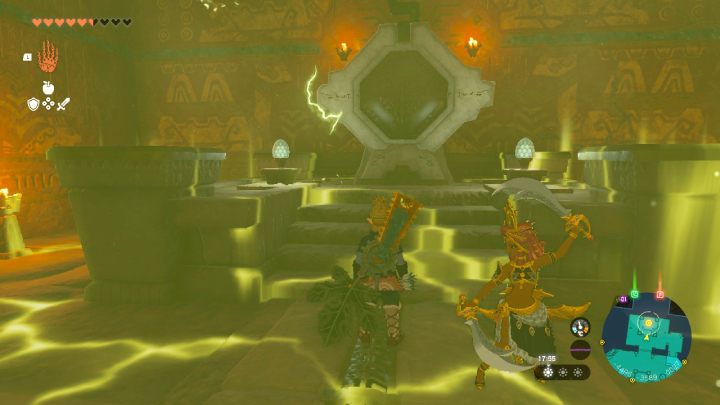
The first is on the same floor - 1F. Next to the stairs, you'll find some loose bricks in the wall - move them away with Ultrahand and enter the chamber with the first battery. Activate Riju's ability and fire an arrow at the battery to charge it.
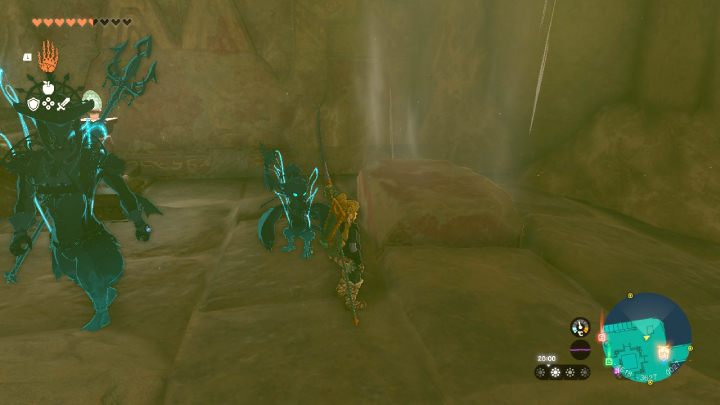
Near the altar you will find a brick that you can move from its location. This will make an air gust appear - jump inside and open the glider.
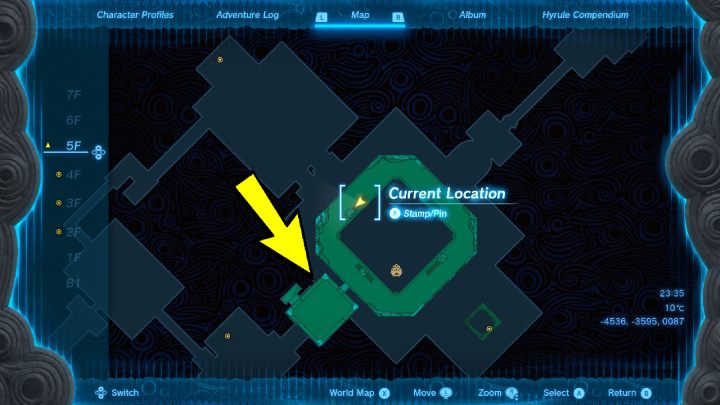
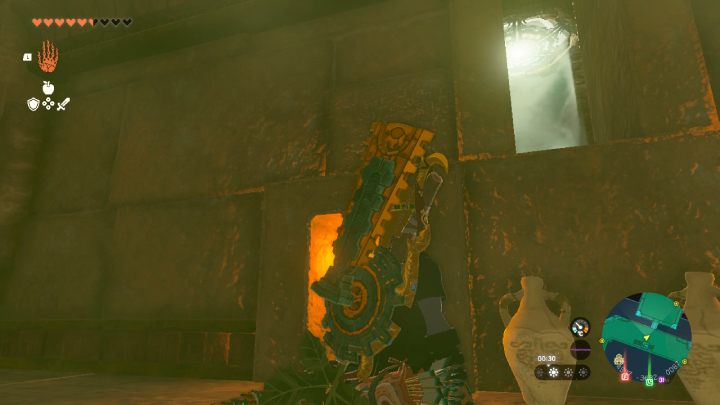
Fly all the way to level 5F and go through a narrow pathway from which light emerges.
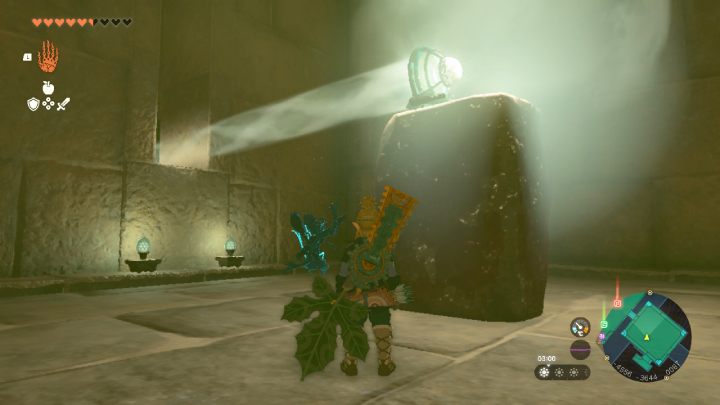
Attach a mirror to the brick and place it in the middle of the room. The mirror should reflect the light so it goes through the hole in the wall.
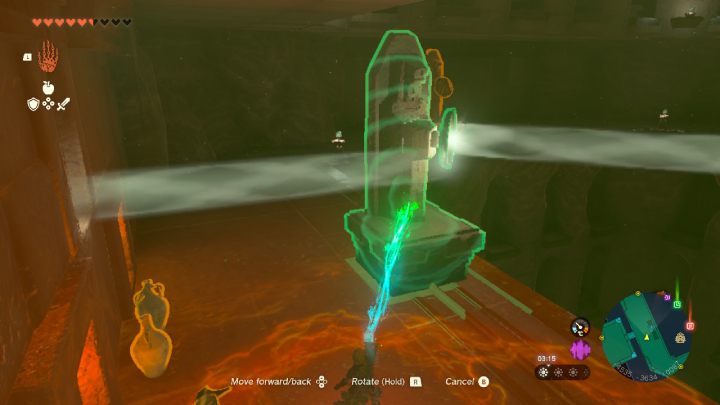
Leave the room and move the mirror statue to the middle of the tracks. The light should now be reflected in the direction of south-east.
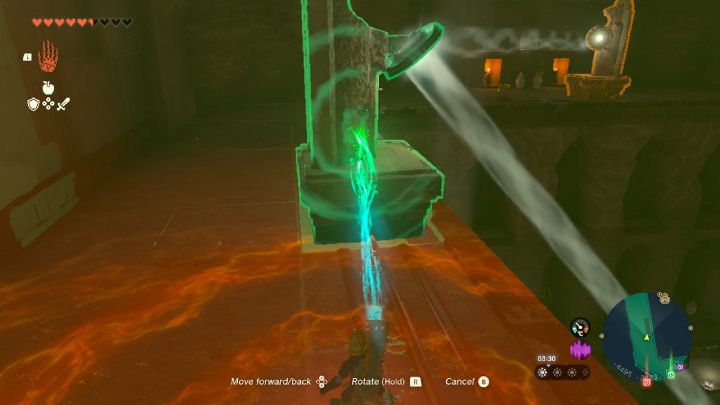
Move the south-eastern statue and reflect the light below, to a gate leading to level 3F. When the gate opens, jump down and go through it.
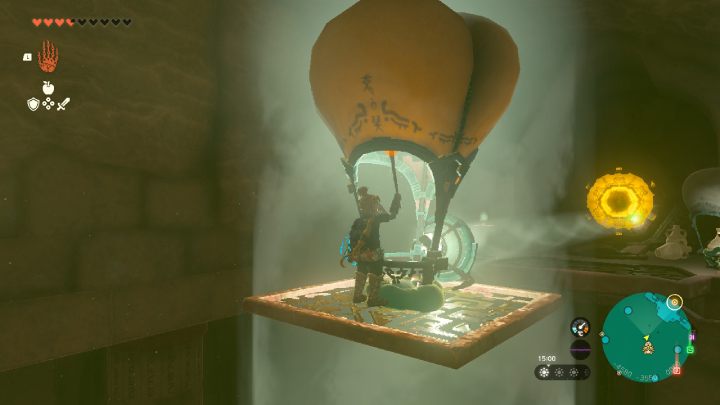
Defeat all monsters on the level and destroy the hive. Ultrahand a platform to a baloon and on top of that, attach a mirror to the contraption. Place the construction in the center of the chamber, from where light is shining down. Take a torch, light it up and stand underneath the balloon. The balloon will be raised, and the mirror should reflect the light in the direction of the green area above the gate. Jump down and charge the second battery.
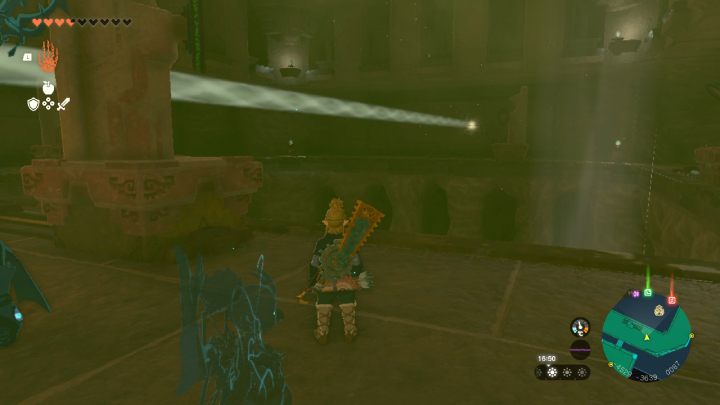
Return to the mirror statues on level 5F. Move the south-western statue to the end of the tracks. The light should reflect forward.
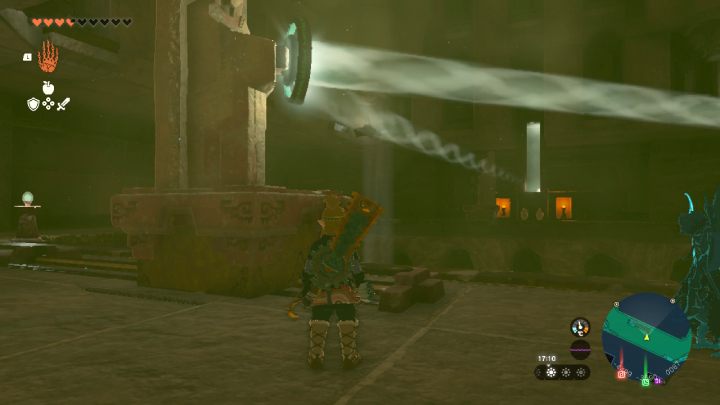
Go to the north-eastern part of the temple and move the mirror statue. The light should reflect north-west.
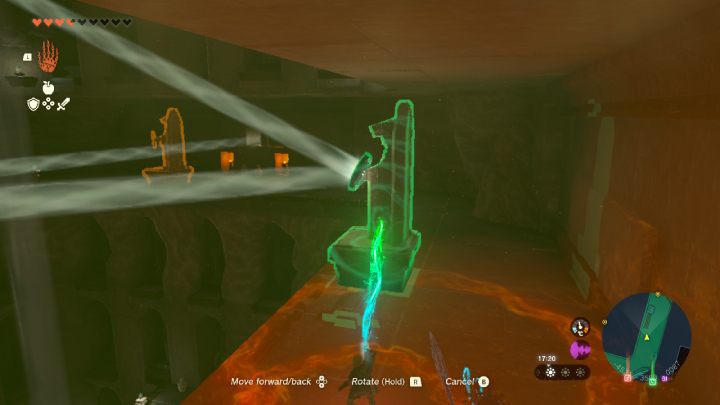
Move the north-western statue so the light reflects up and hits the green area on level 6F. Climb the wall and go through the gate through which the light shines.
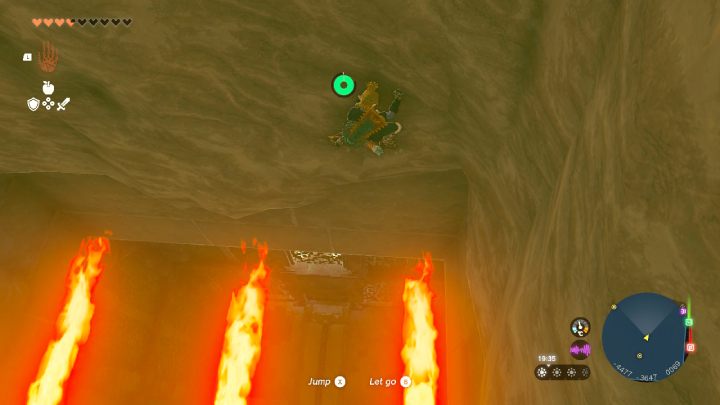
Climb down the wall and avoid fire traps. You'll find yourself on level 2F, in Room of Light and Flame. Stand on the floor switch and wait for Riju. Activate the third battery.
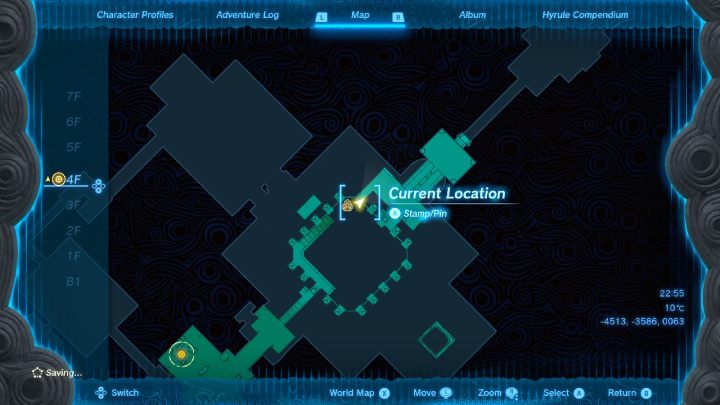
Time for the final device. Reach the northern part of level 4F. You can reach it by climbing the wall. Defeat a Zonai construct and go right.
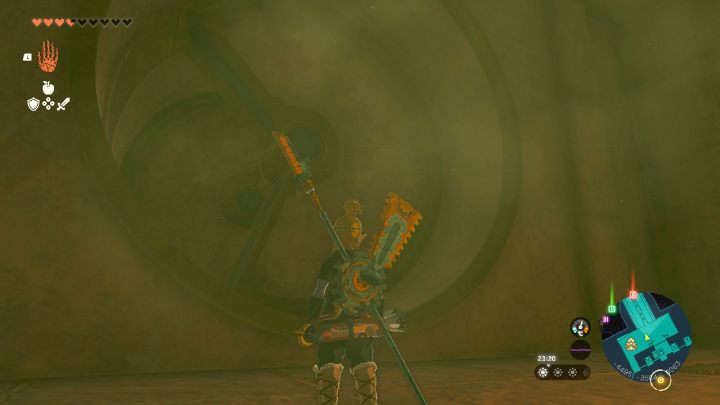
Go through moving blades to the next chamber and remove the loose bricks from the wall to reveal a light beam.
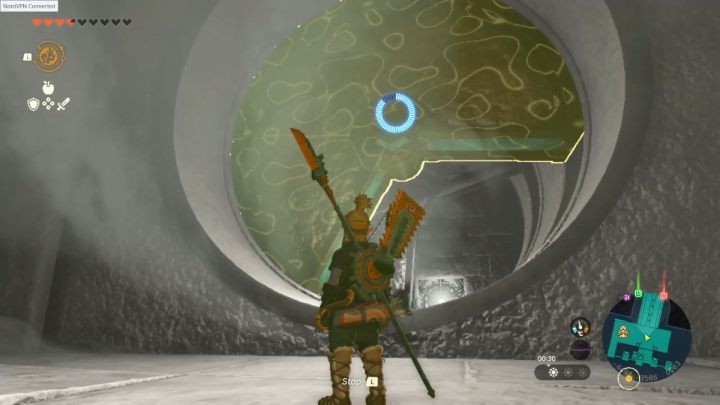
Return to the previous room and activate Recall. Rewind one of the moving blades and make it align with the second one. Light should shoot past the opened hole.
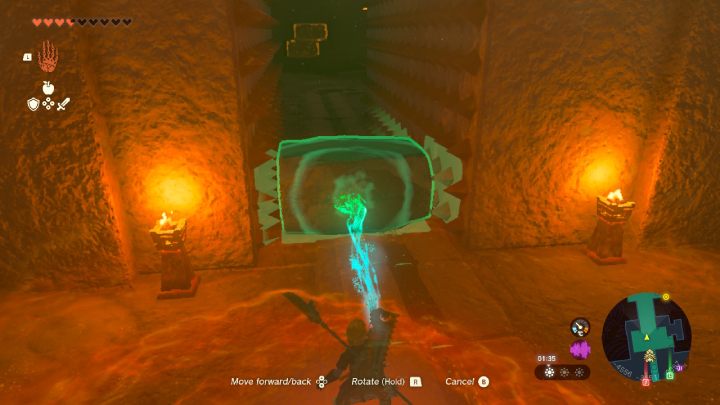
Fly to the other side of 4F and go through the gate. Put a brick between closing walls, go forward, and stand on the floor switch disabling the trap. Do the same with the second trap.
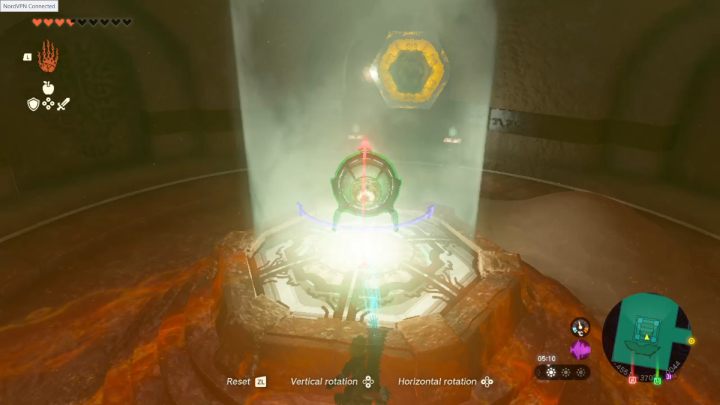
Enter Room of Light and Shade and defeat a Zonai construct. Jump down to the moving platform and pick up the mirror. Direct the beam at the area opening the gate and wait a moment for its color to turn green.
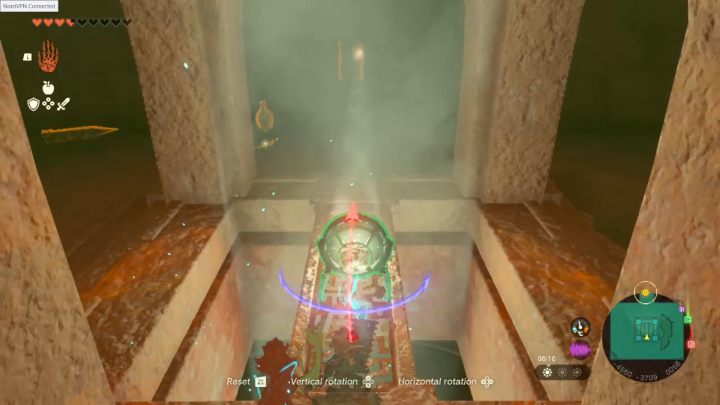
Get back up with Ascend and pick up one of the mirrors from the room. Point the beam at the final gate. All that is left to do is to approach the fourth battery and charge it.
How to defeat Queen Gibdo (second battle)?
Once all 4 batteries in Lightning Temple are activated, you can return to the altar and summon the elevator.
A boss battle awaits you - make sure to prepare a large supply of arrows, food, and elixirs. Equip a better bow and have a few durable shields to which you can fuse mirrors. Also, make sure to visit enough Shrines to get more hearts.
After entering level 7F of Lightning Temple, destroy the largest hive in the chamber to lure the monster out of its hiding place.

The fight with Queen Gidbo is quite difficult. The boss has a few powerful attacks at her sleeve which if you don't have enough hearts, can kill you instantly. When the monster starts firing a beam at you, either try to run away, or draw a shield with a mirror attached to reflect the attack. If the enemy summons tornadoes, make sure to escape from them.
Just like in the previous encounter, you need to hit Queen Gibdo with electricity. Use Riju's ability or shoot arrows with fused objects that deal electric damage.
When the boss turns white, you can continue with ranged attacks, or use Yunobo's ability. Once it lands, the attack will cause the boss to drop to the floor, which is an opportunity to deal a few strikes with melee weapon.
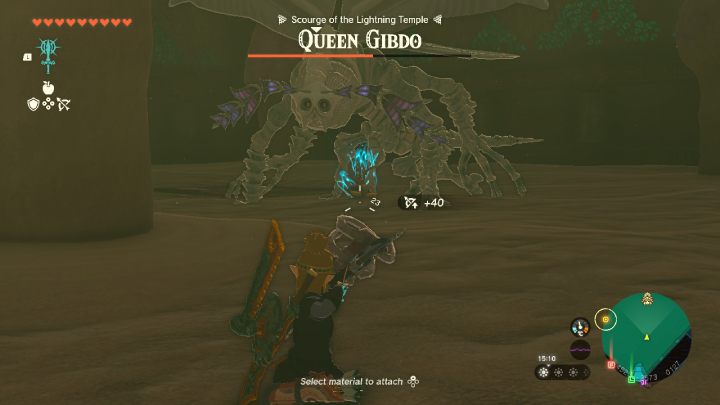
In the second phase of the encounter, hives will appear from which monsters will emerge. You must destroy all 4 hives as fast as possible, all the while avoiding attacks from the boss. When you destroy a hive, light will shine down from the location. You can lure the monsters to light, which is deadly to them.
Once you get rid of 4 hives and all remaining monsters, you can focus back on Queen Gibdo. Attack with electricity and use Yunobo's ability to quickly defeat her.
- Zelda Tears of the Kingdom Guide
- Zelda TotK: Game Guide
- Zelda TotK: Walkthrough
- Zelda Tears of the Kingdom: List of all Main Quests, walkthrough
- Zelda TotK: Find Princess Zelda
- Zelda TotK: The Closed Door
- Zelda TotK: Regional Phenomena
- Zelda TotK: Camera Work in the Depths
- Zelda TotK: Impa and the Geoglyphs
- Zelda TotK: The Dragon's Tears
- Zelda TotK: Tulin of Rito Village
- Zelda TotK: Yunobo of Goron City
- Zelda TotK: The Sludge Covered Statue - walkthrough
- Zelda TotK: Sidon of the Zora
- Zelda TotK: A Mystery in the Depths
- Zelda TotK: Riju of Gerudo Town - walkthrough
- Zelda TotK: Crisis at Hyrule Castle
- Zelda TotK: Find the Fifth Sage
- Zelda TotK: Trail of the Master Sword
- Zelda TotK: Destroy Ganondorf
- Zelda TotK: Walkthrough
- Zelda TotK: Game Guide
You are not permitted to copy any image, text or info from this page. This site is not associated with and/or endorsed by the developers and the publishers. All logos and images are copyrighted by their respective owners.
Copyright © 2000 - 2025 Webedia Polska SA for gamepressure.com, unofficial game guides, walkthroughs, secrets, game tips, maps & strategies for top games.
