Steelrising: The Prisoner in the Bastille - walkthrough
The search for Vaucanson's automaton creator continues. This page of the guide to Steelrising presents the walkthrough of the quest The Prisoner in the Bastille . You will face the bosses The Executioner and Unstable Ballista Ram.
The Prisoner in the Bastille mission begins immediately after the conclusion of The Recluse of the Abyss quest. On this page of our Steelrising guide, you can find a walkthrough for this task. Along the way, you'll have to face bosses - The Executioner and Unstable Ballista Ram.
During the task, you'll gather Echoes involving Sanson.
Automats
The opponent roster for this mission is very diverse, and features Trumpeters, Violinists, and Bassoonists (to learn more about them, visit the Musicians page of the Opponents section), as well as Stalkers and Harvesters (more on them on the Serpents page of the Opponents section. Moreover, in the Bastille area, you'll face an Ice Squire (these are described in detail on Cooks page of the Opponents section). Additionally, be ready to confront Gunners, Couriers and Watchmakers (more on them on the Arachnids page of the Opponents section). There are also some Lumberers here (view the Labourers page of the Opponents section to learn more). Other major opponents are Frost and Flame Acolytes(more on them on the Acolytes page of the Opponents section). During the mission, Gargoyles and Phoenixes are sure to appear (more on them on Hunters page of the Opponents section. Finally, you'll have an opportunity to battle Musketeers, Lancers, Masters-at-Arms, and finally, Hoplites (these types of opponents are described in detail on the Guards page of the Opponents section). Last but not least - you're sure to encounter some Ballista and Statuary Rams, (more on them on the Rams page of the Opponents section).
Temple Quarter
The mission starts in this location. Follow the stairs up. At their highest point, get through a hole in the ceiling. You'll reach a courtyard with a Vestal - activate it.
Continue down to the square with a fountain. There is a gap in the hedge on the right. In the next area, you'll encounter a Trumpeter and a Violinist. Follow the stairs to reach city walls.
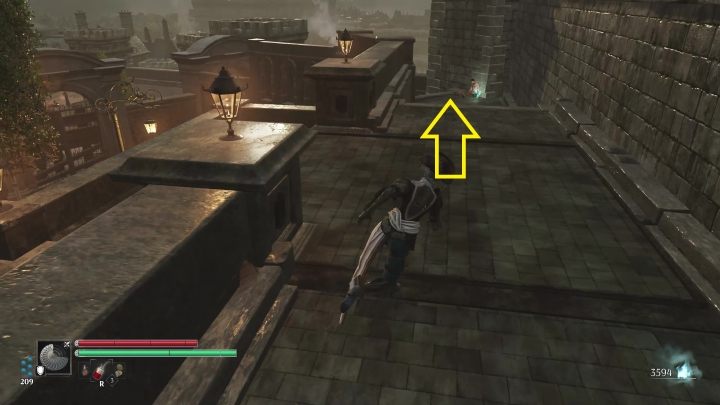
When you get to the intersection go straight and get off the walls. You will reach a square. A new enemy appears here - a Gargoyle.
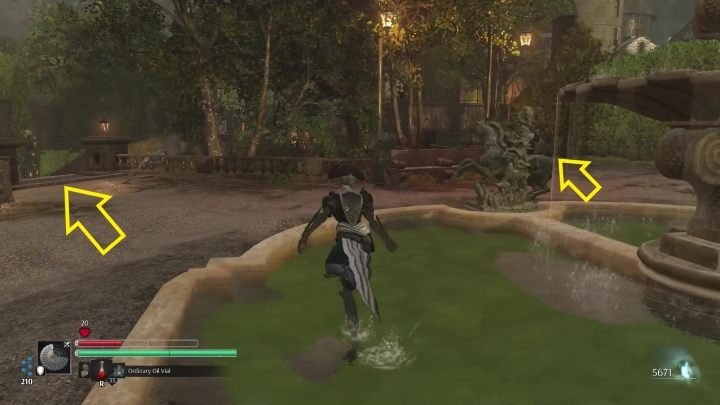
There are 2 exits from the square. Both lead to the same courtyard below. However, if you go through the passage on the right and then turn right (you will meet a Harvester on the way, and you must also watch out for the Musketeer shooting at you from above), you will end up in front of an open gate. Enter it. This is the recommended path, at is the shortest.
However, you can just as well take the road on the left. Nevertheless, it is longer than the right path. Continue forward. Climb the stairs. At their top is a gate that can be destroyed. In the next square, you'll need to face an Ice Squire and a Gunner. A shortcut to the Vestal can be unlocked here - simply go straight from the damaged gate. The correct path here is the one on the right, and there is a destroyable gate at its end. Get down from the square If you use the footbridge on the right, you can reach the Musketeer overlooking the area. There is a Ice Squire on the courtyard below. Once you defeat him, unlock the gate.
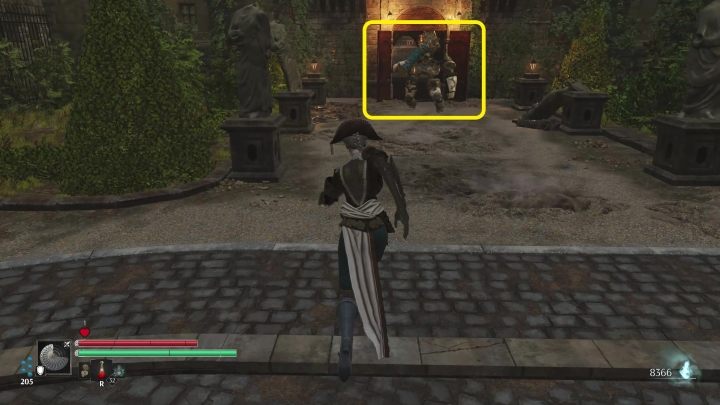
Both available routes lead to the same area, a courtyard with a Statuary Ram. Defeat him to be able to continue. You should reach a courtyard, guarded by an Acolyte and a Trumpeter.
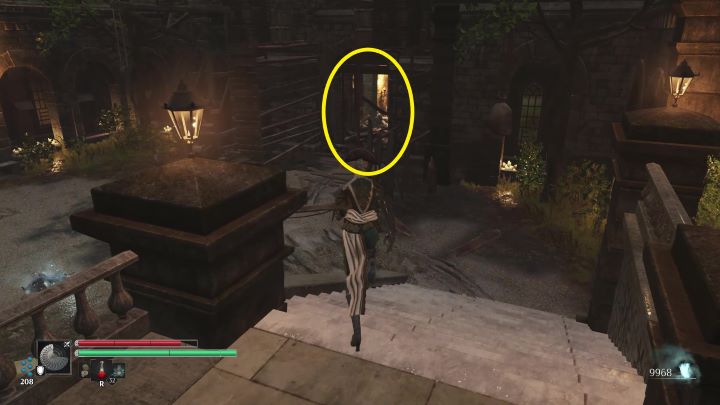
There is a path forward opposite the stairs. The wall here needs to be destroyed.
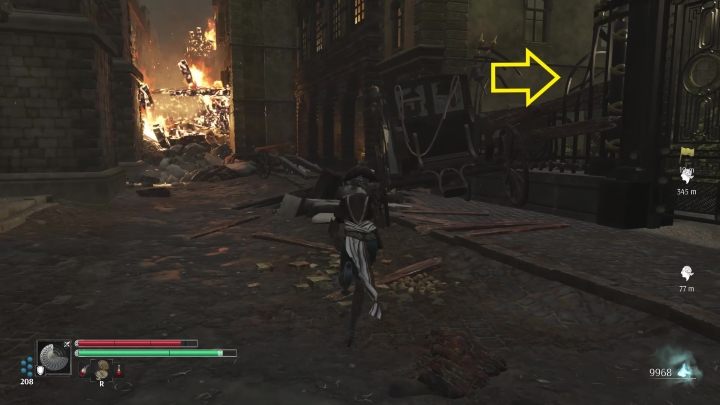
Once you find yourself in the alley, jump on the carriage. From it, jump to the other side of the fence and activate the Vestal. Continue to the square below.
City
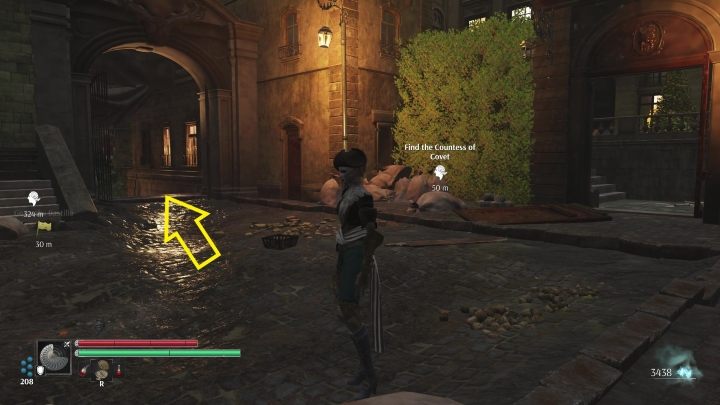
There are 2 paths on the right side - follow the one that leads down, as the other path is a dead end.
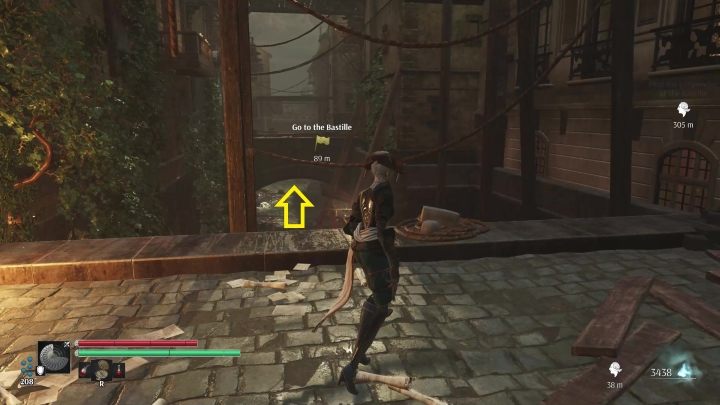
Once you reach the bridge, jump off it and follow the path laid out by the canalleft. Here you need to face a Stalker, Courier, and a Lumberer. There is a breakable wall at the end of the path, before the locked gate. Get past it. Now follow the chests up and jump to the street.
Follow the road down. Continue along the street with bonfires. You'll reach a square guarded by a Gargoyle. When the area is clear, continue through the courtyard. Eventually you'll reach a street guarded by a Phoenix and a Lancer. Go to the end of the road, turn right and continue up the stairs.
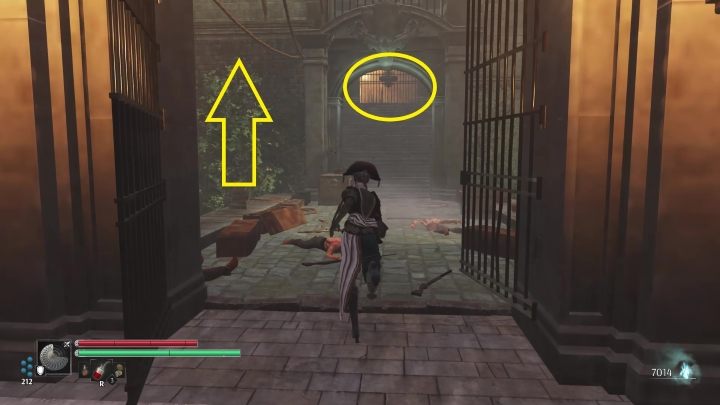
Reach the end of the next street. You'll see a bridge. There is a shortcut to unlock on its other side. To continue, look up and climb up to the footbridges above the city line.
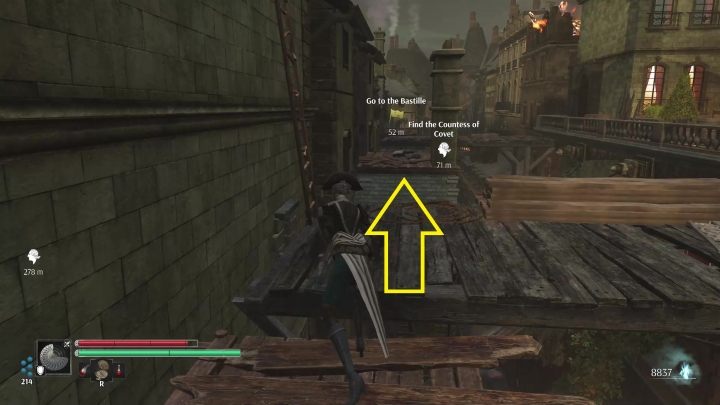
Follow the platforms left - you'll need to use The Selenite Momentum. Continue through the apartment, accessible through an opened window. Enter it. There is a Master-at-Arms and a Courier here. Get through the encountered courtyard and descend to the street below. If you want to unlock a shortcut, go left. However, the path forward leads through the path on the right.
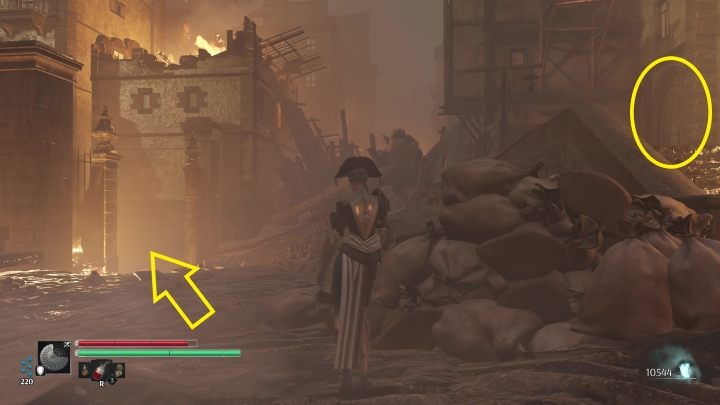
You'll reach a square guarded by a Flame Acolyte and a Courier. The path forks now, and there are 2 possible pathways (marked on the screenshot above). The path on the right will allow you to continue A Family Affair side quest (you can view the walkthrough for it on a dedicated page of the guide). The path on the left leads to the Bastille.
Place Royale
Take the left road. You'll enter an alley that is guarded by a Bassoonist. Follow the path further. The road twists and turns, but you should reach Place Royale quickly. Go right and through the hole in the fence.
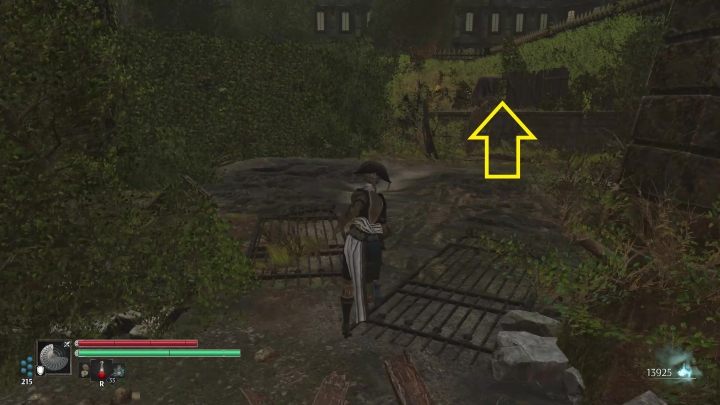
You'll reach a square damaged by cannonballs. To continue, go right. Here you'll have to face a Hoplite and a Gunner. Once the area is clear, continue along the path and jump on a wall at its end. The next square is inhabited by 2 Lancers.
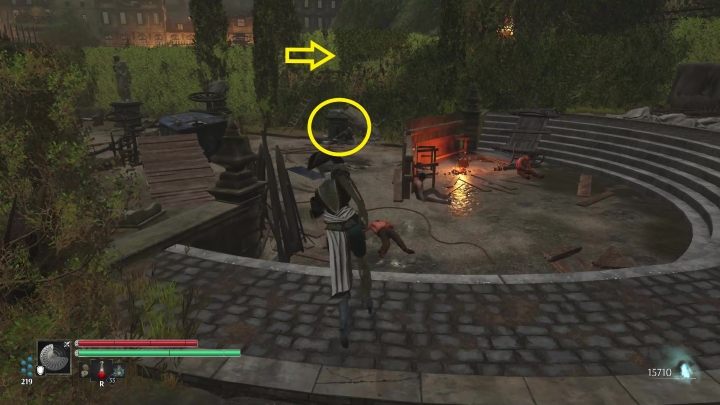
Now you must climb the damaged statue and get through a hedge. Once you're back at the path, turn left. This path leads to an Unstable Ballista Ram miniboss battle. Before you reach him, a Hoplite will stand in the way. We described the Unstable Ballista Ram encounter on a dedicated page of this guide. Nevertheless, before you start the battle, reach the main courtyard and turn right from it, as there is a Lancer here that will intrude during the Ram battle if you won't take care of him first.
If you get to the other side of the square with the boss, you can unlock a shortcut that is at the end of this path.
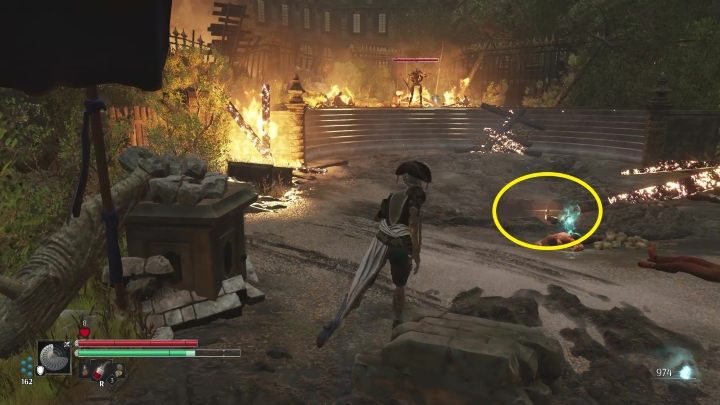
To continue to Bastille, enter the canal entrance which is found next to the Lancer. Follow the path laid by the canal, and once it appears, destroy the wall. Continue along the corridor (there are 2 left turns you need to take). You'll reach a Harvester - defeat it. Get to the other side of the room and continue. At the end of the corridor, you need to pull yourself up (a hole in the ceiling). You'll should reach a Vestal - activate it.
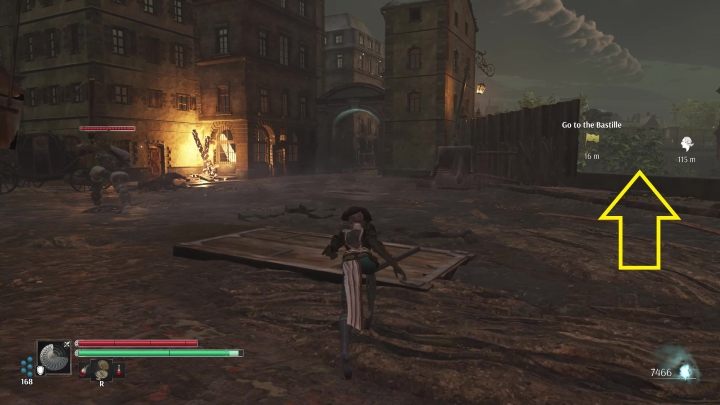
To exit the park, get through the hole in the fence and continue along the path. Ahead, there is a large square guarded by a Ballista Ram. There is a hole on the right. Use it to descend to the empty moat around Bastille.
The Bastille
Go right. Time to face a Protoype and a Harvester. Further ahead, there will be a Gargoyle and a Musketeer standing in your path.
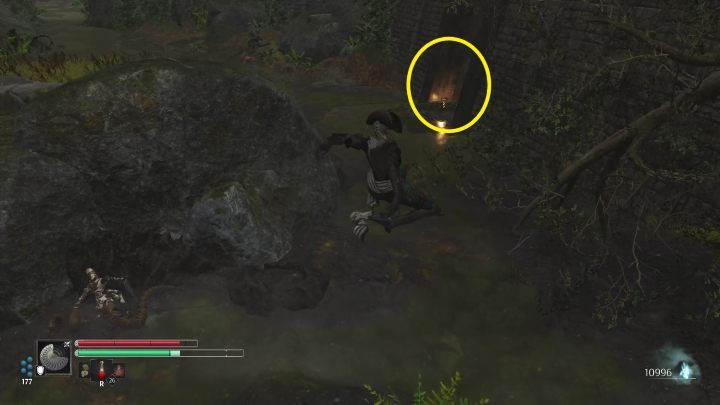
There is a canal entrance on the right side of the moat - you need to destroy the wall to access it. You can enter it to unlock a shortcut to the earlier part of the canals. This area is involved in the Gunpowder Trail side quest. Nevertheless, even if you have this mission active, you need to visit The Bastille first, as a key is needed. Without much ado, lets continue. Along the way, you'll encounter a Lumberer and a Stalker.
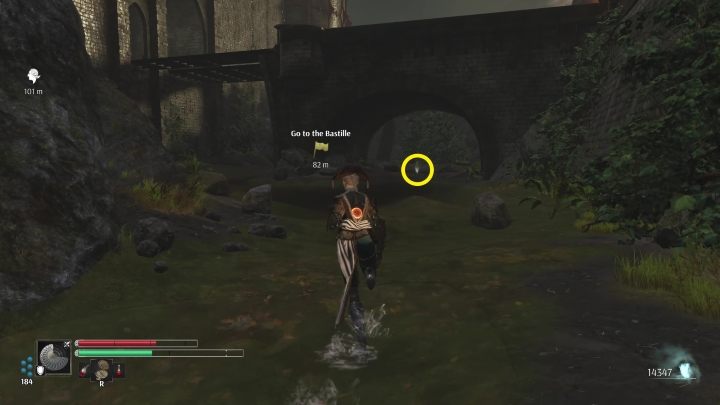
You should reach a bridge which you need to pass underneath. There is an Echo there. Keep going. In the next area, you need to defeat a Musketeer and a Lumberer.
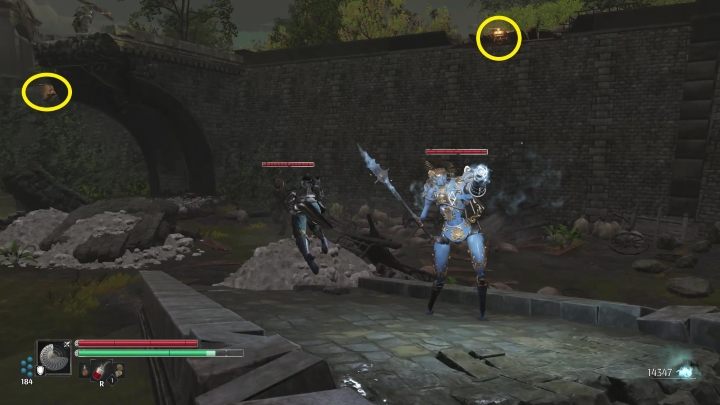
You should see a damaged bridge above - there are climb locations on both its sides. Do so.
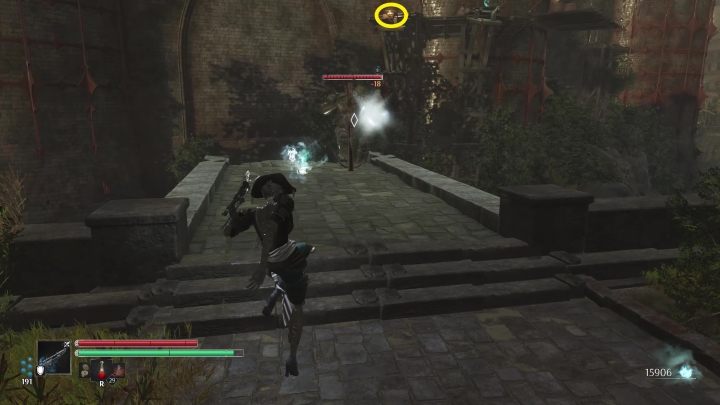
A Ballista Ram guards the remnants of the bridge. There is also a Musketeer guarding the area who will fire at you from his convenient location. You need to climb to the other side of the moat.
Follow the platforms to get there. Accessing the final platform requires The Selenite Momentum. You've reached the Bastille. Get past the holding cells. There is a Lancer in the next room.
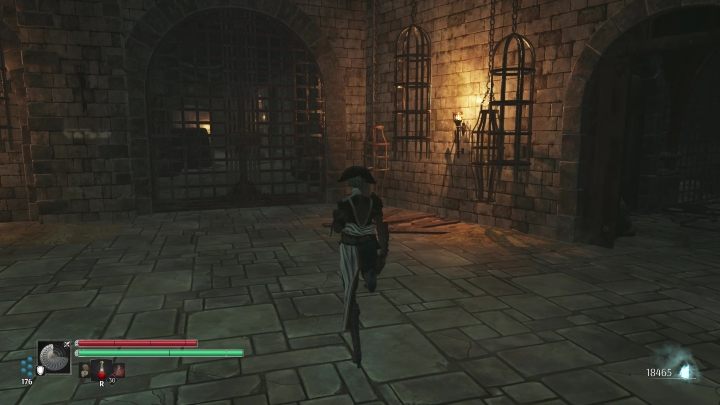
Turn right and unlock the gate. In the first room on the left you can find an item needed for the Gunpowder Trail side mission, which is a key. You can use it to access the needed area of the sewers. To learn more about the mission, visit the Gunpowder Trail page of the Side Missions section.
Continue forward and activate the Vestal. Go further. When you reach the next room, follow the corridor right. There is a Watchmaker and a Hoplite in the next area.
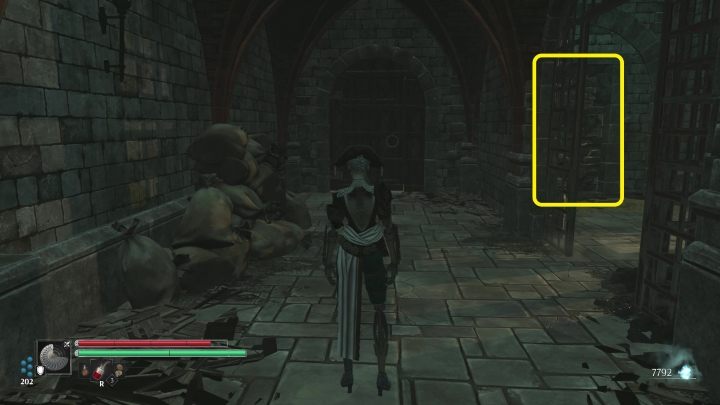
In the cell on the right side, there is a destroyable wall - get past it. Follow the stairs up - there is a Master-at-Arms at the top of the staircase. Get through the room.
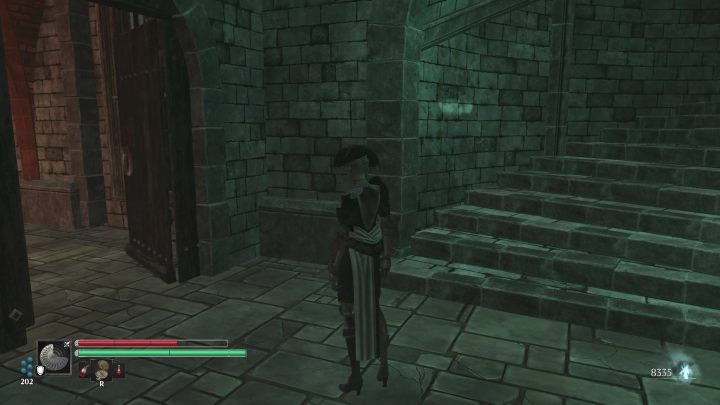
Another staircase should appear - there is a left turn before them. To continue with the mission, go up. However, make sure to visit the side rooms as there is an Echo at their end.
Once the Echo is collected, use the staircase. A long hall will appear before you. There are 2 Harvesters and a Courier inside it. At the end of the hall, there is an another staircase and an entrance to the walls. You'll also face a Ballista Ram here.
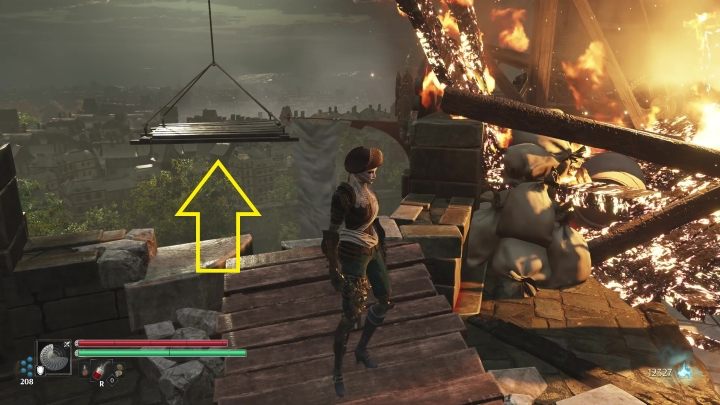
The next step requires you to use The Selenite Momentum, namely you need to jump to the hanging platform found next to the burning barricade. This way you can continue along the walls. Watch out for a Lancer in a vantage point. In this area, you can also find a Burette upgrade.
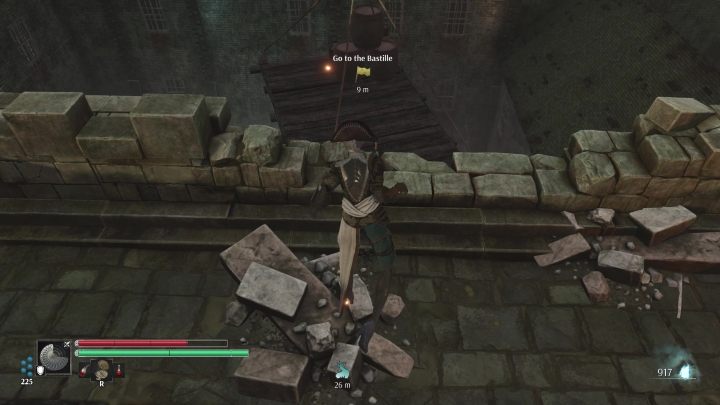
Approach the breach in the wall opposite the place where you landed. Jump down to the platform below.
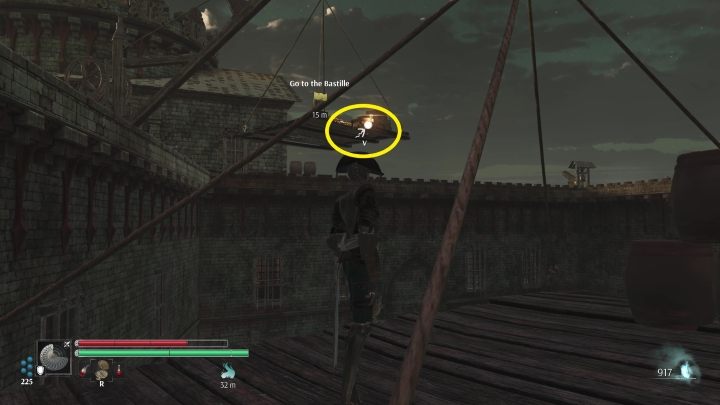
From here, climb to the platform on the left. Now use The Momentum Selenite to re-reach the walls. There is a Musketeer in the vicinity. Continue by entering the tower and descend down the stairs. Follow the corridor furrther, and go down at its end.
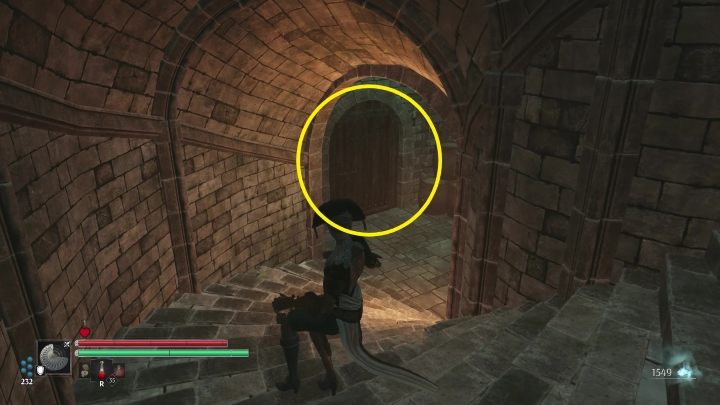
Open the door at the bottom of the stairs. Continue through and destroy the nearby wall. A Master-at-Arms can be found here. The next room contains an Echo. Once you have it, return to the main road and descend once again.
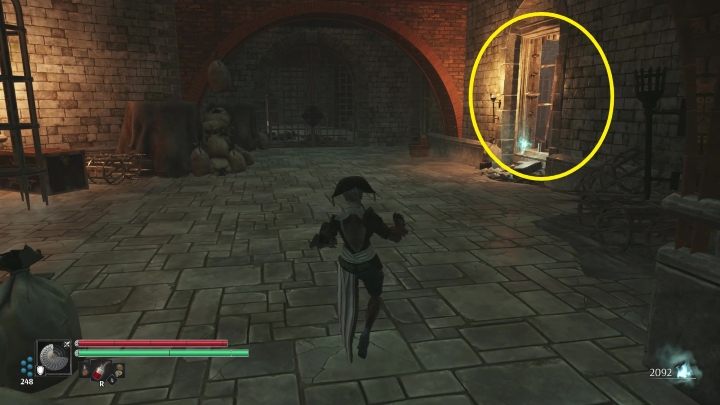
Follow the corridor. There is a shortcut ahead which will take you back to the Vestal. Get through the window on the right side to reach the courtyard and begin The Executioner boss battle. For strategy, visit the page of the guide dedicated to him.
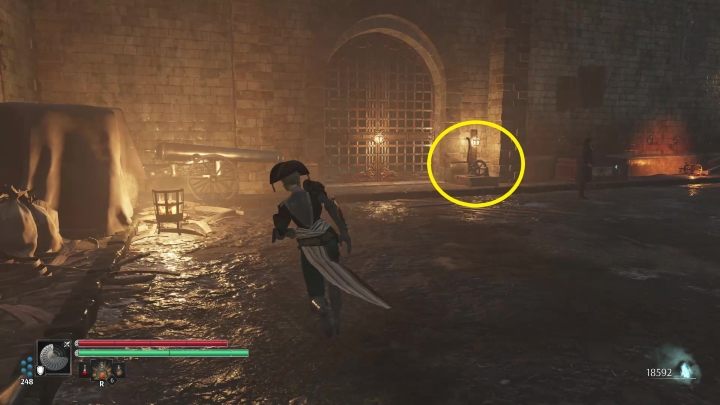
Once you emerge victorious, open up the gate near the coffin (use the lever). Enter it. Go down the stairs. Continue forward, activate the Vestal, and open the door at the end of the corridor - you've managed to find the inventor you were looking for. You will trigger a cut-scene. Once the break concludes, approach the Echo in the cell.
You can exit the room through the damageable wall. Jump down and continue along the tunnel. You can climb at its end. You should reach a boat. Approach and interact with it. A cut-scene depicting your return back to Convent will be activated..
- Steelrising Guide, Walkthrough
- Steelrising: Game Guide
- Steelrising: Walkthrough
- Steelrising: Main missions
- Steelrising: In the Queen's drawing room - walkthrough
- Steelrising: The Master of the Machines - walkthrough
- Steelrising: Troubled Waters - walkthrough
- Steelrising: In search of Abbot Gregoire - walkthrough
- Steelrising: The Shadows of Luxembourg - walkthrough
- Steelrising: To Les Invalides - walkthrough
- Steelrising: The Recluse of the Abyss - walkthrough
- Steelrising: The Prisoner in the Bastille - walkthrough
- Steelrising: Checkmate - walkthrough
- Steelrising: Main missions
- Steelrising: Walkthrough
- Steelrising: Game Guide
You are not permitted to copy any image, text or info from this page. This site is not associated with and/or endorsed by the developers and the publishers. All logos and images are copyrighted by their respective owners.
Copyright © 2000 - 2026 Webedia Polska SA for gamepressure.com, unofficial game guides, walkthroughs, secrets, game tips, maps & strategies for top games.
