Steelrising: In the Queen's drawing room - walkthrough
Get ready for your first steps in the game Steelrising. On this page of the guide you will find the walkthrough of the quest In the Queen's drawing room - how to pass Saint Cloud and The Lantern. Here you will meet the Unstable Lanser and the Unstable Lightning Ram. We also describe where to find the first Vestal, a gun that imposes a freezing effect and a compass.
In the Queen's drawing room is the first main mission in Steelrising. On this page of the guide, you will find the full walkthrough of this mission, we also tell you how to find the first Vestal, where to find the gun that imposes the freezing effect and how to find the compass.
Saint Cloud
Be prepared for the next few minutes after the game's introductory cut-scene to be a tutorial. In the first part of the palace gardens, you can meet Dextral and Sinistral Prototypes. You can read more about this enemy type on a separate page - Prototypes.
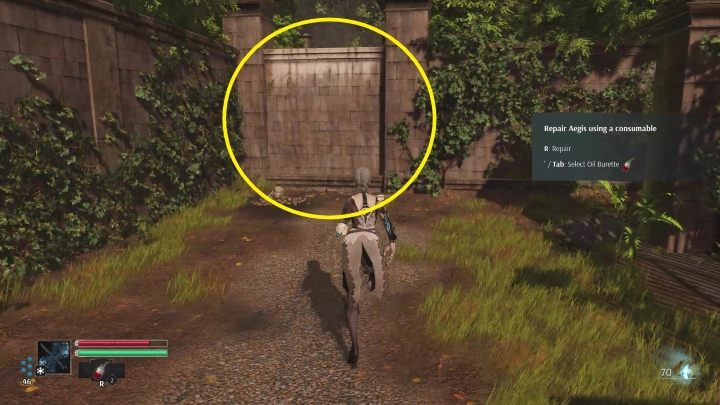
Go straight to your first opponent, he won't put up much resistance. Climb the stairs and then climb the wall above.
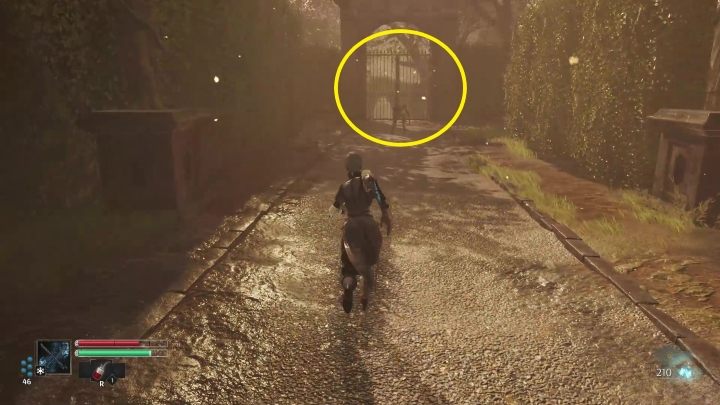
You will reach a large square. In front of you will be a gate and enemies. The gate, however, is closed. Turn left (as the path leads) to a smaller gate that can be unlocked. There is one Prototype standing by. Walk through it.
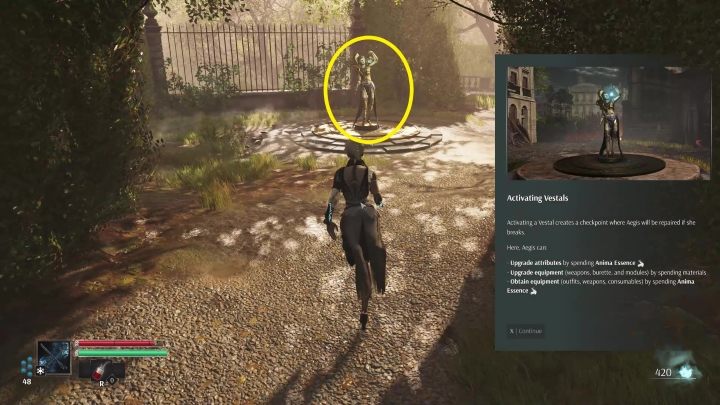
The first Vestal is behind the gate. This is a save point - you will respawn here if you die. Activate it.
Go down the stairs, defeat the enemy and turn left at the intersection (the right path will lead you to a chest with a piece of armor). There, 2 more enemies will await you. One of them is hidden by the stairs on the right.
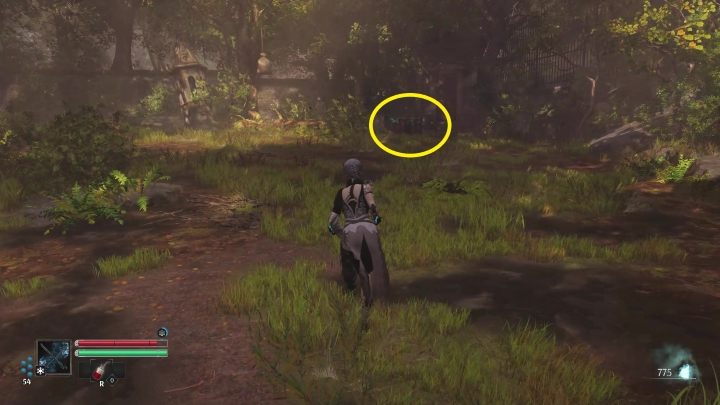
Walk along the road (you will meet one Prototype) until you come to a large clearing. There is an opponent there, but more importantly, there is also a chest with a module. You can read what a module is on a separate page - Equipment.
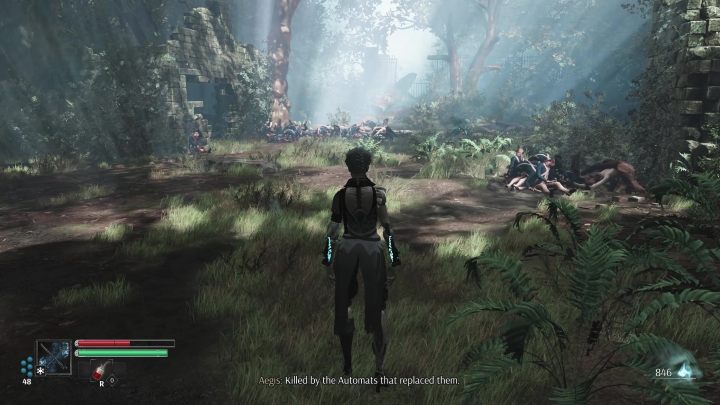
Keep following the path. You will reach a clearing covered with a strange fog. This is where you will encounter the first mini-boss. You will face the Unstable Lancer(you can learn more about him on a separate page of the guide). Explosive grenades work well on this enemy. Be careful, as there are also regular Prototypes hidden in the clearing. They can join the fight.
The Lantern
Another part of the starting location. You will face Lancer here for the first time. You can learn more about him on a separate page of the guide - Guards. In addition, you will encounter a Stalker (you can read about this enemy here: Serpents). Of course, basic Prototypes will continue to stand in your way.
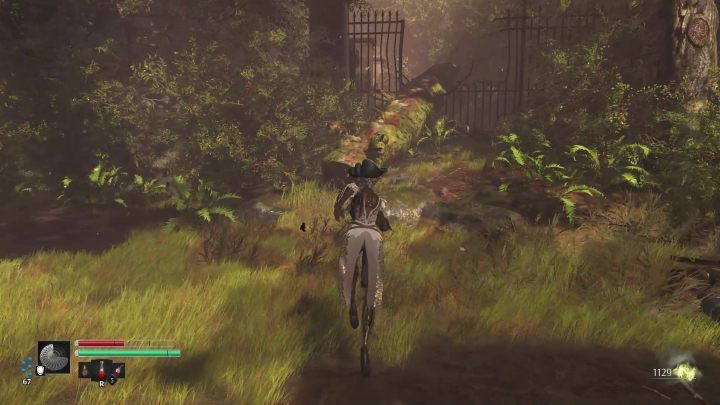
After defeating the boss, activate the Vestal located in the square, and then go through the fallen tree. Be sure to open the chest behind it - you will get a pistol that inflicts frost.
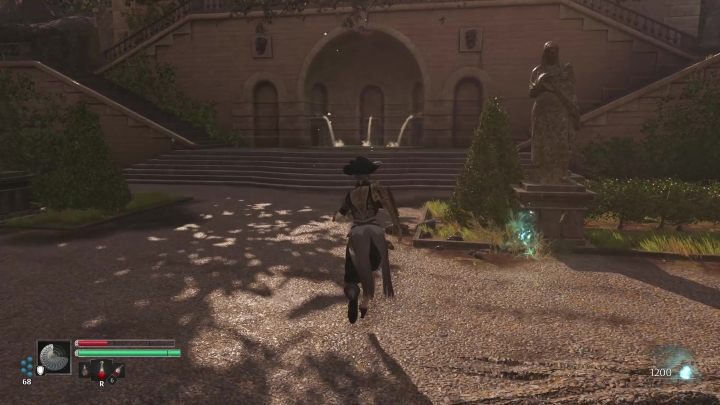
Follow the wide path (killing one Prototype on the way). You will reach the fountain. Here you will encounter the Stalker for the first time. Watch out for its fiery blasts.
Climb the stairs. On top of them you will find two Prototypes. Continue walking towards the lighthouse (tall building). There is another Stalker here.
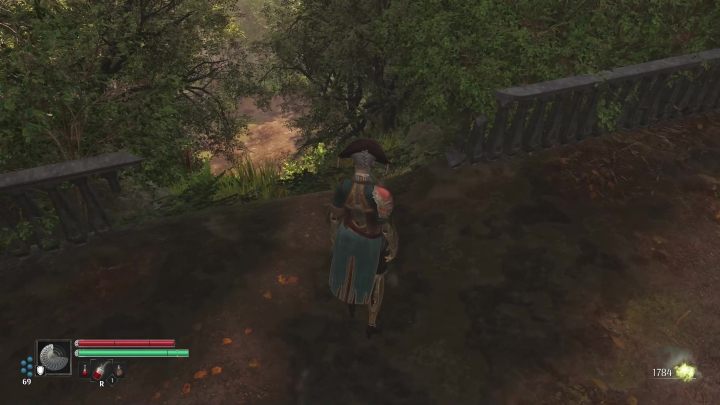
Open the chest near the building - it contains a compass. When you use it, you will get the direction in which you should go to your chosen task. Later in the game, it will also indicate the location of the Horseless Carriage. Now you have to go down the slope. Activate the Vestal and move on.
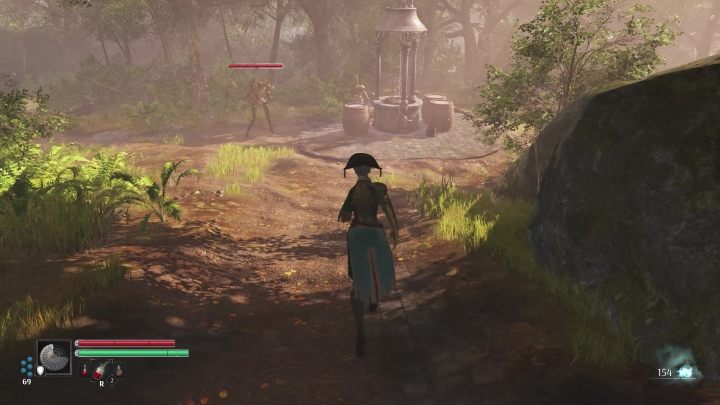
You will reach a well. Here you will encounter a Lancer. It is accompanied by one regular Prototype. Open the chest, as there is a part in it that allows you to upgrade the Burette, so you will be able to carry 3 of them. You should now go back to the Vestal and install this mod.
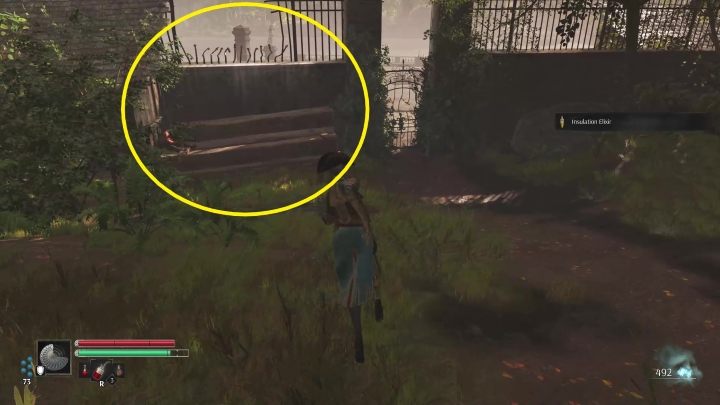
At the well, turn right and then left. Along the way you will encounter one Stalker. You will reach a wall. Jump over it, at the place marked above.
Watch out - another mini-boss is here. You will learn more about it on a separate page of the guide - Unstable Lightning Ram. Beware of his electrical attacks. Fortunately, the mini-boss is very slow.
After defeating him, approach the boat and interact with the glowing point. This is the end of this mission.
- Steelrising Guide, Walkthrough
- Steelrising: Game Guide
- Steelrising: Walkthrough
- Steelrising: Main missions
- Steelrising: In the Queen's drawing room - walkthrough
- Steelrising: The Master of the Machines - walkthrough
- Steelrising: Troubled Waters - walkthrough
- Steelrising: In search of Abbot Gregoire - walkthrough
- Steelrising: The Shadows of Luxembourg - walkthrough
- Steelrising: To Les Invalides - walkthrough
- Steelrising: The Recluse of the Abyss - walkthrough
- Steelrising: The Prisoner in the Bastille - walkthrough
- Steelrising: Checkmate - walkthrough
- Steelrising: Main missions
- Steelrising: Walkthrough
- Steelrising: Game Guide
You are not permitted to copy any image, text or info from this page. This site is not associated with and/or endorsed by the developers and the publishers. All logos and images are copyrighted by their respective owners.
Copyright © 2000 - 2026 Webedia Polska SA for gamepressure.com, unofficial game guides, walkthroughs, secrets, game tips, maps & strategies for top games.
