Risen: Risen Island Quests - Part 6

 |  |
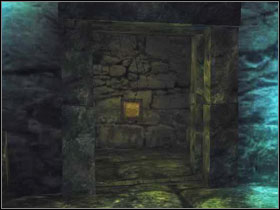
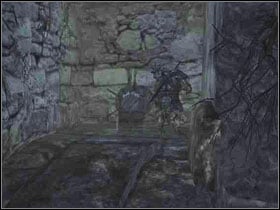
The passage marked with a grey dot is open. In the corridor you will find two spike traps on the floor, which you can avoid using levitation. The crossbow with bolts lying in the middle may come in handy if you don't have a distance weapon with you. The lever on the left deactivates the spikes and there is a small anti-magic crystal in the chest. On the right there is the first of three windlasses (green dots) which you must turn. Return to the room with the map pillar.
 |  |
Break through the wall at the red dot. Use the revealed button twice, which will result in unlocking the passage on the right (yellow dot). Go to the second green point and use the windlass. Enter the corridor marked with black.
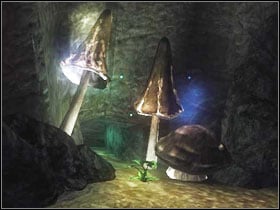 | 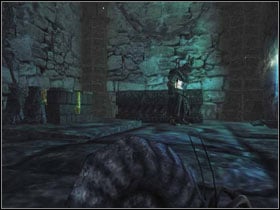 |
You can cross the small tunnel using the nautilus transformation spell. On the other side you will find a locked stone chest and inside of it a titan bow. Use one of the levers opening the passage to the corridor. Return to the spot where the small tunnel entrance is.
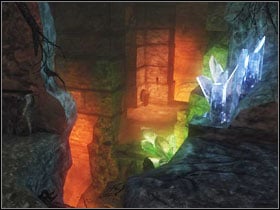 | 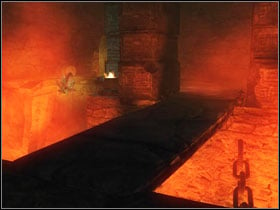 |
In the distance you should see a windlass. Shoot it using a distance weapon. Return to the main room (with the map). Use the button at the red point twice. Go to the corridor marked white. Cross the lowered bridge and turn left.
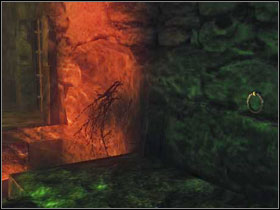 | 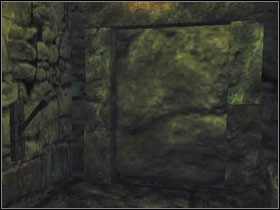 |
Pull the band on the wall, jump over the gap and look into the room behind the raised bars on the right. On the stone table behind the sarcophagus you will find a ruby. In the sarcophagus - two small rubies. After going out of the room, head towards the third windlass. Pull the lever (small, black dot) which will open a passage to the main room.
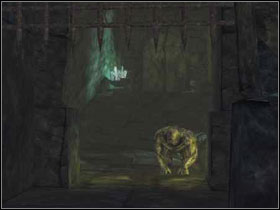 | 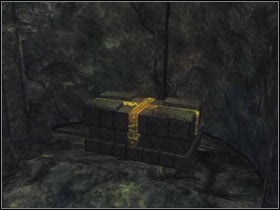 |
In the revealed room (behind three green lines), there are two Undead Beasts waiting for you. In the chest above you will find an armour piece and a titan crossbow.
- Risen Game Guide & Walkthrough
- Risen: Game Guide
- Risen: Walkthrough
- Risen:
- Risen: Class quests - Bandit
- Risen: Class quests - Mage
- Risen: Class quests - Warrior of the Order
- Risen: Risen Island - Titan Armour Map
- Risen: Risen Island Quests - Part 1
- Risen: Risen Island Quests - Part 2
- Risen: Risen Island Quests - Part 3
- Risen: Risen Island Quests - Part 4
- Risen: Risen Island Quests - Part 5
- Risen: Risen Island Quests - Part 6
- Risen: Final fight
- Risen:
- Risen: Walkthrough
- Risen: Game Guide
You are not permitted to copy any image, text or info from this page. This site is not associated with and/or endorsed by the developers and the publishers. All logos and images are copyrighted by their respective owners.
Copyright © 2000 - 2026 Webedia Polska SA for gamepressure.com, unofficial game guides, walkthroughs, secrets, game tips, maps & strategies for top games.
