Return to Monkey Island: Find LeChuck (Chapter 5) - walkthrough, solution
In Part 5 (Part 5) of the Return to Monkey Island game, you need to find LeChuck. Our solucja explains how to open 3 stone passages (Stone Door) and how to pass the Code Wheel puzzle.
The fifth chapter of Return to Monkey Island takes place in caves under the titular Monkey Island. Our walkthrough shows how to successfully reach LeChuck, a task that involves unlocking 3 Stone Doors and solving a Code Wheel puzzle.
- Reaching the cave beneath the monkey's head
- Get Through The Sealed Stone Door
- Get Through The Second Stone Door
- Get Through The Third Stone Door
- Solve the Code Wheel
Reaching the cave beneath the monkey's head
Chapter 5 (final one of the game) begins after you've obtained 5 golden keys and used them to open the safe on Melee Island. Unfortunately, LeChuck arrives to the scene and steals the chest containing The Secret of Monkey Island.
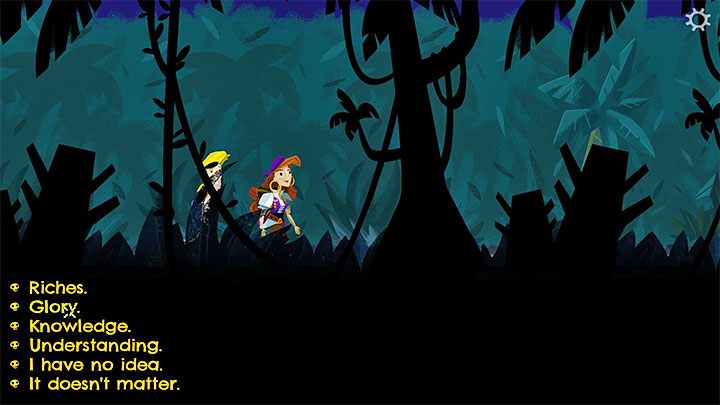
Our heroesreturn to Monkey Island. While crossing the jungle, you can choose any dialogue options with Elaine, as they don't affect anything. After reaching the destination, Elaine will start fighting and Guybrush will jump into the lava cave.
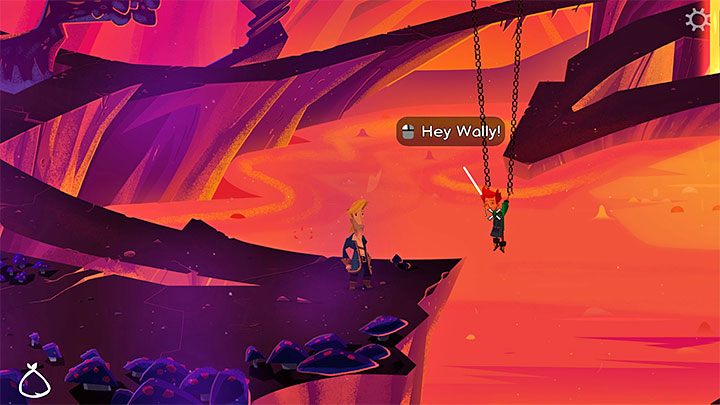
Soon after you started exploring the cavern, you will encounter Wally and you can have a conversation with him. Saving Wally is rewarded with an achievement, but you don't have to do it.
Follow the linear path right. Along the way, you'll meet Flambe. You can choose any dialogue you want, as he won't be able to stop Guybrush for long.
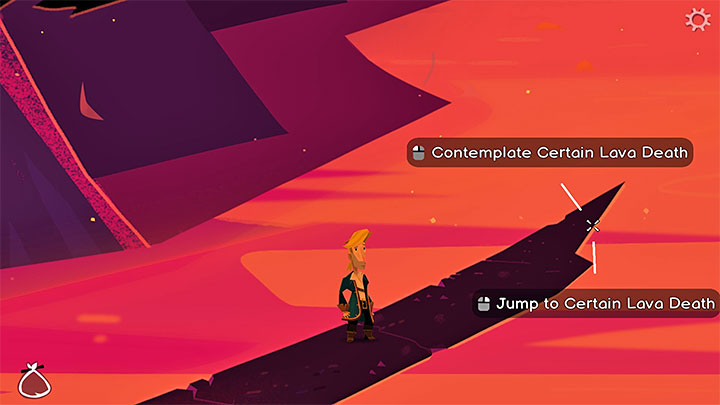
After reaching the end of the path, you can jump down - Guybrush will not land in the lava, but on the lower ledge. Follow the path on the right.
Get Through The Sealed Stone Door
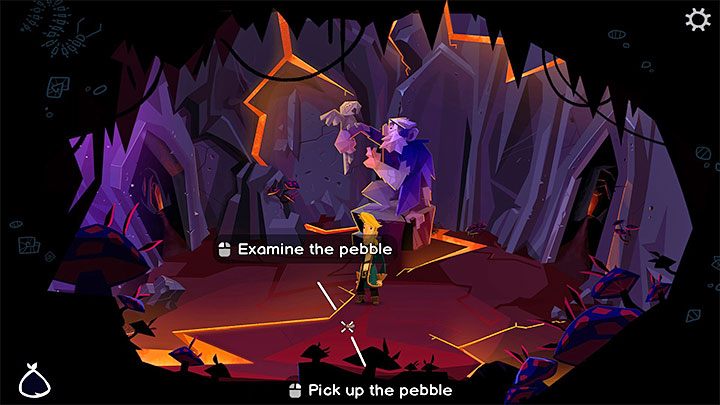
LeChuck has locked the stone door behind him - you need to find a way to open it. Start with checking out the attached plate.
Explore the neighboring rooms - you can go left or right and ultimately, you'll be taken back to the central area with the locked door. While exploring these rooms, make sure to pick up 3 Pebbles that will be used as stone coins. Make use of TAB, as the pebbles are easily missed.
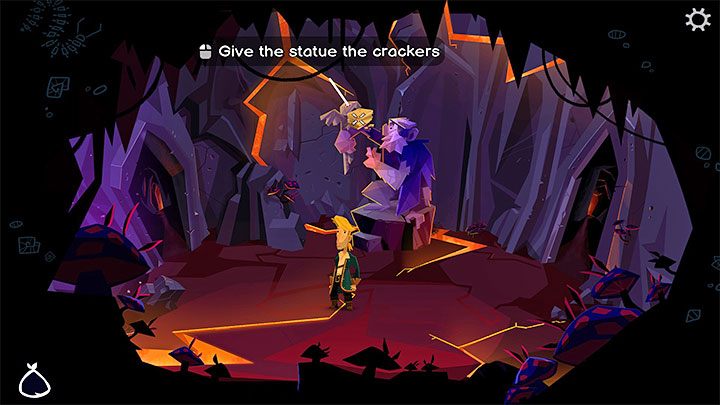
The solution to the puzzle involves using your collected items in the right way so they complement the given monkey statues. Here are correct connections:
Monkey with the parrot - Use Crackers on it.
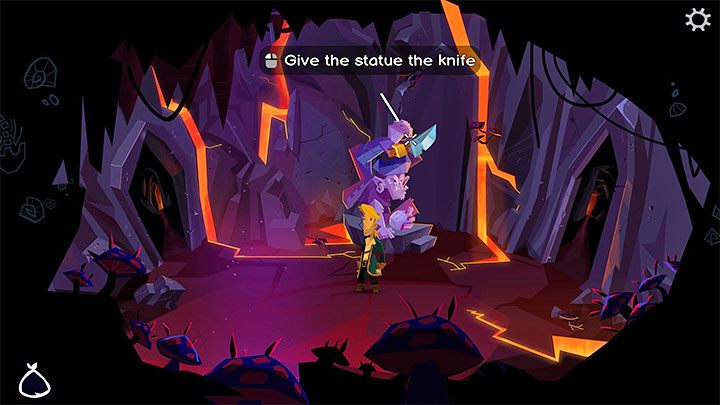
Frustrated Monkey - Use the Knife on it.
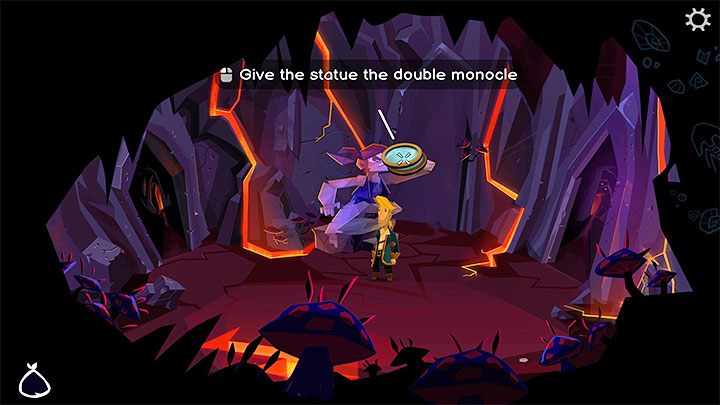
Squinting Monkey - Use the Double Monocle on it.
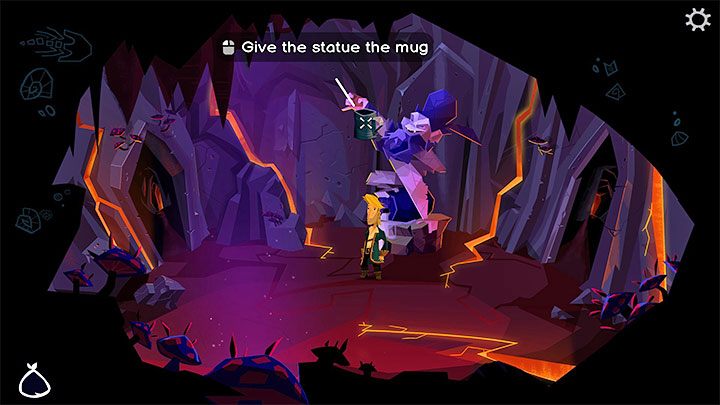
Jolly Monkey - Use the Empty Grog Mug on it.
Correctly placing the items on the monkey statues will unlock the path leading to the lower level.
Get Through The Second Stone Door
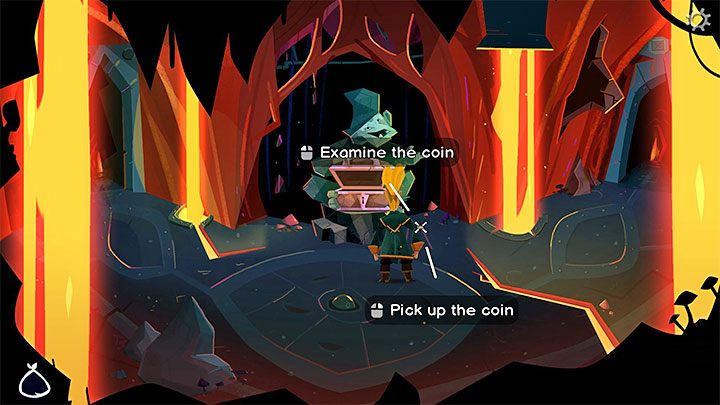
Just like before, LeChuck will lock the next door behind him. You will need to solve a puzzle to unlock it.
Explore all the rooms and find 2 more Stone Coins. You should have a total of 5 pebbles in your inventory.
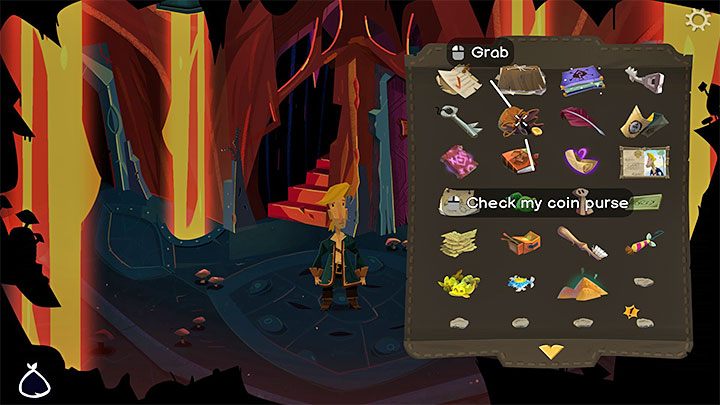
The puzzle involves placing the pebbles in the boxes based on their size. You will have to use 5 "fake" stone coins and 1 real (obtained from Coin Purse) - it is shown in the attached screenshot.
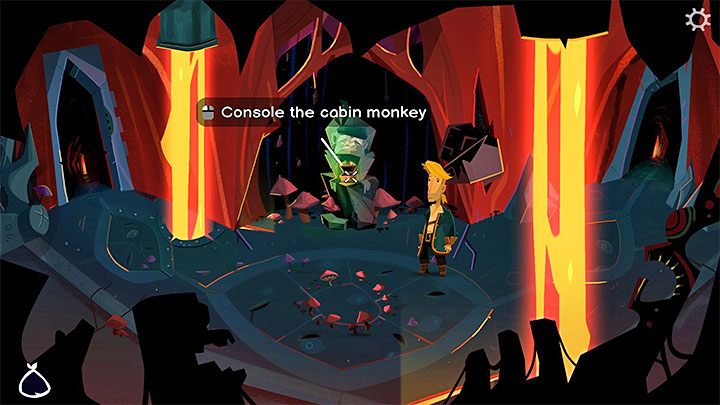
Place 1 coin in the small Cabin Monkey box (screenshot above).
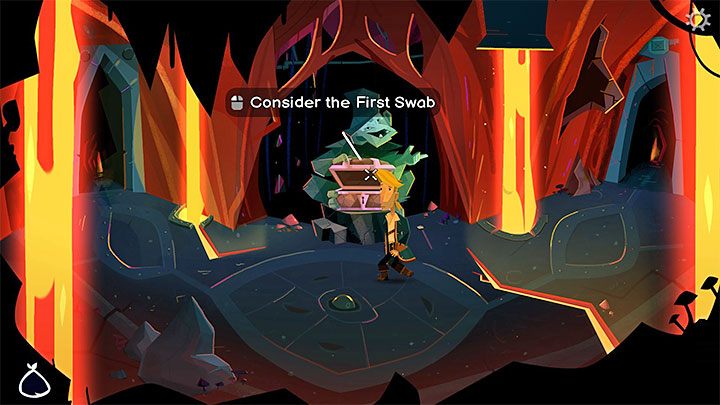
Place 2 coins in the medium First Swab box (screenshot above).
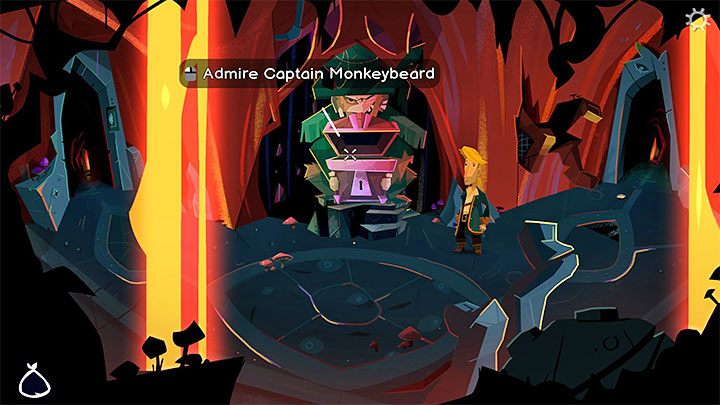
Place 3 coins in the large Captain Monkeybeard box (screenshot).
Correct placement of the coins will unlock the door. If you've made a mistake, you can retrieve the coins from each of the boxes.
Get Through The Third Stone Door
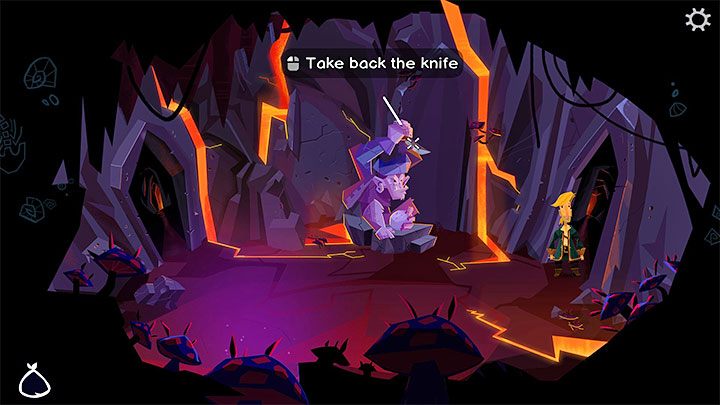
LeChuck does it again and locks the door behind him. Before exploring this floor, go back to the highest level. You need to retrieve 2 items by taking them back from the statues from the first puzzle. Fortunately, the doors you've opened will stay that way. You need to pick up the following:
- Knife;
- Grog Mug.
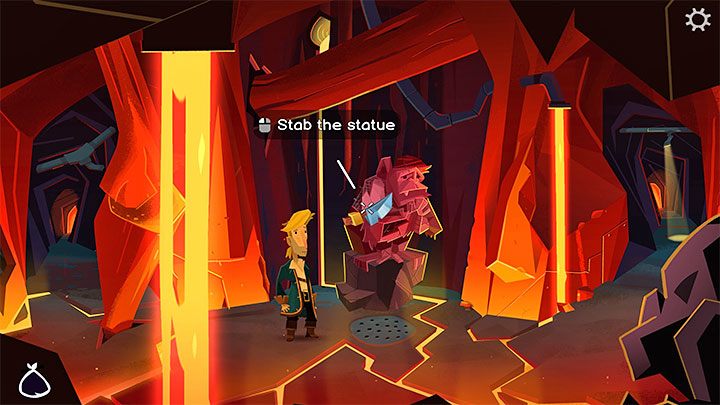
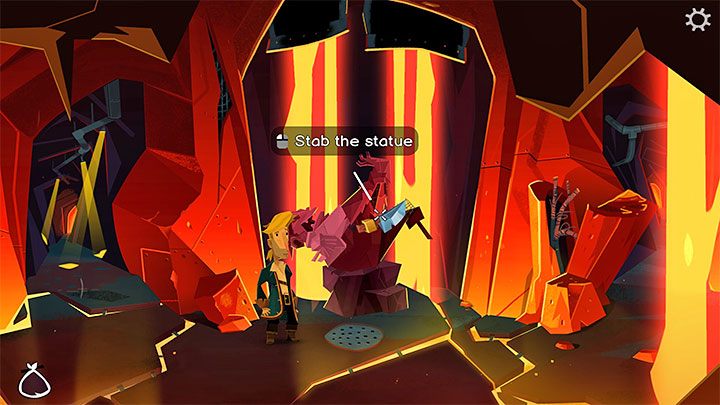
The new floor has 3 unique chambers (not counting the stone door one), while there are collapsed passages on the sides. Here is what you need to do:
Use the knife on each complete monkey statue - you can see them on the attached picture. Each stabbed statue will begin to drip a substance which will flow into the grating on the ground.
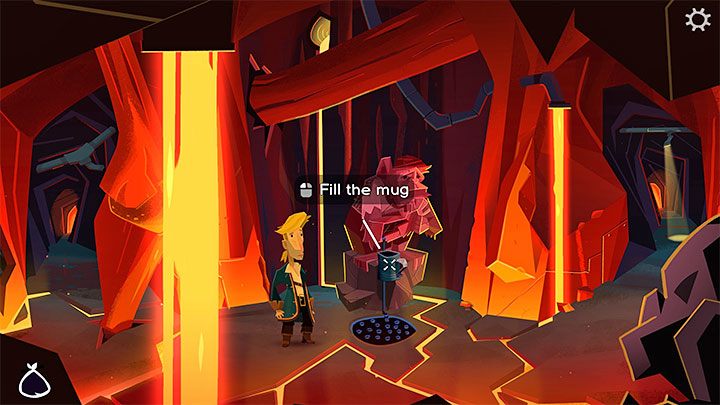
The statue from the last room is damaged and you can't use the knife on it. Go back to one of the previous areas and use the Grog Mug on the substance to get a cupful of it.
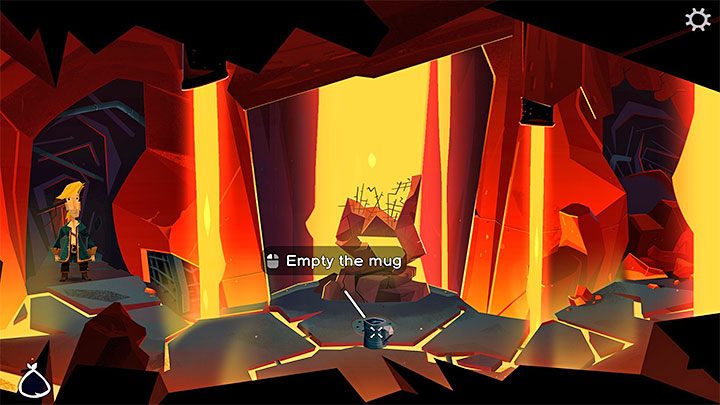
Take the filled mug to the room with the destroyed statue and use it on the grate to fill it with the substance.
The final stone door will unlock and you can proceed to the next area.
Solve the Code Wheel
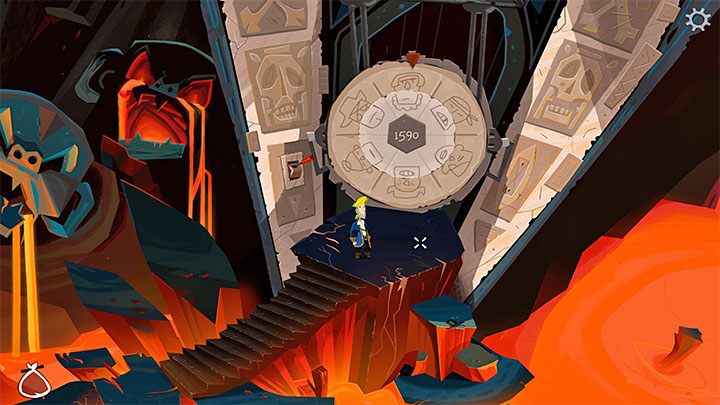
There is a Code Wheel in the next location. The puzzle ahead of you involves manipulating the 3 elements of the mechanism. These are:
- Outer Wheel - you can rotate the upper part of the drawings. The mechanism rotates the drawing that is marked with the red arrow.
- Inner Wheel - you can rotate the lower part of the drawings. The mechanism rotates the drawing that is marked with the red arrow.
- Date - you can interact with the mechanism and change the displayed date.
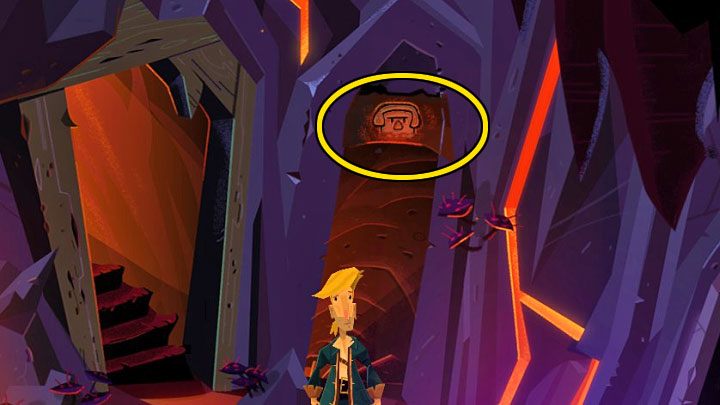
The solution to this puzzle may be random, but its main idea is always the same. The hints for this puzzle are placed all over the cave, even on its higher floors. You will need to return to them to get them.
Above the first stone door that you opened at the beginning of your exploration of the cave beneath the Monkey's Head, you can see the upper part of the drawing. View the attached screenshot to see a exemplary one. As mentioned, the drawing found is random - remember the one you've received.
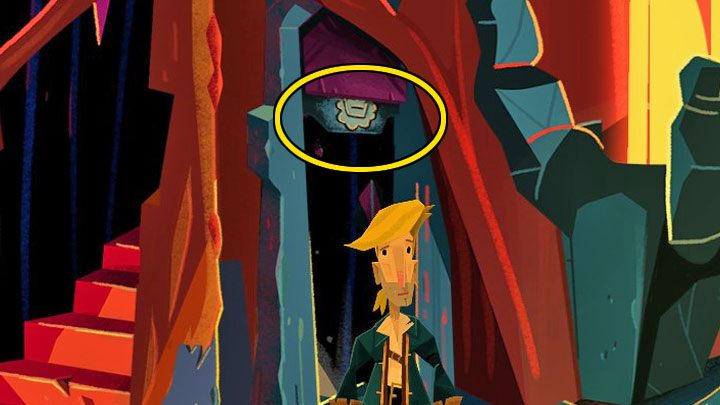
Above the second stone door you can see the lower part of the drawing. View the attached screenshot to see a exemplary one. As mentioned, the drawing found is random - remember the one you've received.
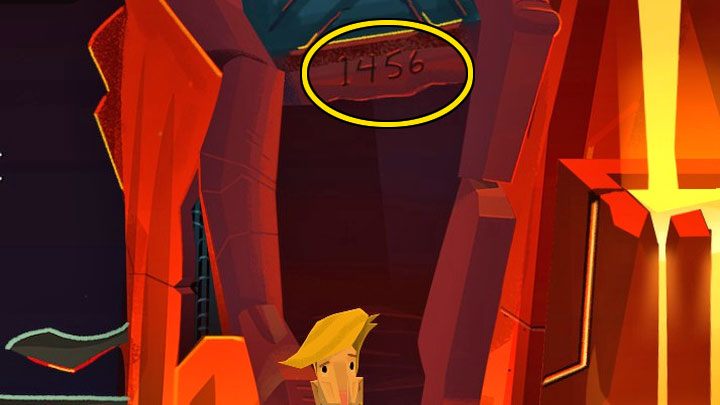
The correct date is visible above the third stone door. In the picture above, we present an example from our game (1456). As mentioned, the drawing found is random - remember the one you've received.
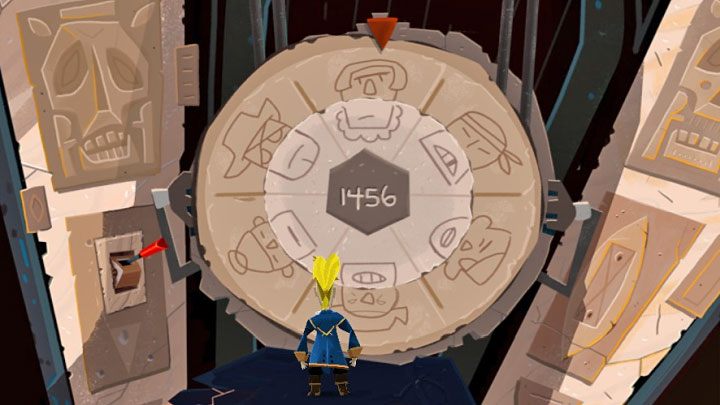
Return to the room with the Wheel and correctly choose the parts of the drawings and set the date based on the information you've received from visiting the stone doors.
This is only phase 1 of the puzzle - more below. Start by saving your game so you don't lose your progress (in case you make a mistake with the second part of the puzzle).
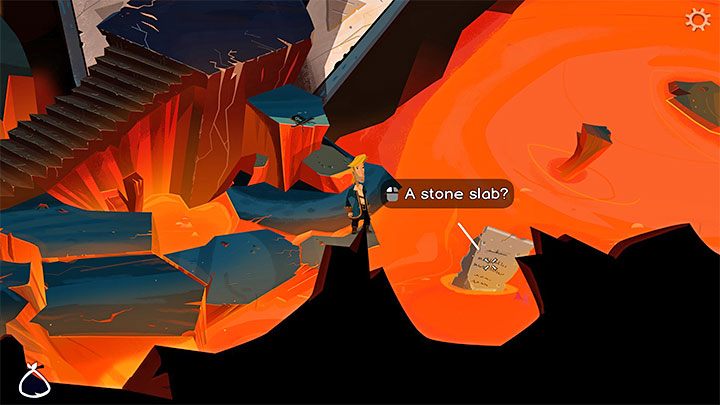
There is a Stone Slab partially submerged in the lava - you must examine it because it contains more (potentially random) hints.
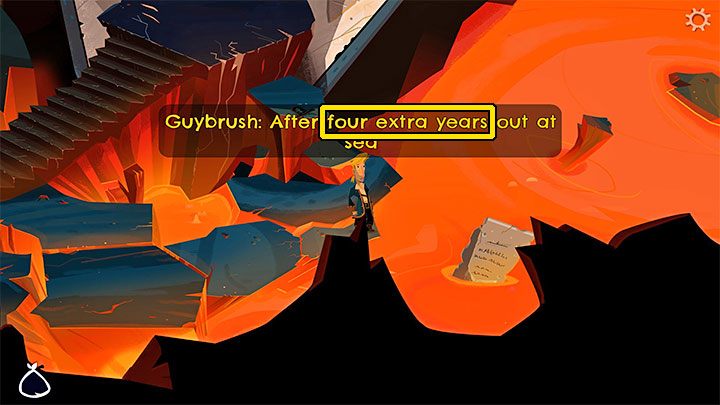
You need to understand the texts from the slab well.
1) The first text covers extra years out on the sea. In our example, the text said "after 4 extra years out at sea", which means you have to change the number 4 times.
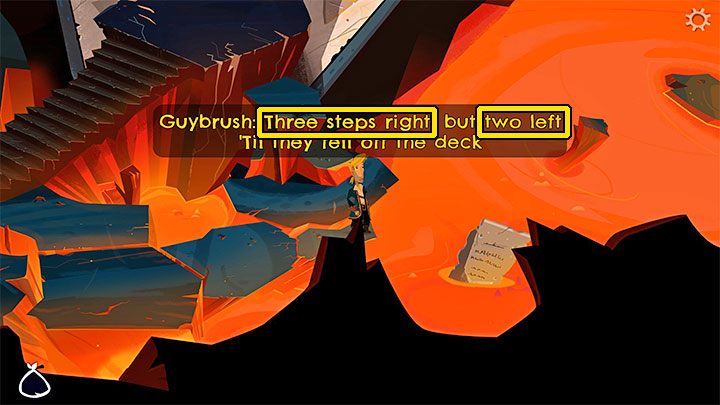
2) The second text involves manipulating wheels. In our example it was:
- three steps right , thus 3 additional spins of the outer wheel;
- two left, so 2 extra turns of inner wheel.

The only thing left to do is correctly set the wheel based on the information from the stone slab.
- Rotate the Outer Wheel - in our game, we had to rotate it 3 times.
- Rotate the Inner Wheel - in our game, we had to rotate it 2 times.
- Change the Date - in our game, we had to change the number 4 times.
Correct execution of the sequence will unlock the exit from the cavern. You can go to the next page of the walkthrough.
You are not permitted to copy any image, text or info from this page. This site is not associated with and/or endorsed by the developers and the publishers. All logos and images are copyrighted by their respective owners.
Copyright © 2000 - 2025 Webedia Polska SA for gamepressure.com, unofficial game guides, walkthroughs, secrets, game tips, maps & strategies for top games.
