Return to Monkey Island: Decode the map - walkthrough
Reading the Secret map is the task in part 3 of the Return to Monkey Island game. From our walkthrough you will learn where to find the 6 skulls and how to perform the ritual - playing a Theme Song and choosing a Catchphrase.
The most important part of the third chapter of Return to Monkey Island is to perform the ritual to read the real Secret map. The walkthrough in our guide contains information on where are the skulls needed for the ritual, as well as how to complete it, i.e. play the theme song on the skulls and say the catchphrase. We also explain how to leave Monkey Island and return to Melee Island.
- Preparation for the ritual - finding 6 skulls
- Return LeChuck's secrets to Captain Madison
- Find a way back to Melee Island
Preparation for the ritual - finding 6 skulls
You will be able to start decoding the real map of the Secret of the Monkey Island after you determine LeChuck's catchphrase, theme song and food - we described them on the previous page of the walkthrough entitled Learn LeChuck's secrets.
You will also need a total of 7 skulls for the ritual of reading the map. One of them (Murray) is at the ritual site, but you have to find the other 6 skulls yourself. We have listed them below and you can get them in any order.
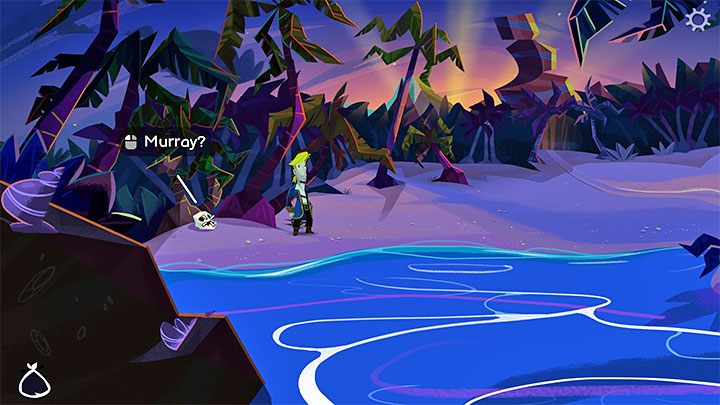
The first skull is in the Beach location, i.e. on the beach where you started exploring Monkey Island.
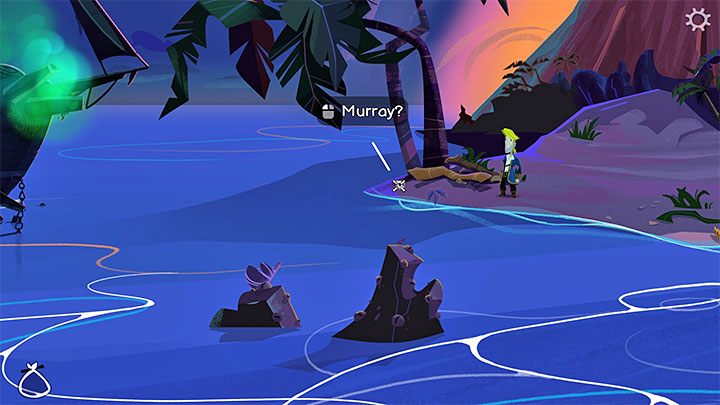
The second skull is in the Volcano Beach location, i.e. on the second beach adjacent to LeChuck's ship. You will find the skull at the left end of the beach, next to the palm tree.
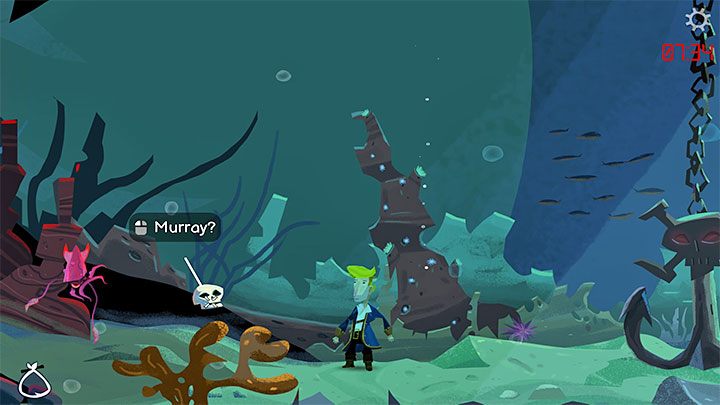
The third skull can be found at the bottom, under LeChuck's Ship. After entering the water, go left.
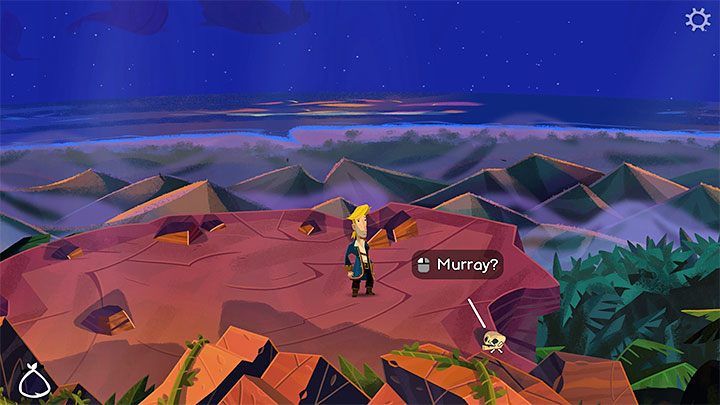
The fourth skull is in The View location, i.e. the Monkey Island viewpoint.
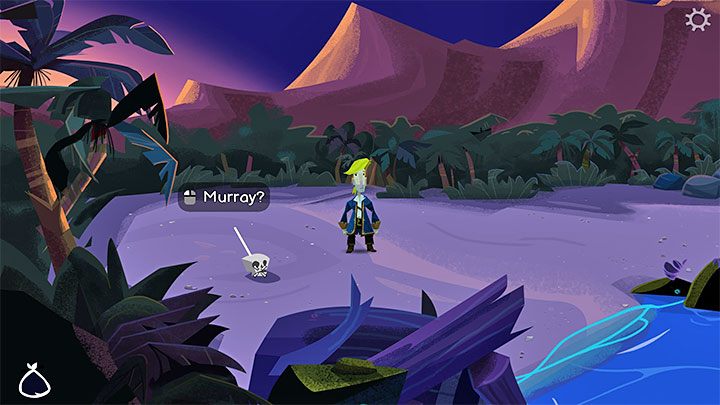
The fifth skull is in the Shipwreck location, i.e. the wreckage of Guybrush's ship.
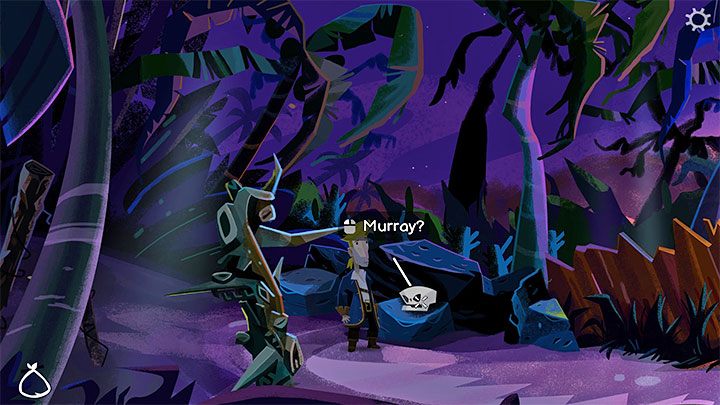
The sixth skull is in the Giant Monkey Head location, i.e. the one where you have to perform a ritual with the pirate leaders.
Return LeChuck's secrets to Captain Madison
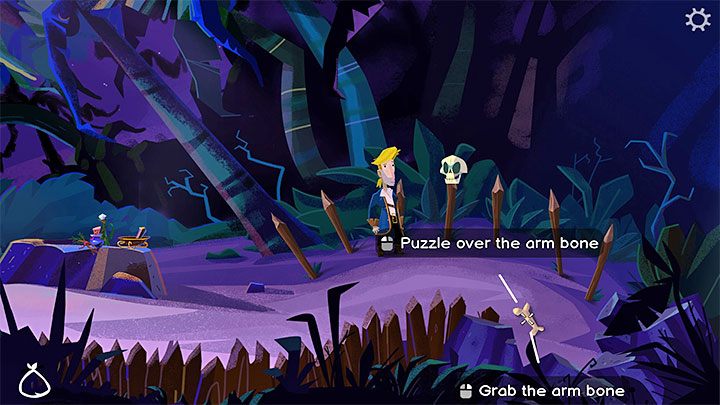
You must meet the pirate leaders in Giant Monkey Head again and confirm that you have foud all 3 of LeChuck's secrets.
The ritual consists of 3 parts. The first part is to play LeChuck's Theme Song. Murray is to the right of the pirate leaders (you can talk to him) and you will also find an Arm Bone. Take it.
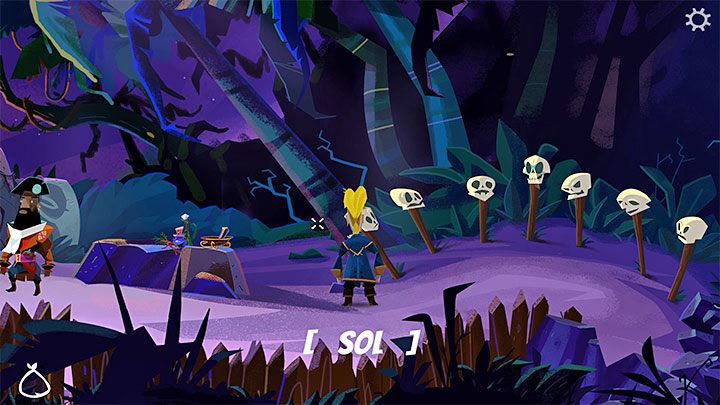
Now you have to impale the 6 skulls. You can select them in any order and place them anywhere.
After you have impaled all skulls, hit each skull with the bone. This will help you determine which note is played by which skull (e.g. Sol in the example from the picture). Don't miss Murray - hit him too, because he too has his "own" note. From now on, the note type will be displayed when you hover the cursor over the skull - you don't have to memorize it.
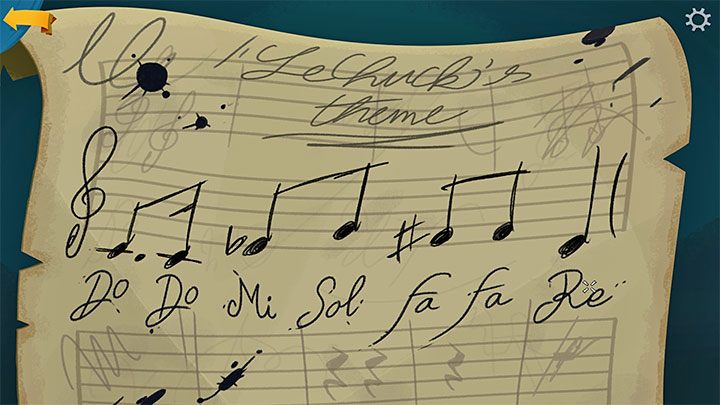
The solution of this puzzle is random - you have to understand how it works.
Select the Sheet Music from the inventory - the one you stole from Flair on LeChuck's ship. Here you will find the correct order of playing the notes - in the example in our picture it is Do, Do, Mi, Sol, Fa, Fa, Re.
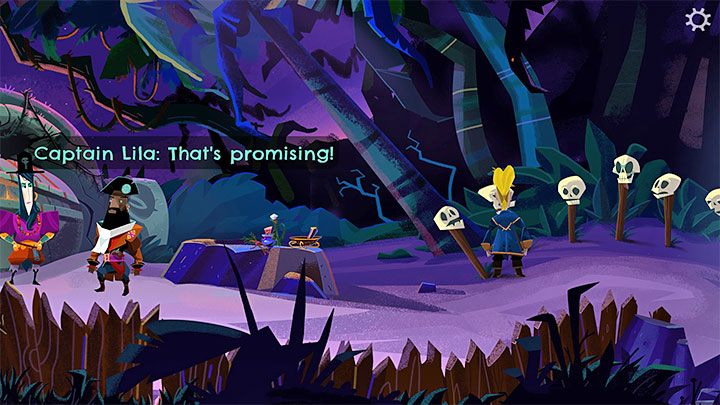
To solve the puzzle, use the bone to hit the skulls with the correct notes. If there are 2 same notes in a row (e.g. Do, Do or Fa, Fa in our example), then the same skull needs to be hit twice. Successfully solving the puzzle will make the skulls "play" LeChuck's theme song.
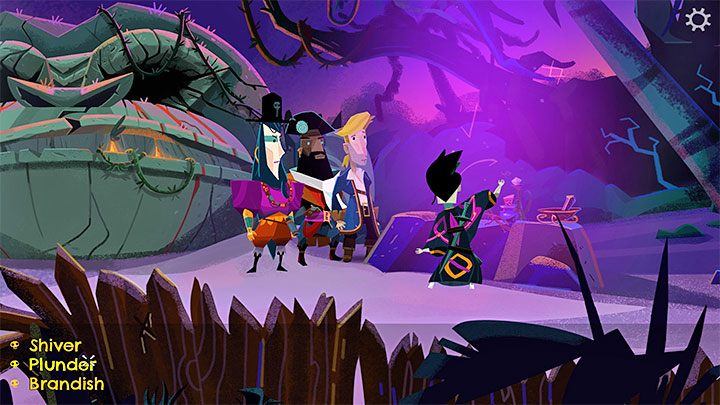
The second part of the ritual is to recite LeChuck's Catchphrase. As a reminder, you may have found out about it by analyzing LeChuck's diary. In our example, the right catchphrase was Plunder my blasphemous timbers.
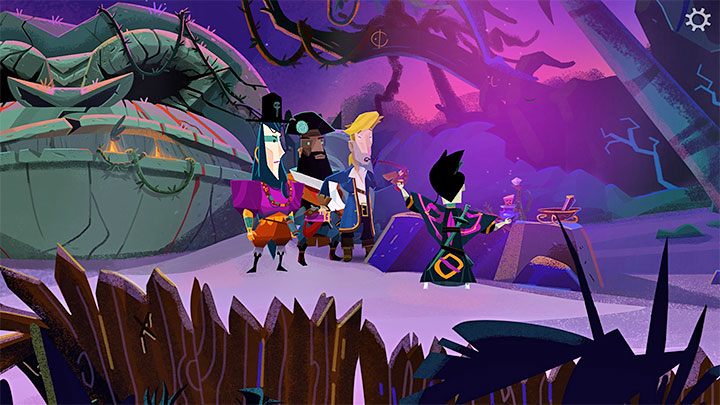
The third part of the ritual is the simplest. You must eat LeChuck's favorite food (the one prepared earlier by Putra). You don't even have to select it from the inventory, but just click on the consume food dialogue option.
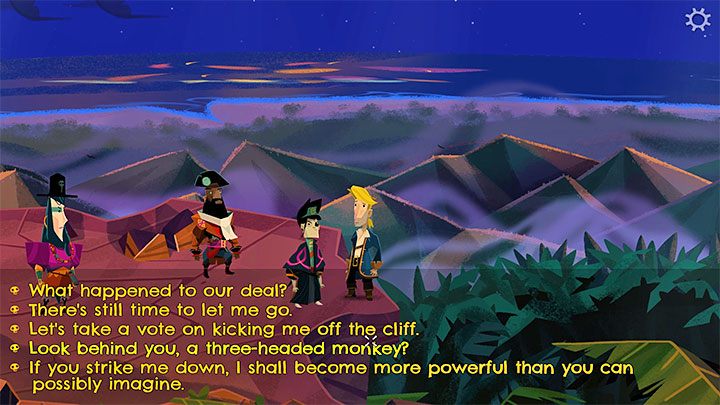
The map will be decoded and you will see a few cut-scenes. After reaching the vantage point, the choice of dialogue options does not matter - Guybrush will be pushed back and the pirate leaders will go to the place where the Secret is hidden.
You can also choose any answers you want when talking to LeChuck and Elaine.
Find a way back to Melee Island
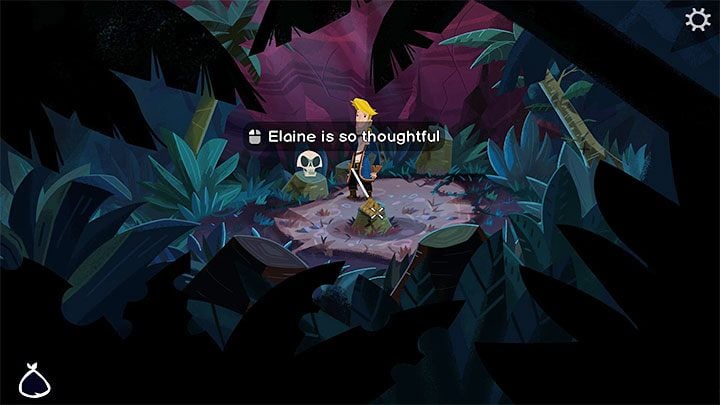
After regaining control over the hero, take the Ship Repair Manual and Murray. The skull has a Decrypted Map with it.
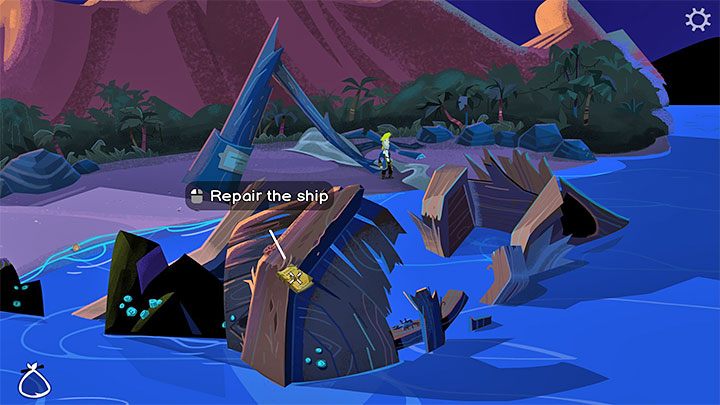
Exit the jungle and select Shipwreck from the map of the Monkey Island. There, approach the wreckage of Guybrush's old ship. Select the Ship Repair Manual from the inventory and use it on the shipwreck.
The ship will be "automatically" repaired. Guybrush and Elaine will return to Melee Island and proceed to part 4.
You are not permitted to copy any image, text or info from this page. This site is not associated with and/or endorsed by the developers and the publishers. All logos and images are copyrighted by their respective owners.
Copyright © 2000 - 2025 Webedia Polska SA for gamepressure.com, unofficial game guides, walkthroughs, secrets, game tips, maps & strategies for top games.
