NiOh 2: A Way Out Walkthrough
Last update:
A Way Out is the first storyline mission from the third region of NiOh 2. This page of the guide contains a walkthrough for this mission.
First shrine
Start by going to the nearby shrine and talk to the NPC. Next, you'll encounter thick grass, a dog who patrols the area and a few soldiers. Wait in the grass until the dog approaches your location and attack him to deal serious damage to it. Deal with the soldiers as you see fit.
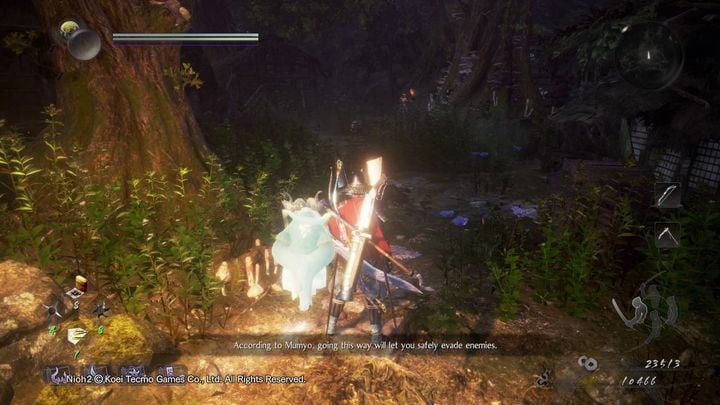
After defeating them, continue forward. On your left there is a road leading down - follow it to find a few items, while on your right there is a patrolling soldier. Be careful - he is more powerful than the soldiers encountered before. Defeat him and follow the path.
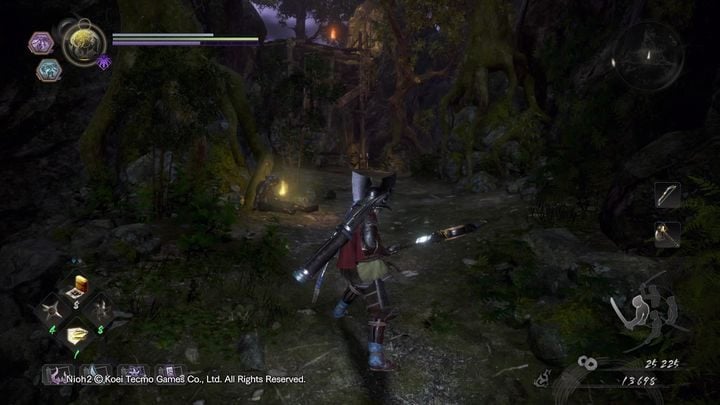
While moving forward, you'll encounter a ladder on your left which isn't lowered. It's a shortcut that will be activated later. Turn right and continue moving forward.
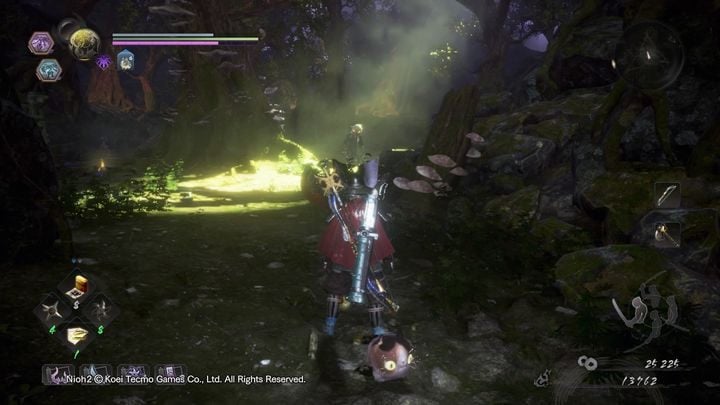
Before you, there is a place where you'll see a bright light. This is the doing of Tatarimokke, a boss disguised as a large owl, with whom you'll do battle at the end of the level.
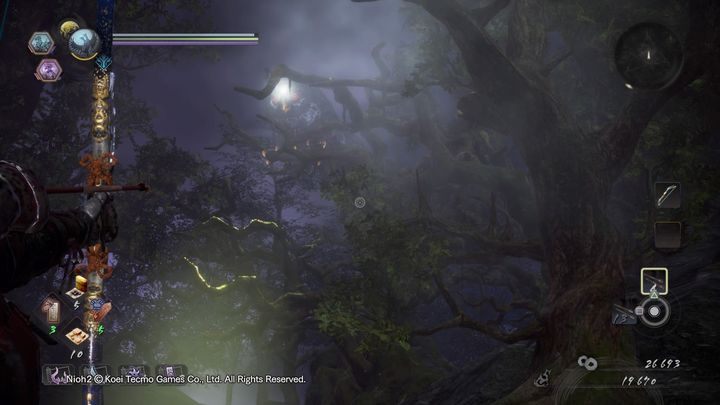
The boss surveys the area and alerts nearby Yokai when he encounters you. The moment he does, the location turns into a Yokai Realm, and all the opponents inside will detect and attack you. Moreover, a red orb will appear in the area, which has to be destroyed as quickly as possible. Destroying the orb will force Tatarimokke to escape, while nearby Yokai will lose their extra powers given to them by the Yokai Realm. However, be careful, as red orbs create black ghosts that follow you. It is best to ignore the Yokai and quickly run to the right side, where the orb is located.
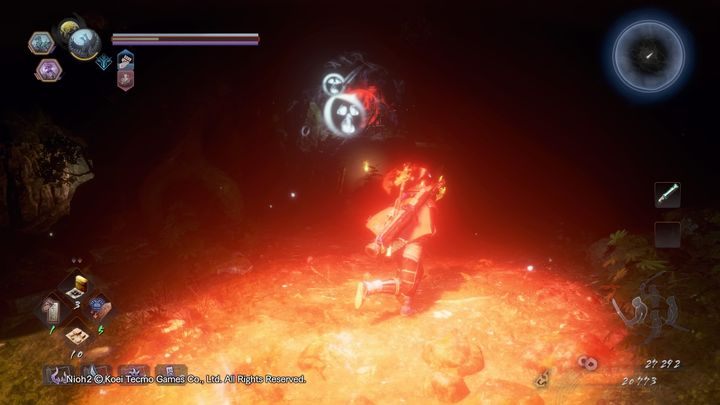
After destroying the red orb, most of the Yokai will die, and those more powerful will lose all their stamina. Truth be told, fighting them is not worth it, except to get extra amrita. Regardless of whether you fight them or not, go left after entering wooden bridges.
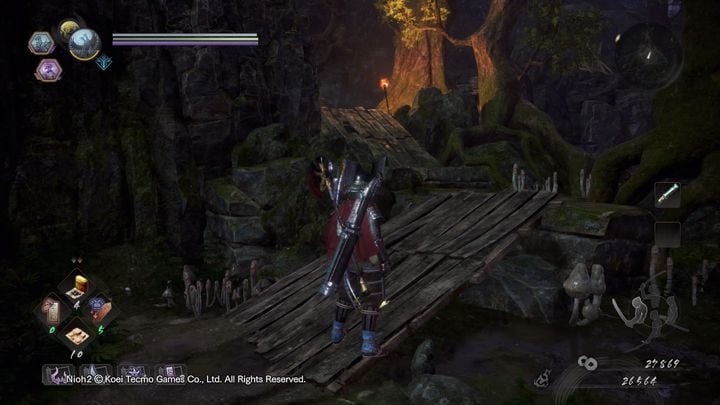
You'll encounter a warrior skeleton - defeat him and continue forward until you see a wooden house on your left.
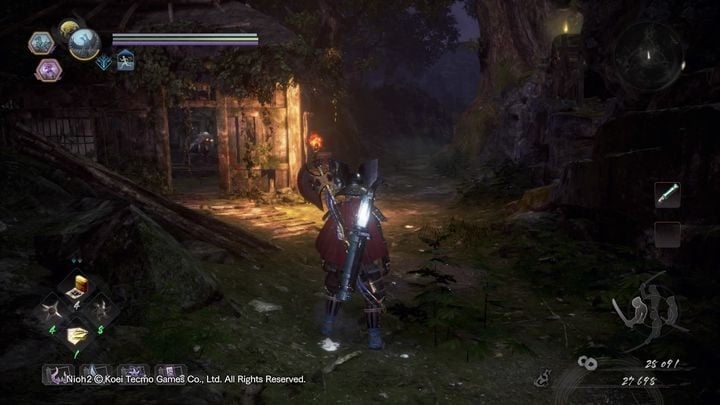
The house is inhabited by a Yamanba, but before you enter, check the left side, as there is a Gaki behind the tree. The house contains a small chest, moreover you'll encounter a Sudama.
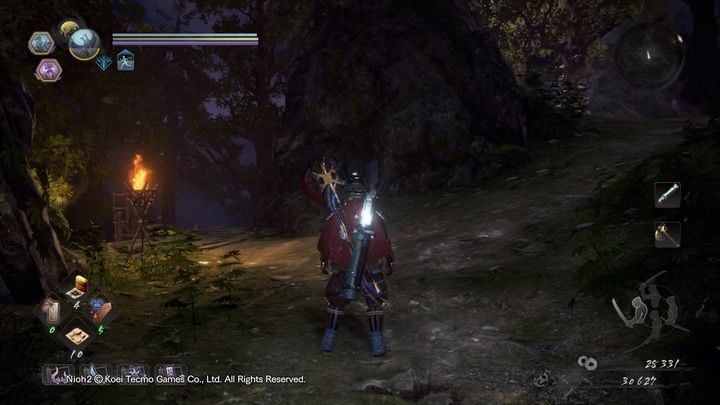
Continue forward. You'll encounter a ladder which can be lowered, activating the shortcut seen at the beginning of the level. There are more soldiers on the right. At the bottom, there is a large chest inside the house. Return to the top and continue using the second path.
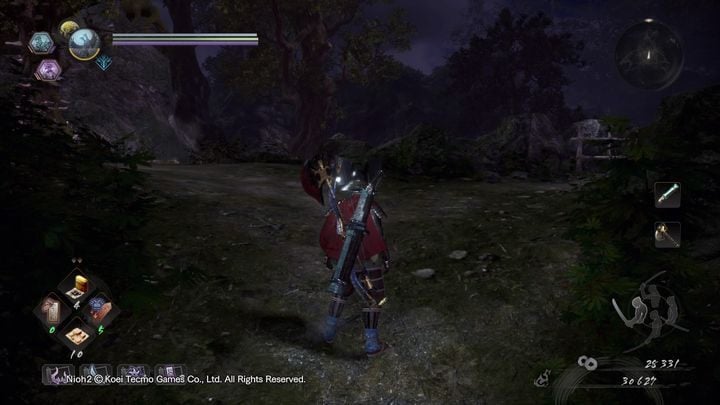
You'll encounter a Gaki nearby a large wooden bridge. It is hidden on the right side of the bushes. After you have killed him, enter the bridge.
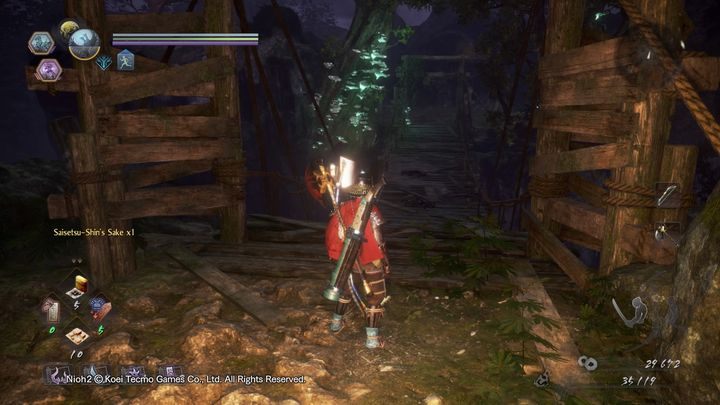
Once you find yourself on the bridge, on the other side of it a Mitsume Yazura will appear. The monster is characteristic for its eight heads and three eyes. Watch out for his area-of-effect attacks, which fortunately have a low range, and jumps which are slow, but deal a lot of damage. After defeating it, continue forward to discover a second shrine which allows you to regenerate your health.
Second shrine
Climb the ladder that is nearby the shrine. Above, there is a Gaki which will deal a lot of damage to you if you go below.
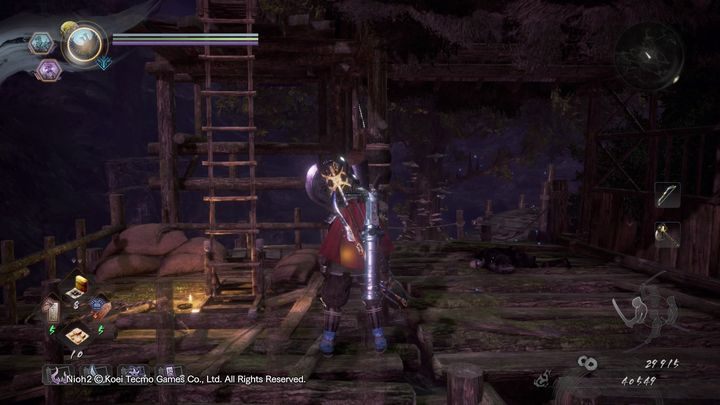
It's better to kill him right away with a quiet kill from behind. There is a wooden house on your right, which is inhabited by a Yanamba.
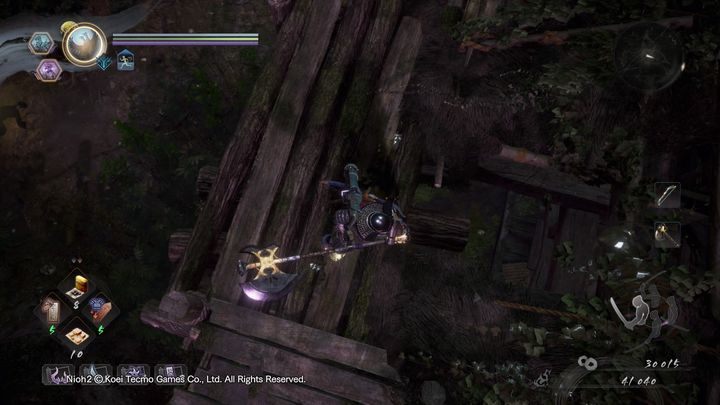
Instead of going through the front door, climb the roof and use a hole that will allow you to access the house and kill Yokai inside from behind. Once you leave the house, look to the tree to encounter a small cyclops. It doesn't deal much damage, but be careful - if it manages to hit you twice with its tongue, it will change into a more powerful large Cyclops.
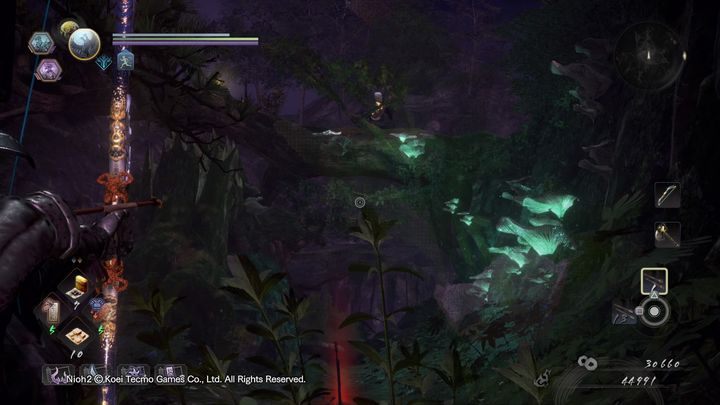
Further along the way, at the top you'll encounter a Biwa Boku-Boku. It can summon the ghosts of fallen players from nearby red graves. If you don't want to fight another player's ghost, shoot it down from a safe distance. Continue forward but watch out for skeleton archers on your left and right. Deal with them and continue forward. You'll reach another area guarded by Tatarimokke.
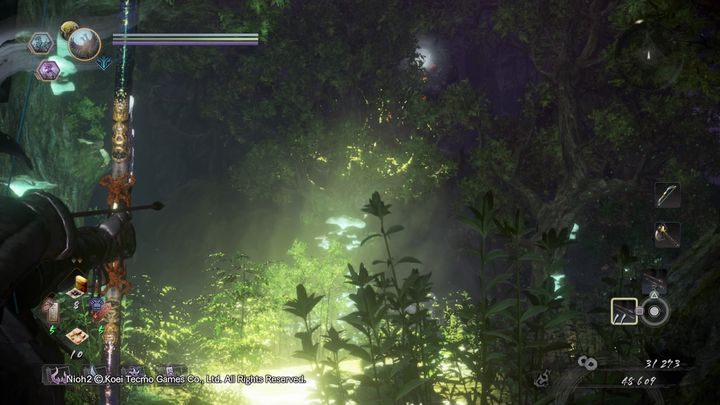
If you are seen, quickly rush to the red orb. Destroying it will grant you an achievement, moreover all Yokai will lose their stamina. The area contains a Gaki, a Yamanba, skeletons and a Mitsume Yazura.
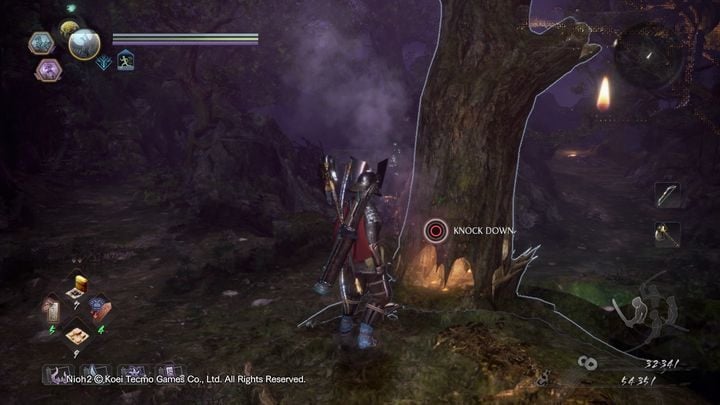
After clearing the area or skipping it, continue up the hill. There you'll encounter a large log that can be pushed to unlock access to previously visited locations. After unlocking the path, go left. Defeat two skeletons encountered by the wooden fence.
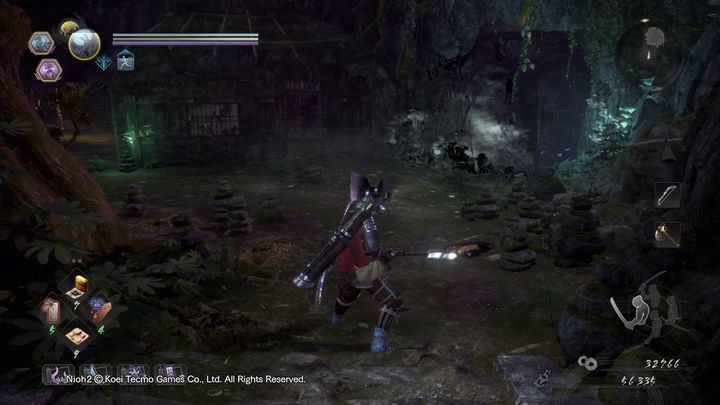
After you make it through the fence, another Mitsume Yazura will appear from the Yokai Realm. Defeat it same as with the previous ones. The monster guards the passage to the next area which contains the third shrine. On the left side you will encounter several opponents, such as Tengu, Cyclops, or other human opponents. If you are not ready for further exploration or want to restock, visit the shrine on your right.
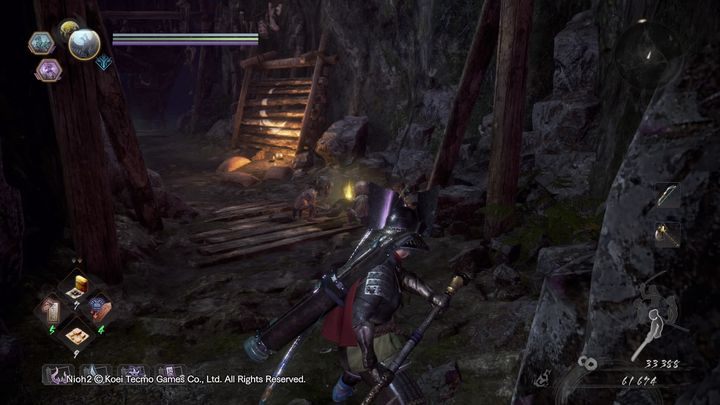
You will encounter two Gakis. Defeat them and go below, where you will meet Mumyo, an NPC which you have already met before, and there is a shrine on your right.
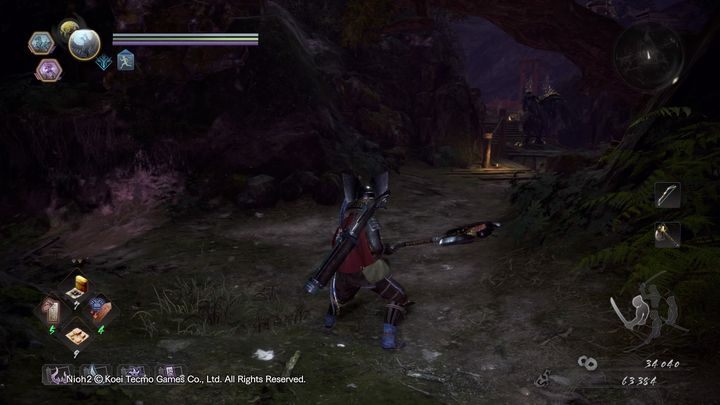
However, if you first chose the path to the left or have just returned from the shrine, then go further along this road. Along the way, you will encounter a small Cyclops, do not let it hit you twice. Turn left to encounter a large Cyclops, but you can simply skip it.
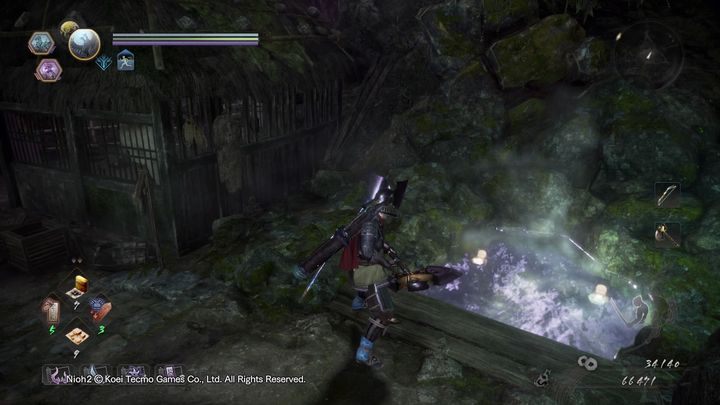
Go a little bit down and look right to see a hot spring where you can replenish your health. Go back to the top and continue in the direction of Karasu Tengu. Its back is turned towards you, so you can open up with a serious hit. At the same time, keep an eye on it and its air attacks.
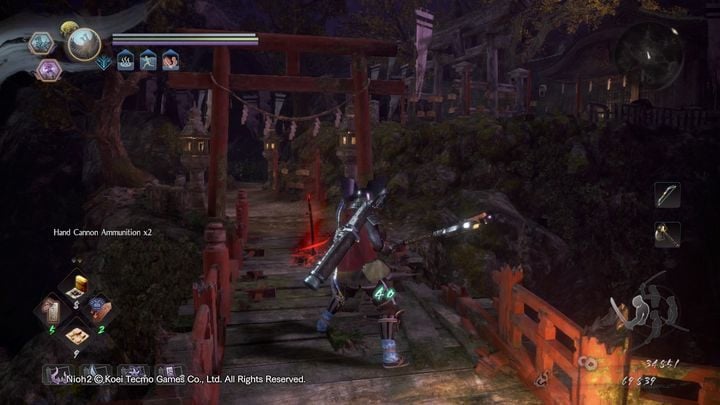
Continue to encounter a skeleton. Kill him and enter the bridge visible in the screenshot. There are other human enemies there. It is better not to fight them all at once - lure them out one by one or kill using a ranged weapon. Pick up all the items and return to the shrine.
Third shrine
The third shrine is really a pathway to the boss of the level, Tatarimokke. However, it is besieged by the Yokai Realm. There are shooters on the roofs of the buildings. The best option is to shoot them down, however, if you do not have ammunition, climb the roofs.
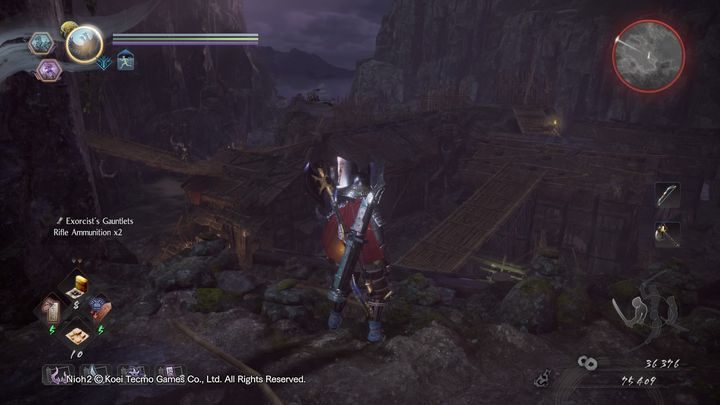
Mitsume Yazura is the main reason why the Yokai Realm is in power. Located on the other side of the area, take care of it first so that you can safely get through the area. However, watch out for shooters if you haven't dealt with them yet.
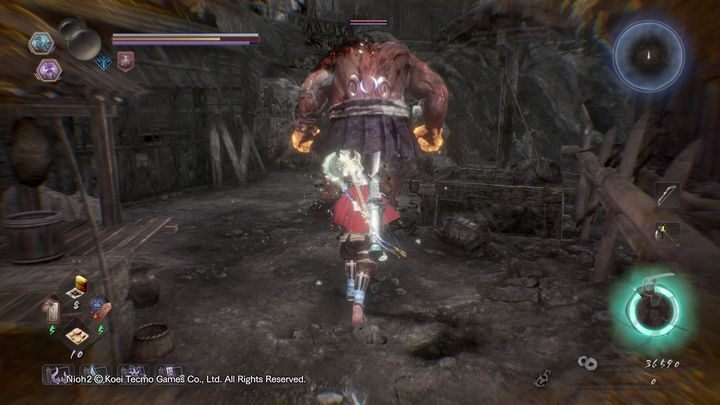
Below you there are urns that allow you to place a Purity effect on the weapon - this will make fighting further Yokai a lot easier. There is also a large Cyclops patrolling the area below - approach it when its back is turned, and fight between buildings if you haven't already defeated opponents on the roofs.
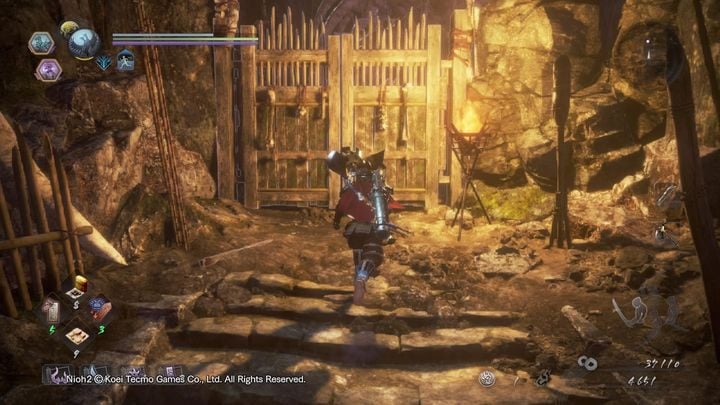
Reach the door to begin the encounter with Tatarimokke, a boss which you had the pleasure to meet already. Fighting Tatarimokke is described in a dedicated chapter of the guide.
- NiOh 2 Guide
- NiOh 2: Walkthrough
- NiOh 2: Main missions
- NiOh2: Main missions list
- NiOh 2: The Village of Cursed Blossoms Walkthrough
- NiOh 2: The Beast of Smoke and Flame Walkthrough
- NiOh 2: The Viper's Sanctum Walkthrough
- NiOh 2: The Hidden Monsters of Okehazama Walkthrough
- NiOh 2: The Mysterious One Night Castle Walkthrough
- NiOh 2: The Hollow Fortress Walkthrough
- NiOh 2: A Way Out Walkthrough
- NiOh 2: Corpses and Ice Walkthrough
- NiOh 2: Bird in a Cage Walkthrough
- NiOh 2: Pervading Waters Walkthrough
- NiOh 2: The Frenzied Blaze Walkthrough
- NiOh 2: The Sun Sets On Mount Tenno Walkthrough
- NiOh 2: Imminent destruction Walkthrough
- NiOh 2: The Two Faces of Hospitality Walkthrough
- NiOh 2: The High Spirited Demon Walkthrough
- NiOh 2: The Mausoleum of Evil Walkthrough
- NiOh 2: The Golden Castle Walkthrough
- NiOh 2: Cherry Blossom Viewing in Daigo Walkthrough
- NiOh 2: In the Eye of the Beholder Walkthrough
- NiOh 2: Main missions
- NiOh 2: Walkthrough
You are not permitted to copy any image, text or info from this page. This site is not associated with and/or endorsed by the developers and the publishers. All logos and images are copyrighted by their respective owners.
Copyright © 2000 - 2025 Webedia Polska SA for gamepressure.com, unofficial game guides, walkthroughs, secrets, game tips, maps & strategies for top games.
