Monster Hunter Generations: Combat
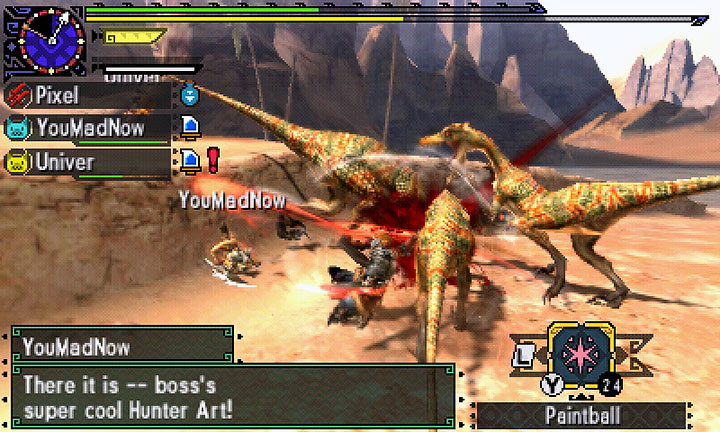
Combat in MHGen differs entirely from other hack & slash titles. Here every action comes with a reaction, every activity has its own consequences and each error might cost you dearly. The most important thing is to carefully observe the monster and learn its attack patterns. Each beast "telegraphs" its every next step and one of the difficulties in the game is to learn it all and prepare a counteract for each one of those. The encounter itself can be compared to tech-oriented fighting games, such as, for instance, Tekken. What does it mean? Each strike - be it yours or foe - has its own momentum, "weight" and duration. Additionally (and this will be known to the fans of fighting games), each animation has its own "opening points" (when your character is most vulnerable to enemy attacks - this also applies to the beast) and in the case of a player character also "invulnerability moments", in which your character can't be attacked. Mastering all of those elements won't come out easily and requires a lot of practice, but fortunately the difficulty at the beginning of the game allows for multiple mistakes. The situation changes during the end-game, where the monsters are able to kill your character with a single strike. Going with a popular comparison - each encounter with a large enemy in MHGen is like a boss fight in Dark Souls. This is definitely not a title for impatient and nervous players.
All large monsters have some similar characteristics that can either be used against them, or which should be avoided at all costs. The most popular ones are described below.
Mounting monsters
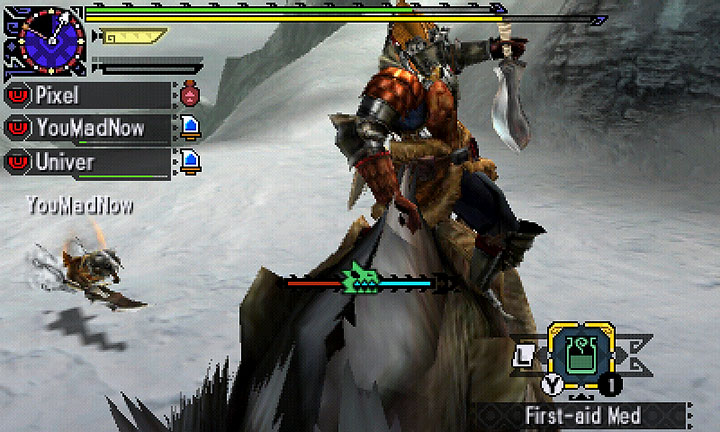
Monsters can be "mounted". In order to do so, you must jump on the monster, attacking it by pressing X at the same time. When you successfully mounted the beast (the monster must be softened before you attempt to do so), a progress bar with a symbol of a beast head will appear on the screen. Mounting monster is a typical tug of war activity - your job is to fill the entire bar and the monster tries to prevent you from doing that by reaching the end before you do so. When the icon of the head is green, you just have to spam attacks with X and the bar will start filling. When the bar turns orange, you must cease your attacks and hold the R button to prevent the beast from throwing you off. If you continue to attack the monster when you shouldn't, the icon of the head will turn red and will rapidly travel to the end of the bar, resulting in the monster throwing you off its back. If you, however, are able to fill the entire bar (turning it green), your character will jump off its back and the monster will fall on the ground, becoming completely defenseless against your attacks for several seconds. If you are playing with your friends, they should attack the monster all the time when you are mounting it - this will cause the bar to fill faster.
Pin down
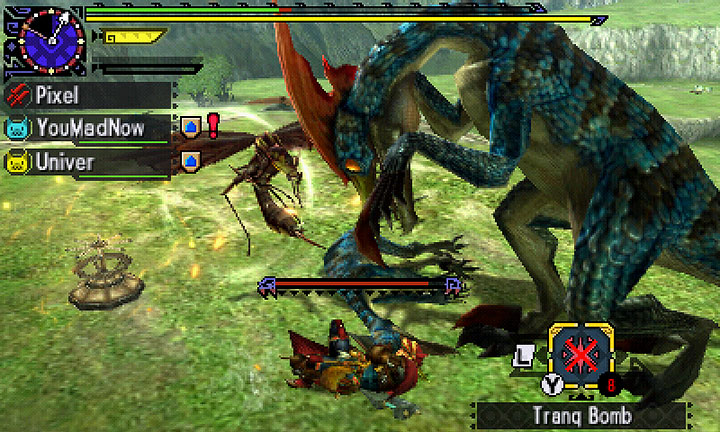
The monsters can pin your character down. Sometimes the monster can catch your character, push it to the ground and start dealing damage with its claws, fangs and so on. When you are pinned down by the enemy, a bar will also appear on the screen. Your task is to empty the bar as quickly as possible, allowing you to escape the monster's clutches. In order to do so, you must turn around the analog stick as quickly as you can, spamming all of the buttons located on the front of the console as well. Attacks of other players, as well as those coming from Palico will also help you escape faster.
Rage
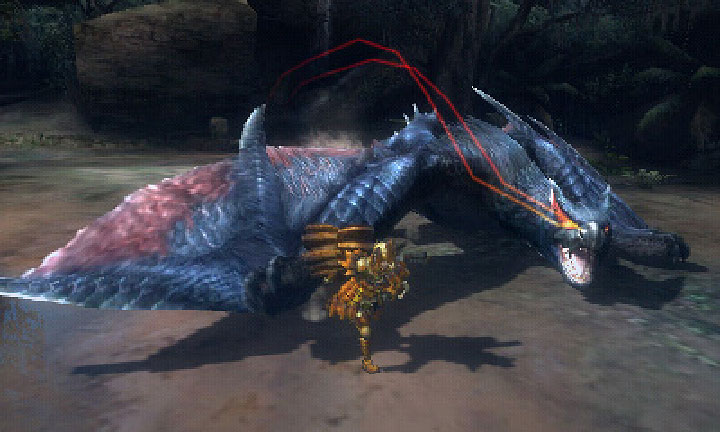
When a monster is dealt sufficient amount of damage, it will go into a blind rage. You can notice it by steam, or black smoke coming out of the monster's jaw. Some of the monsters have very distinct features when they go into rage mode. Their fur might change color, the eyes might star glowing red and so on. In such a state the monster is faster, more dangerous and less susceptible to all weakening gadgets, such as the flash bombs. The rage will eventually end - you can also speed it up by continuously attacking the beast.
Tiring the monster
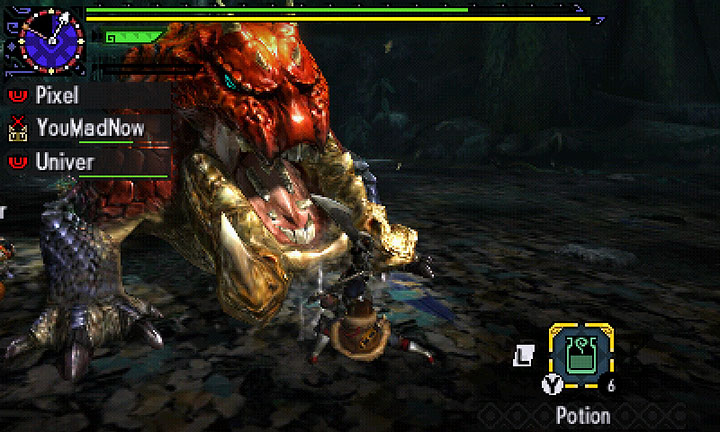
Monsters tire as the battle continues. If the encounter lasts long enough, the monster will sometimes stop in its tracks and you will be able to see saliva coming out of its jaw. This is a signal that the encounter is slowly coming to an end - unless the monster runs away, rests or feeds itself. You cannot allow that. A tired monster moves sluggishly, its attacks aren't so frequent and the foe is more susceptible to weakening effects, such as flash bombs, sleeping darts, paralysis and so on.
Statuses / effects over time
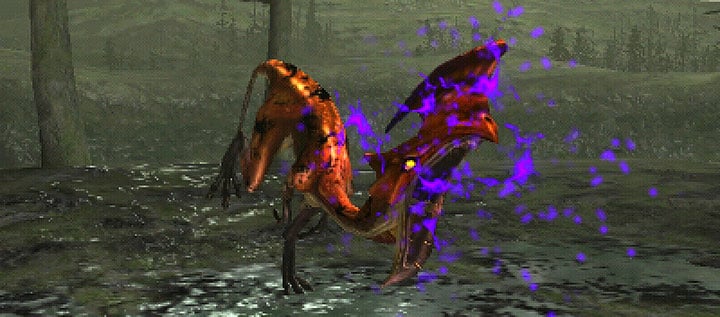
Each monster can inflict dangerous weakening effects, or those that deal damage over time (Blight). Depending on the type of the monster, those can range from daze (the directions of the analog stick are reversed), setting your character on fire, poisoning it, to a complete paralysis or sleep. Methods of countering each one of those are different. To extinguish the flames you have to roll on the ground. Other statuses require you to use an antidote, cleansing potion (Cleanser), or to consume a Bitter Bug or a Nullberry.
Weak points

Monsters have their own weak points that can be destroyed or cut off. Each monster has some body parts that can be crushed, broken or cut off entirely. The most popular in Monster Hunter is cutting off the tails of the wyverns. You can also damage the jaw of the beast, break its claws and destroy the carapace. Depending on the body part you want to focus on, some of the weapons won't be able to damage weak points. You won't be able to cut off the tail of the enemy with a hammer and some of the armors can't be broken with a bladed weapon. Such a process results (in most cases) in you gaining additional materials, some of which cannot be gathered elsewhere.
Escape
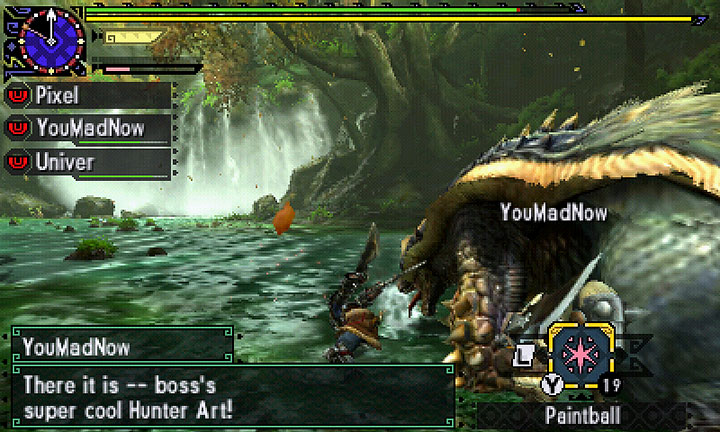
Monsters that are close to death start limping. When the monster is nearly dead, it will start running away and limping, sometimes dragging one of its body parts with it (it all depends on the build of a monster). This move is very obvious and easy to recognize - you won't have doubts what it means. The only exception to this is when the monster is tired and in rage at the same moment - you won't be able to tell which one and the foe might die before the rage ends. Severely tired monsters will try to get to their lair at all costs. If the lair is located nearby, the monster has an easy job. After reaching its lair the beast will fall asleep and, if let, will regain some of its energy. If the lair is located far away from the encounter spot, the monster will stop from time to time, regain some energy to fight your part and will continue to escape afterwards.
Capturing monsters
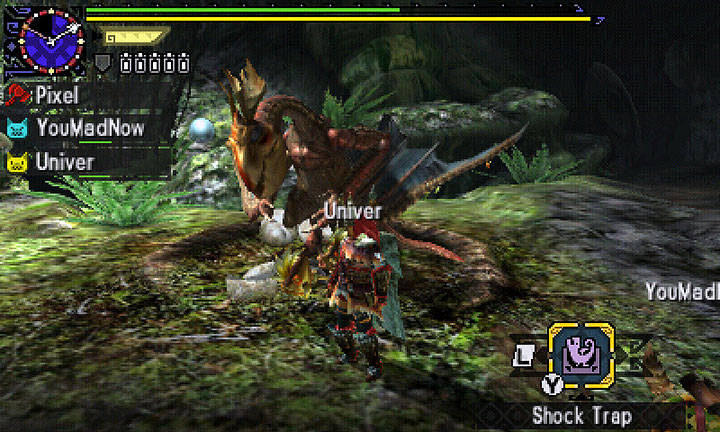
Capturing monsters. Beasts cannot be caught just like that, at any moment you wish to do so. In order to do so and to end the quest this way, you must first wait for the foe to start limping. This is the only moment during which you will be able to force it into a trap (net or electric) and put it into sleep. Traps should be placed with care - if the monster is running away, you can set them up on its tracks, but it will require good timing. If you let the monster get back to its lair and fall asleep, the process is a lot easier. You just have to set up the trap in front of the sleeping monster and when it wakes up (you can force it, even by a simple kick) it will immediately fall into the trap. When the beast is in a trap you have a few seconds to put it into sleep - you have to use two tranq bombs or sleeping darts. If two bombs didn't suffice, it means that the monster regained too much energy from sleeping and you need to deal some damage to weaken it again (before it breaks out from the trap). Regardless of whether capturing the monster was a part of the quest, after its done the objective will be completed.
You are not permitted to copy any image, text or info from this page. This site is not associated with and/or endorsed by the developers and the publishers. All logos and images are copyrighted by their respective owners.
Copyright © 2000 - 2025 Webedia Polska SA for gamepressure.com, unofficial game guides, walkthroughs, secrets, game tips, maps & strategies for top games.
