MGS 5 The Phantom Pain: The first phase of the battle with Sahelanthropus

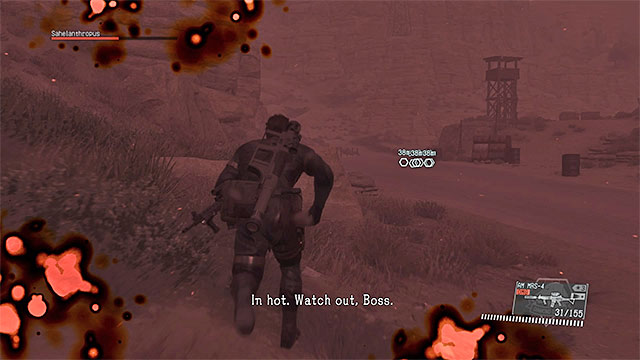
During the first phase of the encounter with the Sahelanthropus, you should be mainly using your rocket launcher. Swap your weapon for the assault rifle only when you've noticed that the enemy sent a barrage of rockets, or its drones towards you, which should be taken down as quickly as possible.
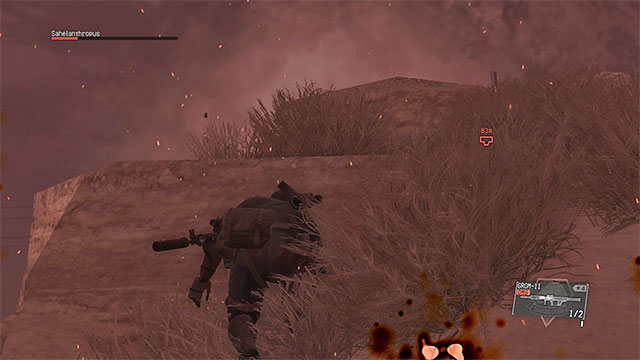
From the very beginning of the encounter, you should just focus on firing rockets at the boss' head. The reason for this is quite simple - destroying its head is associated with the secondary objective of this mission, and it (destroying the head) can be done even before the encounter ends. After the head is destroyed, you can aim at whatever part of its body you feel like, with the only exception when the boss is preparing to use its sword. When that happens, aim for the weak spot located on the enemy's chest, which is exposed for a short time when it raises its sword. Use every single occasion to send rockets at that location, but don't use more than 1 or 2 at a time, as shortly after the enemy raises its sword, numerous stone, needle-like objects will appear near your character, and you should focus on avoiding contact with them.

During the encounter with the Sahelanthropus, it's crucial to keep a safe distance from the enemy, so just keep in motion and react as soon as you notice that the boss is trying to get closer to your position. Another important aspect which should be monitored constantly is the health of your own character - as it was mentioned earlier, during this encounter you won't have access to any checkpoints. When the character is severely injured, gain some extra distance to the boss and look for a place to hide, such as behind rocks. Wait for the energy to regenerate completely and only then you are to resume the battle.
Note - Select only the tallest and biggest rocks, and don't stay there for too long, as some of the boss' attacks (such as the needle-like objects) can reach you even if you are well hidden.

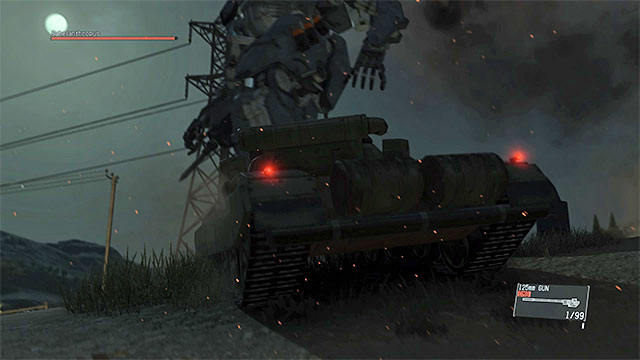
To attack Sahelanthropus, you shouldn't focus only on your rocket launcher, but on military machines scattered around the area - tanks and armored vehicles. This method has its merits, as well as flaws. The biggest advantage is that military machines have good firepower. The bad thing is that they are extremely slow, which not only endangers you when the enemy attacks, but makes firing at the boss quite problematic. Additionally, you can get trapped inside, unable to jump out of the vehicle quickly enough before it explodes from the enemy's attacks.
If you were able to take D-Walker with you on the mission, you should certainly use it. Walker Gear has a lot better mobility in comparison to normal vehicles, and it makes it a lot more effective against the enemy, allowing you to continue your barrages without worrying that the character will be trapped inside.

Given the fact, that the Sahelanthropus is extremely durable, you won't be able to defeat it on with your starting gear. Fortunately for you, this mission allows you to call in the supply drops. By default, a supply drop is performed each time you completely empty one of your main weapons' ammo reserves (if you, for instance, use all of your rockets for your launcher). If you want to, you can order it in advance, but if you want to do it, you must first find a remotely secure place, so that you can use your iDroid device.
Note - Supply drops will appear on the map only if you have access to the appropriate amount of money (GMP) to pay them. It's because of this that I advised that before you even think about going on this mission, you should accumulate at least 100,000 GMP (it should be a sufficient amount for this mission).
- Metal Gear Solid V: The Phantom Pain Game Guide & Walkthrough
- MGS 5 The Phantom Pain: Strategy guide and main missions
- MGS 5 The Phantom Pain: Walkthrough
- MGS 5 The Phantom Pain: Mission 31 - Sahelanthropus
- MGS 5 The Phantom Pain: Mission 31 - Sahelanthropus
- MGS 5 The Phantom Pain: How to defeat Sahelanthropus?
- MGS 5 The Phantom Pain: List of Sahelanthropus' attacks
- MGS 5 The Phantom Pain: The first phase of the battle with Sahelanthropus
- MGS 5 The Phantom Pain: The second phase of the battle with Sahelanthropus
- MGS 5 The Phantom Pain: Mission 31 - Sahelanthropus
- MGS 5 The Phantom Pain: Walkthrough
- MGS 5 The Phantom Pain: Strategy guide and main missions
You are not permitted to copy any image, text or info from this page. This site is not associated with and/or endorsed by the developers and the publishers. All logos and images are copyrighted by their respective owners.
Copyright © 2000 - 2025 Webedia Polska SA for gamepressure.com, unofficial game guides, walkthroughs, secrets, game tips, maps & strategies for top games.
