Medal of Honor Airborne: Destroy Northeast Gate AA Gun
This is going to be a slightly easier mission objective, however you will have to land in a very precise spot in order to ensure your victory. I wouldn't recommend choosing the green zone, because you would have to waste a lot of time trying to reach your target. Instead, choose the town wall. As a result, it's only going to take you about two minutes to finish up with this goal.
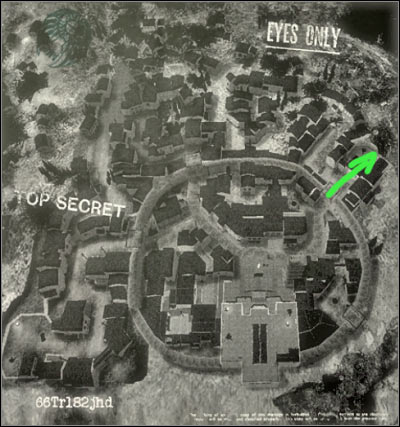
Approach:
It would be a good idea to choose a small window for your landing location. This is a bonus zone, so you'll be rewarded with yet another Skill Drop. If you don't feel too comfortable or if you're having some problems reaching the window, you could also try and land on the roof of one of the nearby buildings or directly on the brick wall. I wouldn't recommend landing in the safe zone (green smoke).
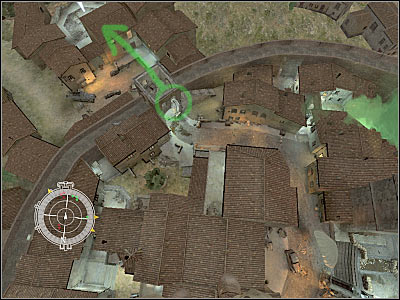
Reaching your target:
Once you're inside a small room, you should consider hiding behind a wall because there's a heavy machine gun post nearby. Lean out and take it out quickly. Aim at the head of the enemy soldier. You should also know that other enemy units may try using this gun later during the course of the mission. You will have to prevent them from doing that. It's very important that the machine gun post is neutralized, because otherwise your allies wouldn't be able to enter this area without dying almost instantly.
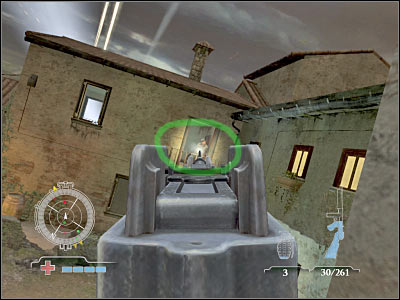
Now you must focus all of your attention on securing the lower square, because that's where enemy units should appear. If you don't stay in the open for too long, you should be able to kill them without receiving any major injuries. You could also consider using grenades to take out larger groups. Also, make sure that you don't hit any of the allied soldiers. Your teammates will advance towards the gun, so it's very easy to make a mistake here. Choose your targets carefully.
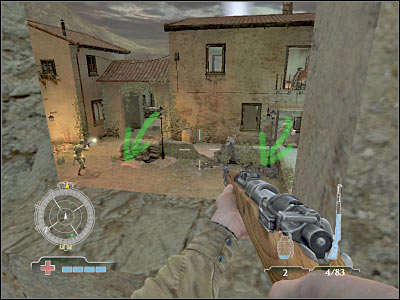
Once you've secured the square from the top, use the stairs (or jump through the window - risky if you're playing at Expert) to rejoin with the rest of the squad. The heavy machine gun post has been neutralized, so you won't have to use walls for cover all the time. There are two different passageways leading to your current destination. The main one (between buildings) will probably be heavy defended, so head on to the building on your right. Enter it. It would be wise to have a machine gun here, because you'll be fighting enemy soldiers at a very short distance.
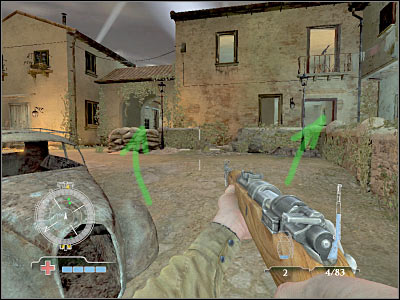
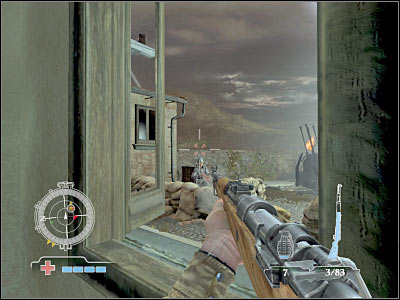
Once you're inside, check the stairs (to your left). Next, hide near one of the windows. You should be able to take out the crew of the AA gun from here. Thankfully, there aren't many soldiers here, so it's going to be an easy fight. Additionally, you will receive help from the rest of the team. Once this is done, secure the right building and approach the AA gun. Place the charge and move back to a safe distance. This will allow you to fulfill this mission objective.
- Medal of Honor: Airborne Game Guide
- Medal of Honor Airborne: Game Guide
- Medal of Honor Airborne: Operation Husky
- Medal of Honor Airborne: Mission objectives
- Medal of Honor Airborne: Destroy Hill Houses AA Gun - part 1
- Medal of Honor Airborne: Destroy Hill Houses AA Gun - part 2
- Medal of Honor Airborne: Destroy Northeast Gate AA Gun
- Medal of Honor Airborne: Destroy Town Hall AA Guns - part 1
- Medal of Honor Airborne: Destroy Town Hall AA Guns - part 2
- Medal of Honor Airborne: Assemble with Airborne at North gate
- Medal of Honor Airborne: Locate Missing Sniper Team
- Medal of Honor Airborne: Eliminate German Commander
- Medal of Honor Airborne: Assemble with Airborne at Town Square
- Medal of Honor Airborne: Eliminate German officers - part 1
- Medal of Honor Airborne: Eliminate German officers - part 2
- Medal of Honor Airborne: Operation Husky
- Medal of Honor Airborne: Game Guide
You are not permitted to copy any image, text or info from this page. This site is not associated with and/or endorsed by the developers and the publishers. All logos and images are copyrighted by their respective owners.
Copyright © 2000 - 2026 Webedia Polska SA for gamepressure.com, unofficial game guides, walkthroughs, secrets, game tips, maps & strategies for top games.
