Mass Effect 3: Priority, The Citadel #2 - walkthrough
On this page of the Mass Effect 3 guide you'll find the walkthrough for the main quest Priority - Citadel 2, that is the second visit to the Citadel in the main story. You'll learn how to react to a failed docking attempt, how to win all the battles on the Citadel, the variants of the scene with Esheel, how to defeat nemesis units, and how the meeting with the Council members may go through.
- Return to the Citadel
- Battles against Cerberus troops on the Citadel
- Reaching the Executor's Office
- Esheel & Kai Leng - scene variations
- Battles with Phantoms, Nemesis units and other Cerberus troops
- Confrontation with Kai Leng
- Meeting with the Council
- Return to Normandy - potential additional choices
Return to the Citadel
Received from: Salarian Council member [Normandy SR-2: Combat Information Center]
Unlocked by: Received automatically after completing Priority: Tuchanka.
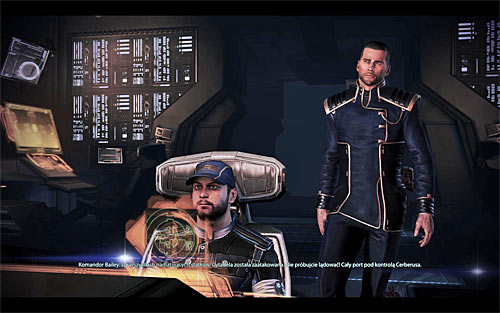
Open the galaxy map and return to the Citadel located in the Serpent Nebula. Make an attempt to dock on the Citadel which will result in a failure. You can find out that the Citadel is under attack by Cerberus forces from commander Bailey or from Thane (only if he's still alive and if you've met with him during one of your previous visits to the Citadel).
Wait until you're transported to the C-Sec Headquarters area of the [Citadel] where you'll officially begin this new main mission.
Battles against Cerberus troops on the Citadel
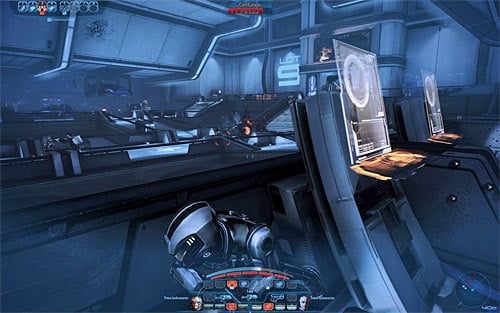
Order your team members to take cover close to the main path leading to the door seen in the distance. Leave your colleagues and proceed towards the left or right balcony. Doing this means having to defeat several Cerberus soldiers, however once they're gone you'll have a much easier job flanking the rest of enemy units.
Focus your efforts on eliminating centurions and engineers, preventing them from deploying too many turrets (at least one turret should be active from the beginning of this battle). Don't forget that you can also destroy generators and shield pylons, so that your enemies won't be able to use them for better defense (you can of course rely on their protection as well).
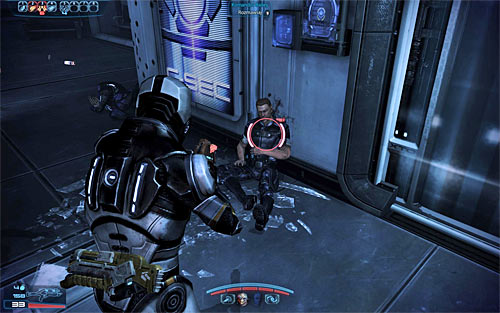
Keep fighting until you've defeated all Cerberus units. Search the area to find a medical station [50 EXP] and wounded commander Bailey. Talk to Bailey in order to find out that the salarian Council member named Esheel should be found in the executor's office and that meeting her is the top priority [600 EXP]. Leave this area after the conversation (it doesn't matter whether you'll choose the left or right corridor, because they both lead to the same door).
Reaching the Executor's Office
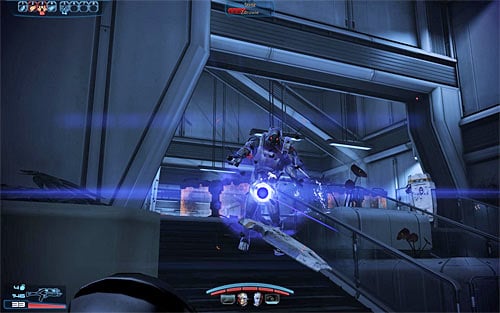
Locate a door and enter the next area. Eliminate two Cerberus troopers seen directly in front of you, however watch out for a much larger group stationed to your left. You'll be dealing with guardians during this battle, so remember to rely on biotic powers of your team in order to make them helpless to standard attacks.
Keep fighting until you've secured this area and then proceed towards the stairs. A new group of Cerberus units will attack you here and it would be good to start firing at them before they make their way from the upper balcony.
![Take some time to explore this area after the battle, because youll find a med kit [100 EXP], a terminal with Baileys warning, a weapon mod [Assault Rifle Piercing Mod] and a dead C-SEC member - Mass Effect 3: Priority, The Citadel #2 - walkthrough - Main Missions - Mass Effect 3 Guide](/masseffect3/gfx/word/706328843.jpg)
Take some time to explore this area after the battle, because you'll find a med kit [100 EXP], a terminal with Bailey's warning, a weapon mod [Assault Rifle Piercing Mod] and a dead C-SEC member. Once you're done exploring proceed to a new door.
Save your game before entering the next area. This is a much smaller room, so you should consider using grenades here to your advantage. You can also attempt to reach a small balcony to your right to get a better vantage point. Watch out for at least two turrets during this battle.
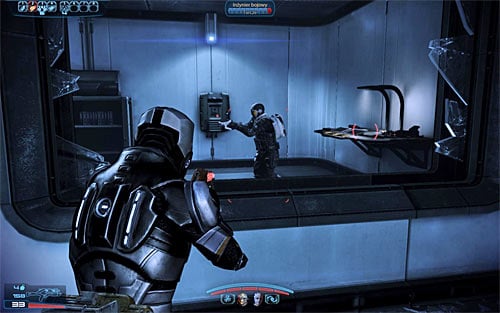
Don't leave this area right away, because you can find a couple of valuable objects here. Make sure to check the toilets so that you'll find an assault rifle [M-76 Revenant] and a locker [6250 credits]. The main room in which the last battle took place contains another dead C-SEC member, as well as an armor fragment [Recon Hood] and a medical station [150 EXP].
You may proceed to the next area. Be ready to quickly eliminate an enemy engineer and then use the broken window to enter a small storage area. There's a weapon bench here, as well as a weapon mod [Sniper Rifle Extended Barrel]. Fire at the box to activate the elevator and use it to travel to a new floor.
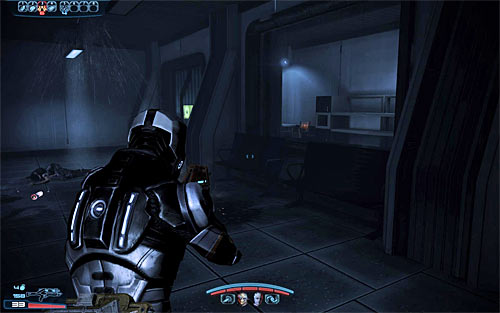
Once you've arrived on a new floor you should take some time to explore your surroundings. You can find two weapon mods [Pistol High-Caliber Barrel] [Pistol Piercing Mod], an armor fragment [Securitel Helmet], a submachine gun [M-25 Hornet] and a terminal.
Choose a small passageway located to the right of the malfunctioning door and as soon as you've entered a new office find a control panel. Interact with the panel and then return to the previous area. Notice that you can now explore a small storage space located to the left (screen above). This small rooms contains a pistol [M-358 Talon] and a datapad.
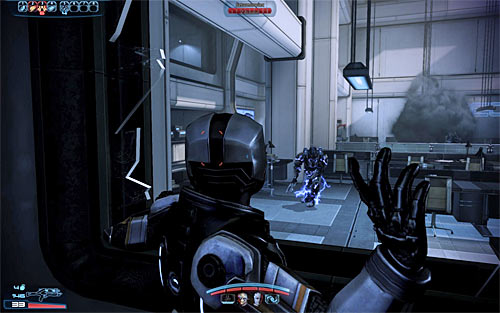
You may resume your journey and this means choosing the right passageway again. Find a terminal along the way [6250 credits] and surprise two Cerberus troopers who shouldn't stand a chance.
Save your game once you're close to a large mess hall, because Cerberus units will soon begin landing in this area. Start attacking them, remembering to rely on cover and to prevent them from moving too close. Once it's safe here again take a look around to find two medical stations [150 EXP] [150 EXP], credits [6250 credits] and a weapon mod [Sniper Rifle Piercing Mod].
Esheel & Kai Leng - scene variations
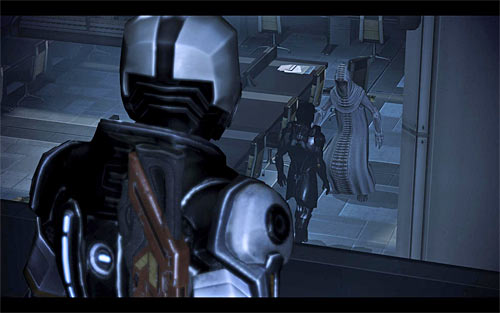
Choose the only passageway leading to the executor's office. The game will trigger a cut-scene here showing the salarian Council member that's been hiding up to this point. The game won't allow you to talk to Esheel right away, because Kai Leng will soon arrive here. The situation downstairs can have one of three endings.
- The first ending is for Thane to show up, however you can count on this only if he's still alive and if you've met him earlier in the game. Thane will manage to save Esheel's life, however he will be seriously injured.
- The second ending is for major Kirrahe to show up, however you can count on this only if Thane couldn't help you and if Kirrahe is still alive. The major will save Esheel's life, however he will die doing that.
- The third ending is the death of Esheel caused by no appearance neither from Thane nor Kirrahe.
The next part of this quest is similar for all three endings - Kai Leng will flee and Shepard's team will pursue him, causing a shuttle crash in one of the areas of the Presidium [600 EXP].
Battles with Phantoms, Nemesis units and other Cerberus troops

Head towards the Shalmar Plaza, but make sure to take cover as soon as you've noticed the first Cerberus shuttle. You're going to take part in a new battle here and you'll also have to deal with at least one new type of enemy units. I'm mostly talking about elite Cerberus fighters called phantoms and it's crucial to maintain safe distance from them, because they can use their swords in melee combat to instantly kill Shepard or someone else from the team. It's worth knowing that you can try destroying phantom's swords to decrease the level of threat they pose. As for defeating them, notice that they're surrounded by biotic barriers, so you must use proper types of ammunition, grenades and powers to weaken them.

Aside from a single phantom you'll also have to defeat two nemesis units and assuming you didn't finish N7 quests earlier in the game this may be your first encounter with these types of enemies. Nemesis is basically a sniper and you can know that you're being targeted by one when you notice a red laser beam. Avoid getting hit at all costs, because it can result in losing your shields instantly or (in extreme cases) even dying.
The safest way to get rid of the first pair of nemesis units is to approach them using the left balcony. They should be occupied with targeting your team members, so you will be allowed to flank them. Secure this entire area before moving on.
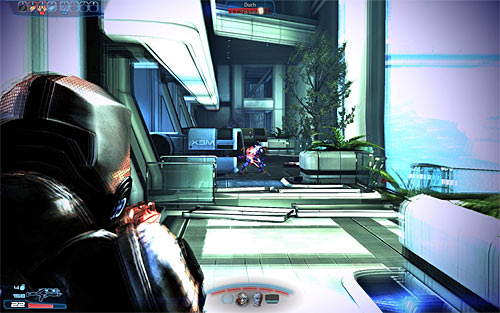
Save your current progress and then proceed towards a small gap where you'll have to perform a jump. Reaching the second part of this area will result in more Cerberus units showing up and the safest way to deal with them is to quickly return to the previous area. This is important, because otherwise you would be exposed from two sides and therefore you'd allow two new phantoms to successfully move close enough to use their swords. Deal with the phantom units and with a single nemesis. Once they're gone focus on "standard" Cerberus troops.
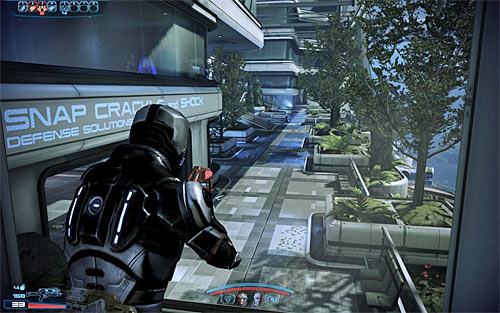
Soon after you've resumed your journey you'll notice that Cerberus troops have blocked a nearby passageway. This means you'll have to turn right and travel through several empty areas, performing jumps and climbing along the way. Don't forget to pick up credits [6250 credits] before choosing a path leading to the Shalmar Plaza. Once you're there (screen above) save the game, because you're about to encounter a new mech.
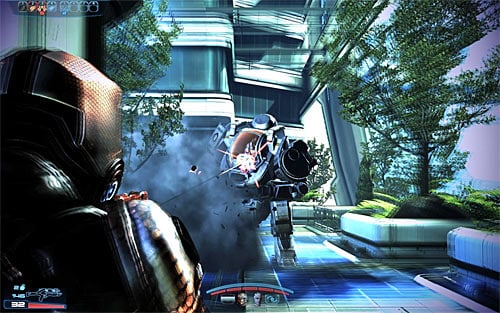
Head down and quickly order your teammates to take cover. Defeat a nearby Cerberus engineer and get ready for a duel with an Atlas mech. Sadly the game won't allow you to use any unique weapons during this battle, so you'll have to rely only on the strength of your attacks. Don't forget about an ammo stash found in the left store in case you run out of supplies. The mech you're fighting has a shield so you must destroy it before you can focus on its armor. Just as with other encounter with mechs, you can also try killing the soldier sitting inside the machine with a precise sniper shot.
Confrontation with Kai Leng
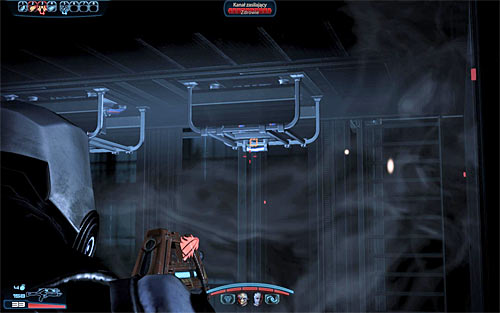
Once you've dealt with the mech you'll also have to eliminate standard Cerberus soldiers and they shouldn't pose a serious threat. Continue fighting until it's safe and then proceed towards a door leading to the Council's elevator (this is your last chance in this mission to save your progress).
Open the door to trigger a new cut-scene showing the pursuit after Kai Leng. You'll regain control once you're on a roof of a moving elevator. Wait until you catch the elevator used by Kai Leng and his men and follow the advice by destroying two power conduits located on the bottom of the elevator (you can use a weapon or an offensive power) [60 EXP].
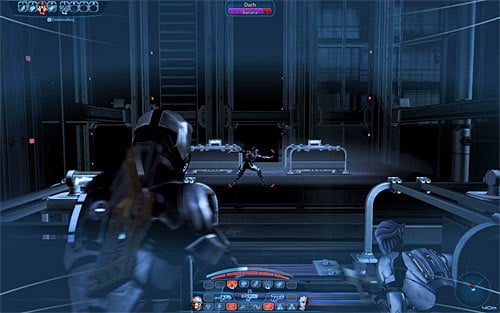
Quickly turn around and wait for a new elevator to catch up to yours. Notice that a phantom is standing on top of that elevator and there are two ways how you can react - you can start attacking the phantom to kill him or (if you're fast enough) you can destroy two power conduits located on the top of the second elevator [60 EXP].
If the phantom has managed to jump to your elevator, then you must quickly eliminate him, preventing him from killing everyone from your team. Otherwise you won't have to worry about him, because he'll go down along with the elevator he was standing on.
![Get ready, because once again youll have to stop Kai Lengs elevator and this can be achieved using identical methods - by shooting at the power conduits at the bottom of his elevator [60 EXP] - Mass Effect 3: Priority, The Citadel #2 - walkthrough - Main Missions - Mass Effect 3 Guide](/masseffect3/gfx/word/706329031.jpg)
Get ready, because once again you'll have to stop Kai Leng's elevator and this can be achieved using identical methods - by shooting at the power conduits at the bottom of his elevator [60 EXP]. The last part of the elevator ride will require you to jump to a roof of the Council members' elevator (screen above).
Meeting with the Council
You will now advance to the final part of this quest and I urge you to read the description seen below so you won't make any mistakes and choose the outcome you're interested in.

The first part of the finale is about convincing Ashley or Kaidan about your good intentions and it's required only if you weren't close to them (and gained their loyalty) in the previous games. You can choose a standard paragon/renegade option or you can choose a paragon/renegade interrupt (left or right mouse button).
Activating the interrupts isn't a key factor to your success and don't worry if you've missed these actions, because you won't fail the negotiations as a result of that.
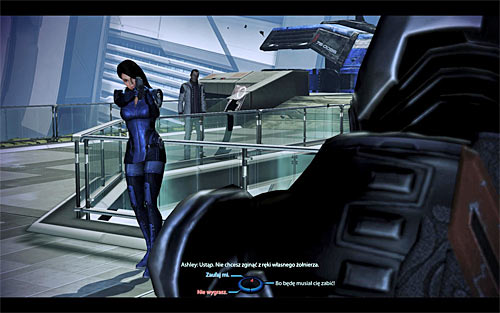
Ambassador Udina may decide to present some evidence which implicates Shepard in killing the salarian Council member. If you are in good relations with Ashley/Kaidan, then they should take your word and believe in your story. Otherwise you'll have to use a special paragon/renegade dialogue option (upper left and lower left) to convince them, however these dialogue options are only available if you've sufficiently developed your reputation.
If you don't care about Ashley's/Kaidan's fate, then you may decide to kill your former ally by choosing the lower right dialogue option. In this case you will be allowed to choose between taking the shot yourself (renegade interrupt - left mouse button) or waiting for someone from your team to perform a kill for you.
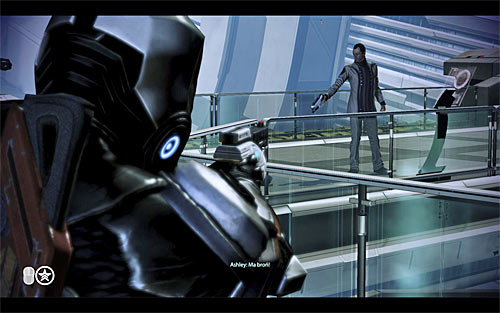
The second part of the finale is about stopping Ambassador Udina and this occurs even if you've decided to kill Ashley/Kaidan instead of convincing them to stay on your side. If Ashley/Kaidan is alive, then Udina will most likely take a hostage.
Sadly you won't be able to talk him down, so you're left with a choice if you want to shoot him yourself (renegade interrupt - left mouse button) or if someone from your team should take initiative (wait for the interrupt icon to disappear).
Return to Normandy - potential additional choices
![You will now have a chance to talk to some of the Council members and to commander Bailey (after youve returned to [Citadel: Citadel Embassies]) - Mass Effect 3: Priority, The Citadel #2 - walkthrough - Main Missions - Mass Effect 3 Guide](/masseffect3/gfx/word/706329093.jpg)
You will now have a chance to talk to some of the Council members and to commander Bailey (after you've returned to [Citadel: Citadel Embassies]).
Notice that this quest didn't officially end, so you must go to [Citadel: Bay D24] and decide to return to the Normandy (you can also optionally visit dying Thane in [Citadel: Huerta Memorial Hospital], assuming he provided assistance in saving the salarian Council member).
If Ashley/Kaidan is still alive, then you'll automatically meet your ally after opening the bay door. I strongly recommend that you encourage Ashley/Kaidan to become your team member once again, because otherwise that person will be recruited to admiral Hackett's crew and you won't be allowed to rejoin again.
Once you've returned to Normandy speak to Liara (she'll have a side quest for you named Mesana: Distress Signal - we have described it in the Missions outside the Citadel chapter), as well as to admirals Anderson and Hackett. They will mention that you should contact the quarians and this is going to be your next main objective.
Prizes for completing the mission:
- Mission unlocked: Priority: Perseus Veil
- Unlocked quest Distress Signal
- New party member (rejoined): Kaidan Alenko or Ashley Williams
- War asset [Citadel Defense Force]
- War asset [Ashley Williams/Kaidan Alenko]
- War asset [Asari Science Team]
- War asset [Asari Second Fleet]
- War asset [Asari Sixth Fleet]
- War asset [Krogan Clans]
- War asset [Turian Sixth Fleet]
You are not permitted to copy any image, text or info from this page. This site is not associated with and/or endorsed by the Electronic Arts Inc. or BioWare Corporation. All logos and images are copyrighted by their respective owners.
Copyright © 2000 - 2025 Webedia Polska SA for gamepressure.com, unofficial game guides, walkthroughs, secrets, game tips, maps & strategies for top games.
