Mass Effect 3: Kallini: Ardat-Yakshi Monastery - walkthrough
Ardat-Yakshi Monastery Quest outside the Citadel
This page of the Mass Effect 3 game guide contains the walkthrough for the side quest Kallini: Ardat-Yakshi Monastery. In this walkthrough you will learn about the loot hidden in the monastery, when to meet Samara, how to defeat the banshee, how to win the battle in the Great Hall and how to optionally save Samara from death.
- Exploration of the monastery
- Potential meeting with Samara
- First encounter with a banshee
- Further journey through monastery
- Battle in the Great Hall
- Samara and Falere - important choices
Exploration of the monastery
Received from: none [Lesuss: Monastery]
Unlocked by: Received automatically after completing Mesana: Distress Signal.
![You may begin exploring the Ardat-Yakshi monastery located in [Lesuss: Monastery] - Mass Effect 3: Kallini: Ardat-Yakshi Monastery - walkthrough - Missions outside the Citadel - Mass Effect 3 Guide](/masseffect3/gfx/word/182911812.jpg)
You may begin exploring the Ardat-Yakshi monastery located in [Lesuss: Monastery]. Start off by examining the area around the landing site and you'll find a weapon mod [Assault Rifle Stability Damper]. Once you have the upgrade enter the monastery. Perform two jumps and use several ladders in order to make your way to a dark and large room.
You won't encounter any enemies here, but you will find a lot of loot - a console, a computer, a palmtop [20 EXP], two weapon mods [Pistol Melee Stunner] [Sniper Rifle Spare Ammo], a safe [7500 credits] and a terminal [Intel data (Gallae's Electronic Signature)]. After you're done exploring choose the passageway where a dead asari can be found (naturally you should examine the body before leaving) [600 EXP].
Potential meeting with Samara
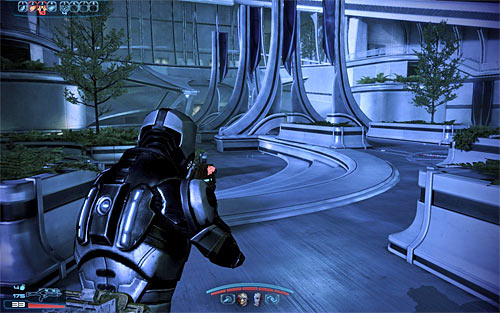
Continue exploring the monastery. It will be very easy, because you still won't be bothered by any enemies. Use your Omni-tool to open one of the doors and make sure to pick up a palmtop found near a dead asari (this item is needed to complete Citadel: Asari Widow side mission) [20 EXP].
If Samara didn't die in the previous game, then you may also have your first encounter with her, but it's not that important. SAVE your game before entering a large square (screen above), because the first battle of this quest is about to begin.
First encounter with a banshee
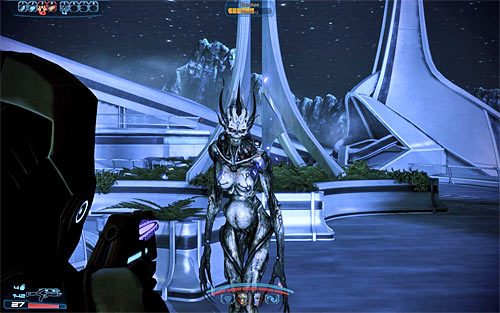
A single banshee will soon appear at the square and assuming that you've started this mission soon after receiving it this will most likely be your first encounter with an Ardat-Yakshi asari mutated by the Reapers.
The most important thing you should know is that it's very important to maintain a large distance from the banshee. Don't be fooled by a very slow walk, because the banshee can also teleport itself, rapidly decreasing its distance to your team. Thankfully this is a very large square, so you shouldn't have major problems staying away. As for attacking the banshee, the monster is surrounded by a biotic barrier, so it's crucial to use ammunition, grenades and powers that can weaken it. Focus on avoiding the banshee's attacks which will include homing projectiles and a powerful shockwave. The second attack needs a few seconds to charge and this means you'll always have some time to quickly move away.
One last thing to remember is that the banshee can regenerate itself in a small way, so you shouldn't leave it alone but try to defeat it in a single long attack.
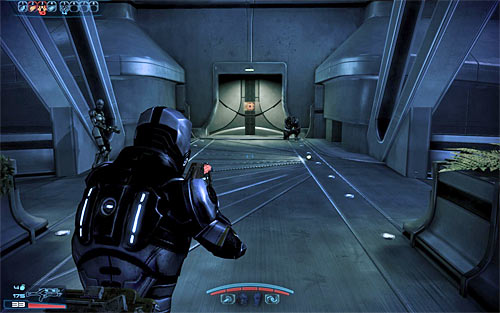
Once you've defeated the banshee a group of cannibals should appear in the area and thankfully killing them is going to be very easy. Secure this entire square, collect much needed ammunition and then proceed towards the only available door. Use your Omni-tool to open the door. The game will automatically start a conversation with Falere, one of the surviving sisters of the Ardat-Yakshi monastery. It doesn't matter how you respond to her appearance and whether Samara will take part in this meeting or not, because Falere will soon flee hoping to save her sister Rili in time.
Further journey through monastery
![Explore the area to find a computer with a recording [20 EXP] and then go towards the only interactive door - Mass Effect 3: Kallini: Ardat-Yakshi Monastery - walkthrough - Missions outside the Citadel - Mass Effect 3 Guide](/masseffect3/gfx/word/182911875.jpg)
Explore the area to find a computer with a recording [20 EXP] and then go towards the only interactive door. Attack a single marauder that's going to be accompanied by a group of cannibals. Make sure to use proper types of ammunition and powers during this fight and the upcoming ones, because some monsters may be protected by additional biotic barriers.
Explore this entire floor after the battle, including side rooms. You can find an armor fragment [Serrice Council Shoulders], a shotgun [Disciple], a medical station [150 EXP], two computers [20 EXP], a safe [5000 credits] and a weapon modification station.
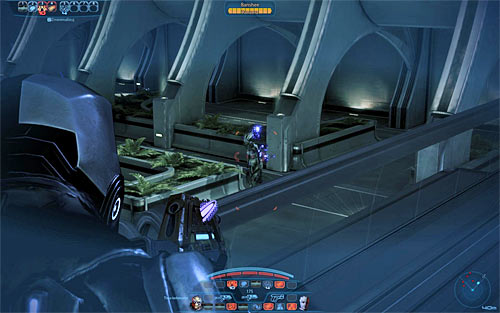
Save your game before trying to use one of the stairs to reach the ground floor. A new battle will soon begin and your top priority should be a new banshee. The rules of killing the banshee and avoiding its attacks haven't changed since the last time. I recommend using the balustrades on the upper floor for cover and to prevent the banshee at all cost from using the stairs. Once you've killed the banshee you may start attacking the cannibals. There aren't a lot of them so this battle should end quickly.
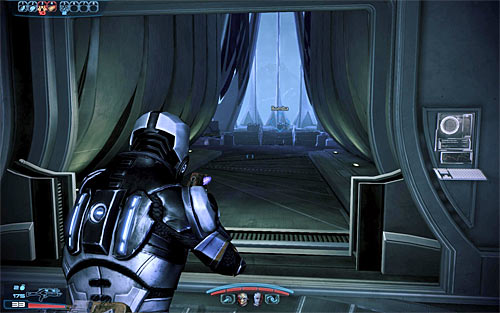
Check the area and then go to the only available door. Use the Omni-tool on the door, enter the next room and look around to find a dead asari and a weapon mod [Assault Rifle Precision Scope]. Once you've finished exploring head to the exit and interact with the lift controls [400 EXP].
Save your game after entering the Great Hall (screen above), because the final battle of the quest will soon take place here.
Battle in the Great Hall
![Explore the Great Hall (you wont encounter any hostile creatures just yet) in order to memorize the locations of all ammo stashes and to find two medical stations [150 EXP] [150 EXP] and one med-kit [100 EXP] - Mass Effect 3: Kallini: Ardat-Yakshi Monastery - walkthrough - Missions outside the Citadel - Mass Effect 3 Guide](/masseffect3/gfx/word/182911921.jpg)
Explore the Great Hall (you won't encounter any hostile creatures just yet) in order to memorize the locations of all ammo stashes and to find two medical stations [150 EXP] [150 EXP] and one med-kit [100 EXP]. If you have a full supply of medi-gels you can ignore the healing supplies for now, because you might need them more during the battle and you'll be allowed to return for them after defeating all hostile beings.
Approach the bomb (screen above) and examine it to trigger a cut-scene involving the sisters and to start the final battle.
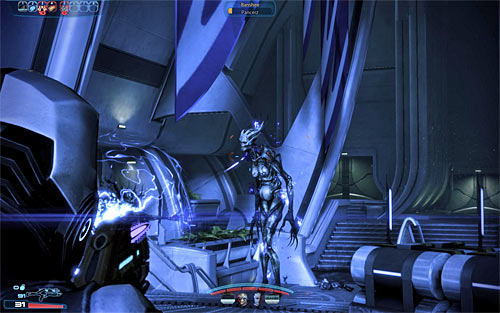
The biggest problem of this battle is that you'll have defend yourself from TWO banshees at the same time. Focus the attention of your entire time on one of the banshees, trying to kill it as fast as possible. You also have to worry about husks heading your way, preventing them from moving close enough to trigger melee attacks.
Don't forget that you can move freely around this hall, because the bomb doesn't have any energy bars and therefore you won't have to defend it. Try keeping the banshees at a safe distance and avoid their shockwaves at all costs. Once you've killed the first banshee attack the other one and leave the standard monsters for last.
Samara and Falere - important choices
![Once youve won the battle [400 EXP] make sure to collect the supplies again (including medical ones if youve ignored them before) and approach the bomb for the second time in order to find its detonator - Mass Effect 3: Kallini: Ardat-Yakshi Monastery - walkthrough - Missions outside the Citadel - Mass Effect 3 Guide](/masseffect3/gfx/word/182911953.jpg)
Once you've won the battle [400 EXP] make sure to collect the supplies again (including medical ones if you've ignored them before) and approach the bomb for the second time in order to find its detonator. This will result in triggering a very effective cut-scene during which Rila will sacrifice her own life to ensure that her sister and your team will leave the monastery in time.
Wait until you're back outside where you'll have to engage in at least one more conversation. If Samara is still alive she'll try to commit suicide and you can stop her from doing that by activating a paragon interrupt (right mouse button). The second conversation (or the only one if Samara died in the previous game) is with Falere and it has two endings - you can kill the Ardat-Yakshi (renegade interrupt - left mouse button) or you can believe in her promise and leave her alive in the monastery. The team will return to the Normandy where you'll talk to the asari councillor.
Prizes for completing the mission:
- [12500 credits]
- War asset [Asari Commandos]
- Mass Effect 3 Guide
- Mass Effect 3: Walkthrough
- Mass Effect 3: Missions outside the Citadel
- Mass Effect 3: Grissom Academy: Investigation - walkthrough
- Mass Effect 3: Grissom Academy: Emergency Evacuation - walkthrough
- Mass Effect 3: Tuchanka: Bomb - walkthrough
- Mass Effect 3: Mesana: Distress Signal - walkthrough
- Mass Effect 3: Kallini: Ardat-Yakshi Monastery - walkthrough
- Mass Effect 3: Arrae: Ex-Cerberus Scientists - walkthrough
- Mass Effect 3: Missions outside the Citadel
- Mass Effect 3: Walkthrough
You are not permitted to copy any image, text or info from this page. This site is not associated with and/or endorsed by the developers and the publishers. All logos and images are copyrighted by their respective owners.
Copyright © 2000 - 2025 Webedia Polska SA for gamepressure.com, unofficial game guides, walkthroughs, secrets, game tips, maps & strategies for top games.
