Mass Effect 3: Priority, Cerberus Headquarters - walkthrough
On this page of the Mass Effect 3 guide you will find the description of the main quest Priority - Cerberus Headquarters. This walkthrough explains, among other things, when you can proceed to the campaign's finale, how to behave during conversations with the Illusive Man and the Prothean VI, and how to finally defeat the Kai Leng boss.
- Reaching the Cerberus HQ - Cronos Station
- Battles at Cronos Station
- Conversations with the Illusive Man and Prothean VI
- Kai Leng final boss fight
- Return to Normandy
Reaching the Cerberus HQ - Cronos Station
Received from: Admiral Hackett [Normandy SR-2: Combat Information Center]
Unlocked by: Received automatically after completing Priority: Horizon.
Warning! Don't start this quest if you still have some side missions in your journal, because completing them later on in the game won't be possible. The same thing applies to visiting the Citadel and exploring the galaxy, so make sure it's all done. You can find out more about these restrictions by reading the guide's page titled Finale - how should I prepare?.
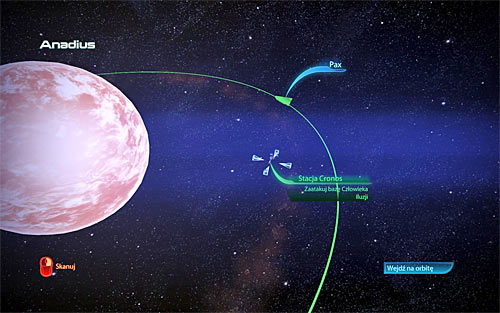
Open the galaxy map and travel to the Horse Head Nebula. Once you're there (Pax system), use the refuelling station if you need to and fly to an adjacent system named Anadius. Here you must hover over Cronos Station (screen above) and confirm that you want to begin docking procedures (which basically means you'll be attacking the Cerberus base).
Listen to a new conversation with admiral Hackett during which you'll have to confirm that you're ready (this is your last chance to back down). Before the new mission starts you'll take part in the third dream sequence (all you have to do is run after the child) and you can also share an intimate moment with the person you've chosen as a romance partner. There are a few other conversations you'll have to complete before the attack and you should also notice that EDI must join you in this mission.
Watch new cut-scenes, showing an effective way of getting inside the [Cronos Station].
Battles at Cronos Station
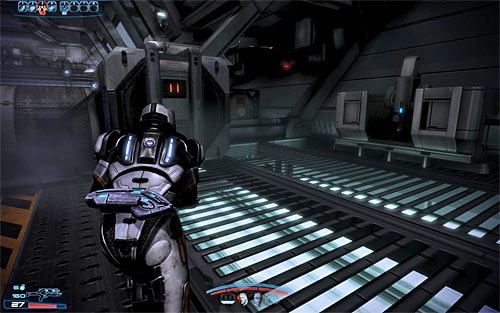
Start off by ordering your team members to find new objects for cover, because the shuttle you've crashed recently is in a bad place from the tactical point of view.
My recommendation are the big crates found near the shuttle, however you can also move to your right (screen above). The second option is best done alone and if you're planning on attacking enemy units from the flank. The Cerberus soldiers that are standing close to your position should be the ones to die first.
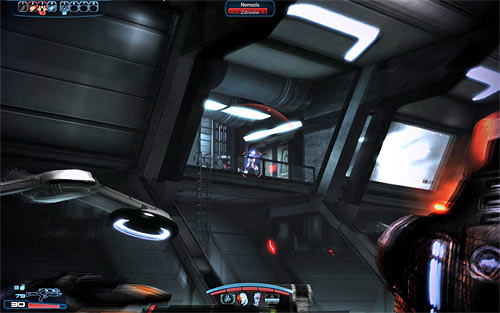
Expect two additional complications soon after this battle has started. The first problem is a nemesis (Cerberus sniper) and he will appear on an upper balcony seen to your left (screen above). The best way to get rid of this enemy is to use Overload and then (once he's helpless) to activate one of the biotic powers or to use your own sniper rifle to finish him off.
The second problem is an Atlas mech, however you should focus on the mech only after the nemesis has been taken care of. The best method of approach when it comes to fighting the mech is to kill the soldier sitting inside it. Keep fighting until you've secured this entire hangar.
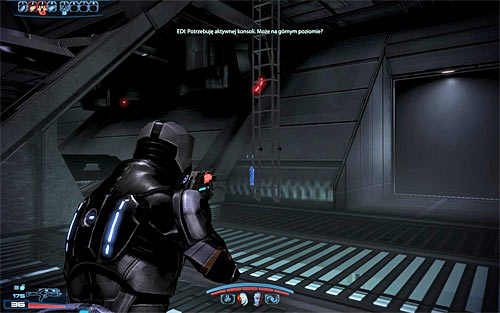
Despite the fact that you were allowed to ignore all emergency messages earlier in the game, the one that you'll hear after the battle is a real threat. There are no time limiters on the screen, but you'll have about a minute to prevent your team from getting killed.
Don't waste time on exploring the hangar, because you'll be allowed to do that after the crisis has been averted. Quickly explore the area to the left from where you've started this mission in order to locate a ladder (screen above). Use this ladder to reach a balcony (the same that was used by the recently killed nemesis soldier).
![Enter a small control room and interact with a terminal to stop the countdown for good [300 EXP] - Mass Effect 3: Priority, Cerberus Headquarters - walkthrough - Main Missions - Mass Effect 3 Guide](/masseffect3/gfx/word/12007062.jpg)
Enter a small control room and interact with a terminal to stop the countdown for good [300 EXP]. Get ready, because as soon as a short cut-scene has ended a nearby door will open and you're going to be attacked by a small group of Cerberus soldiers. Quickly take cover along with the rest of your team and don't forget to use biotic powers on guardians in order to take away their shields.
Remain on this level and head forward. The next group is station ahead. You should be careful here, because aside from standard troopers you'll also encounter a second nemesis.
![Interact with a medical station [150 EXP] along the way and stop once youve found a second control terminal - Mass Effect 3: Priority, Cerberus Headquarters - walkthrough - Main Missions - Mass Effect 3 Guide](/masseffect3/gfx/word/12007078.jpg)
Interact with a medical station [150 EXP] along the way and stop once you've found a second control terminal. Using this console won't result in new enemy units appearing around you, so you may resume your journey right away.
Find a ladder, however before you use it check a small room to your left to find a PDA [5000 credits]. Return to the ladder and slide down to return to the main floor of the hangar where you've started this mission. Save your game before interacting with a third console which releases the locks (screen above) [900 EXP].
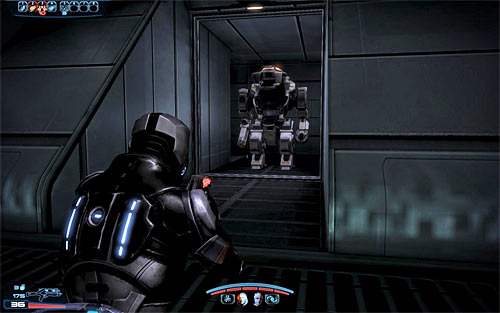
Watch an action-packed cut-scene which will inform you not only about unlocking a path to the laboratories but also about having to deal with a new group of Cerberus units. You can remain near the console you've just activated if you want to.
However a much better way to get rid of a new enemy Atlas and Cerberus soldiers is to head towards enemy units in order to occupy one of the vacant mechs. The machines can be found in storage areas on both sides of the hangar (screen above). Continue fighting until you've secured the hangar area of the station for the second time.
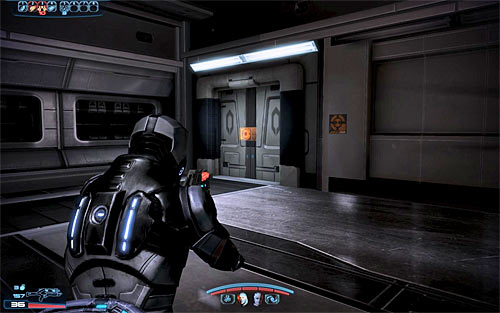
You may now explore the hangar in peace if you wish to, however since you won't find anything besides ammunition you can as well proceed towards a large hole which was created as a result of a recent explosion. Make it through the hole and search the area to find an assault rifle [M-37 Falcon] on the ground.
You may now approach the locked left door. Listen to a new conversation with EDI and once you've regained control over Shepard save the game and use the ladder to reach a lower level.
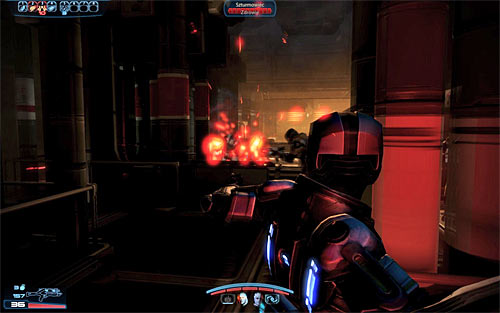
Once again you won't be given any time to prepare for the new battle, because as soon as you've used the ladder you'll find yourself under heavy fire. I would recommend that you position your teammates somewhere close to the ladder and plan to flank the enemies on your own. It should be easy, because all the rooms in this part of the station have many side passageways.
Keep pushing forward, seeking a single nemesis along the way (you'll probably have to eliminate him from a large distance). Don't forget to keep finding new cover for your squad members, so that they will be allowed to take active role in the fights.
![Eliminate all Cerberus units in the area and then look around a little to find a terminal [5000 credits] and a medical station [150 EXP] - Mass Effect 3: Priority, Cerberus Headquarters - walkthrough - Main Missions - Mass Effect 3 Guide](/masseffect3/gfx/word/12007140.jpg)
Eliminate all Cerberus units in the area and then look around a little to find a terminal [5000 credits] and a medical station [150 EXP]. The next area can be accessed by interacting with a ladder. Once you're there you'll automatically trigger a conversation with EDI and it would be a good idea to follow her advice by watching to all three recordings stored in the terminal. Notice that after you've listened to each recording you will be allowed to choose additional dialogue options (upper right or lower right).
Once you've watched to all three recordings (or less if you're not interested) close the log and search the area to find an armor fragment [Serrice Council Greaves]. You may now choose the only available passageway.
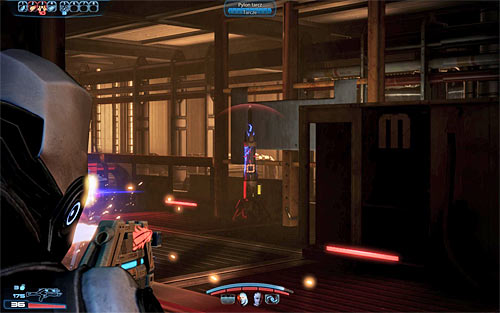
Walk through several destroyed corridors, finding a moment to save your current progress. The new battle will begin after you've landed on a lower floor. Bear in mind that the fights here are much harder than the ones before, so you'll have to play good and make good tactical decisions. I recommend that you take interest in destroying shield pylons (screen above) and generators, using weapons or Overload tech power. Performing these actions will deprive enemy units of additional defences.
It's also important to quickly eliminate every new Cerberus engineer you encounter, because otherwise they may deploy a lot of turrets. Just as before, consider using narrow side passageways in order to organize surprise attacks.
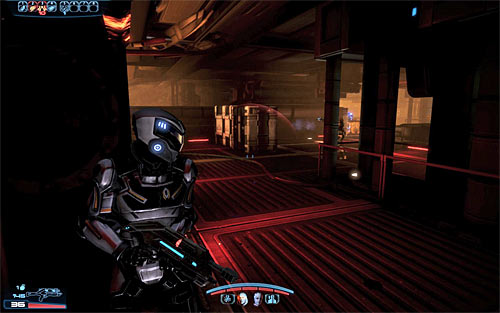
Keep pushing forward, positioning your colleagues correctly and healing them if necessary. Using the side passageways will be very helpful here, especially in avoiding enemy fortifications (screen above).
Soon after you've killed all enemy units you should be able to find a new ladder and obviously you must interact with it. I recommend that you listen to EDI's suggestion and activate a new Cerberus video log in order to watch three new recordings.
![Once youre done watching journal entries look around the room to find a PDA [5000 credits] and a medical station [150 EXP] - Mass Effect 3: Priority, Cerberus Headquarters - walkthrough - Main Missions - Mass Effect 3 Guide](/masseffect3/gfx/word/12007187.jpg)
Once you're done watching journal entries look around the room to find a PDA [5000 credits] and a medical station [150 EXP]. You may now choose the passageway which was unlocked by EDI. Ignore a hole in the left wall for the time being and instead check the laboratories located to your right (screen above). You can find a med-kit [100 EXP] here, as well as an armor fragment [Delumcore Overlay] and a console with Cerberus video logs. Just as before, the journal contains three recordings and it's up to you whether you want to watch them or not.
Return to the blue hole in the wall I've mentioned before and approach it to be automatically transported to a new area of the Cerberus station.
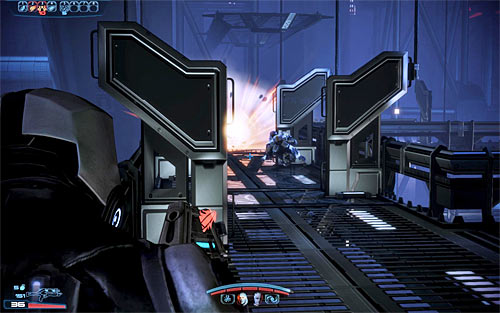
Notice that the remains of the proto-Reaper are being stored in this part of the station and you should also know that you may find different parts of the Reaper depending on the choices you've made in the finale of the previous game.
Save your progress and head forward. Get ready, because you'll be suddenly attacked by Cerberus forces. Depending on your preferred style of play you can start moving aggressively towards enemy units or you can keep your distance and play it safe. Focus on eliminating a phantom and a nemesis as soon as possible. You should also look around for new shield pylons in order to sabotage them and weaken enemy forces.
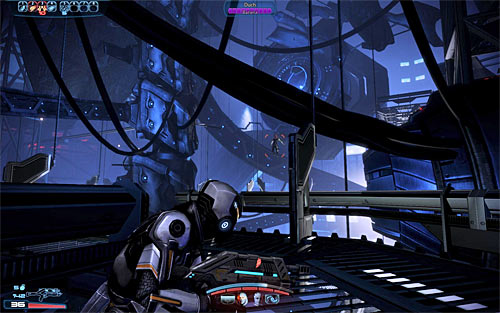
A second phantom will join the battle not long after it has started. He will probably come from your right, performing a long jump towards the balcony where other enemy units are stationed (screen above). Don't forget that each time you're going against the phantoms it's crucial to keep them at a safe distance, so you won't die or lose one of your team members.
Get rid of all Cerberus units before moving on. It shouldn't take long until you've reached a ladder connecting this level with a higher one. Use the ladder, save your game and approach a second ladder.
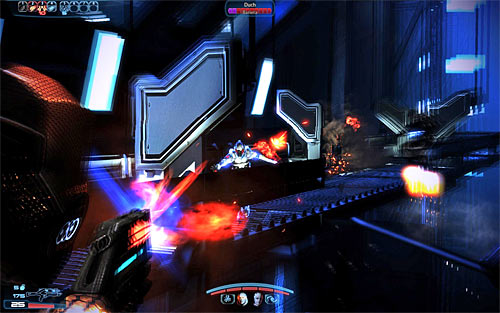
Immediately start firing at a new phantom who should be heading your way, using a balustrade for cover at the same time (you must avoid attacks from other enemies). Once you've dealt with the phantom destroy a nearby shield pylon and then focus on eliminating a nemesis (sniper). Leave cover after you've secured this area and proceed towards a new ladder. Once you're on the top level turn around and go towards the end of the balcony in order to find a PDA [5000 credits] and a med-kit [100 EXP]. You may now choose the door located close to the ladder you've used a few moments ago [900 EXP].
![The next room of the station also contains a PDA [5000 credits] and a med-kit [100 EXP], however its equally important to locate ammunition and grenade stashes - Mass Effect 3: Priority, Cerberus Headquarters - walkthrough - Main Missions - Mass Effect 3 Guide](/masseffect3/gfx/word/12007250.jpg)
The next room of the station also contains a PDA [5000 credits] and a med-kit [100 EXP], however it's equally important to locate ammunition and grenade stashes. You may also interact with the last Cerberus video journal console which will of course contain three recordings.
Open a nearby door and use a long path leading to the room with the prothean VI (screen above). This is an excellent moment to save your current progress, because you're about to begin a very difficult boss battle.
Conversations with the Illusive Man and Prothean VI
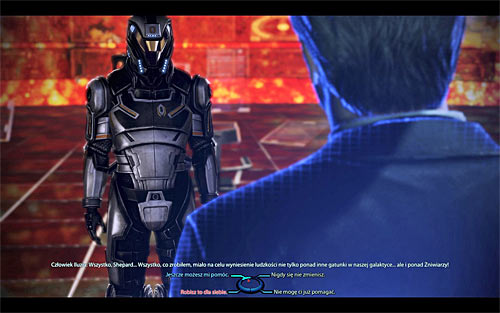
Open the door and take part in two conversations. The first conversation will be with the Illusive Man's hologram. Just as before, the game will give you an opportunity to choose a special paragon (upper left) or special renegade (lower left) dialogue option provided that you've sufficiently developed your reputation. Don't worry if your reputation is lower, because even if you use one of the special dialogues you still won't convince Illusive Man to change his mind.
The second conversation will be with the Prothean VI and you'll find out that the Citadel is the Catalyst (among a few other interesting things). This meeting will be interrupted by Kai Leng and you'll be allowed to begin a full battle with this opponent in hopes for killing him [300 EXP].
Kai Leng final boss fight
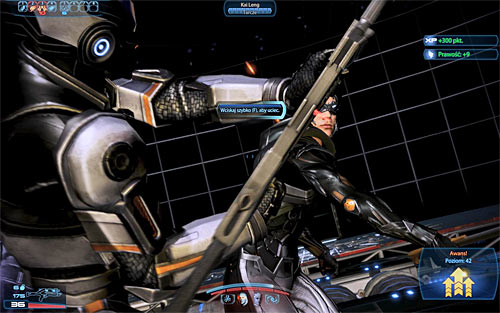
As soon as the duel has started Kai Leng will probably try to approach you and if he succeeds you'll start to struggle. The solution to this problem is identical to close combat encounters with husks, so you must start pressing the F key rapidly.
It's worth mentioning that taking part in this melee segment is optional, because you may as well move back and avoid having physical contact with Kai Leng. Similar struggles may also take place in the next stages of the battle and they're always the same.
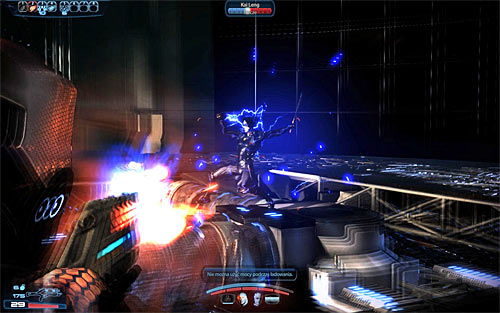
The main principle of this fight is very similar to your previous encounter with Kai Leng back when you were defending yourself inside a temple on Thessia. This means your primary objective is to weaken his tech shield using proper types of ammunition, grenades and offensive powers (Overload is very helpful and EDI should have this ability).
As for Kai Leng's attacks, aside from him using his gun you must also avoid his shockwaves. Damaged floor tiles may come in handy in this situation, because if you'll drop down you'll be allowed to take cover.
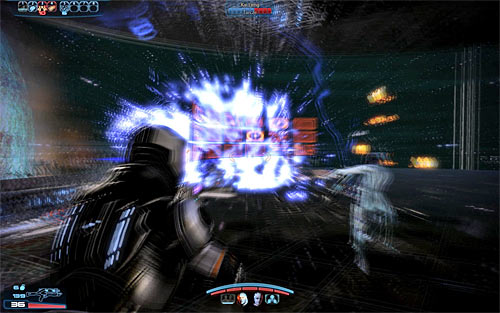
Once you've damaged a large portion of Kai Leng's shield he should quickly move back and blow up a new part of the floor (screen above). This event is a sign of additional complications.
The first problem is that new Cerberus troops will appear in the area. Thankfully the first wave are only standard troopers, so you shouldn't take too much time worrying about them. The second problem is that Kai Leng will begin to regenerate his shields and you can interrupt that process by using an offensive power or throwing a grenade at him (the grenade must come in contact with Kai Leng!).
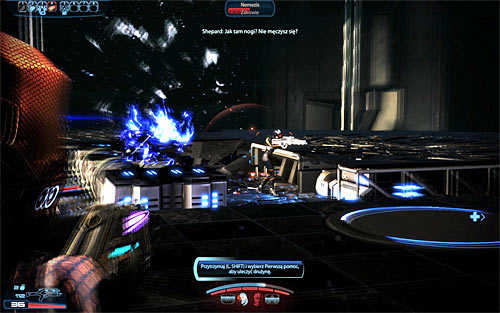
After you've successfully interrupted the healing process (or if it ended on its own) you may resume attacking Kai Leng. I recommend that you move around the room a lot, so that you will become a difficult target for the boss himself and for the soldiers he summoned to help him.
Continue repeating these actions until Kai Leng decides to regenerate his shields for the second time. In this case you'll have to be much more careful, because aside from standard soldiers a single nemesis (sniper) will also join the battle. Focus on eliminating this opponent as soon as possible, however you shouldn't also forget about stopping Kai Leng's regeneration.
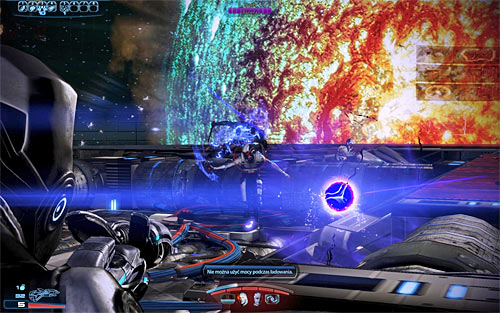
Like I've already said, stopping Kai Leng's regeneration is important, because otherwise he'll regain a lot of shield strength and the next part of the battle will be more difficult. Don't forget that you can use med-kits, not only to heal yourself, but also to revive your team members whom are very likely to die at least once.
Keep attacking Kai Leng until he retreats for the third time. Expect even more trouble than before, because a nemesis and several phantoms will join the battle. This means that aside from stopping the healing process you must also focus on eliminating elite Cerberus units.
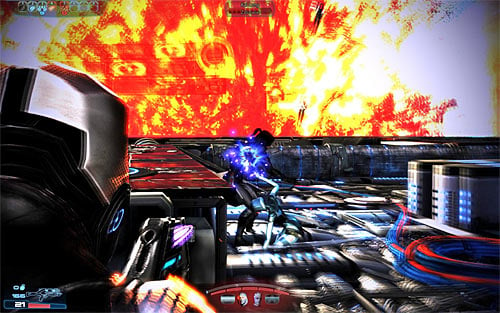
Once you've defeated the nemesis and the phantoms the situations should calm down a little and it also shouldn't take long for Kai Leng to lose all of his shields.
The final part of this duel is very simple, because the boss will be losing health points very quickly and you will be able to kill him in a manner of seconds.
Expect to see new cut-scenes after you've won the battle with the boss. The first cut-scene will show a heavily injured Kai Leng trying to perform a surprise attack on Shepard. Depending on your choice you can either activate a renegade interrupt (left mouse button) or restrain yourself from doing anything (in this case Shepard will dodge Kai Leng's attack to avoid injuries). In both situations Kai Leng will be killed without a chance of taking him alive.
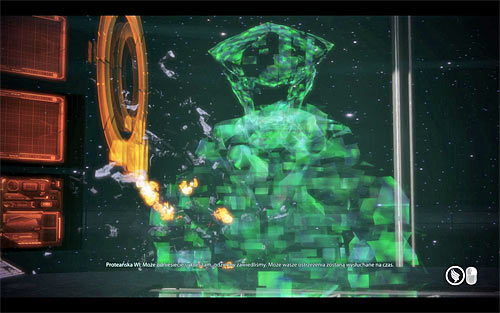
The second cut-scene is a follow-up of the conversation with the Prothean VI. It doesn't matter what your responses will be. The same thing applies to activating a renegade interrupt or (if you wait a little longer) a paragon interrupt, because these actions won't change the outcome of the meeting.
Return to Normandy
Wait until you're transported back to the Normandy and listen to a conversation with admiral Anderson.
Notice! Before you decide to proceed with the final main quest of the game, named Priority: Earth #2, you should meet with all Normandy crew members for the last time. This is also your last chance to make purchases (terminal on the Normandy) and to increase the readiness rating by completing multiplayer co-op missions. You can find out more about the preparations by reading the guide's page titled Finale - How should I prepare?.
Prizes for completing the mission:
- Mission unlocked: Priority: Earth #2
- [55000 credits]
- War asset [Reaper Heart] (only if the Collectors base was destroyed in the previous game)
- War asset [Reaper Brain] (only if the Collectors base wasn't destroyed in the previous game)
- Mass Effect 3 Guide
- Mass Effect 3: Walkthrough
- Mass Effect 3: Main Missions
- Mass Effect 3: Priority, Earth - walkthrough
- Mass Effect 3: Priority, Mars - walkthrough
- Mass Effect 3: Priority, The Citadel - walkthrough
- Mass Effect 3: Priority, Palaven - walkthrough
- Mass Effect 3: Priority, Sur'Kesh - walkthrough
- Mass Effect 3: Attican Traverse, Krogan Team - walkthrough
- Mass Effect 3: Attican Traverse, The Rachni - walkthrough
- Mass Effect 3: Tuchanka, Turian Platoon - walkthrough
- Mass Effect 3: Priority, Tuchanka - walkthrough
- Mass Effect 3: Priority, The Citadel #2 - walkthrough
- Mass Effect 3: Priority, Perseus Veil - walkthrough
- Mass Effect 3: Priority, Geth Dreadnought - walkthrough
- Mass Effect 3: Rannoch, Admiral Koris - walkthrough
- Mass Effect 3: Rannoch, Geth Fighter Squadrons - walkthrough
- Mass Effect 3: Priority, Rannoch - walkthrough
- Mass Effect 3: Priority, The Citadel #3 - walkthrough
- Mass Effect 3: Priority, Thessia - walkthrough
- Mass Effect 3: Priority, Horizon - walkthrough
- Mass Effect 3: Priority, Cerberus Headquarters - walkthrough
- Mass Effect 3: Priority, Earth #2 - walkthrough
- Mass Effect 3: Main Missions
- Mass Effect 3: Walkthrough
You are not permitted to copy any image, text or info from this page. This site is not associated with and/or endorsed by the developers and the publishers. All logos and images are copyrighted by their respective owners.
Copyright © 2000 - 2026 Webedia Polska SA for gamepressure.com, unofficial game guides, walkthroughs, secrets, game tips, maps & strategies for top games.
