Mass Effect 3: Arrae: Ex-Cerberus Scientists - walkthrough
Ex-Cerberus Scientists Quest outside the Citadel
This page of the Mass Effect 3 game guide contains a walkthrough of the Arrae - Ex-Cerberus Scientists side quest. From our walkthrough you will learn, among other things, when to find out about Cerberus deserters, where to meet Jacob, how to avoid overheating the cannon and how to perform an evacuation.
- Landing on the planet Gellix
- Initial battles
- Meeting with Jacob or Webber
- Activation of anti-aircraft guns
- Evacuation
Landing on the planet Gellix
Received from: Specialist Traynor [Normandy SR-2: Combat Information Center]
Unlocked by: You will be able to start this mission after completing Priority: The Citadel #2 main quest.
![Specialist Traynor will inform you about the possibility of starting this quest some time after completing Priority: The Citadel #2 main quest and it will occur when youll approach her station in [Normandy SR-2: Combat Information Center] - Mass Effect 3: Arrae: Ex-Cerberus Scientists - walkthrough - Missions outside the Citadel - Mass Effect 3 Guide](/masseffect3/gfx/word/182996046.jpg)
Specialist Traynor will inform you about the possibility of starting this quest some time after completing Priority: The Citadel #2 main quest and it will occur when you'll approach her station in [Normandy SR-2: Combat Information Center]. Initiate a proper conversation with Traynor to find out the details and she'll inform you about a group of Cerberus scientists that have deserted and might be useful in the upcoming battle with the Reapers.
Open the galaxy map and plan a trip to the Minos Wasteland. Once you're there (Fortis system), fly to an adjacent system named Arrae. Here you'll have to hover over the planet Gellix and confirm that you want to land on its surface.
Initial battles
![Watch a cut-scene showing fights between the scientists and Cerberus soldier and once youve reached your destination begin exploring [Gellix: Science laboratory] - Mass Effect 3: Arrae: Ex-Cerberus Scientists - walkthrough - Missions outside the Citadel - Mass Effect 3 Guide](/masseffect3/gfx/word/182996062.jpg)
Watch a cut-scene showing fights between the scientists and Cerberus soldier and once you've reached your destination begin exploring [Gellix: Science laboratory].
Start moving towards the scientists, eliminating soldiers standing in your way. A new group of Cerberus units should appear close to the entrance to the base and you'll have to be more effective than usual, because they'll be protected by additional tech shields. Destroying the shield pylons isn't required, however it may be help you in your cause. If you can't find the pylons you can also wait for enemies to come to you, forcing them to forfeit the protection. Continue fighting until you've killed all Cerberus soldiers [500 EXP].
Meeting with Jacob or Webber
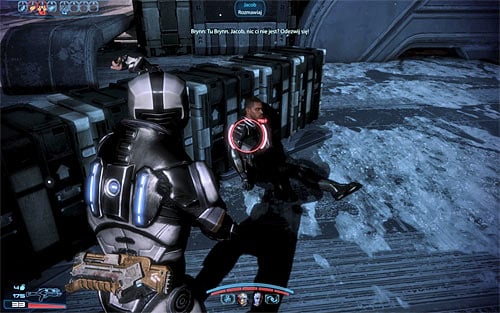
Collect the ammunition and then head towards the place where the scientists were defending. You'll encounter Jacob Taylor here, however if he died in the previous game he may be replaced by doctor Webber. Initiate a conversation with Jacob/Webber and wait to be transported to the base.
Here you'll have a chance to talk to doctor Brynn Cole and you'll find out that the scientists can't escape until the anti-aircraft cannons have been disabled. As you probably suspect shutting down the AA guns will be up your main task in this mission.

The game will give you some time to explore the first part of the base and there are plenty of things here to do. Talk to doctor Brown and to doctor Archer (only if he didn't die in the previous game), find a datapad [2500 credits] and open a nearby door. Here you'll find a weapon upgrade station and a weapon mod [Assault Rifle Magazine Upgrade].
Continue your exploration, using the stairs and finding a medical station [50 EXP] along the way. Head towards the new stairs. Once you've reached the second part of the base you'll trigger a conversation which will be about the evacuation plans. You'll be informed that your task will be to reach a satellite console.
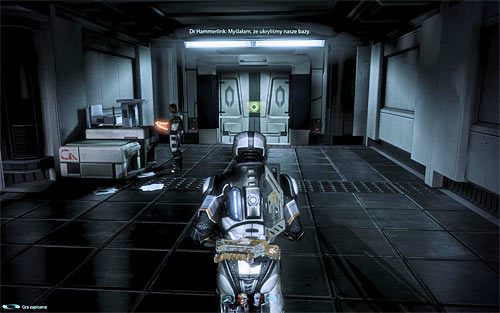
You don't have to go to your new objective right away, because you should spend some time to explore the second part of this base. You can find five datapads [2500 credits] [1250 credits], data on a turian poison (it's needed to complete Citadel: Cerberus Turian Poison side mission), a weapon mod [Shotgun High Caliber Barrel], an armor fragment [Kassa Fabrication Greaves] and a medical station [150 EXP].
You should also consider talking for the second time to doctor Brynn and to Jacob/Webber. Once you're done here proceed towards the only available door (screen above).
Activation of anti-aircraft guns
![Youll be travelling through narrow and linear corridors, however you shouldnt be moving too fast, because otherwise you may miss an opportunity of picking up a new heavy pistol [M-6 Carnifex] - Mass Effect 3: Arrae: Ex-Cerberus Scientists - walkthrough - Missions outside the Citadel - Mass Effect 3 Guide](/masseffect3/gfx/word/182996125.jpg)
You'll be travelling through narrow and linear corridors, however you shouldn't be moving too fast, because otherwise you may miss an opportunity of picking up a new heavy pistol [M-6 Carnifex]. It shouldn't take you long to reach the first area occupied by Cerberus forces. I strongly recommend that you surprise enemy units by throwing a grenade or using one of the offensive powers to destroy a shield pylon. Get rid of Cerberus soldiers and head on to the next section of the map.

Remain on the upper level and send your team members to the lower level. More Cerberus troops can be seen in the distance and of course you should start attacking them. Just as before, consider using offensive powers and grenades to shut down nearby generators and therefore to prevent enemies from using additional defences. Reinforcements will soon arrive and you should remember that if you're fast enough you can kill enemies before they even touch the ground.
Keep fighting until it's safe here again and then search the area to locate a weapon mod [SMG High Caliber Barrel]. Approach the satellite console, finding a datapad [2500 credits] and a med-kit [100 EXP] nearby.
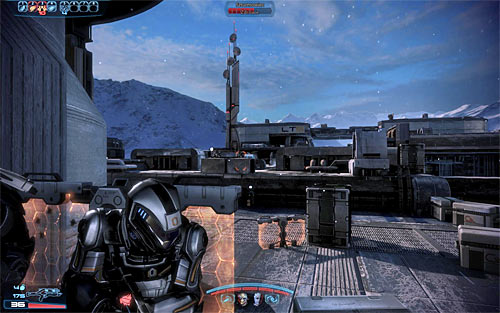
Consider reactivating nearby generator, because the additional defences will soon come in handy. Interact with the satellite console and wait for the entire procedure to end [300 EXP]. Quickly turn around and take cover behind the barriers which are supported by the generator. New enemies will appear to your left and you shouldn't leave cover until they're all dead. Proceed towards the unexplored part of the map.
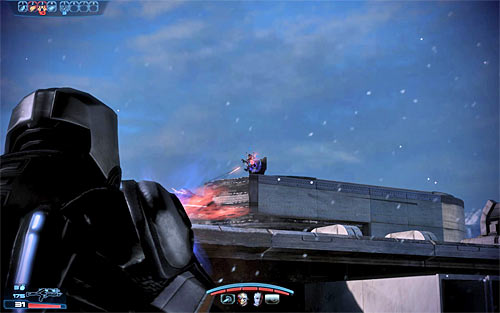
Get ready to start a fight with a new group of soldiers who will arrive in Cerberus shuttles. Obviously you should try killing them before they land on the ground or on the roof. It's also a good idea to destroy nearby generators and shield pylons.
One of the Cerberus soldiers may attempt to take control over a stationery turret found on the roof to your right (screen above) and if he succeeds you'll have to deal with this additional complication. There are two solutions to this problem - you can try avoiding the turret fire by using cover and sprinting towards nearby obstacles or you can attack the Cerberus soldier in hopes of killing him. Sniper rifle is a good idea in this situation, however you can also rely on some of the offensive powers of your team members to kill that person.
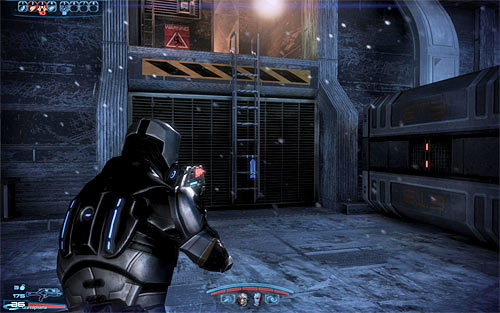
Keep pushing towards the large building seen in front of you and don't forget to use cover if you didn't kill the turret operator. You'll have to climb several times along the way and you'll also find a med-kit [100 EXP] and a weapon mod [Sniper Rifle Piercing Ammo]. The ladder seen to your right is damaged, so you must proceed towards the left ladder (screen above).
Once you're on the roof don't forget to quickly kill the soldier operating the turret (assuming he's still alive). Take some time to explore the roof and you'll locate a datapad [3750 credits] and a med-kit [100 EXP]. I also recommend checking a small ledge that was previously unaccessible due to the damaged ladder (you'll have to land on it to reach it), because you'll collect an additional weapon mod [Shotgun Spare Ammo].
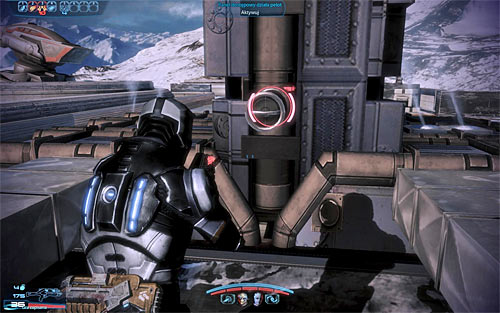
There are two interactive panels on the roof and you should approach the control panel that is located further away from the stationary turret (screen above). Interact with it [200 EXP], watch a short cut-scene and then head towards the second control panel (the one that's closer to the turret) to repeat this action. Make sure that at least one biotic will take part in the upcoming battle (one of the team members must do some repairs), because that will make it easier. Start off by sprinting towards the stationary turret in order to start using it.
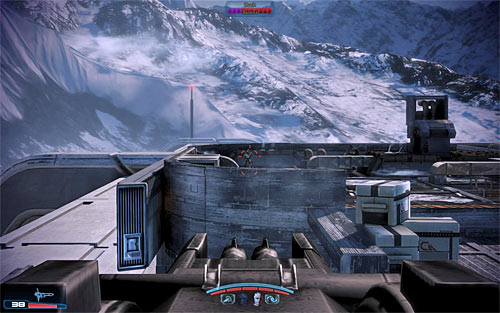
Enemy forces will soon start arriving in shuttles and of course it'll be up to you to kill them. Don't forget to fire short bursts, because otherwise the turret can easily overheat. Focus on eliminating enemies that heading your way, preventing them from moving too close (otherwise they may be able to leave your line of fire). It's also important not to miss the moment when a phantom will join the battle (screen above), eliminating it as soon as possible.
New enemies will soon appear on the lower square and you also shouldn't ignore them, because they have jetpacks and therefore can easily make their way to the roof area.
Evacuation
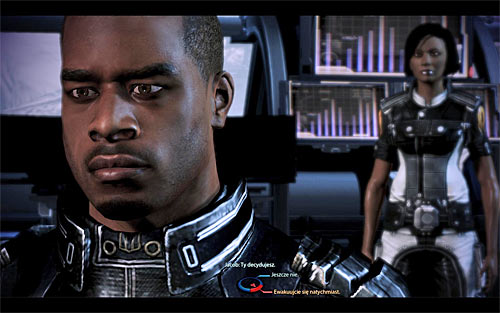
Continue fighting until you've managed to kill all Cerberus forces. Return to the repaired control panel and interact with it again [200 EXP]. You'll soon be transported to the safe part of the base and you're going to be asked if you want to evacuate straight away (lower right dialogue option) or if you want to wait (upper right dialogue option). Waiting doesn't give you anything, because it's only about receiving the last chance to collect the items you may have ignored before. If you chose this option, then you can resume the mission by interacting with an evacuation console (this is also an ideal moment to save your progress).
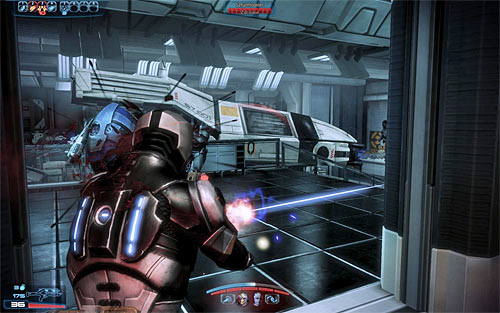
A new battle will start as soon as the cut-scene has ended and you'll have to quickly eliminate the troopers that have landed inside this room. Once they're gone proceed towards the stairs leading to the lower level, because your job will be to return to the area where you've started this mission. New enemies are stationed in the room in which the shuttles are being preparing for flight, however the main battle awaits you outside, close to the landing site.
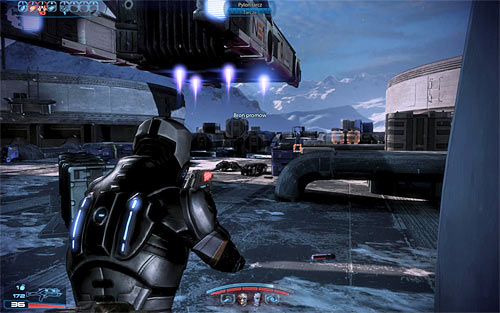
I strongly recommend that you storm the enemy positions and there are two reasons for that kind of behavior. First of all, there aren't any obstacles that you could use as cover inside the hangar. Second of all, it's important to start destroying shield pylons found outside, because otherwise most enemy units would have additional protection. Secure the area close to big hangar door and order your entire team to take cover.
Continue attacking enemy soldiers, remembering about finding and destroying shield pylons. You'll also have to be careful while fighting elite Cerberus units, especially a single phantom that should join the fights in the near future.

Shuttles will continuously fly away from the hangar during this battle, but despite what you might think you won't have to directly protect them. The final phase of this battle will feature an arrival of an Atlas mech. Quickly resupply and focus only on attacking the mech. Don't forget about using cover, because otherwise the mech's rocket attacks can inflict serious injuries. It's important to know that you won't have to kill other enemies, because destroying the Atlas [800 EXP] should result in the end of this battle. There are only a few minor conversations you'll have to take part in.
Prizes for completing the mission:
- [12500 credits]
- War asset [Ex-Cerberus Scientists]
- War asset [Dr Brynn Cole]
- War asset [Jacob Taylor] (only if he's still alive)
- Mass Effect 3 Guide
- Mass Effect 3: Walkthrough
- Mass Effect 3: Missions outside the Citadel
- Mass Effect 3: Grissom Academy: Investigation - walkthrough
- Mass Effect 3: Grissom Academy: Emergency Evacuation - walkthrough
- Mass Effect 3: Tuchanka: Bomb - walkthrough
- Mass Effect 3: Mesana: Distress Signal - walkthrough
- Mass Effect 3: Kallini: Ardat-Yakshi Monastery - walkthrough
- Mass Effect 3: Arrae: Ex-Cerberus Scientists - walkthrough
- Mass Effect 3: Missions outside the Citadel
- Mass Effect 3: Walkthrough
You are not permitted to copy any image, text or info from this page. This site is not associated with and/or endorsed by the developers and the publishers. All logos and images are copyrighted by their respective owners.
Copyright © 2000 - 2026 Webedia Polska SA for gamepressure.com, unofficial game guides, walkthroughs, secrets, game tips, maps & strategies for top games.
