Hitman Absolution: Test Facility - Exploring the test facility
General assumptions: Test Facility is quite vast and in addition two-level location. It would be good to explore it carefully, obtaining new equipment and disguises and getting familiar with areas regularly visited by Dr. Green.
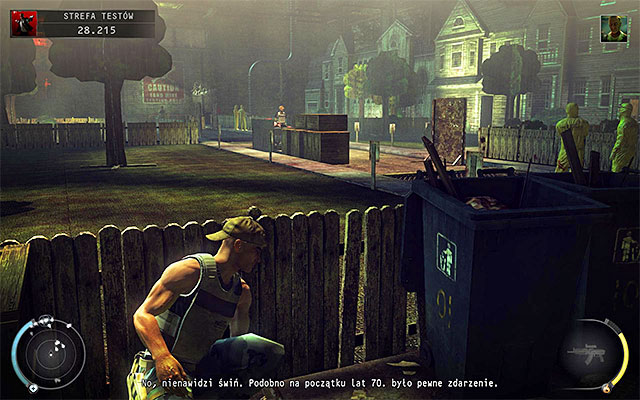
A main part of the test facility (careen above) is a place, where you can encounter both scientists and security guards, although on lower difficulty levels there are fewer guards. You can freely move on the entire square, but you should now that local minefields are activated from time to time. Fortunately Dr. Green informs about that fact in advance, giving local characters enough time to avoid an accident.
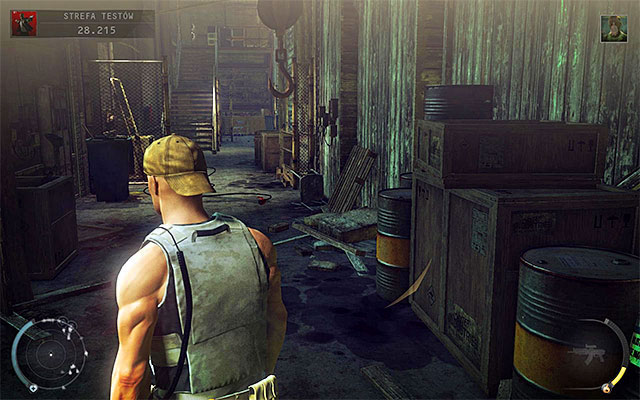
A corridor located left from the main area (screen above) is not easily accessible, because you should get to the door one mock-up building. If you want to avoid guards standing next to the elevator then jump over a fence instead of walking past them.
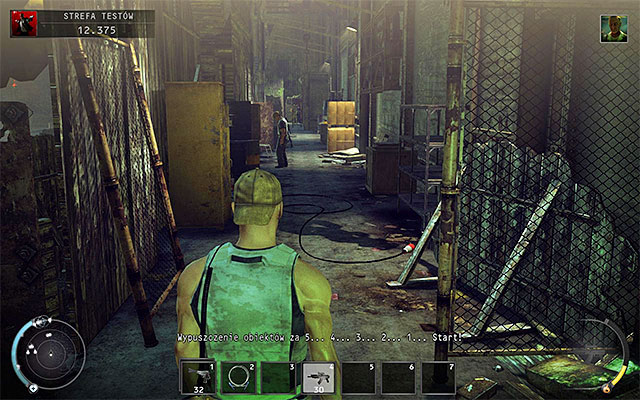
A corridor located right from the main area (screen above) is occupied mainly by security guards so if you do not have scientist disguise, it would be good to keep away or use much Instinct. There are two keycards to be found in the area.
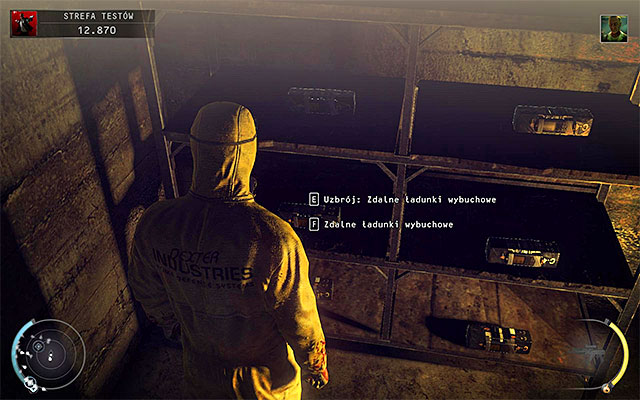
At the end of the right corridor you can find a storage shown on the above screen. It would be best to examine it after obtaining scientist disguise and that's because elimination of a local guard could be easily spotted and because scientists have full access to the storage room, so you won't be stopped. Inside the storage you can find remote explosives, which can be used to murder Dr. Green.
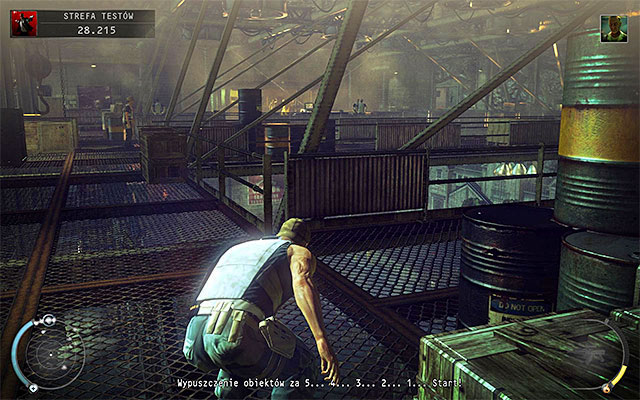
I do not recommend reaching buildings located on the other side of the test facility with main stairs, because on your way there you may encounter both scientists and factory guards, so you could be easily exposed. Instead of that I suggest using upper balconies that can be reached with several ladders. The easiest way there is a ladder located left from the starting place (screen above), especially if you do not have any disguise or use factory guard disguise.
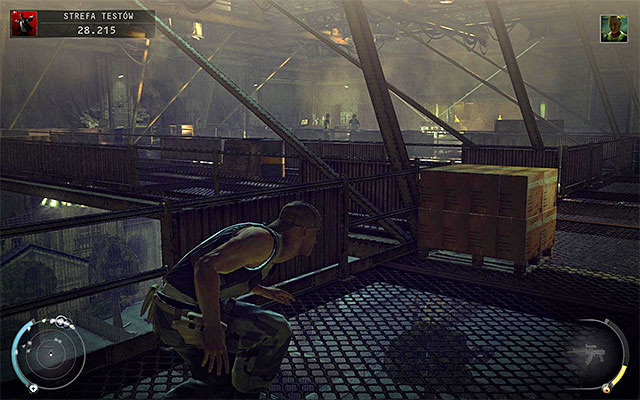
Depending on difficulty level you can encounter three or four guards on upper balconies. I do not recommend eliminating them or pushing them down, unless you need disguise. It is beast to sneak past security guards, moving along the right wall of the test facility.
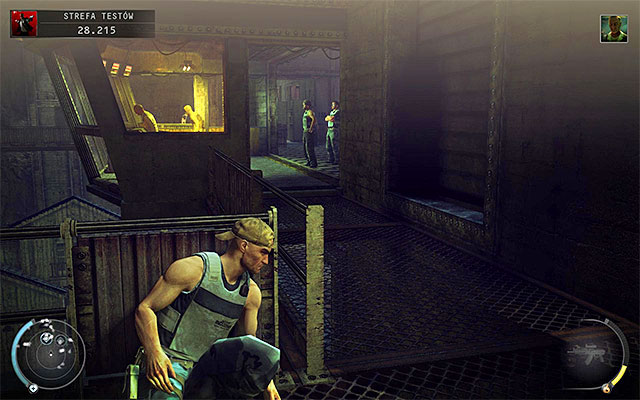
The main room in previously mentioned buildings in the test facility is a control room shown on the above screen. There should be three scientists and two or three security guards in the area, so you have to carefully plan your moves, observe actions of people who can expose you and use Instinct when needed.
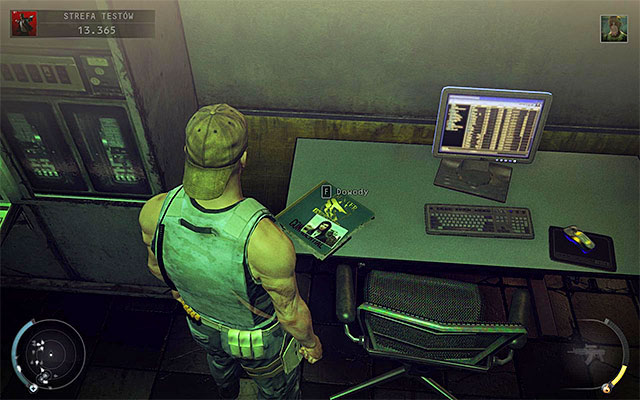
The control room can be reached not only with main corridors but also with other ways - through shutters for example. Look around the area if possible, because you can find there evidence shown on the above screen.
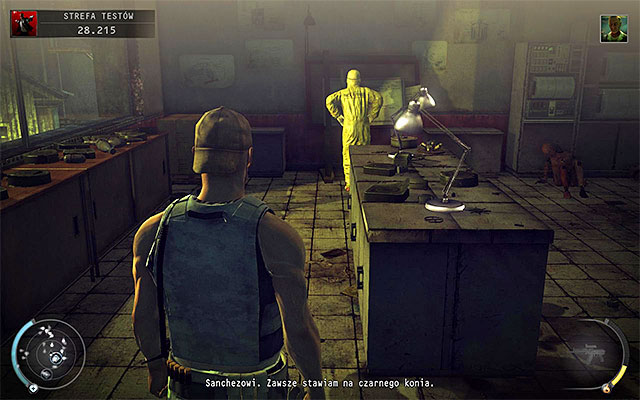
Directly under the control room you can find two smaller rooms. In one of them you'll encounter guards and it would be best to wait until they split up. There is also a ready-to-wear factory guard disguise inside and several proximity mines. In another room you'll encounter a single facility worker (screen above) and this is an ideal candidate to obtain scientist disguise, especially that there is a container nearby, where you can hide his body.
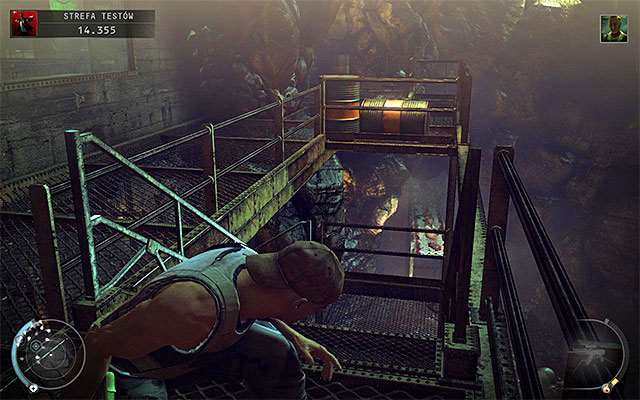
The last important areas in the test facility are balconies located behind buildings (screen above). You can explore there two levels of balconies, occupied mainly by factory guards, so it would be best to do it while wearing scientist disguise. Good news is that you can easily push enemies over railings, thus removing their bodies.
- Hitman: Absolution Game Guide
- Hitman Absolution: Game Guide
- Hitman Absolution: Death Factory
- Hitman Absolution: Test Facility - Accessing the test facility
- Hitman Absolution: Test Facility - Exploring the test facility
- Hitman Absolution: Test Facility - Murdering Dr. Green
- Hitman Absolution: Test Facility - Disabling the security system
- Hitman Absolution: Decontamination
- Hitman Absolution: R&D - Exploring R&D
- Hitman Absolution: R&D - Murdering Dr. Valentine
- Hitman Absolution: R&D - Murdering Dr. Ashford
- Hitman Absolution: R&D - Destroying Ashford's research
- Hitman Absolution: Death Factory
- Hitman Absolution: Game Guide
You are not permitted to copy any image, text or info from this page. This site is not associated with and/or endorsed by the developers and the publishers. All logos and images are copyrighted by their respective owners.
Copyright © 2000 - 2025 Webedia Polska SA for gamepressure.com, unofficial game guides, walkthroughs, secrets, game tips, maps & strategies for top games.
