Act 3 / Final - part 3 | Act 3
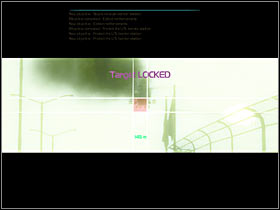
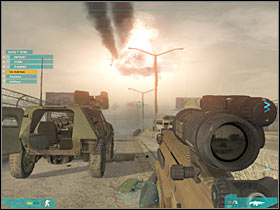
You will have to use the zoom feature to lock on the target (#1). Once this is done, fire the missile before the gunship manages to attack your team (#2). You could also try and prevent it by hiding your men behind buses and larger trucks. Otherwise you would have to repeat this entire sequence.
 |  |
Keep heading south, because you won't be allowed to leave the bridge. I would recommend that you choose the left lane, because the right one doesn't have any larger obstacles which you could use for much needed cover. You will come across a larger truck here (#1). Once you're close enough to the Mexican border station, you will have to slow down and plan each move carefully. Order your squad members to hide behind a smaller van (#2). It shouldn't be more than two soldiers (including the sniper).
 |  |
You will probably notice an enemy sniper. He will be standing to your left (#1). He should become automatically designated, so you won't have to search for him on your own. Get rid of him as soon as possible. You will also have to secure the area in front of you. Try moving there alone or with one of your teammates (#2). You will have to hide behind a new car. Ignore enemy mortar fire, because none of the blasts will occur near your position.
 |  |
If you have a sniper rifle at your disposal, you should be able to take out at least two-three enemy units from here (#1). Rebel soldiers will be standing near the border station building. You will also have to take out one of the heavy machine gun posts. It's located to your right (#2). You will have to target limbs (hands - to be more specific), because you won't be allowed to expose yourself too much.
 |  |
Try moving closer towards a suspended truck (#1). I'm sure that you won't have any problems finding it. You should have a decent view at the border station from here. Start off by killing some of the standard rebel soldier (#2). Don't leave this area just yet, because you would be exposed to enemy fire.
 |  |
You will have to kill all visible soldiers. Once this is done, try moving a little bit closer. You shouldn't leave the left lane. Some of the rebel soldiers will be hiding behind sandbags (#1). Kill them. Watch out for enemy snipers! You should be able to disable the second heavy machine gun post from here (#2). Obviously you will have to aim at the head of the rebel soldier.
 |  |
You should be standing near a small yellow van (#1). Remember to scan the entire area before you decide to move on any further. You should be going in alone or with your sniper. DON'T leave this area just yet, because you will have to take care of a few other problems. As you've probably noticed, an enemy tank has appeared near the border station (#2). You should be safe here, but you will have to deal with this new threat.
 |  |
Start off by zooming in the view, so you will be able to see the tank. You will have to choose the Airstrike feature. Click on Attack (#1), however make sure that the enemy tank is your target. Now you will have to wait for the allied gunship to destroy the tank (#2).
 |  |
You are not permitted to copy any image, text or info from this page. This site is not associated with and/or endorsed by the Ubi Soft or Grin. All logos and images are copyrighted by their respective owners.
Copyright © 2000 - 2025 Webedia Polska SA for gamepressure.com, unofficial game guides, walkthroughs, secrets, game tips, maps & strategies for top games.
