For Honor: How to play Raider?
This chapter contains detailed description of the Raider. You will find here information about his strengths and weaknesses, full moveset and combat tips.
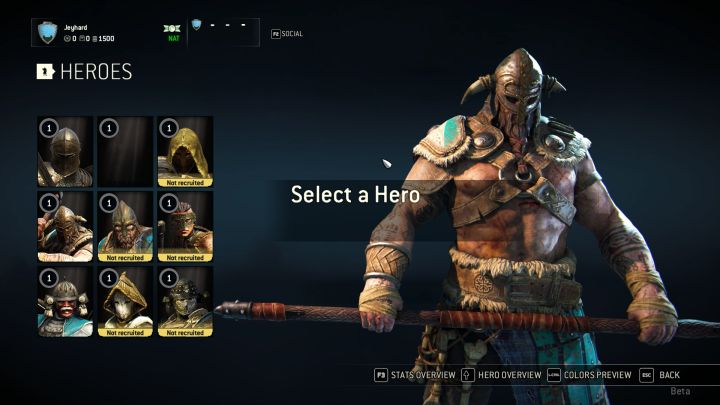
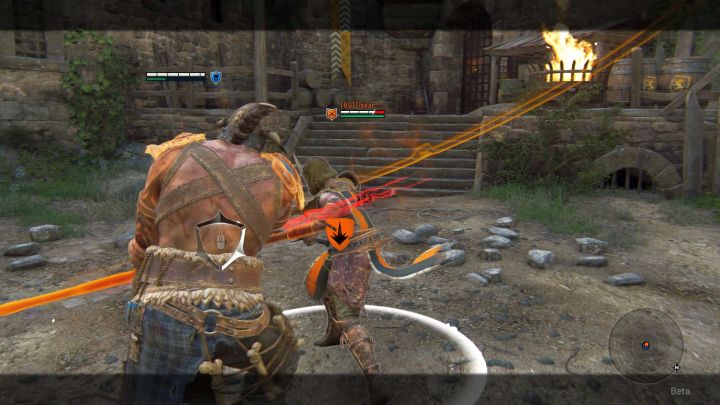
Raider is one of the starting classes available for Vikings, as well as their quintessence - a warrior carrying a huge two-handed axe, best suited to offensive actions. It's a perfect class for players who prefer an aggressive approach, involving constant pressure and simple hacking away until the opponent falls to the ground. Nevertheless, this doesn't mean that Raider isn't capable of good defense - he has more health points than other starting classes.
Description - strengths and weaknesses

Raider is perfect for exercising pressure and simple damage dealing. He works well on short distances, employing his lighting fast quick attacks, and is able to close the distance using strong attacks - these hits are slow, yet have a long reach and often enable you to hit an enemy that seemed to be out of your range.
However, this doesn't mean that you can just hack away without any thought or sense - you need to adjust your approach according to the enemy at hand. If your opponent is good at blocking, consider a more restrained strategy, as you'll only deplete your stamina and expose yourself to punishment. However, your enemy has the same goal as you - he also opens during his attacks. Find an opening and make a powerful counter.
Raider is mainly useful as a stunner - you have a set of such abilities at your disposal. The players who got stunned will have serious problems in gathering his wits. His vision and hearing will be obscured, not letting him see the incoming attack (the red markers will disappear). An experienced player will be able to get ahead of the situation, but a less experienced one may be unable to respond - use this moment to throw a few hits. Moreover, you can also use an unblockable zone attack that deals serious damage to those caught in its radius.
Raider's biggest advantages - fast light attacks and long reach strong attacks - are also his biggest downsides. Light attacks have a very short range - you need to be really close to your enemy to make use of them. Strong attacks pack quite a punch (a good combination can dispose of over a half of enemy's health bar), but are very slow, making them easy to dodge, block, parry or counter.
Moveset and hero-specific abilities

Raider is mostly offensive-oriented - this is also reflected in his modifiers, abilities, and special attacks.
Class Modifiers
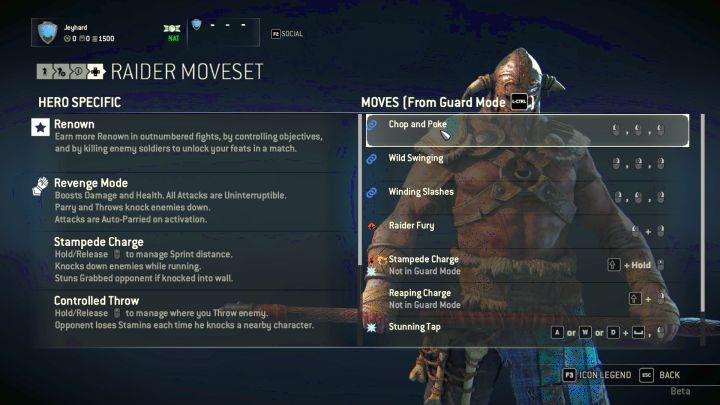
Drengr has 7 class modifiers. These are as follows:
- Renown - Raider earns more renown for uneven fights near objectives or while engaging enemy troops.
- Stun - incapacitated enemies are unable to see your stance (the effect removes the direction markers).
- Stampede Charge - Enables you to catch an enemy and shove him through the battlefield. The action stuns your opponent if you manage to throw him onto an obstacle. Activated by activating Guard Break during sprinting.
- Controller Throw Back - Enables you to intercept and throw your opponent in the chosen direction. Additionally, the enemy loses stamina each time he hits a different enemy.
- Raider's Fury - Raider Fury is unblockable and can be used with any combination.
- Heavy Attack Cancel - Enables Raider to cancel a strong attack in its initial phase by throwing a light attack, which stuns his target.
- Dodge Cancel - Raider can interrupt his dodge and return with a Guard Break.
Feats
Raider has 12 feats that are divided between 4 tiers (each tier contains 3 abilities). You can choose only one ability from each tier. The table below contains the descriptions of all abilities available for Raider.
Tier | Contents |
1 | Rush - Activate to increase movement speed for a short duration of time. Available from the beginning. Tireless - Your stamina bar lasts longer. Requires level 5. Body Count - Each defeated enemy regenerates a portion of health and stamina points. Requires level 7. |
2 | Marked for Death - Reveals the location of your target and lowers his attack and defense. Available from the beginning. Inspire - Players deal more damage, while allied soldiers fight faster. Requires level 9. Bear Trap - A trap that deals damage and immobilizes your enemies. Requires level 11. |
3 | Second Wind - Recovers some of your health. Available from the beginning. Fury - Increases your movement speed and gives a considerable bonus to attack and defense. Requires level 17. Battlecry - Increases the damage dealt by your Allies and forces enemy soldiers to flee. Requires level 15. |
4 | Fire Flask - Enables you to throw a projectile that ignites the area and enemies in its radius. Stalwart Banner - Nearby Allies regain health continuously. Requires level 17. Slippery - You block any grab attempts for a short while. Requires level 19. |
Class Attacks
As we've mentioned a few times before, this class is best suited to an aggressive playstyle, enabling us to throw a number of powerful hits, or stun our enemy. The table below shows all available special attacks.
Name | How to perform | Description |
Stampede Charge | Movement + Guardbreak Unavailable in Lock Mode. | Enables us to intercept an enemy and shove him through the battlefield. Stuns the enemy if landed on any obstacle. You can also use it to push an enemy into an abyss. A spectacular move, yet very easy to evade. Mainly useful when in need of space, or when saving an outnumbered ally. |
Reaping Charge | Strong attack while moving forward | A simple, heavy-hitting strike. |
Stunning Tap | Forward/Side Dash + Light Attack | A strike which isn't deadly, but damage dealing isn't its first priority. If struck, the enemy gets stunned - for a few seconds, his vision and hearing will be obscured. The direction markers will also disappear, making him unable to determine the position of his opponent. This attack is deadly when used against an unprepared enemy - the stun enables you to deal a few extra hits that are very hard to counter. This move can also be performed after a Feint - start with a strong overhand and quickly throw a Light Attack. Your first move will be interrupted and switched for Stunning Tap. |
Rushing Guardbreak | Forward Dash + Guardbreak | A more flexible version of Guardbreak. Allows the player to intercept the enemy from a farther range than in case of a normal Guardbreak. |
Combo I (Chop and Poke) | Light Attack x3 | A basic combination, enabling Raider to reach his opponent through his intercepting light attacks. It deals quite serious damage, considering that the combo consists only of light attacks. |
Combo II (Wild Swinging) | Strong Attack x3 | A combination of three strong attacks that deal serious damage - provided the enemy doesn't mitigate them. In most cases, you won't be able to complete the combination, as the enemy will block your hits or counter with his own, faster strike. Wild Swinging is especially useful against a stunned enemy, as well as when your character entered the Revenge mode - in the latter case the enemy won't be able to block your attacks, while a successful combo will be enough to kill your enemy. |
Combo III (Winding Slashes) | Strong Attack, Light Attack, Strong Attack | An interesting combination that begins with a strong attack, and is then followed by a light one. Deals heavy damage, and is harder to counter, as the enemy mostly expects a strong follow rather than a fast light attack. |
Zone Attack (Raider Fury) | Press Light and Heavy Attack simultaneously. | One of the best Zone Attacks found in the game. Enables the player to hit all nearby targets, dealing huge damage. Moreover, this attack is unblockable - it can only be avoided by staying out of its range or by interrupting the casting animation. You can also mix it with other combinations, especially when your enemy has his defense in check. In such cases, use Raider Fury to break through his defenses. |
Tips and Tricks

Some tips that often prove useful during the game:
- Raider is a pressure-oriented class. Don't focus on mitigating attacks, but push forward and intercept your enemy.
- Yet, simple hacking away at your enemy isn't the key. You may encounter an enemy that has an easy time blocking or avoiding your attacks, and will wait for an opportunity (e.g. you've used all your stamina) to counterattack. Exercise pressure, but stay vigilant.
- Monitor your stamina bar at all times. Raider's hits are very powerful (especially when mixed with his Zone Attack), but quickly deplete his stamina bar. When your stamina is low (e.g. around 30% of its capacity), stop attacking for a few seconds and regenerate it.
- Use Stunning Tap. Less experienced players will have problems dealing with the fallout, and even those more experienced will be less effective. It's a great tool to confuse your enemies, even if the damage dealt is low.
- Raider Fury is one of the best Zone Attacks in game and a foundation of Viking team fights. However, in case of facing a single enemy, avoid initiating your attacks with Raider Fury as your opponent may simply move back. Engage your opponent with some attacks and use the ability when you're sure that he won't be able to dodge.
- Stampede Charge is an aggressive method that can change the course of many battles, but it can also compromise your attack. The enemy can easily make a Side Dash and return with a powerful counterattack that you won't be able to mitigate. Use this move when you are sure that the enemy won't be able to respond.
- The ability to intercept and shove an opponent in the chosen direction is a great way to retreat from an unfavorable encounter. Shoving your target at his teammate will incapacitate them both (or even stumble to the ground), giving you a window to either run or return with your own combination.
- Raider's Strong Attacks are powerful, but are difficult to sync. If you're having difficulties applying slower moves, use Feint - you'll feign a powerful overhand strike and be able to begin another combination, or simply catch an opponent and shove him to the ground.
You are not permitted to copy any image, text or info from this page. This site is not associated with and/or endorsed by the developers and the publishers. All logos and images are copyrighted by their respective owners.
Copyright © 2000 - 2026 Webedia Polska SA for gamepressure.com, unofficial game guides, walkthroughs, secrets, game tips, maps & strategies for top games.
